Pistachio Lemon Granola Bars

The number one thing I hear in response to my love for cooking is always how stressed cooking makes people feel. People often associate cooking and childhood memories around it with a stressed out parent struggling to get the big meal out on the special holiday. And to that, I say, I totally get it.
Michael Pollan, whose documentary series I just started watching on netflix, talks about how the entertainment industry plays on this stress by making cooking shows that portray cooking as something better left up the pros (iron chef anyone?) and the food industry has been telling us we're too busy and too stressed to cook for years so that they could valiantly come in and save the day.
The first time I made these granola bars, my vitamix died mid-blend of homemade almond butter. And as I was trying to figure out what the hell was wrong I burnt approximately $15 worth of pistachios that I had just spent 20 minutes shelling. I slammed the pan of burnt nuts down on the counter, yelled at my husband about how next time will be paying extra for store-bought almond butter and pre-shelled pistachios and screw the fact that I was trying to be responsible and save money because look where it got me! Then I slammed the door of our bedroom and put my legs up the wall for a couple deep breaths.

So yeah, I totally get it how cooking can be stressful. That's one of the reasons I prefer to cook alone without a time limit and without a crowd to please, and preferably with a good playlist in the background. As ocd as I sound, I need to start with an immaculate kitchen, and clean as I go, even if it takes longer. This, by the way, drives my husband nuts. But my kitchen is my workspace, and a clean kitchen takes away stress and makes the whole cooking process much safer, trust me.
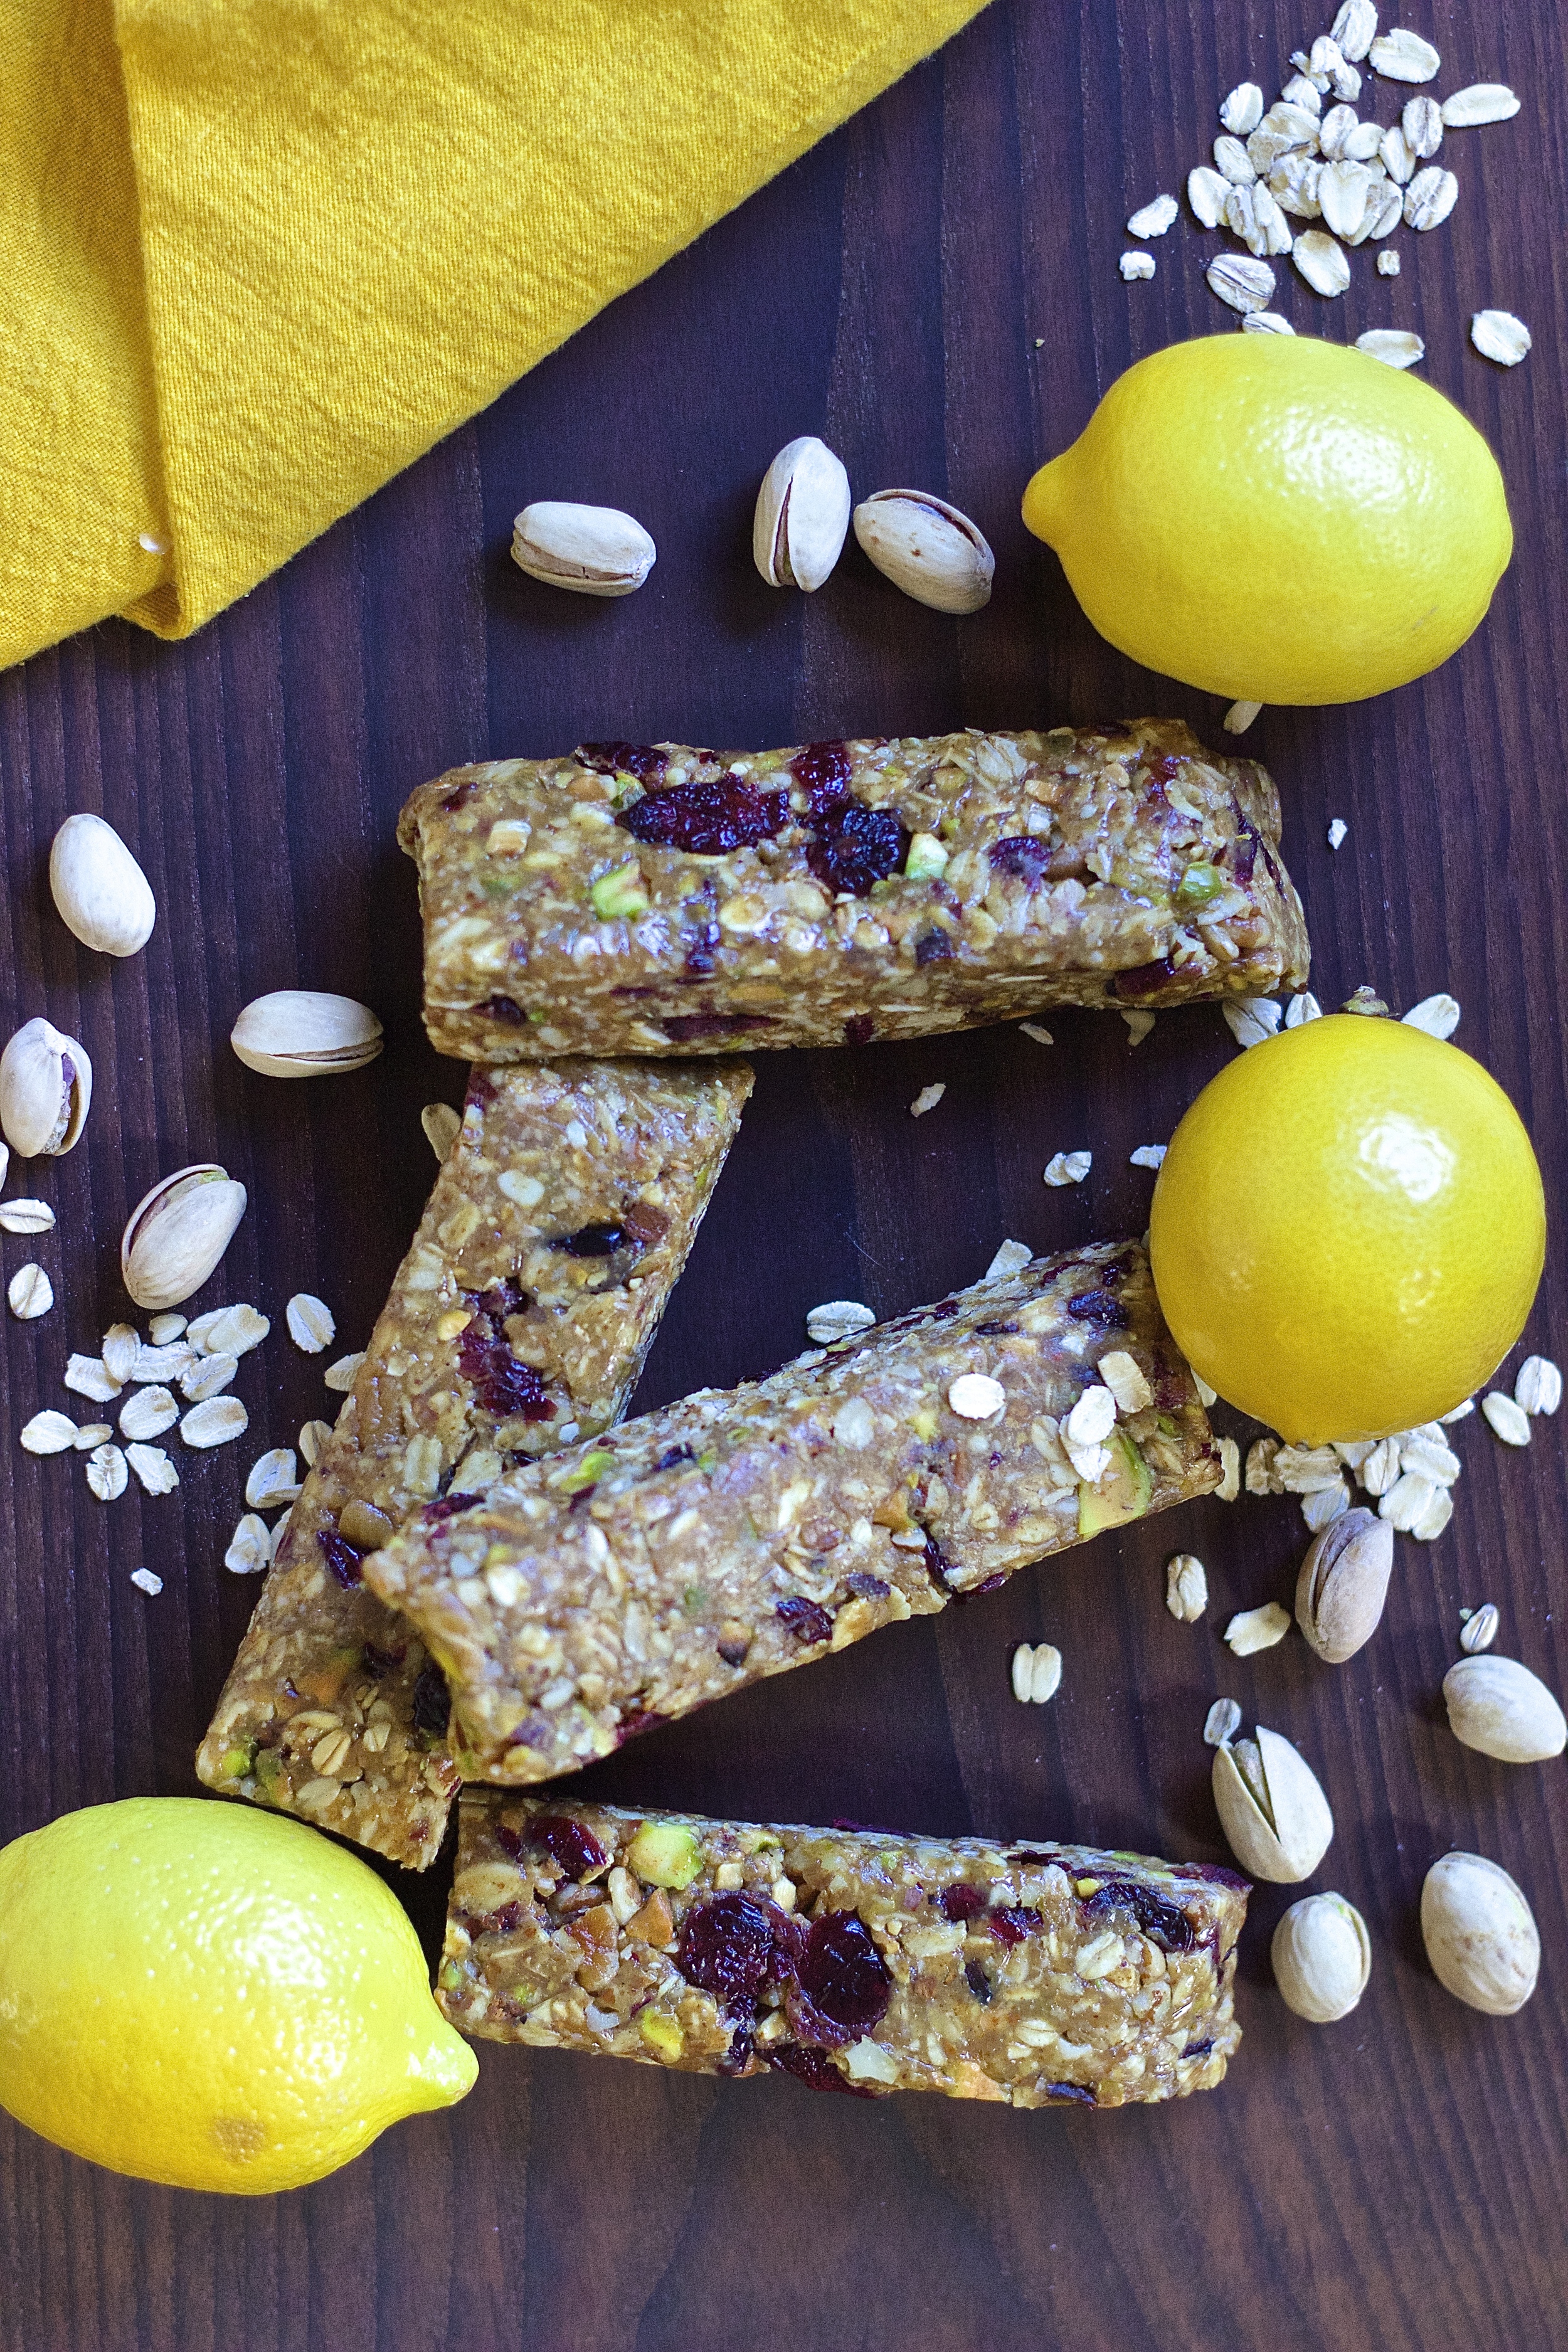
Somehow after picking out the black nut pieces, these bars came out just as I imagined. They're adapted from one of my favorite food blogs, Cookie and Kate, and inspired by my favorite larabar flavor, lemon! I'm such a sucker for tart, springy lemon. The bars are bound together with a combination of nut butter and honey and packed with so much protein and fiber they could almost qualify as breakfast.
I stocked up on homemade granola bars before this semester of grad school started, and individually wrapped them in plastic wrap then tossed them in a freezer bag on the door of the freezer. They defrost in about 30 minutes, and warm perfectly in the toaster if you're in a rush. Super filling and totally guilt-free on-the-go-treat that will ultimately save you money and leave you feeling fuller than any store-bought kind. Bring these to work or class and people will be jealous. Just saying. They're pretty awesome.


Yields 12-16 bars
Ingredients:
1/3 cup pecans (1.5 oz)
2/3 cup shelled pistachios (1.5 oz)
1/3 cup pepitas
2/3 cup dried cranberries (or dried fruit of your choice)
1 3/4 cup old fashioned oats
1 packed tablespoon lemon zest (from about 3 lemons)
1/2 - 3/4 teaspoon salt (decrease if your nut butter is salted)
1 cup almond butter or peanut butter (I did half and half)
1/2 cup honey (or maple syrup)
1/2 teaspoon vanilla extract
2 tablespoons lemon juice
Line an 8x8 (for 12 thick bars) or 9x9 (for 16 thinner bars) inch baking dish with parchment and set aside. Toast the pecans, pistachios and pepitas in a skillet over medium heat for 5-7 minutes, stirring occasionally, until fragrant.
In the bowl of a food processor, pulse the oats for about 5 seconds until broken up significantly, then transfer to a large mixing bowl. Once the nuts & pepitas are toasted add them to the bowl of the food processor along with the dried fruit and run for about 10 seconds then transfer to the mixing bowl with the oats. Add the lemon zest and salt and whisk to combine.
In a small bowl bowl (or liquid measuring cup) combine the nut butter, honey, vanilla extract, and lemon juice and stir until combined. Add the wet ingredients to the dry and stir to combine. I found using my hands to integrate the ingredients into a thick, sticky batter was easiest, but you could also use a wooden spoon and some elbow grease. If the batter seems too dry add in another small scoop of nut butter.
Press the batter into the parchment lined baking dish (the bottom of a drinking glass works best for this) then cover with plastic wrap and refrigerate for at least 4 hours, ideally overnight. Cut into bars and serve. Bars store best individually wrapped in plastic then stored in a freezer bag in the freezer. Stored this way they should last up to 6 months.
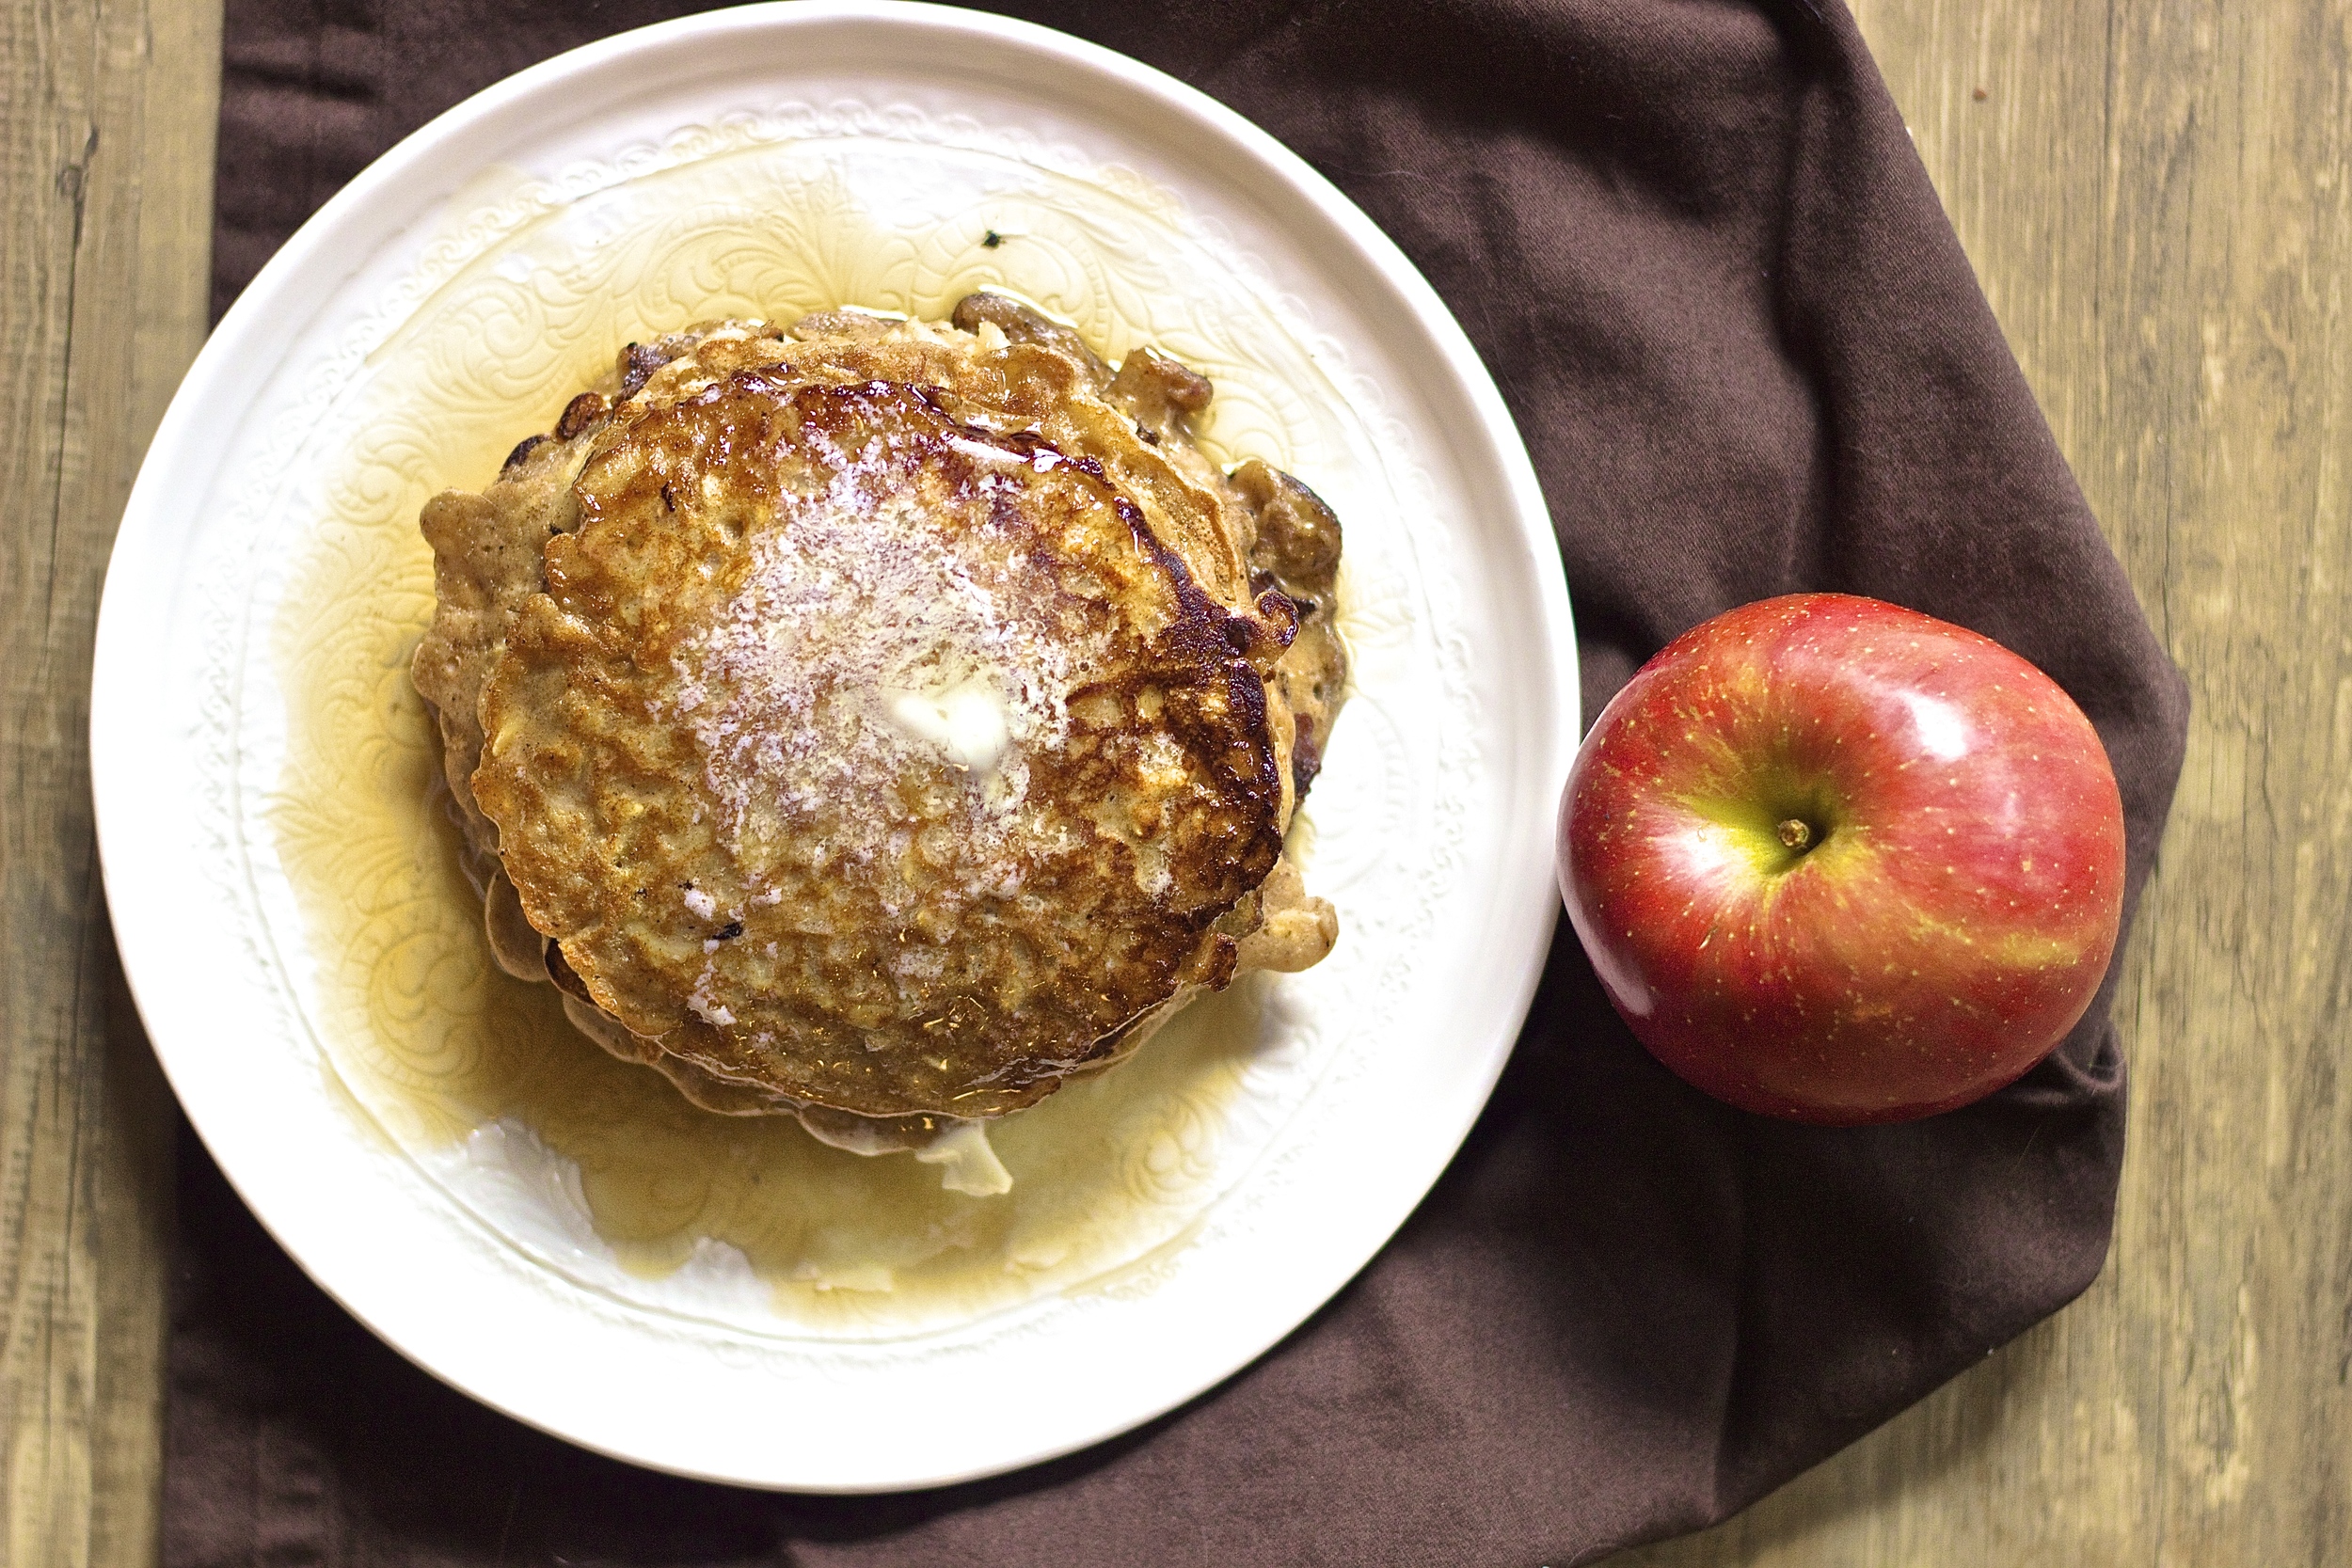
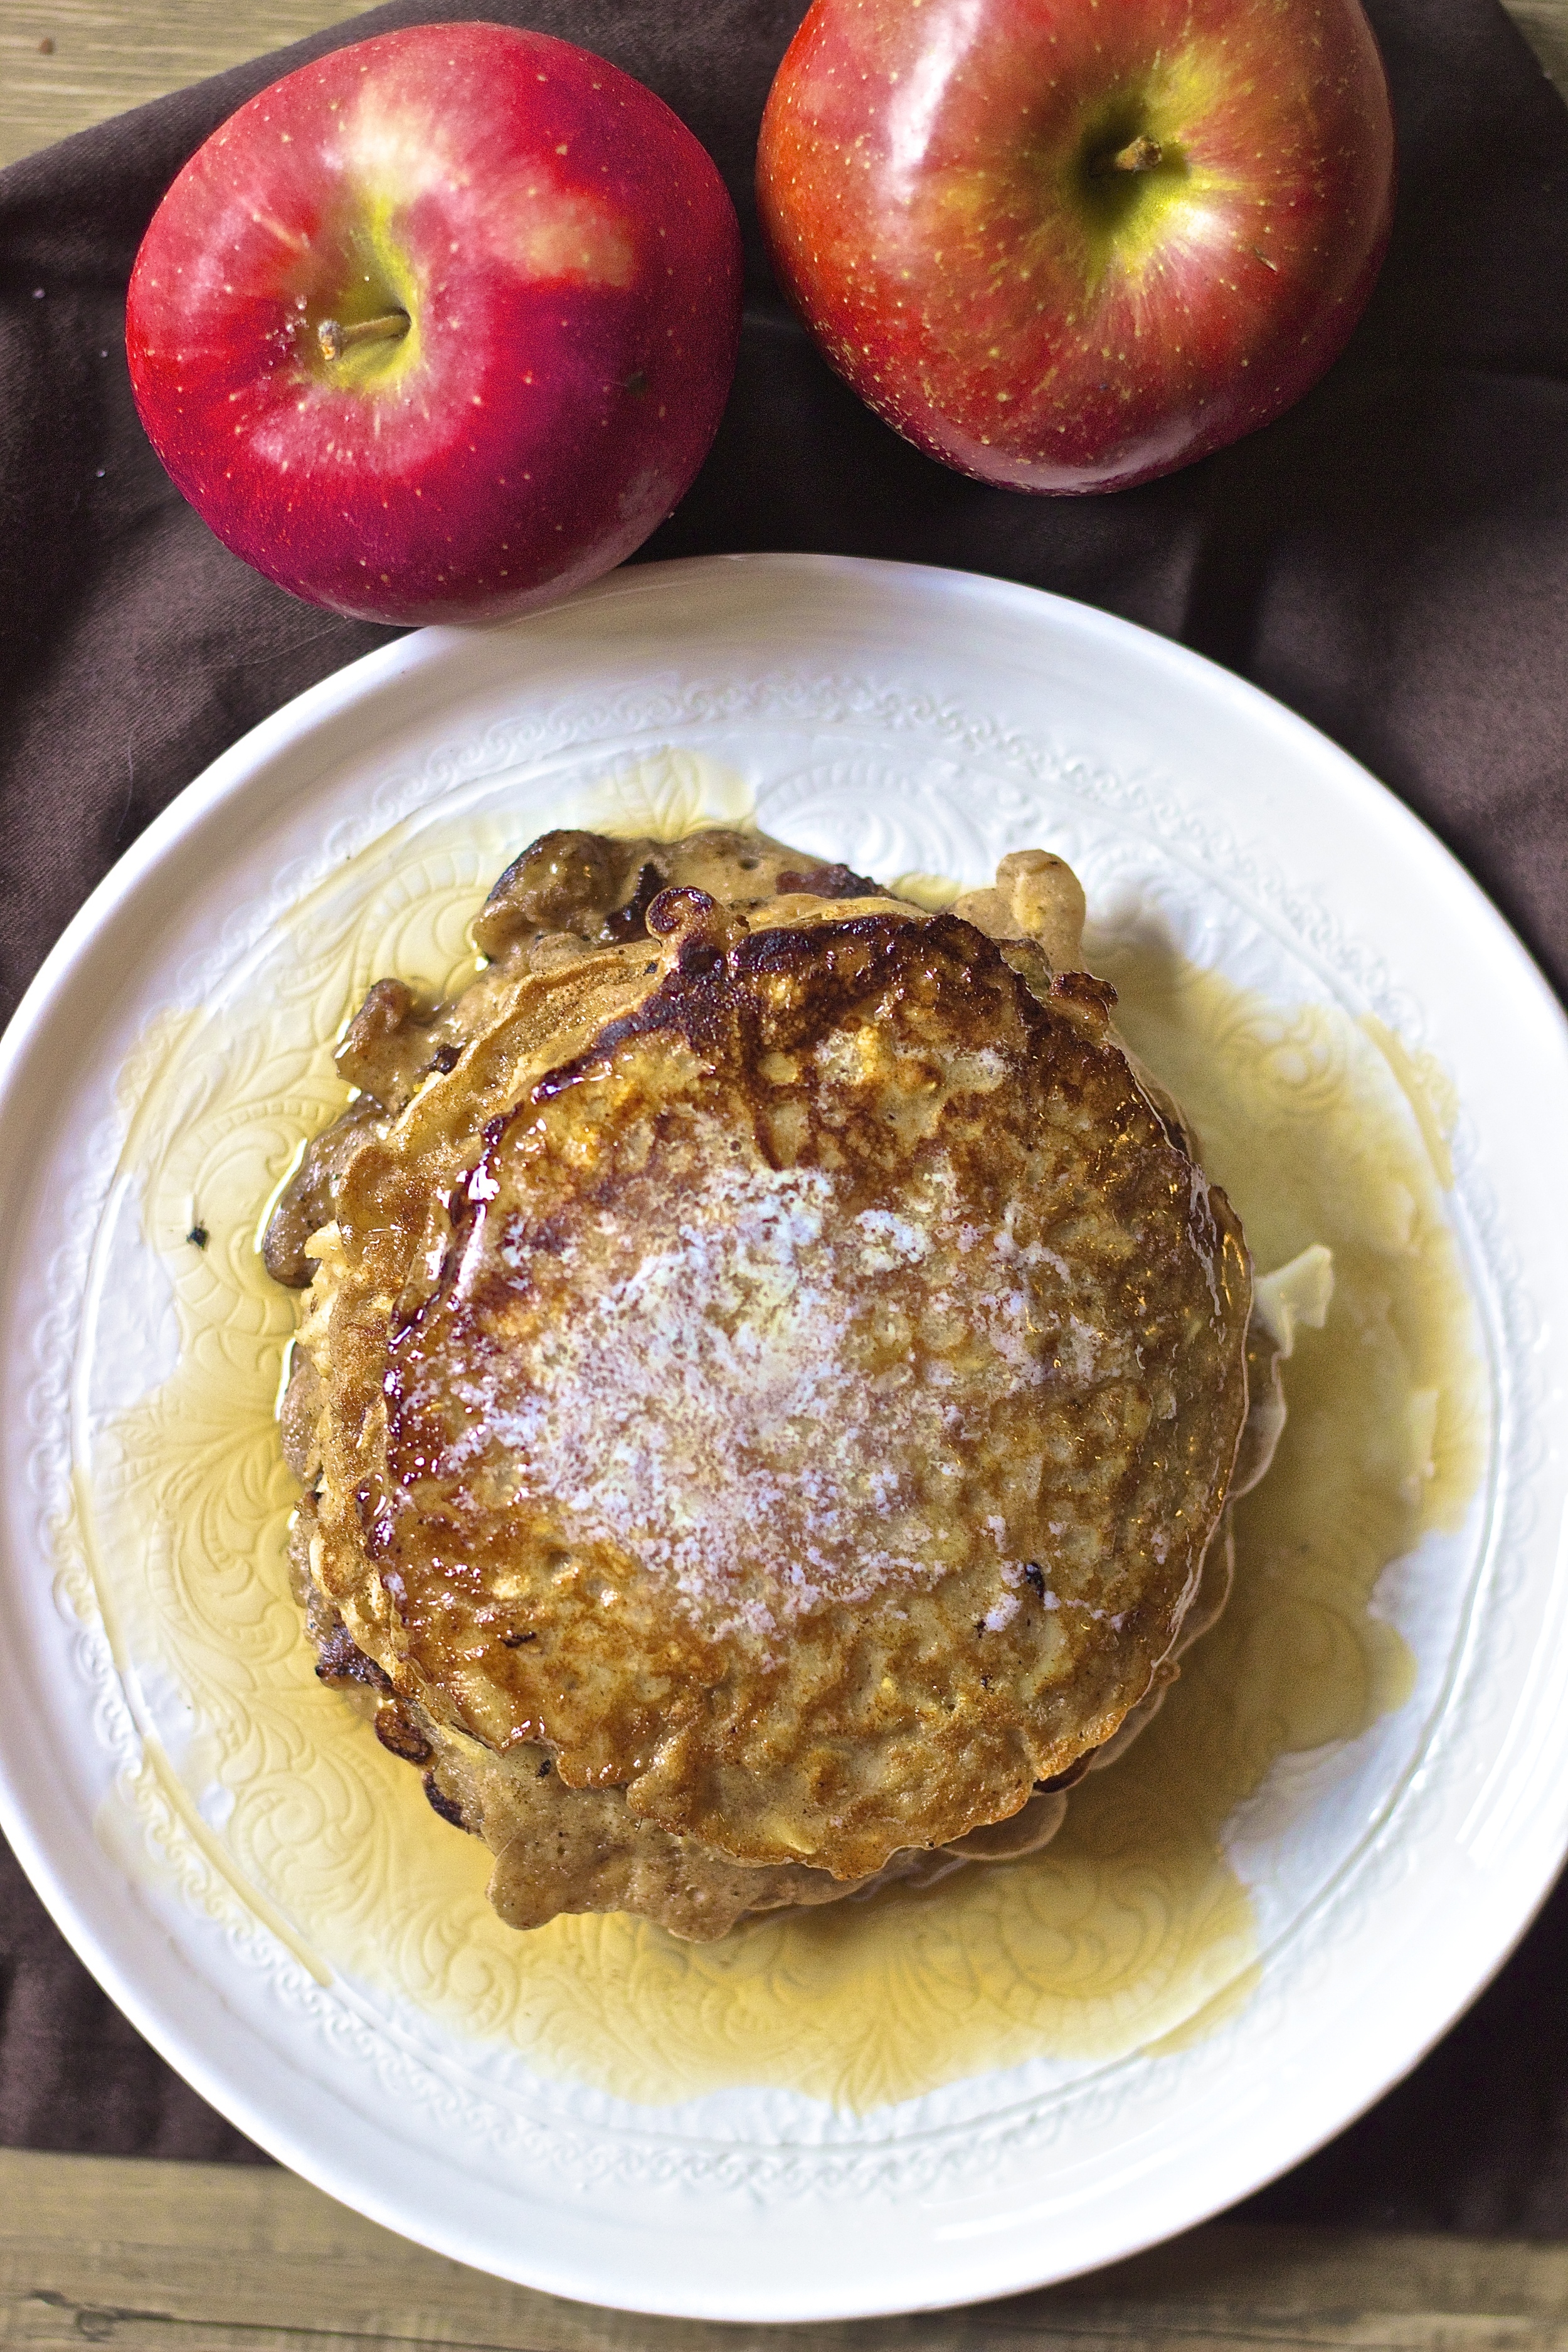
Spiced Apple & Oat Pancakes
Breakfast has always been my favorite meal of the day. Unfortunately it's also the most neglected and the least thought about for most people, myself sadly included. So on weekend mornings, after sleeping in the for the first time all week, I almost always wake up craving a warm home-cooked breakfast. This is no more true than when the seasons change in the Fall.
These pancakes represent all that is good and cozy in the world. I've made some version of them nearly a dozen times. They are chock full of so much freshly grated apple, we endearingly refer to them as apple latkes. They are spiked with fresh apple cider (bonus points if you get it from a local farmer's market!) and sweetened with real maple syrup. They have just enough oats to make them filling and hardy. Perfect for lazy Sunday fall mornings.


Makes about 12 pancakes
adapted from: Smitten Kitchen
Ingredients:
3/4 cup milk, any kind (I used almond)
1/2 cup apple cider (or sub more milk)
2 large eggs
2 teaspoons vanilla extract
3 tablespoons real maple syrup
2 cups freshly grated peeled apple (~ 2 medium apples)
1 1/4 cup whole wheat pastry flour
3/4 cup old-fashioned oats
1 teaspoon baking powder
2 teaspoons cinnamon
1 teaspoon nutmeg
1/2 teaspoon all spice
1/2 teaspoon salt
unsalted butter for cooking
In a large bowl combine the milk, cider, eggs, vanilla, and maple syrup. Peel and core the apples then grate them using either the grating attachment of a food processor or a box grater. Measure out exactly 2 cups. (More and they had trouble cooking through). Set aside.
In a medium bowl whisk together the flour, oats, baking powder, cinnamon, nutmeg, allspice, and salt. Pour the dry ingredients into the wet ingredients and stir until just combined. Add in the apples and stir until integrated.
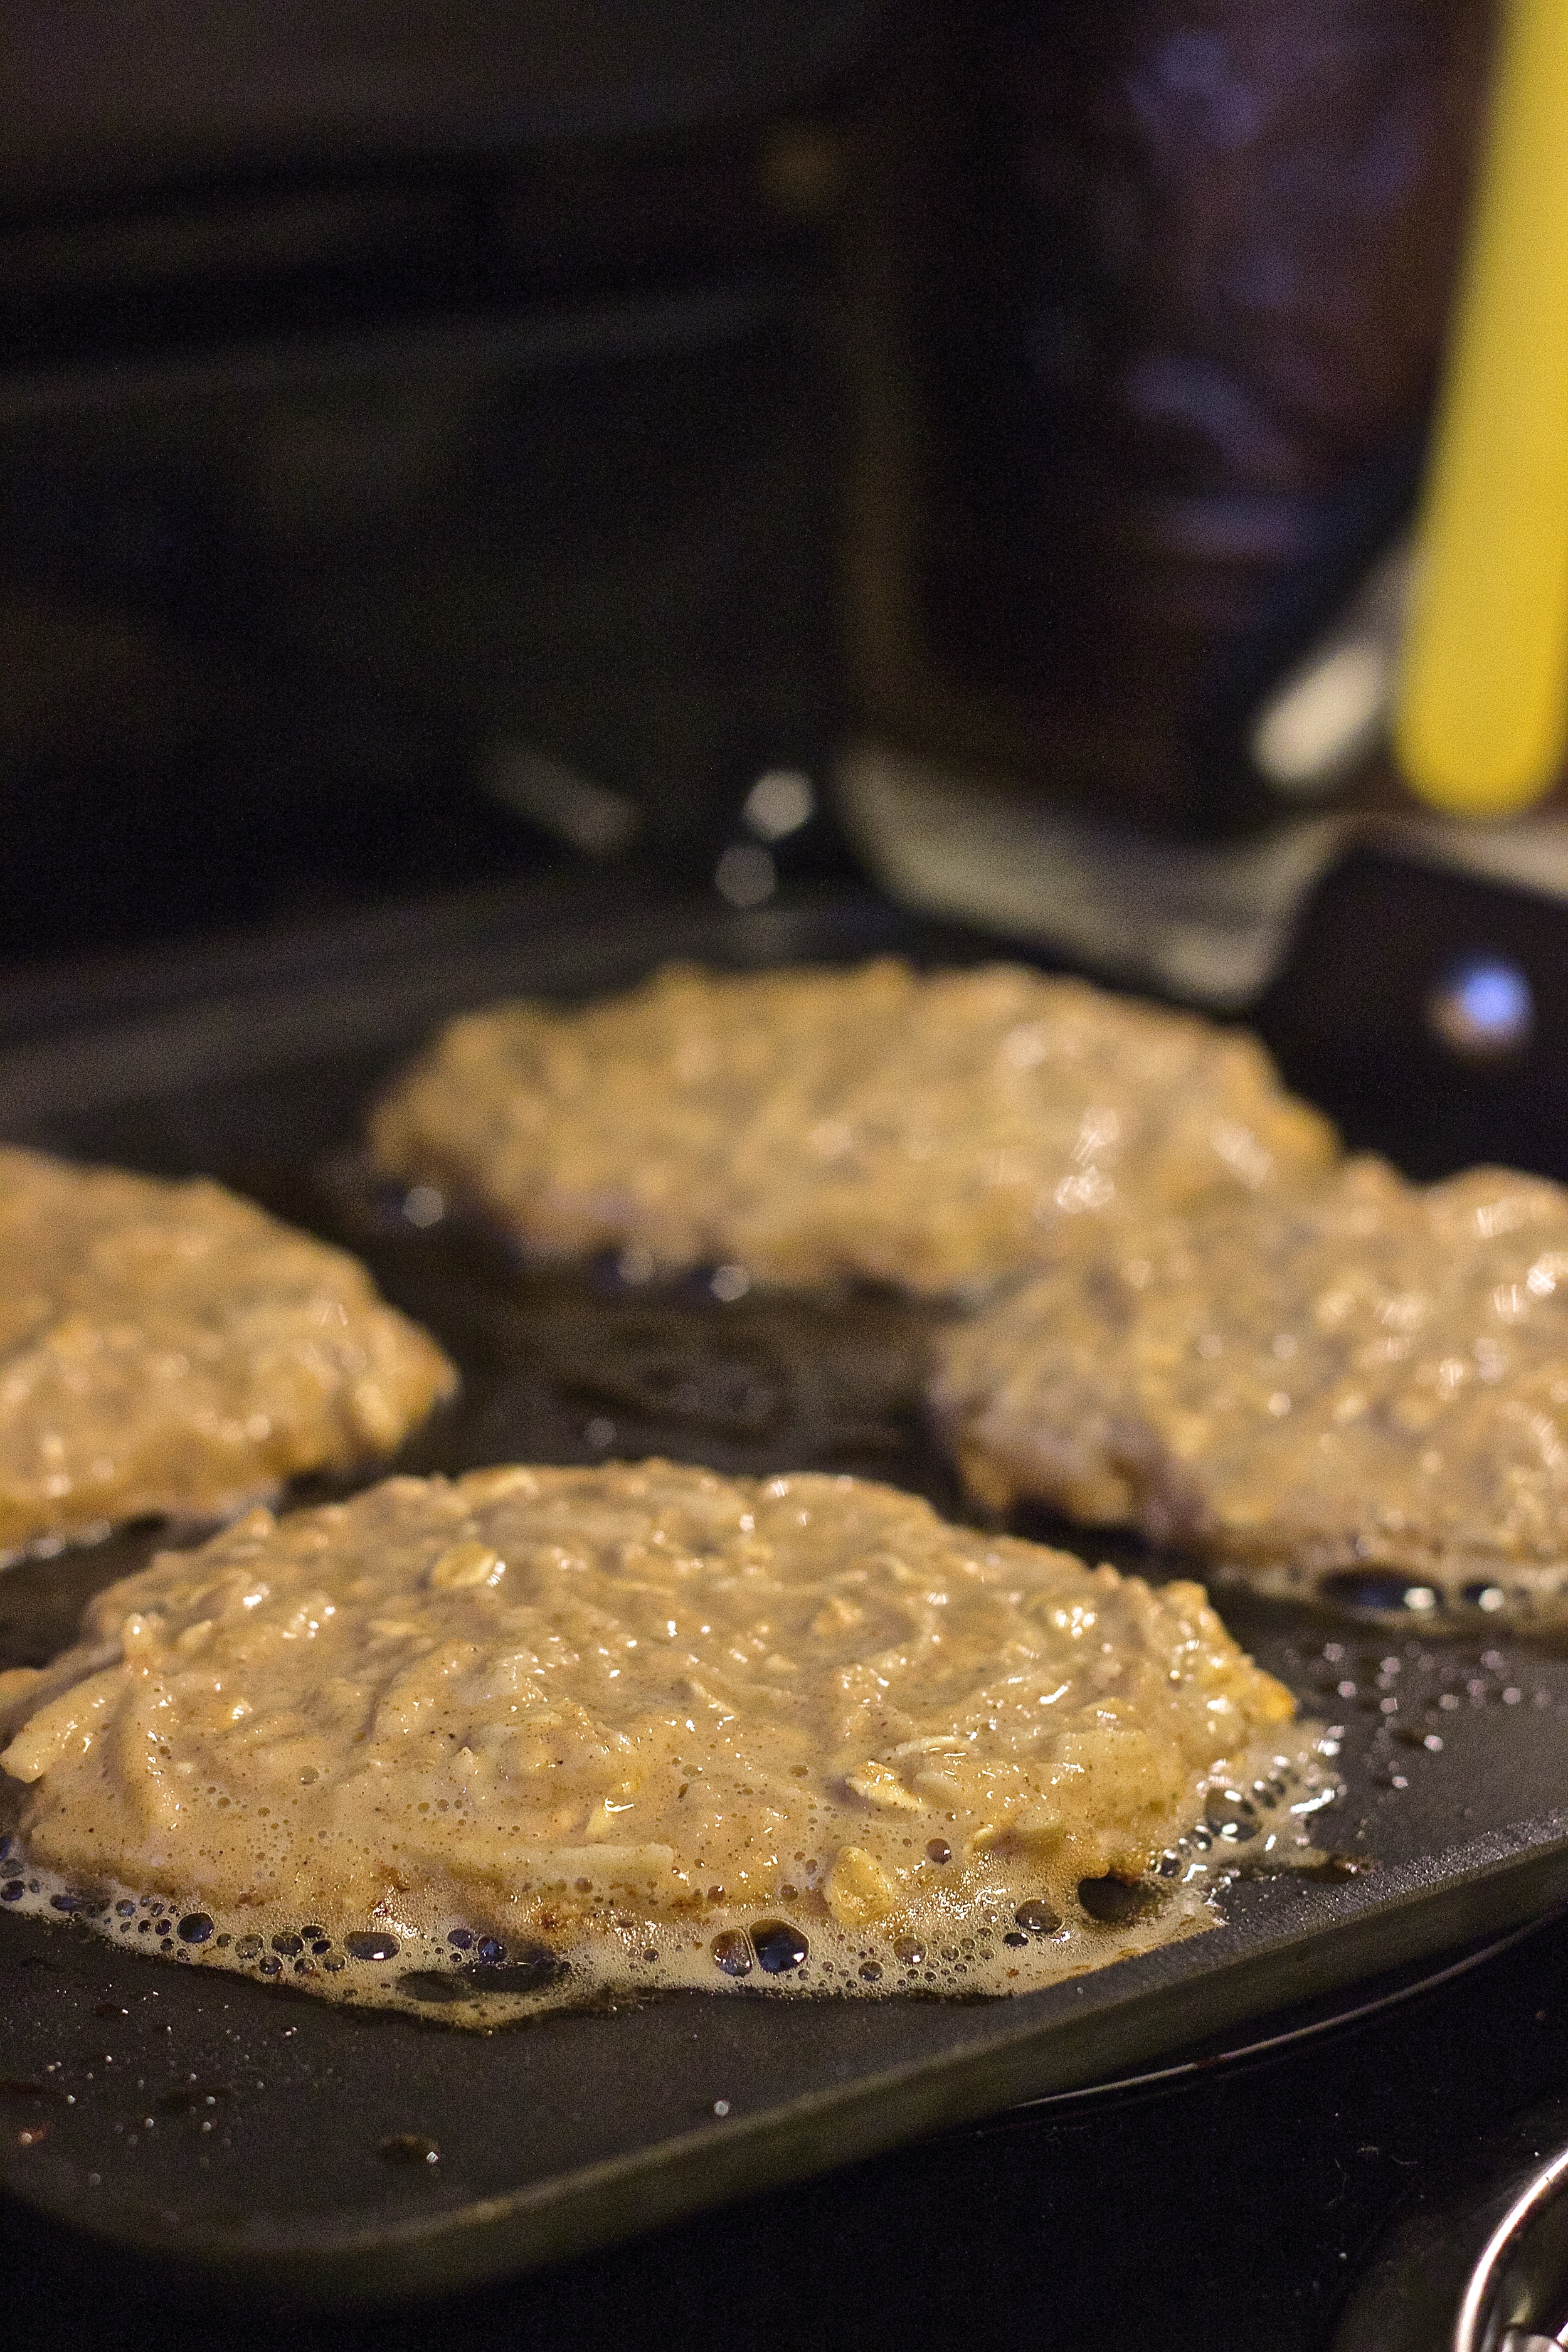
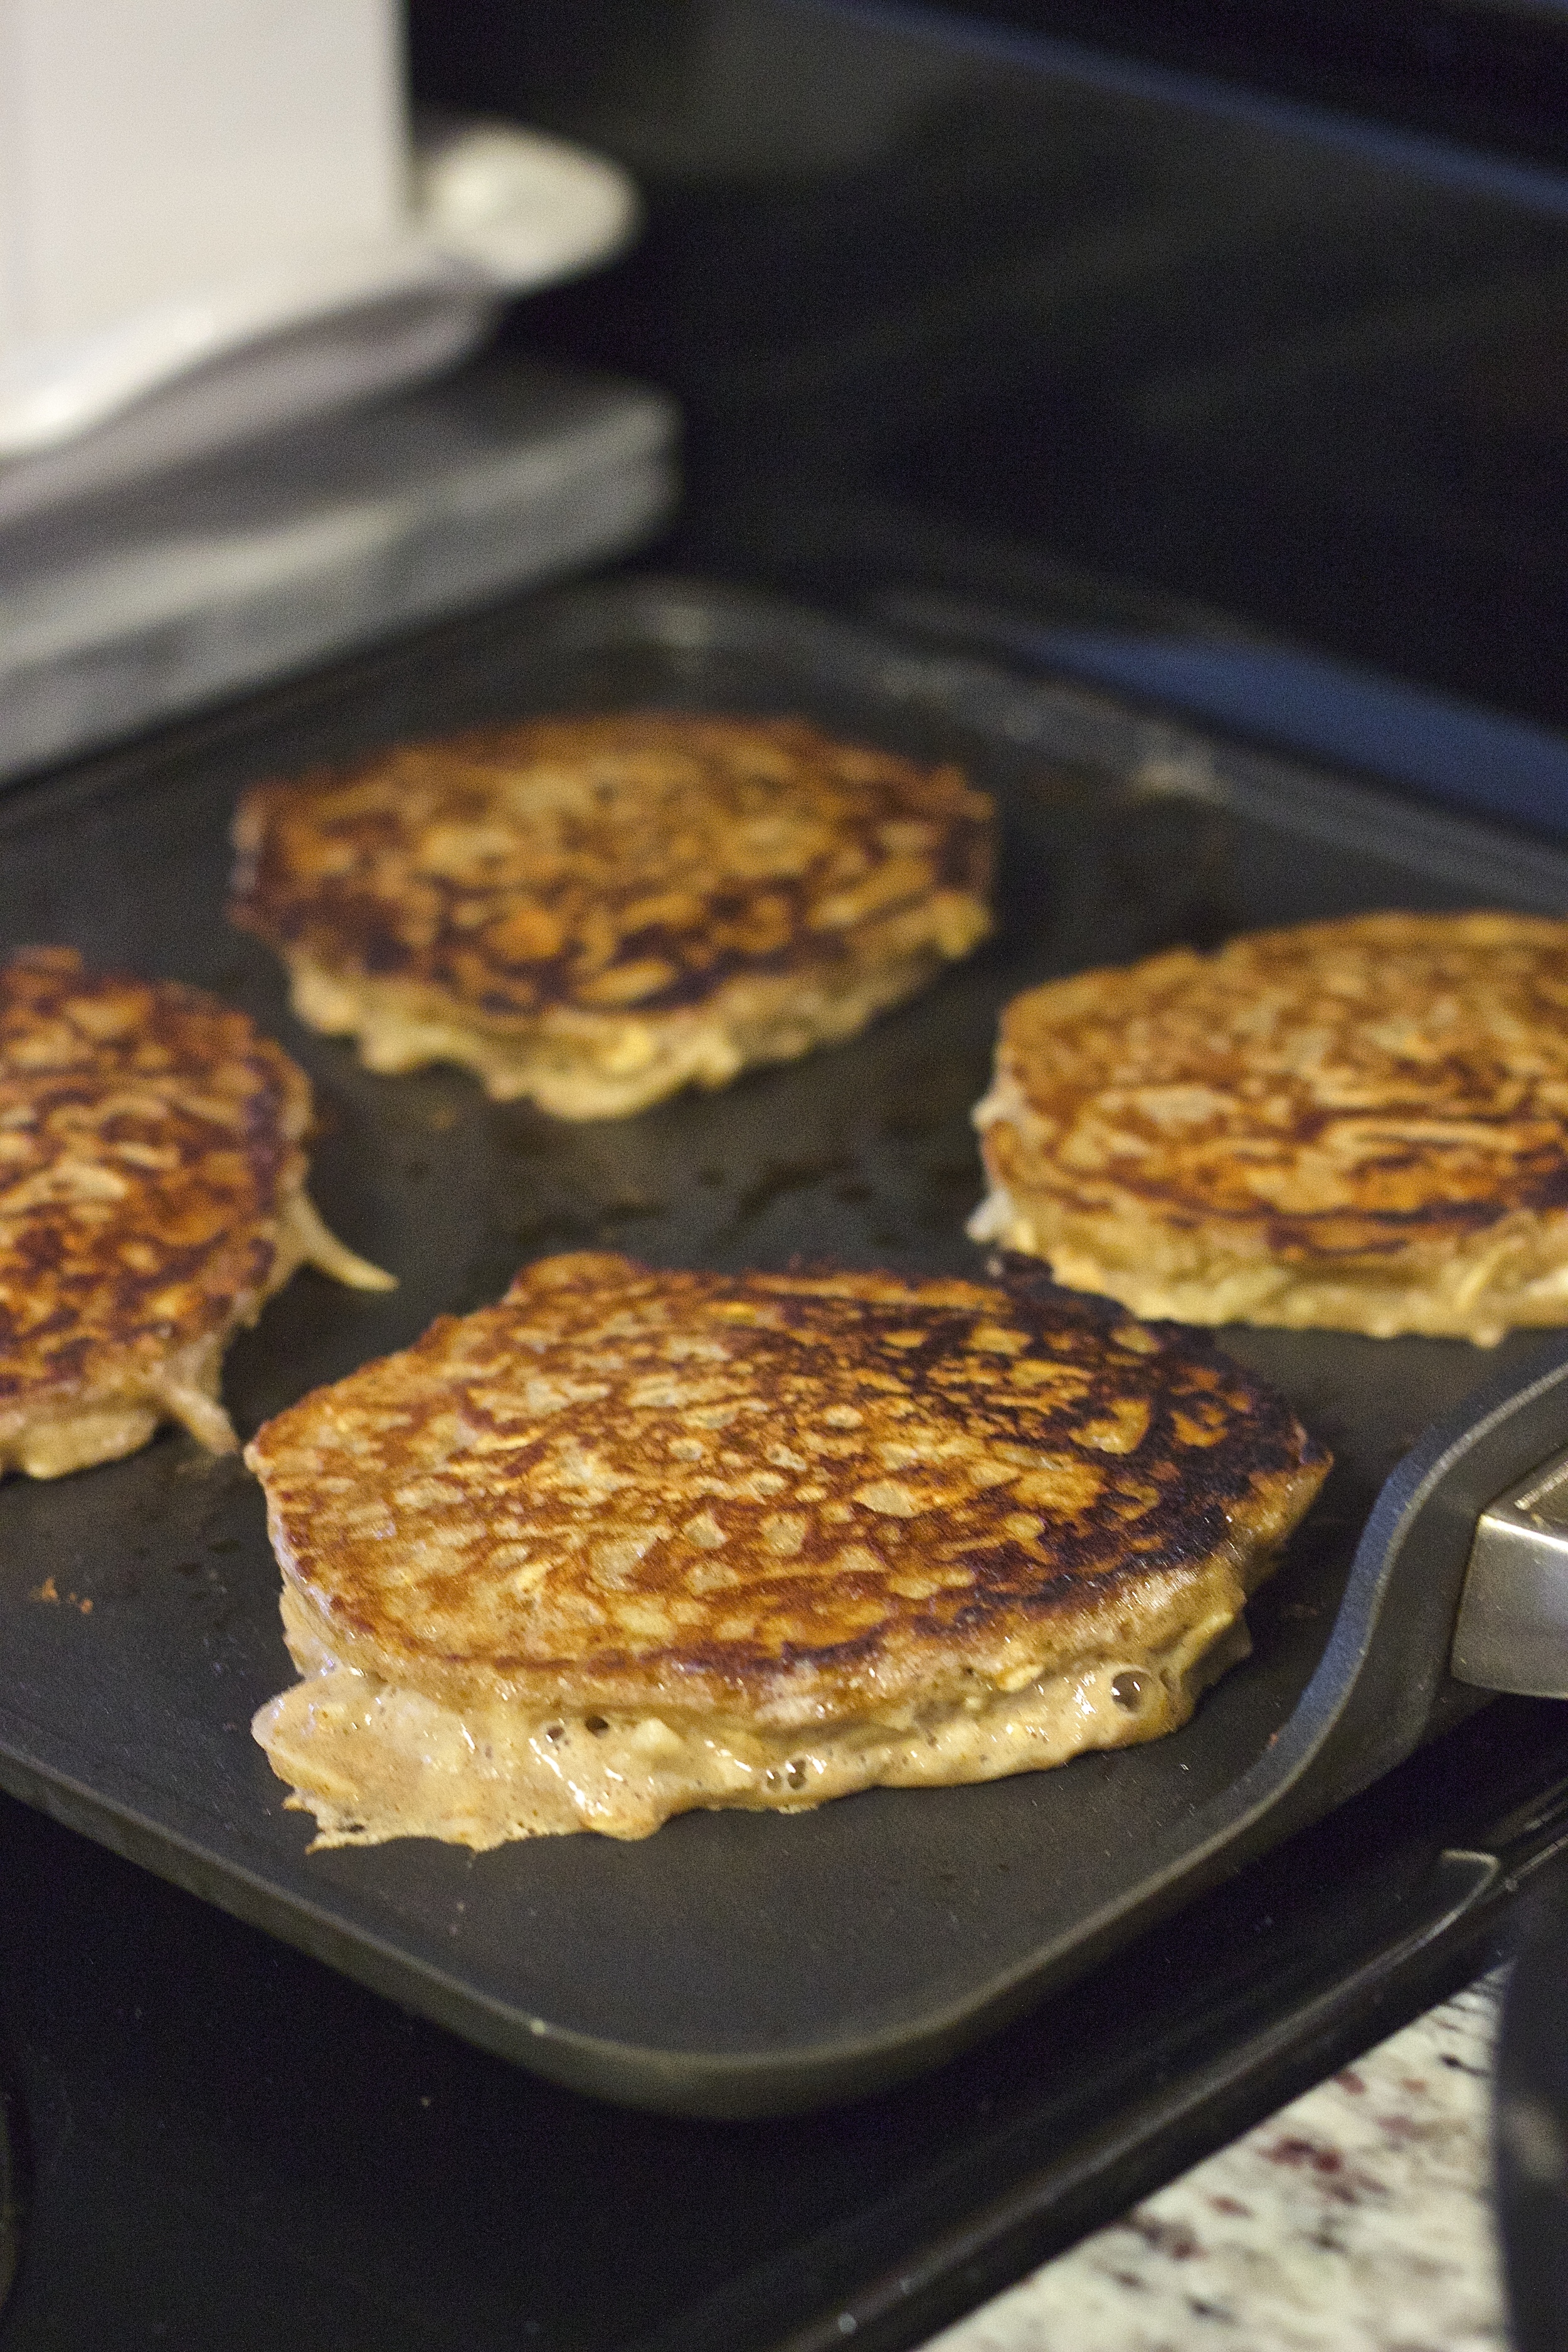
Warm a fry pan over medium heat. Once hot, add a thick slice of butter to the skillet and top with 1/4 cup dollops of batter. Flip once brown and crispy on the bottom. Continue with remaining batter, adding butter each time. Serve hot!
Creamiest Restaurant-Style Scrambled Egg Tartine with Sriracha Aioli

You know those foods that only taste good when made either in someone else's house or in a restaurant but when made by you taste infinitely more boring, and almost inedible? Enter, the creamiest restaurant style scramble eggs. For me, scrambled eggs epitomize this food group. At home they are spongy, over-cooked, and flat but in restaurants they are velvety, creamy, and flavorful. The gap between the two left me uninterested in making scrambled eggs at home for years. Then, about a year ago I read an article from Food52. They claimed the secret to restaurant style eggs was actually through a "low and slow" method of cooking over excruciatingly low heat. I experimented with great success but the eggs took upwards of 25 minutes to make. Not cool for hungry Sunday mornings...

It wasn't until I stumbled upon an Gordon Ramsay youtube video (with 11 million reviews!) a couple months ago, that my creamy egg experimentation reached a new height. So here we are, the secrets to the creamiest, ever, restaurant style eggs (and all the things we've been doing wrong all these years!)


- Ditch the fry pan. Cook your eggs in a saucepan. Weird, right? That's what I thought until I tried it. Then I went to the famous Egg Slut in downtown la and sure enough they scramble their eggs in a saucepan.
- Low heat. If your eggs stick to the pan, your burner is too hot. (When we move next month I'm getting an electric stove. It's going to be a sob story.)
- On and off heat, whisking constantly. As Ramsay says, think of making scrambled eggs like making risotto. Stir constantly and don't take your eyes off them. Also, remove the saucepan from the burner every 1-2 minutes. The eggs will continue to cook from the heat of the pan, and will stay creamy.
- Season last. Apparently adding salt right away, like I've done my entire life, breaks down the flavor of the eggs. Add it at the very end.
- Add fat. Which I'm sure isn't news to you. For extra creamiest add an extra yolk, a knob of butter, a splash of cream; in our case we added goat cheese.
I've been making these open face egg sandwiches almost weekly since discovering the secret to the perfect scramble. They're ready in under 15 minutes, tastes fresh and restaurant-made, and keep me full for hours. If you can swing it buy cage-free, organic eggs, or better yet pasteur-raised eggs from a local farm available at most farmer's markets. Farmer's Market eggs, though a splurge, will yield the brightest yolks and richest flavor, and the chickens they come from will live happier lives. It's a win win.

Creamiest Restaurant-Style Scrambled Egg Tartine with Sriracha Aioli, Goat Cheese, and Avocado
Makes 1 tartine
For the sriracha aioli:
3 tablespoons mayo
1 tablespoon sriracha
pinch of salt
1 small garlic clove, minced
3 large organic eggs
1 tablespoon finely chopped chives, plus more for topping
1-2 tablespoons crumbled goat cheese
1 large slice sourdough bread
avocado for topping
Make aioli. In a small prep bowl combine all of the ingredients, stir, and refrigerate. This aioli can be made in advance and stores well in the fridge for about a week. For larger portions feel free to double or triple the recipe.
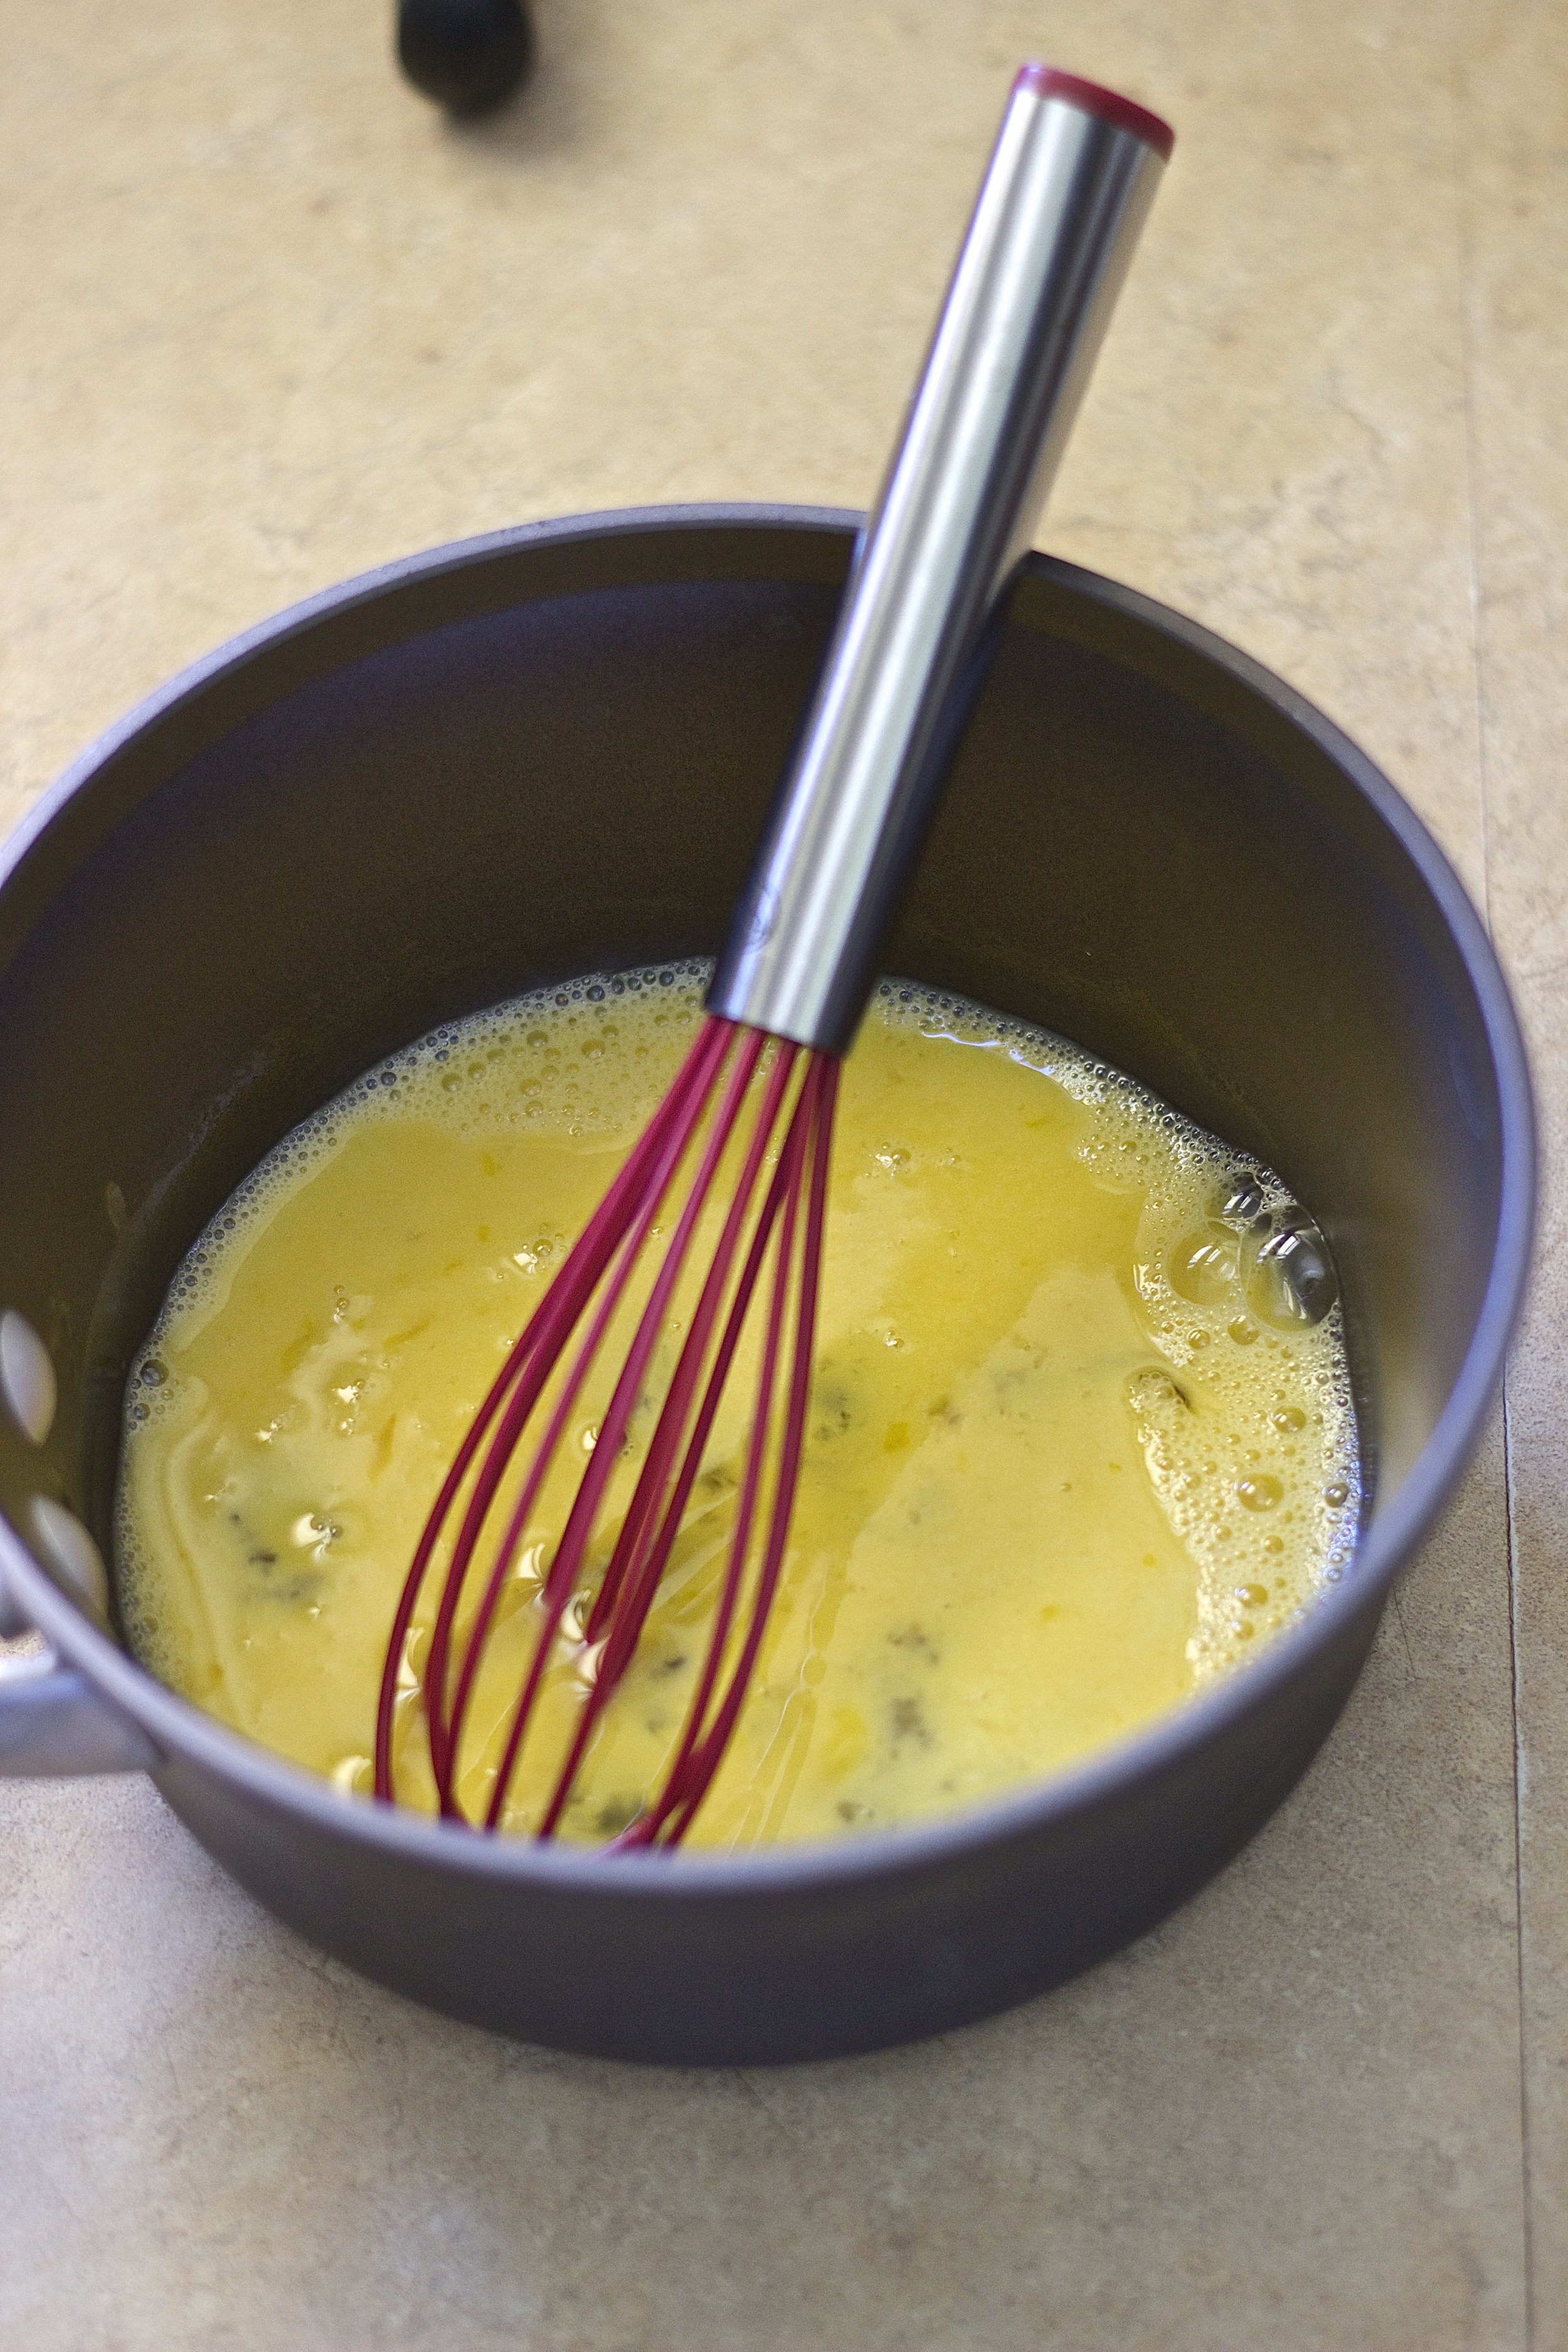
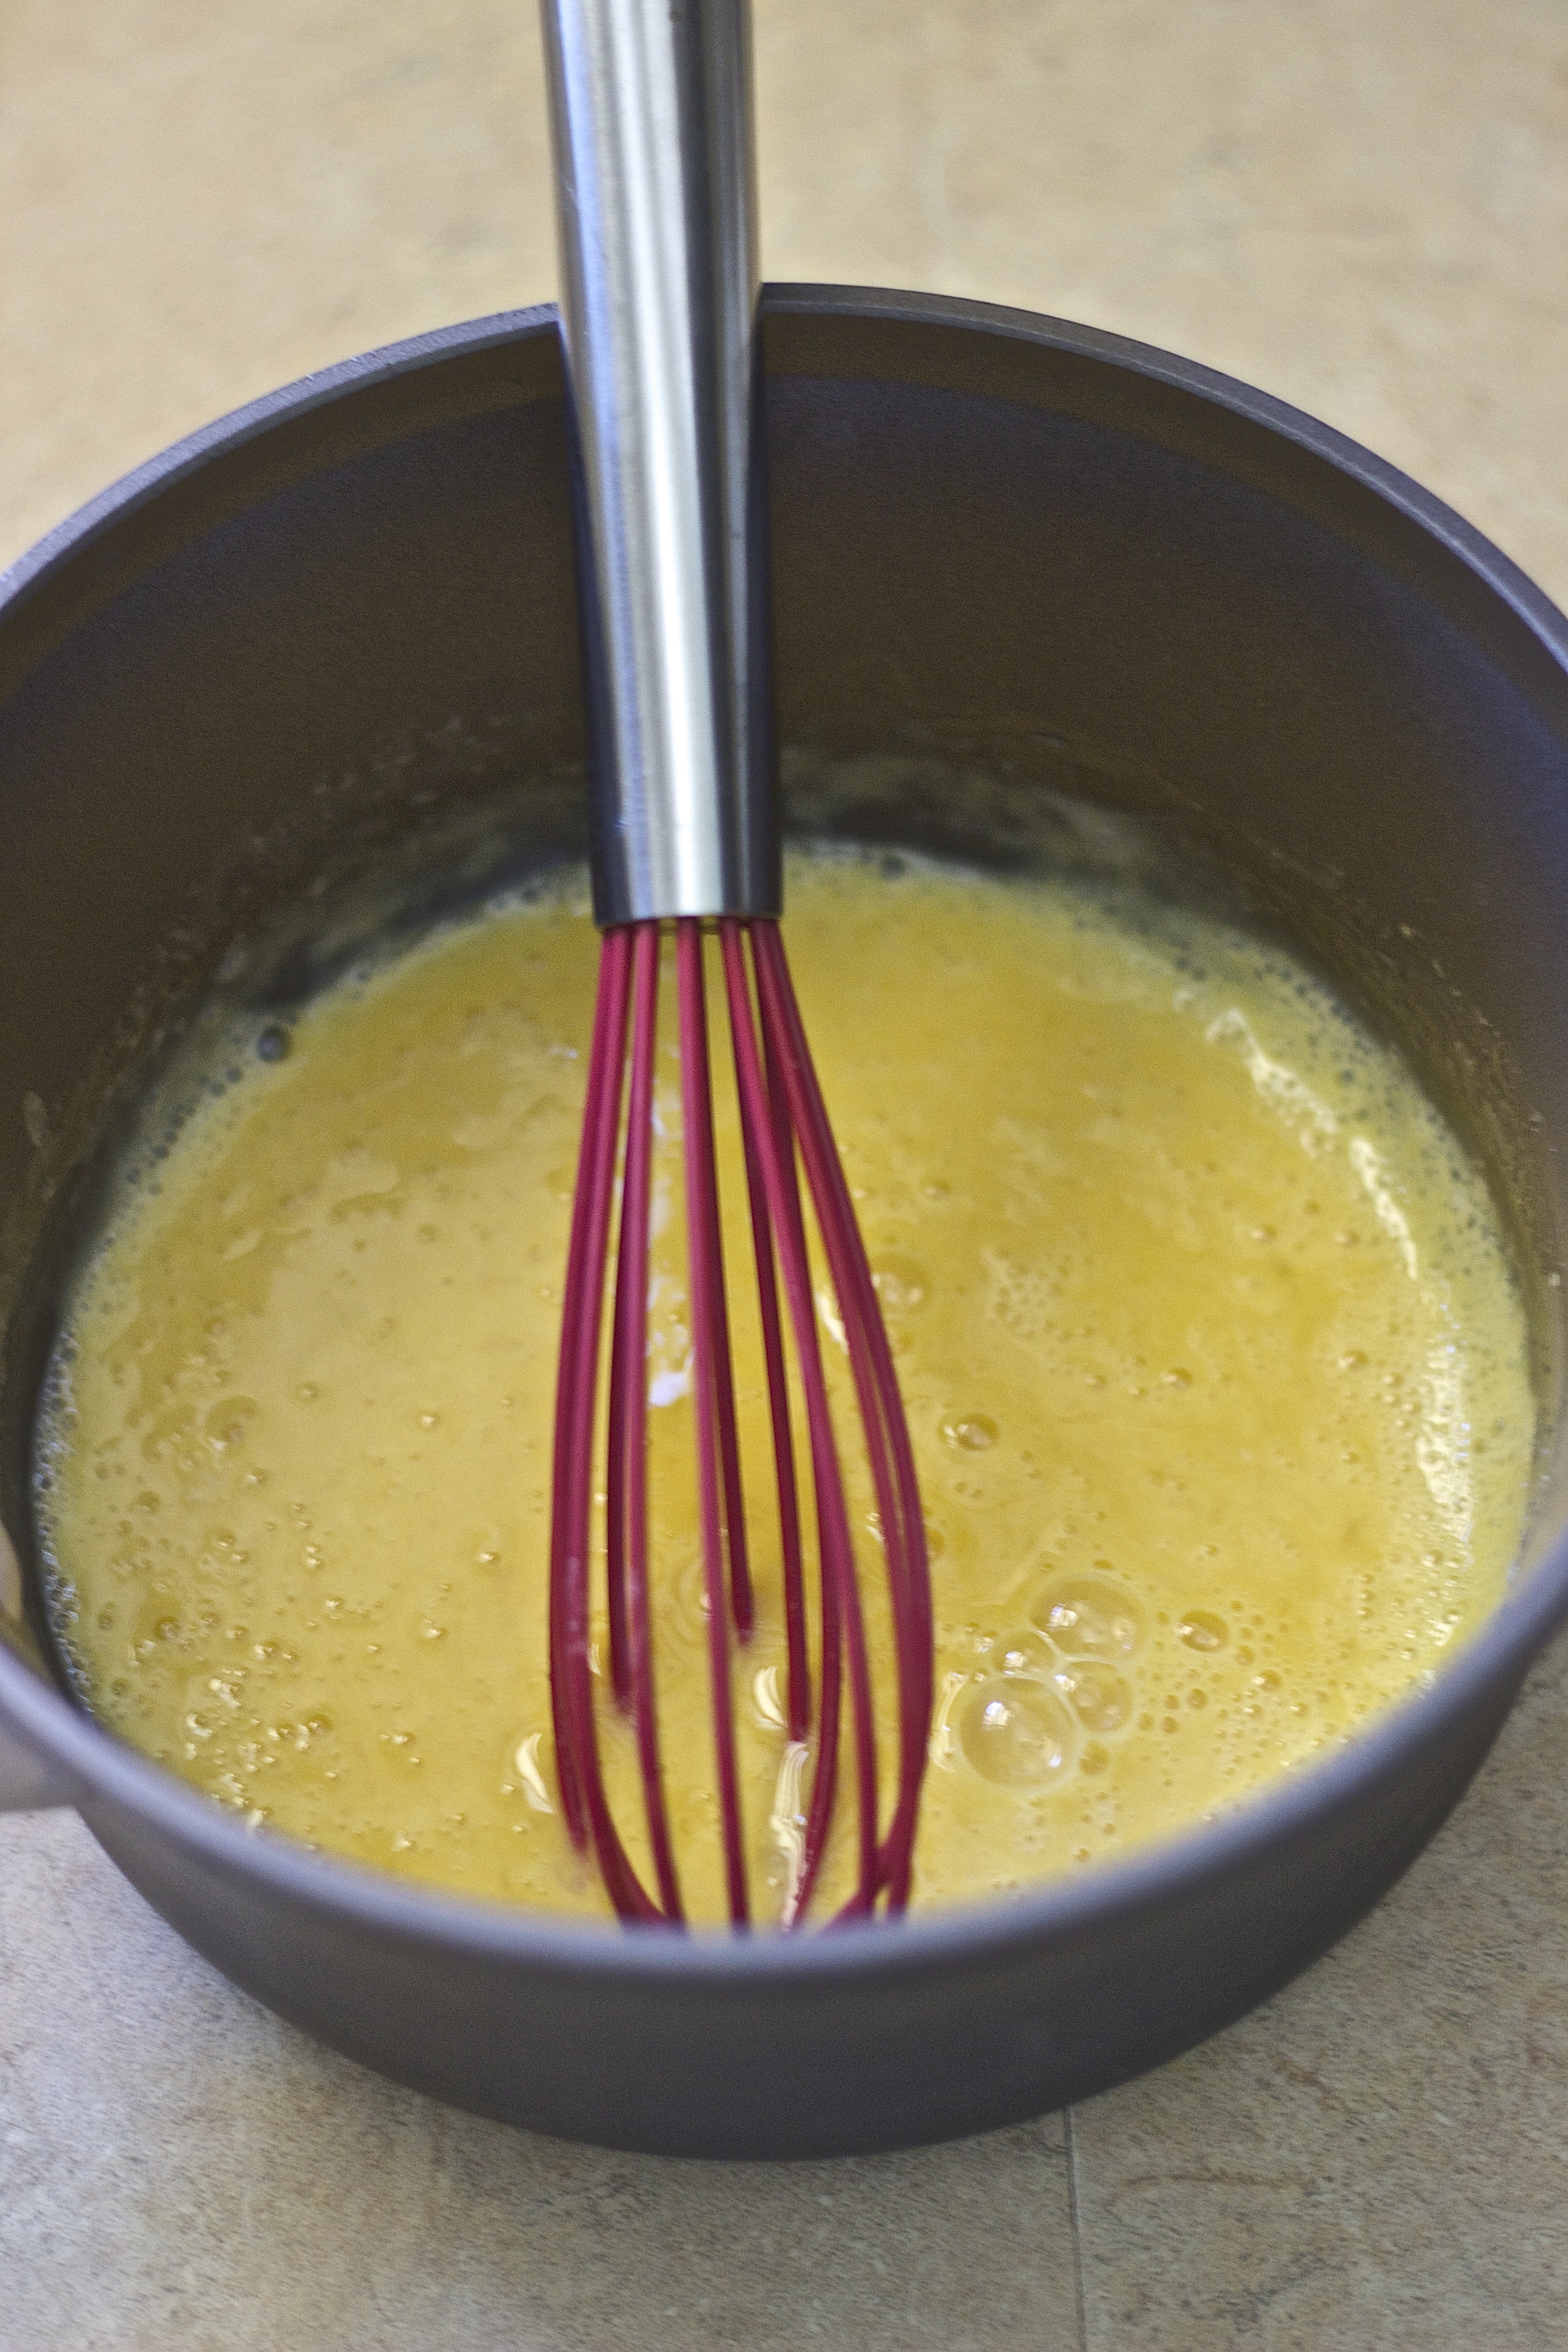
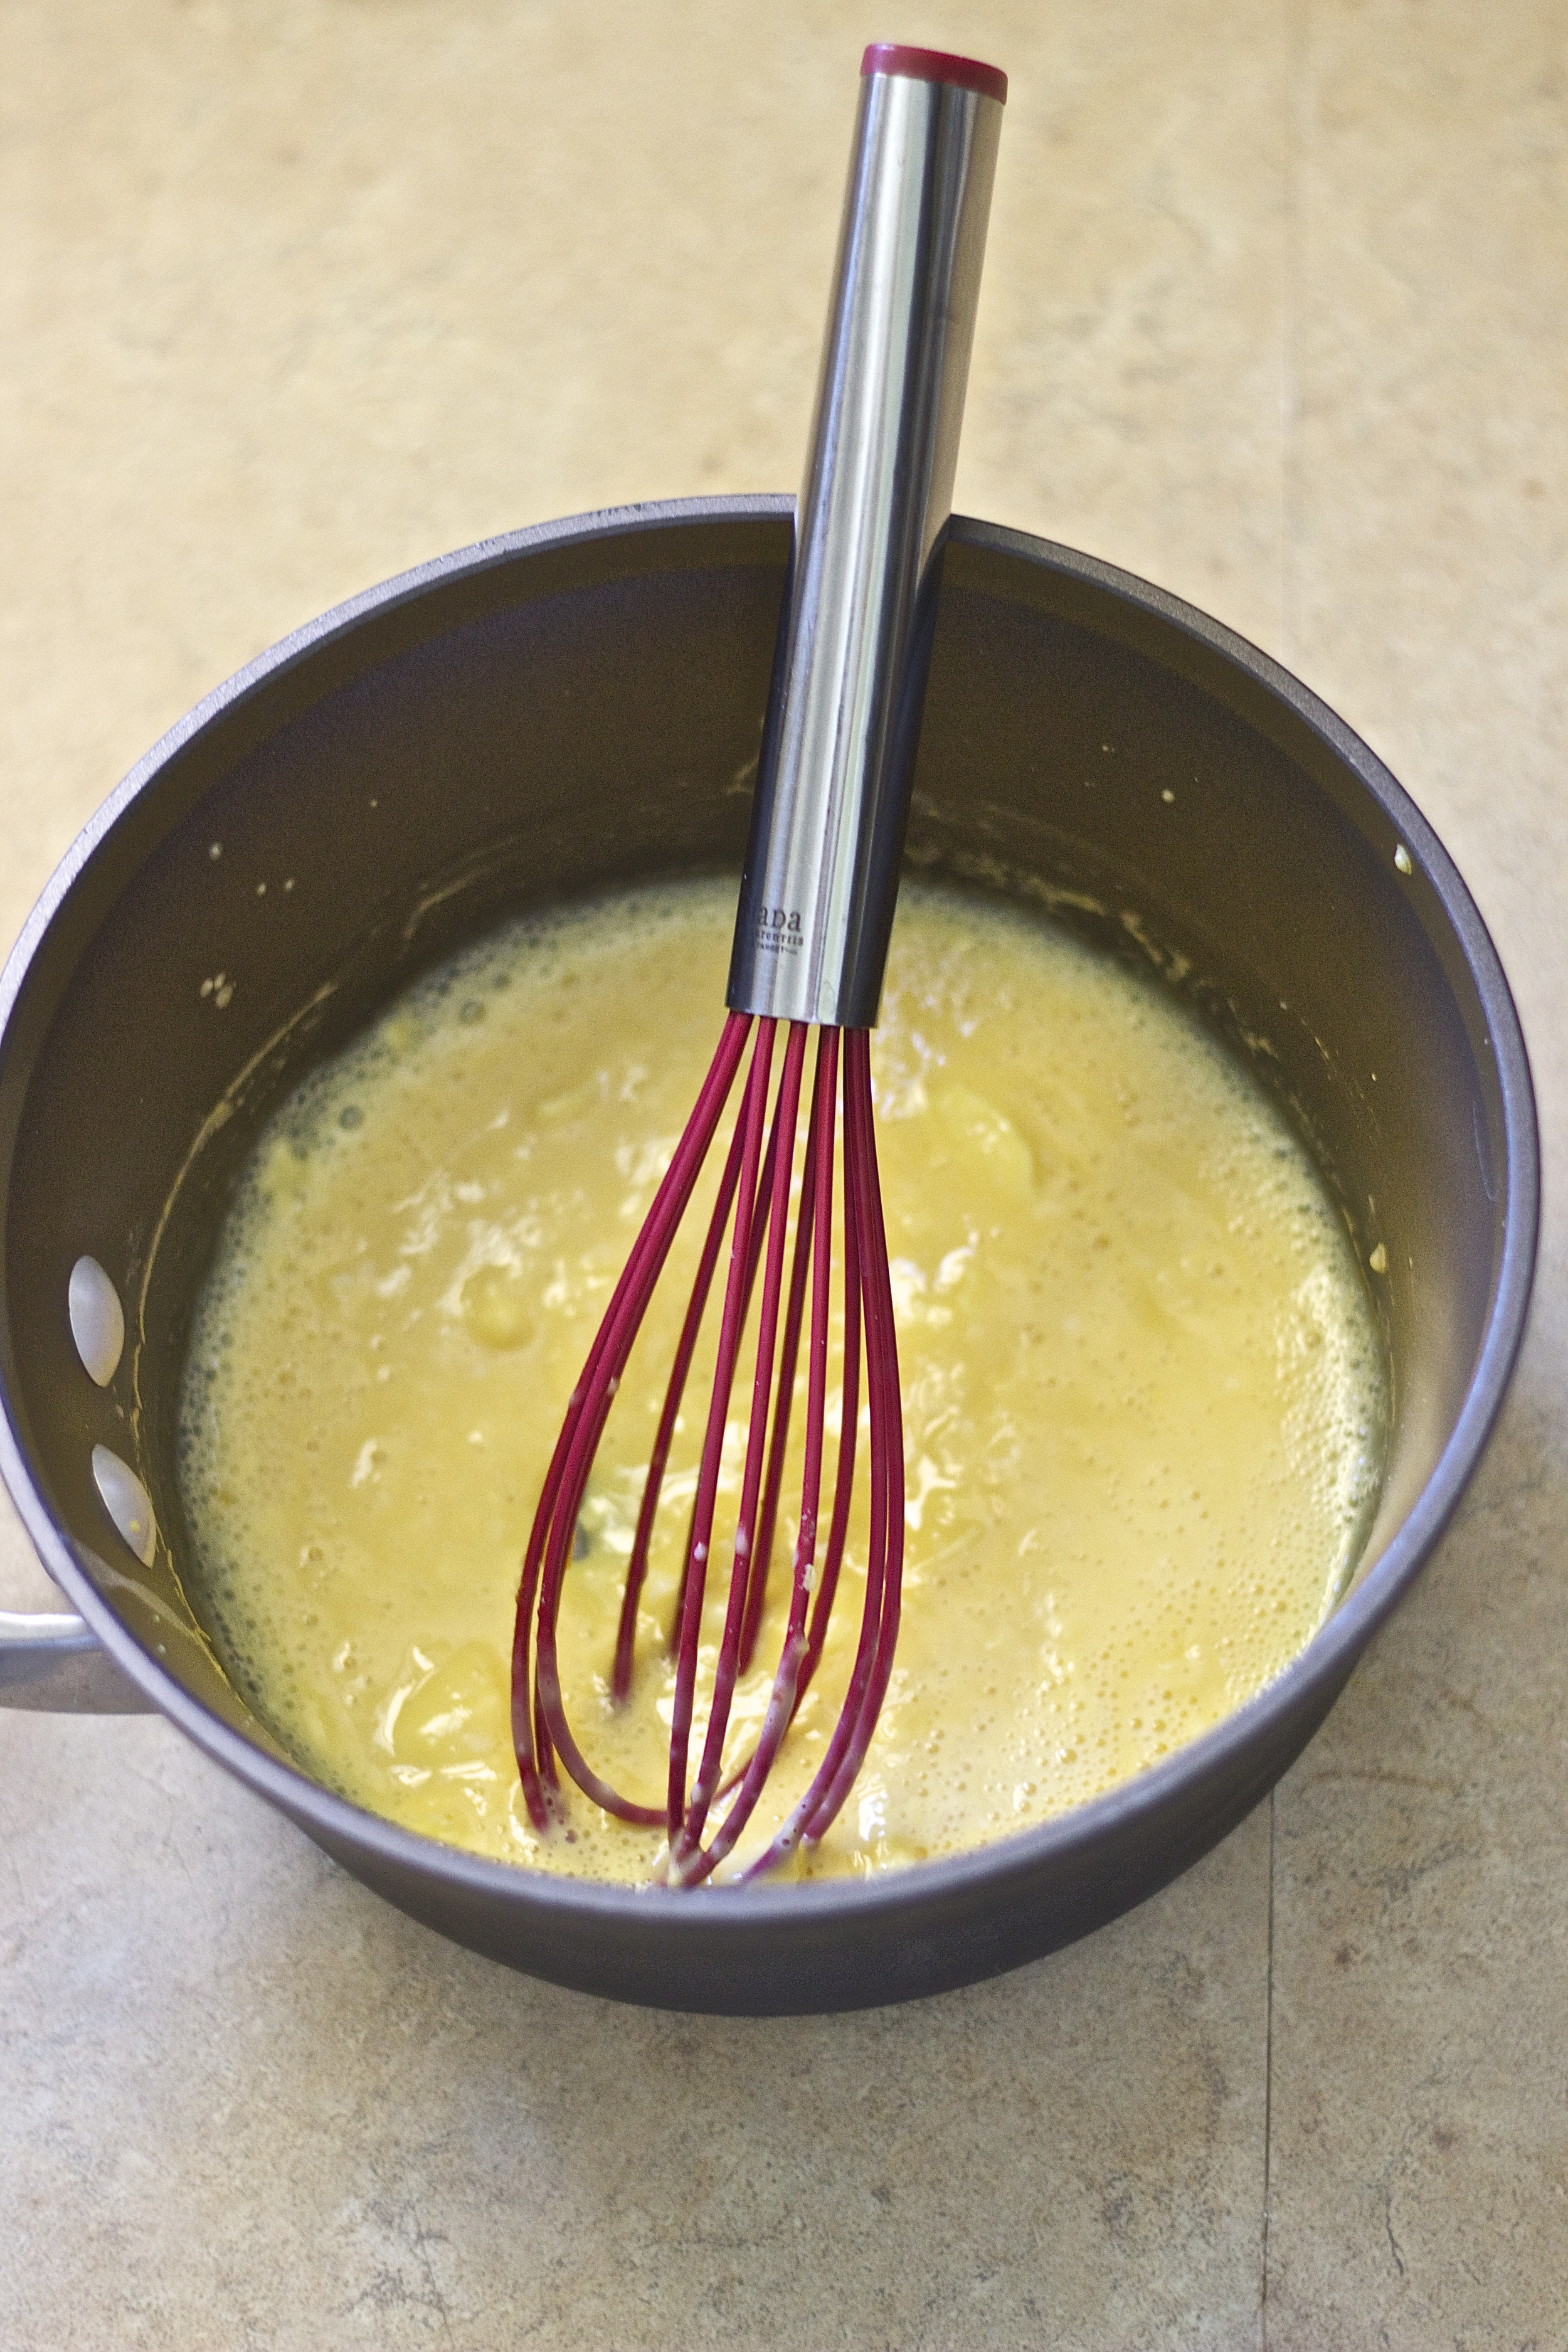
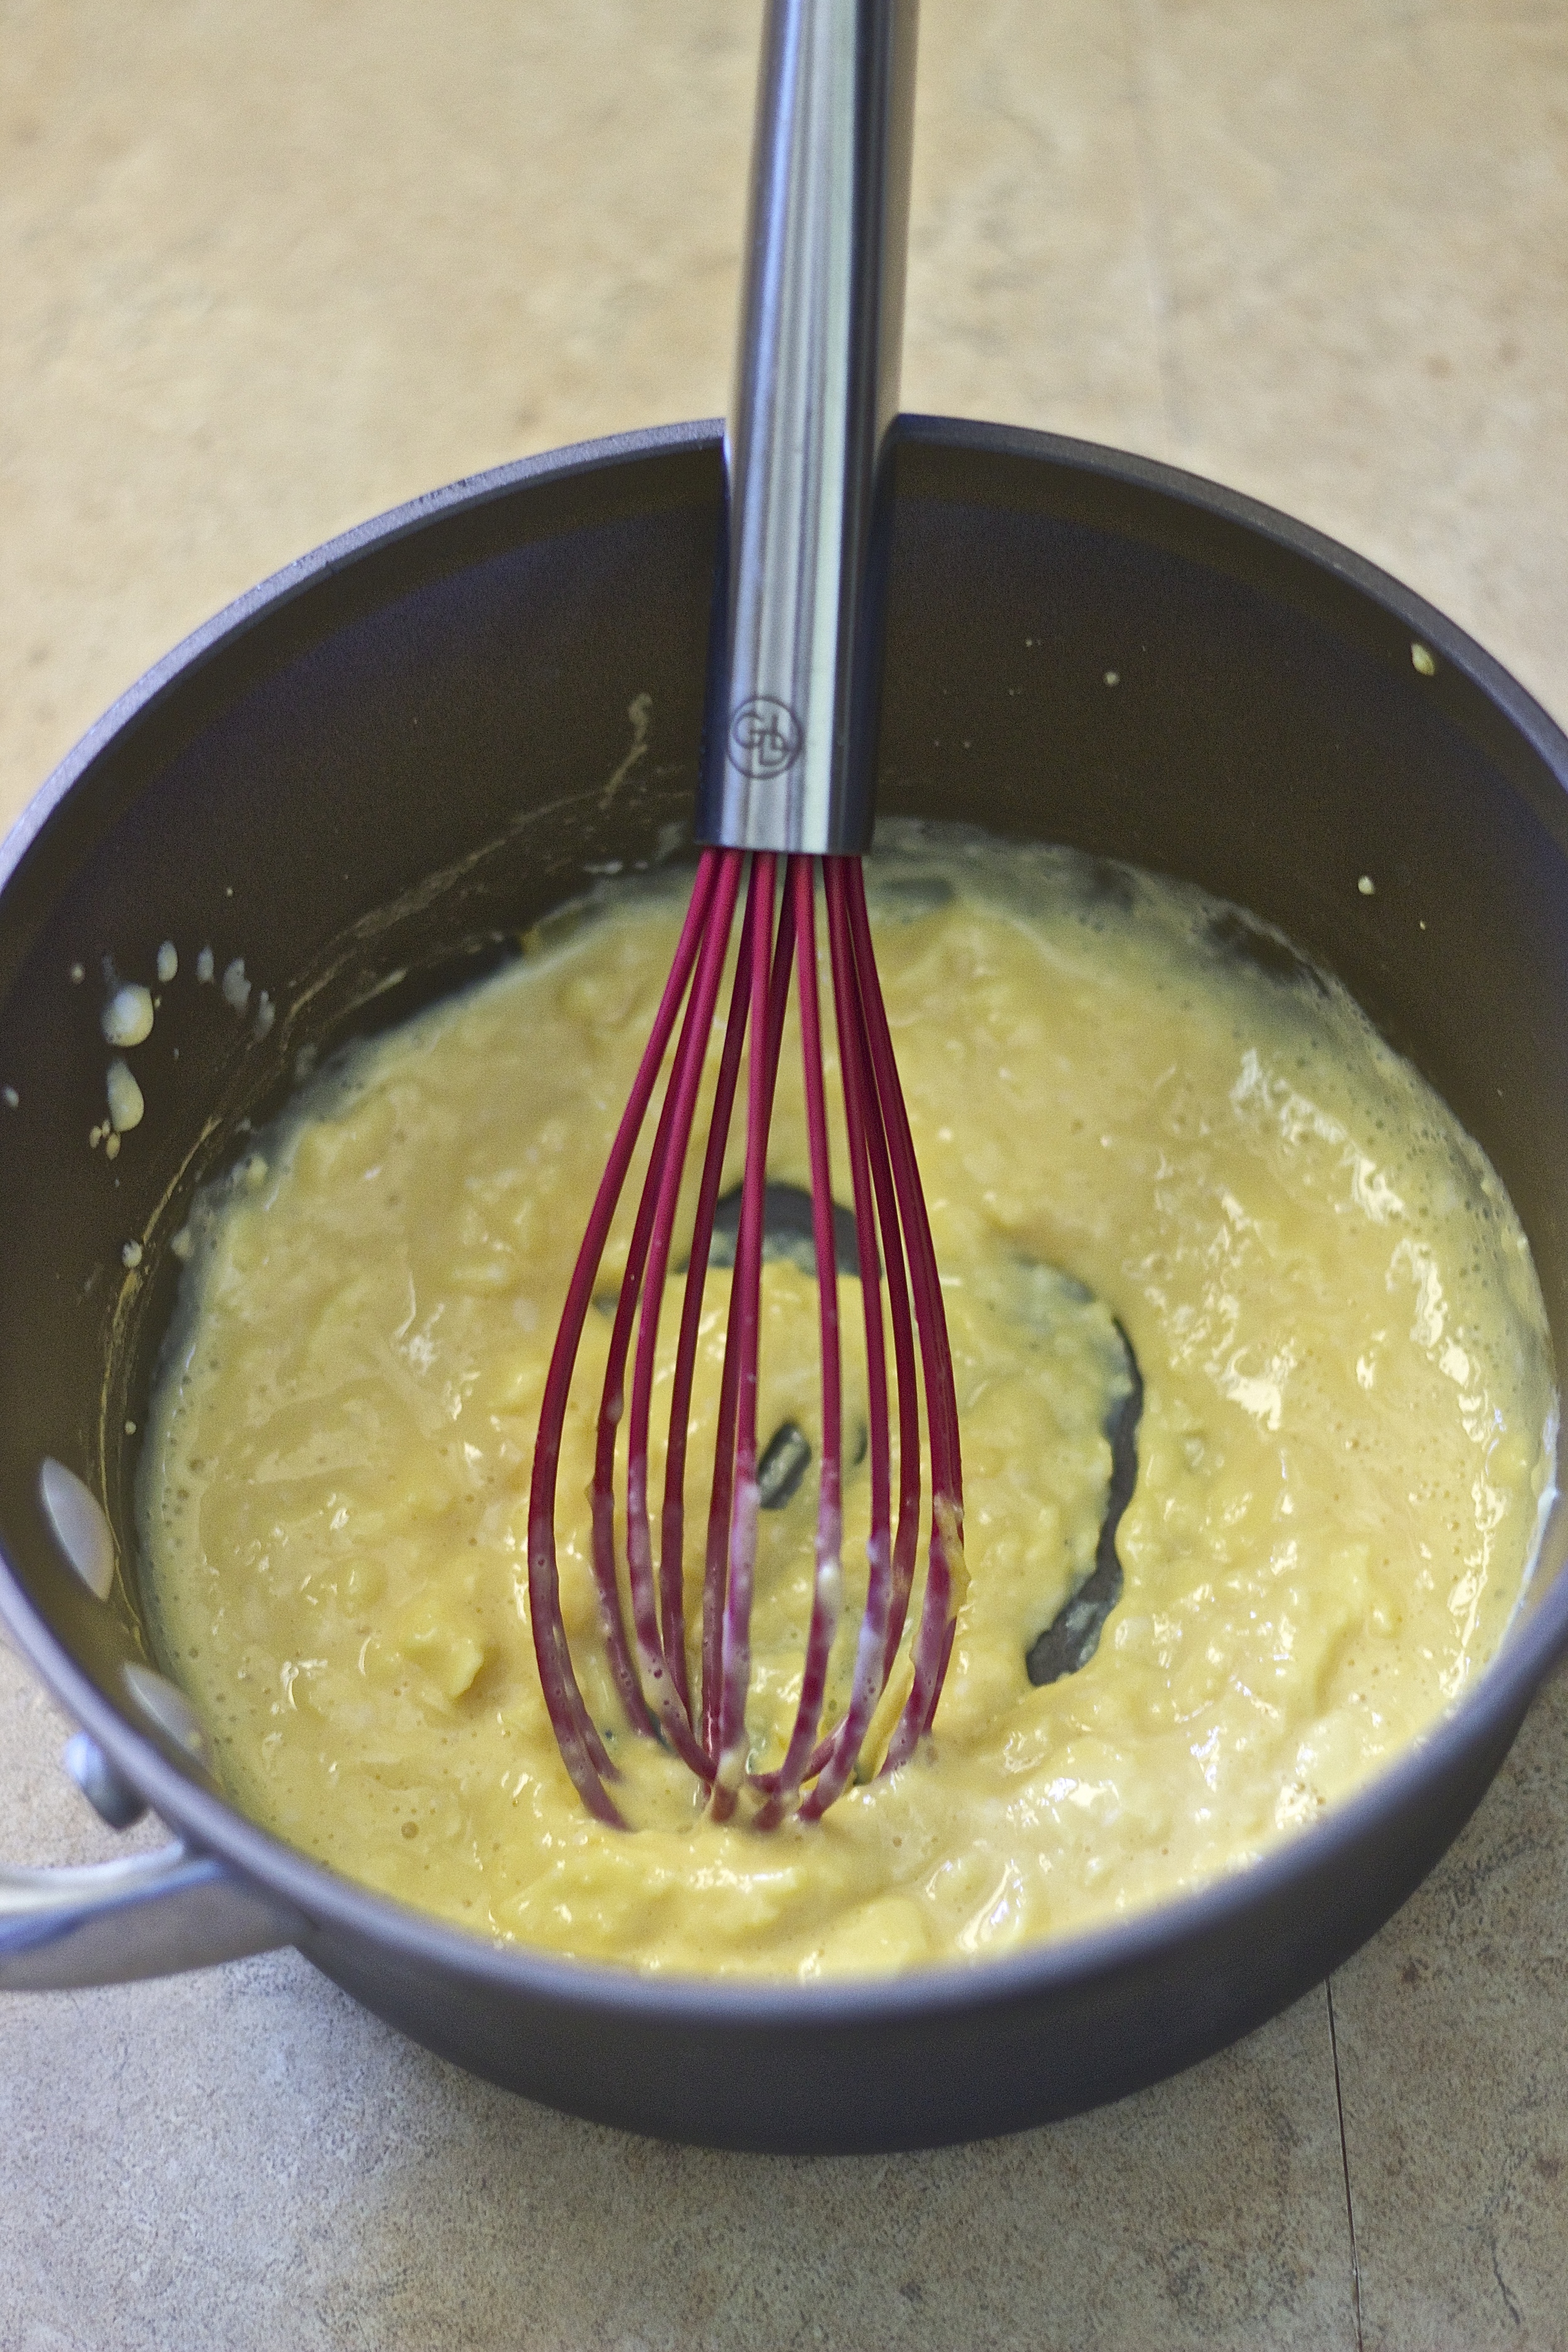
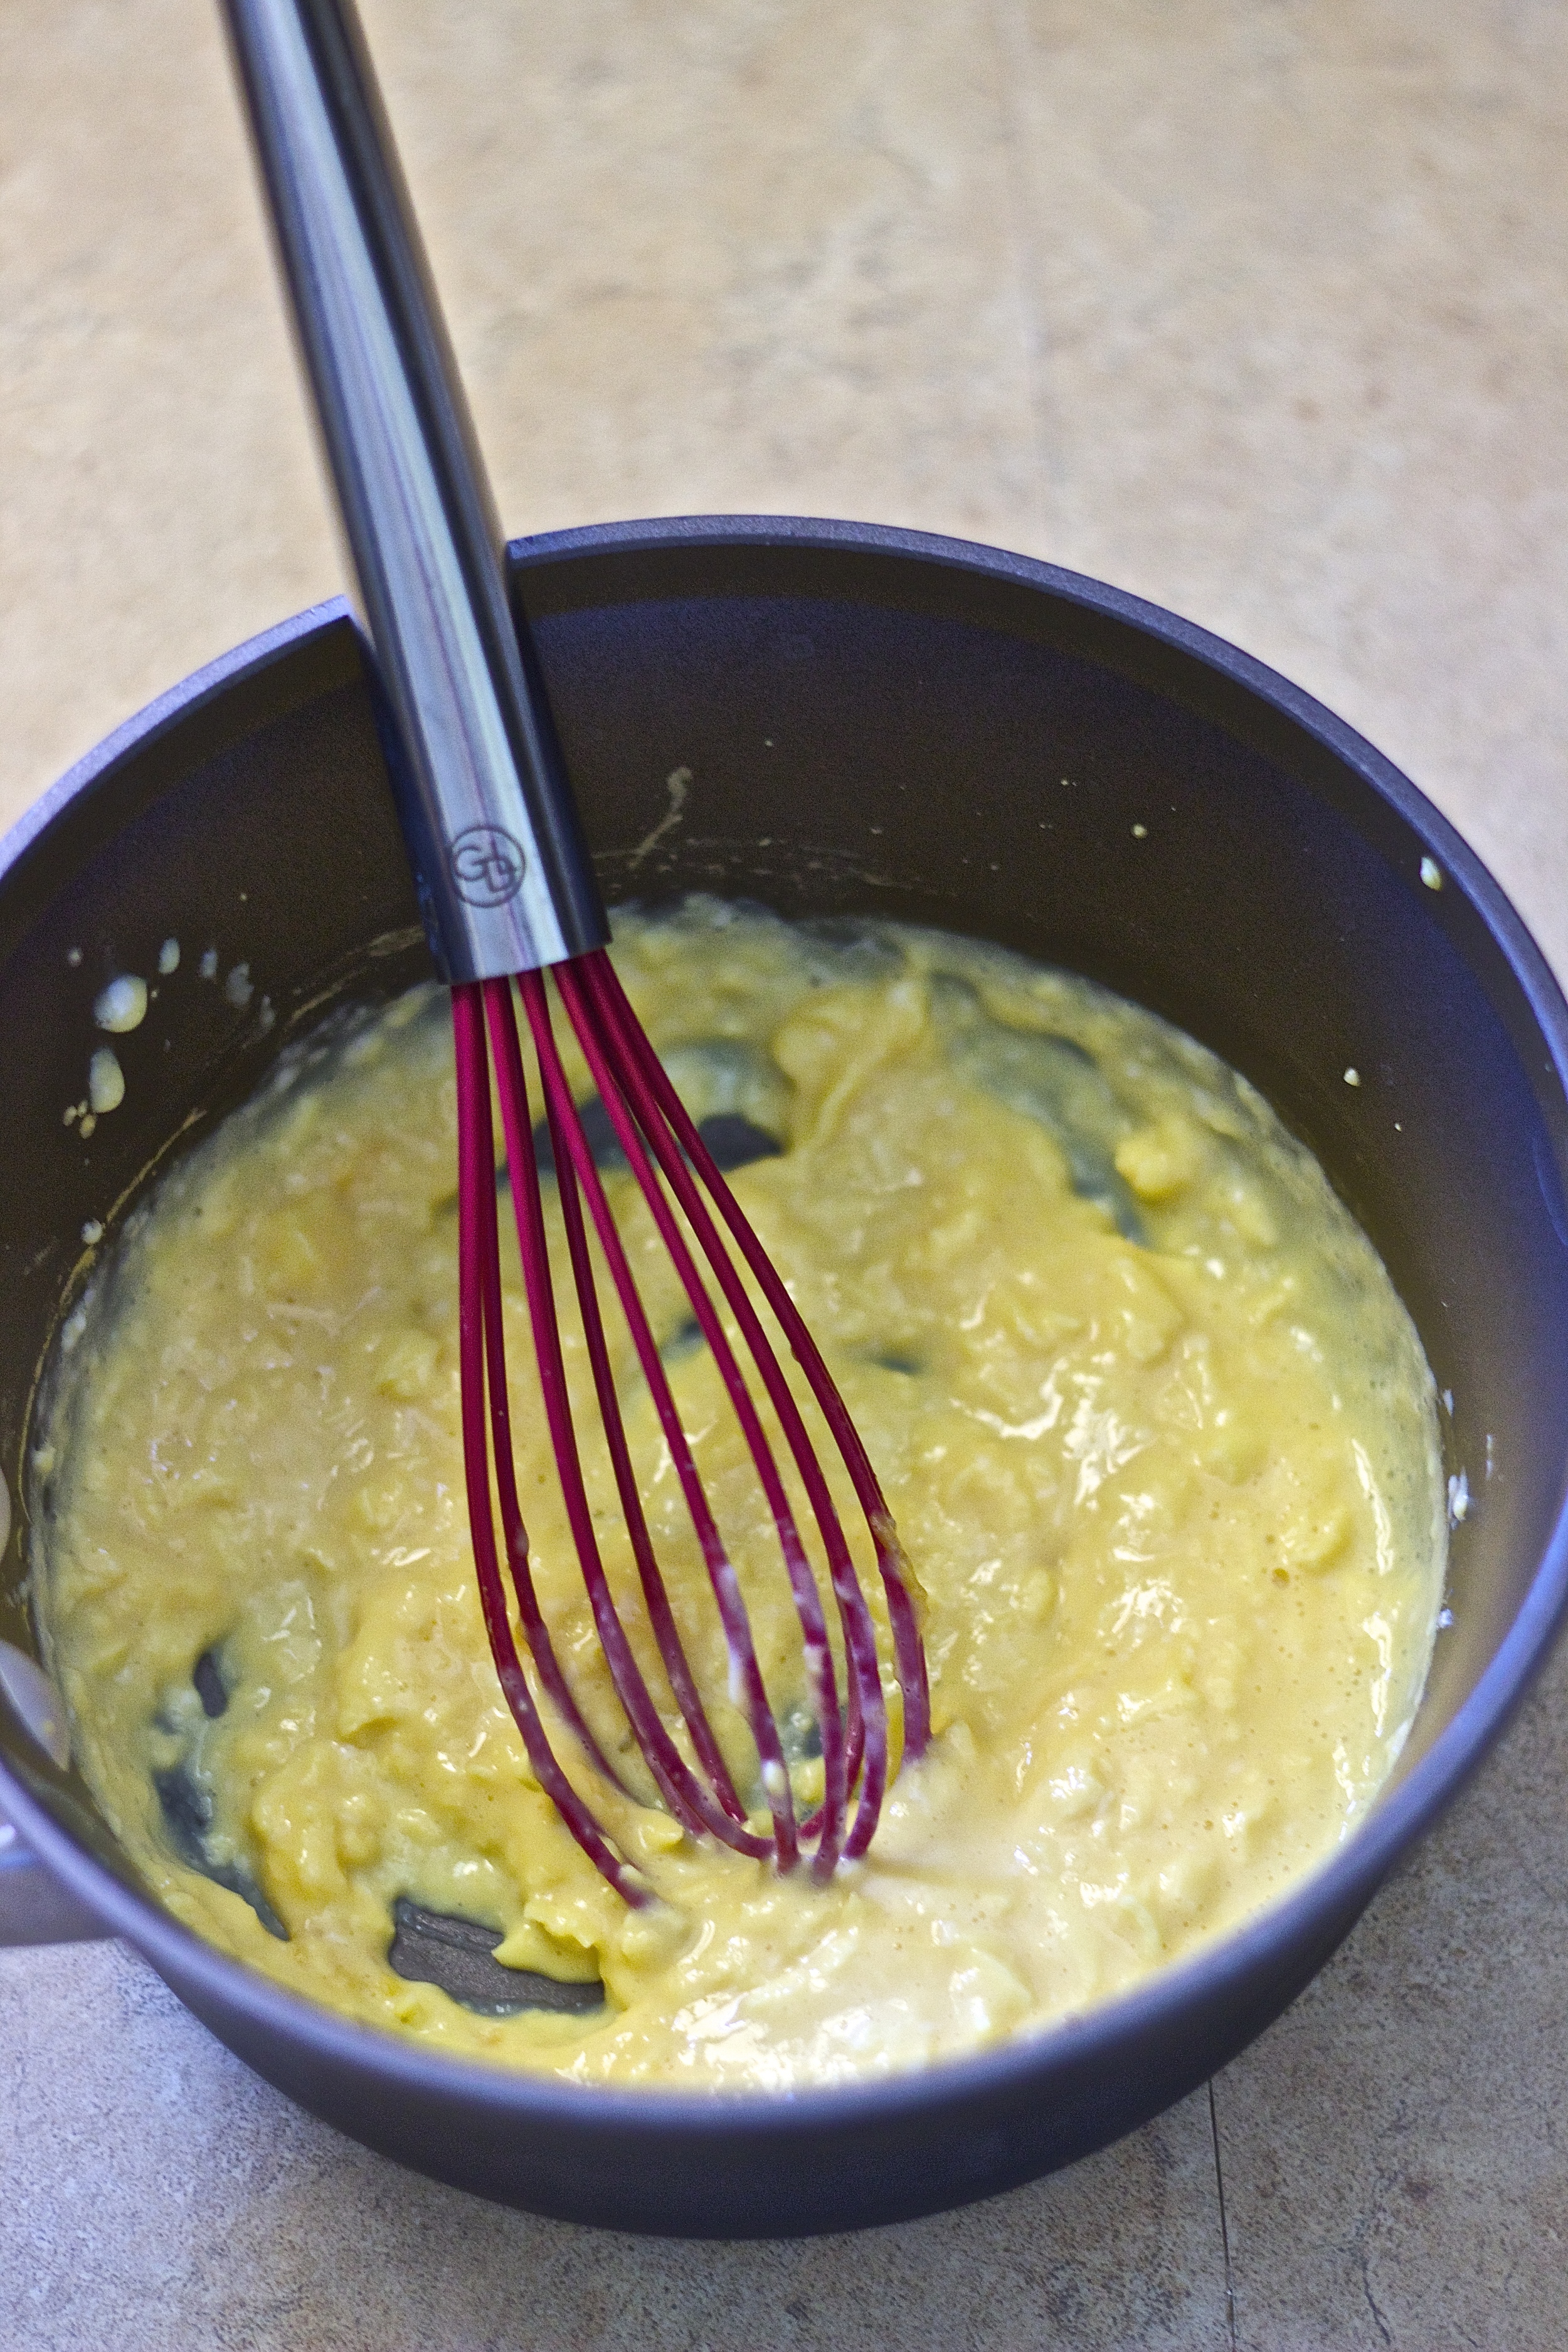
Crack the eggs into a small saucepan over medium low heat. Whisk the eggs to scramble, then continue to gently whisk. After about 1-2 minutes, remove the saucepan from the burner (keeping the burner on) and continue to whisk for about 30 seconds off-heat. The heat from the pan will continue to cook the eggs. Return the saucepan to the burner, and repeat, whisking constantly, and removing the saucepan from heat every 1-2 minutes until the eggs begin to curdle and thicken.
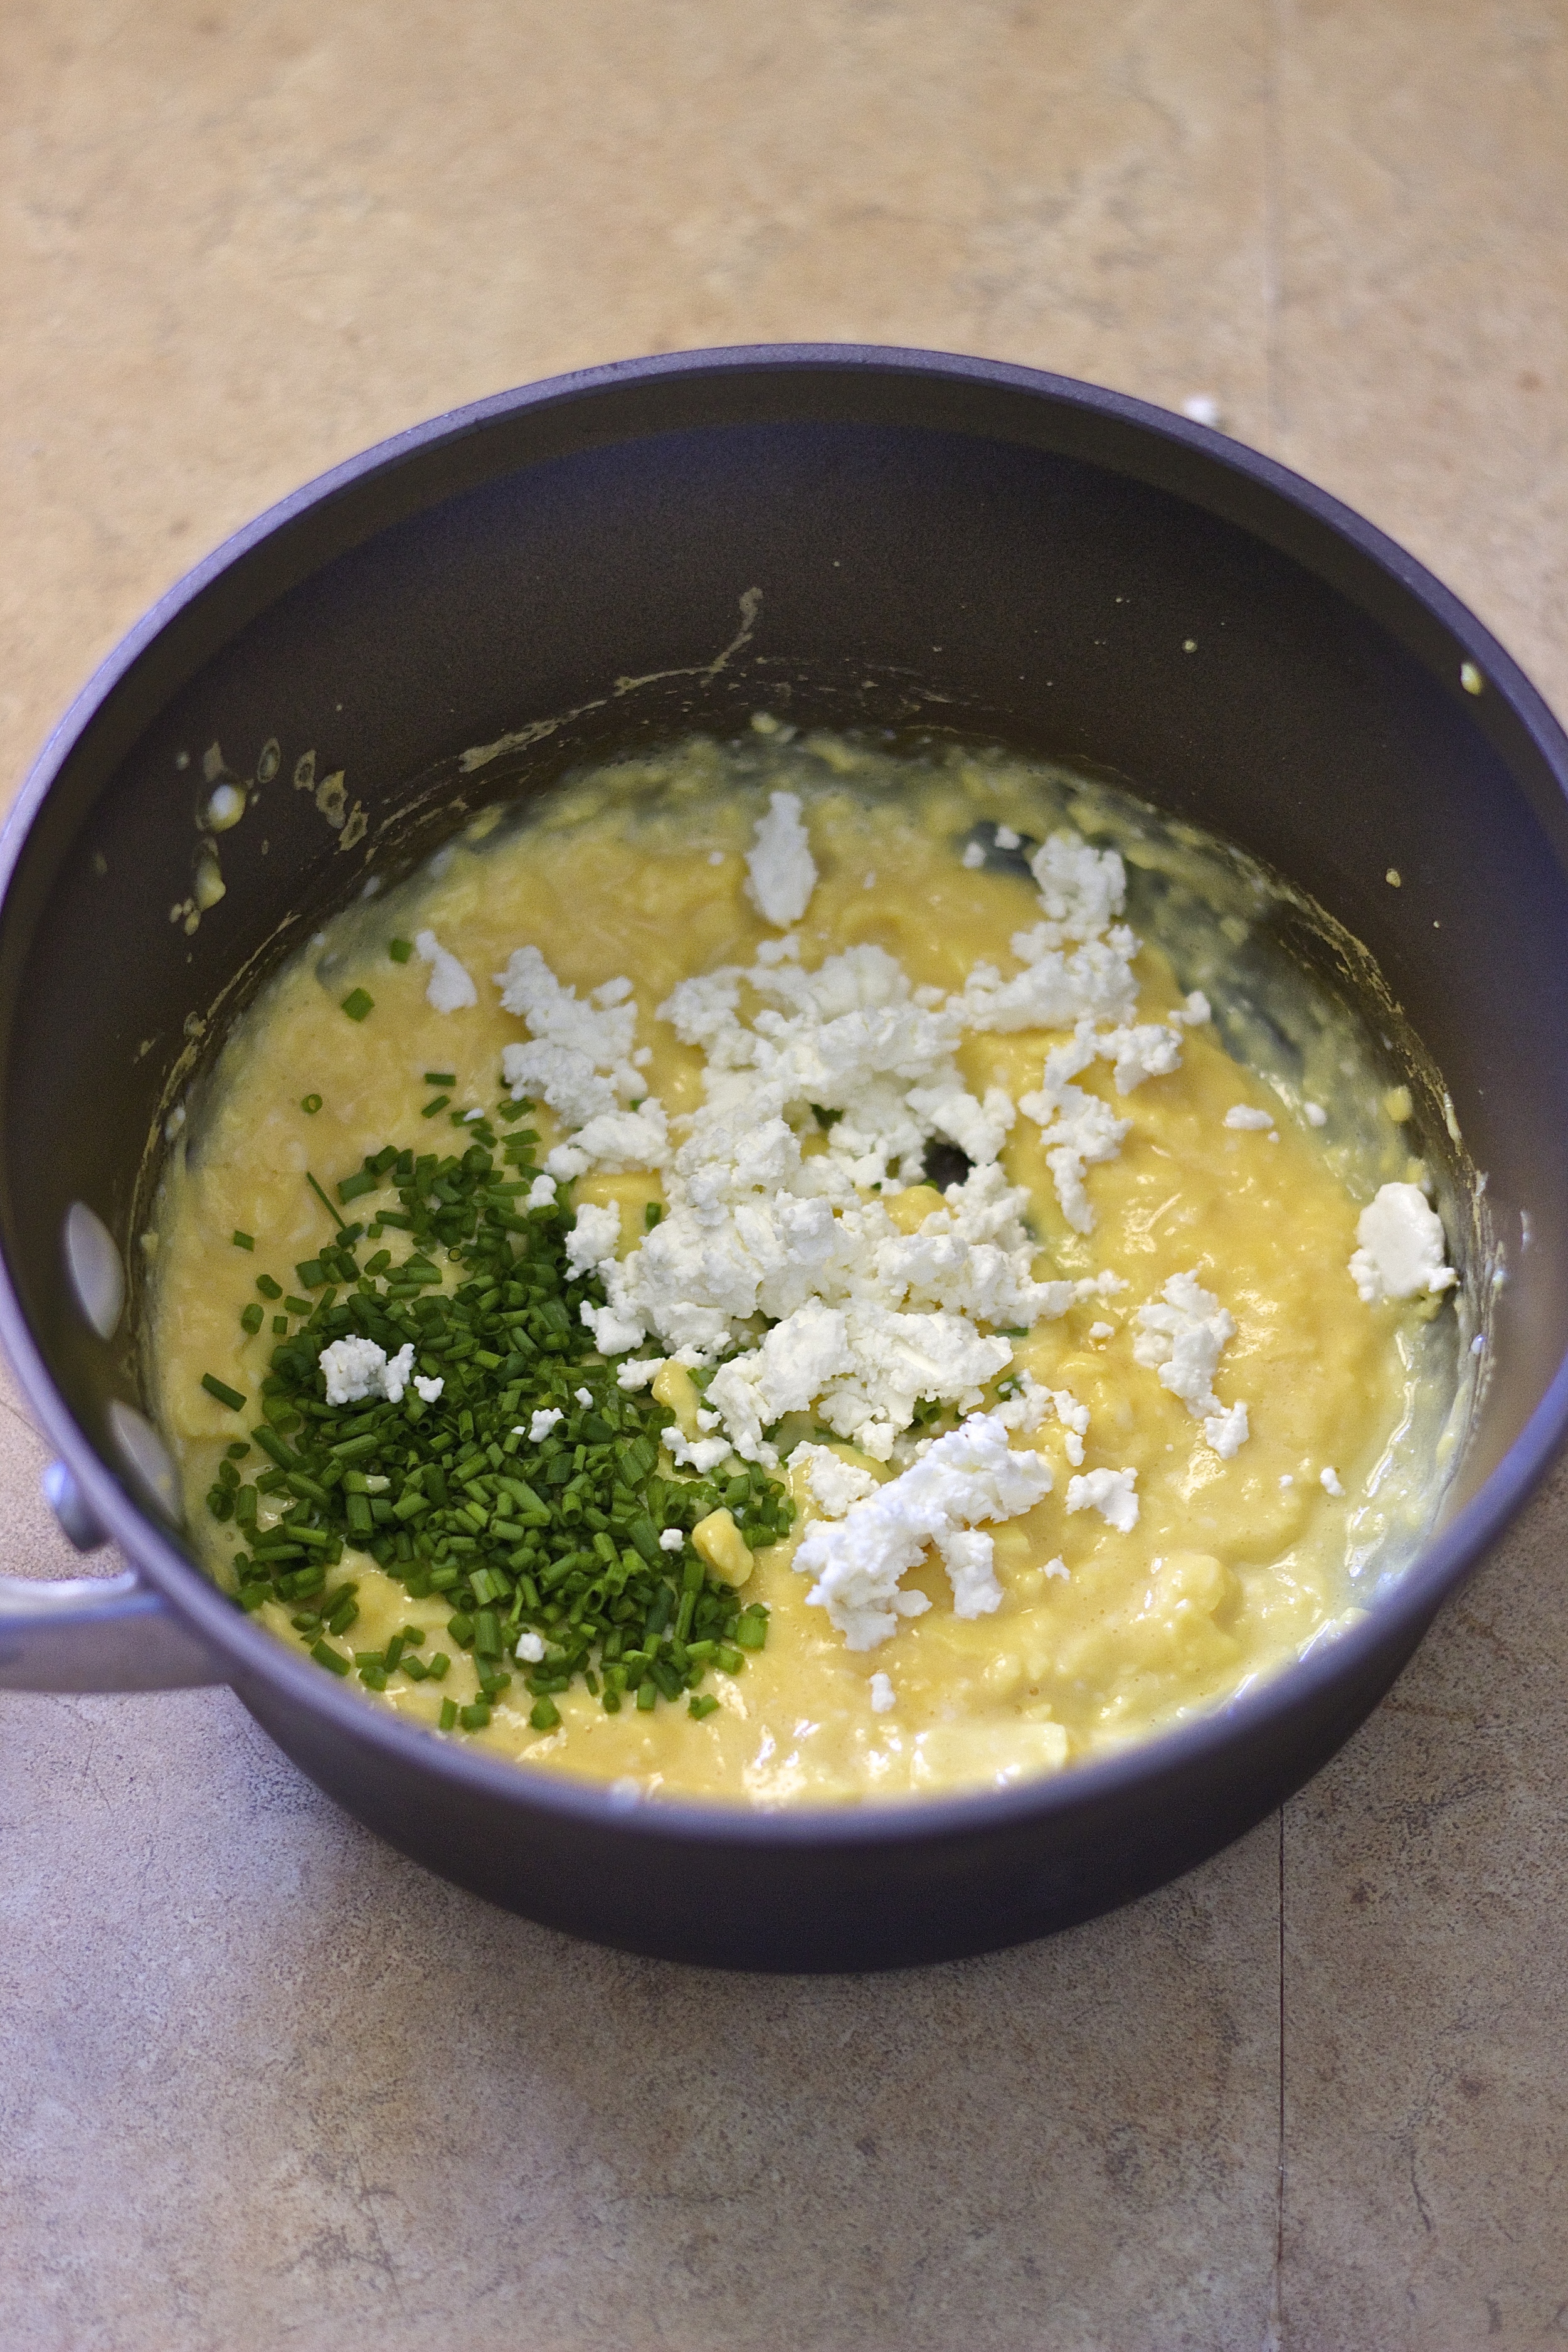
If the eggs begin to stick to the pan, turn your heat down. Keep the eggs creamy, be mindful not to overcook (see photos). The eggs should come completely together in about 5-6 minutes. When the eggs are about 85% done, stir in the chives, goat cheese, a generous pinch of salt, and fresh ground pepper. Toast the bread. Remove the saucepan from the heat right before the eggs are done. If you wait until they're done, they will overcook.
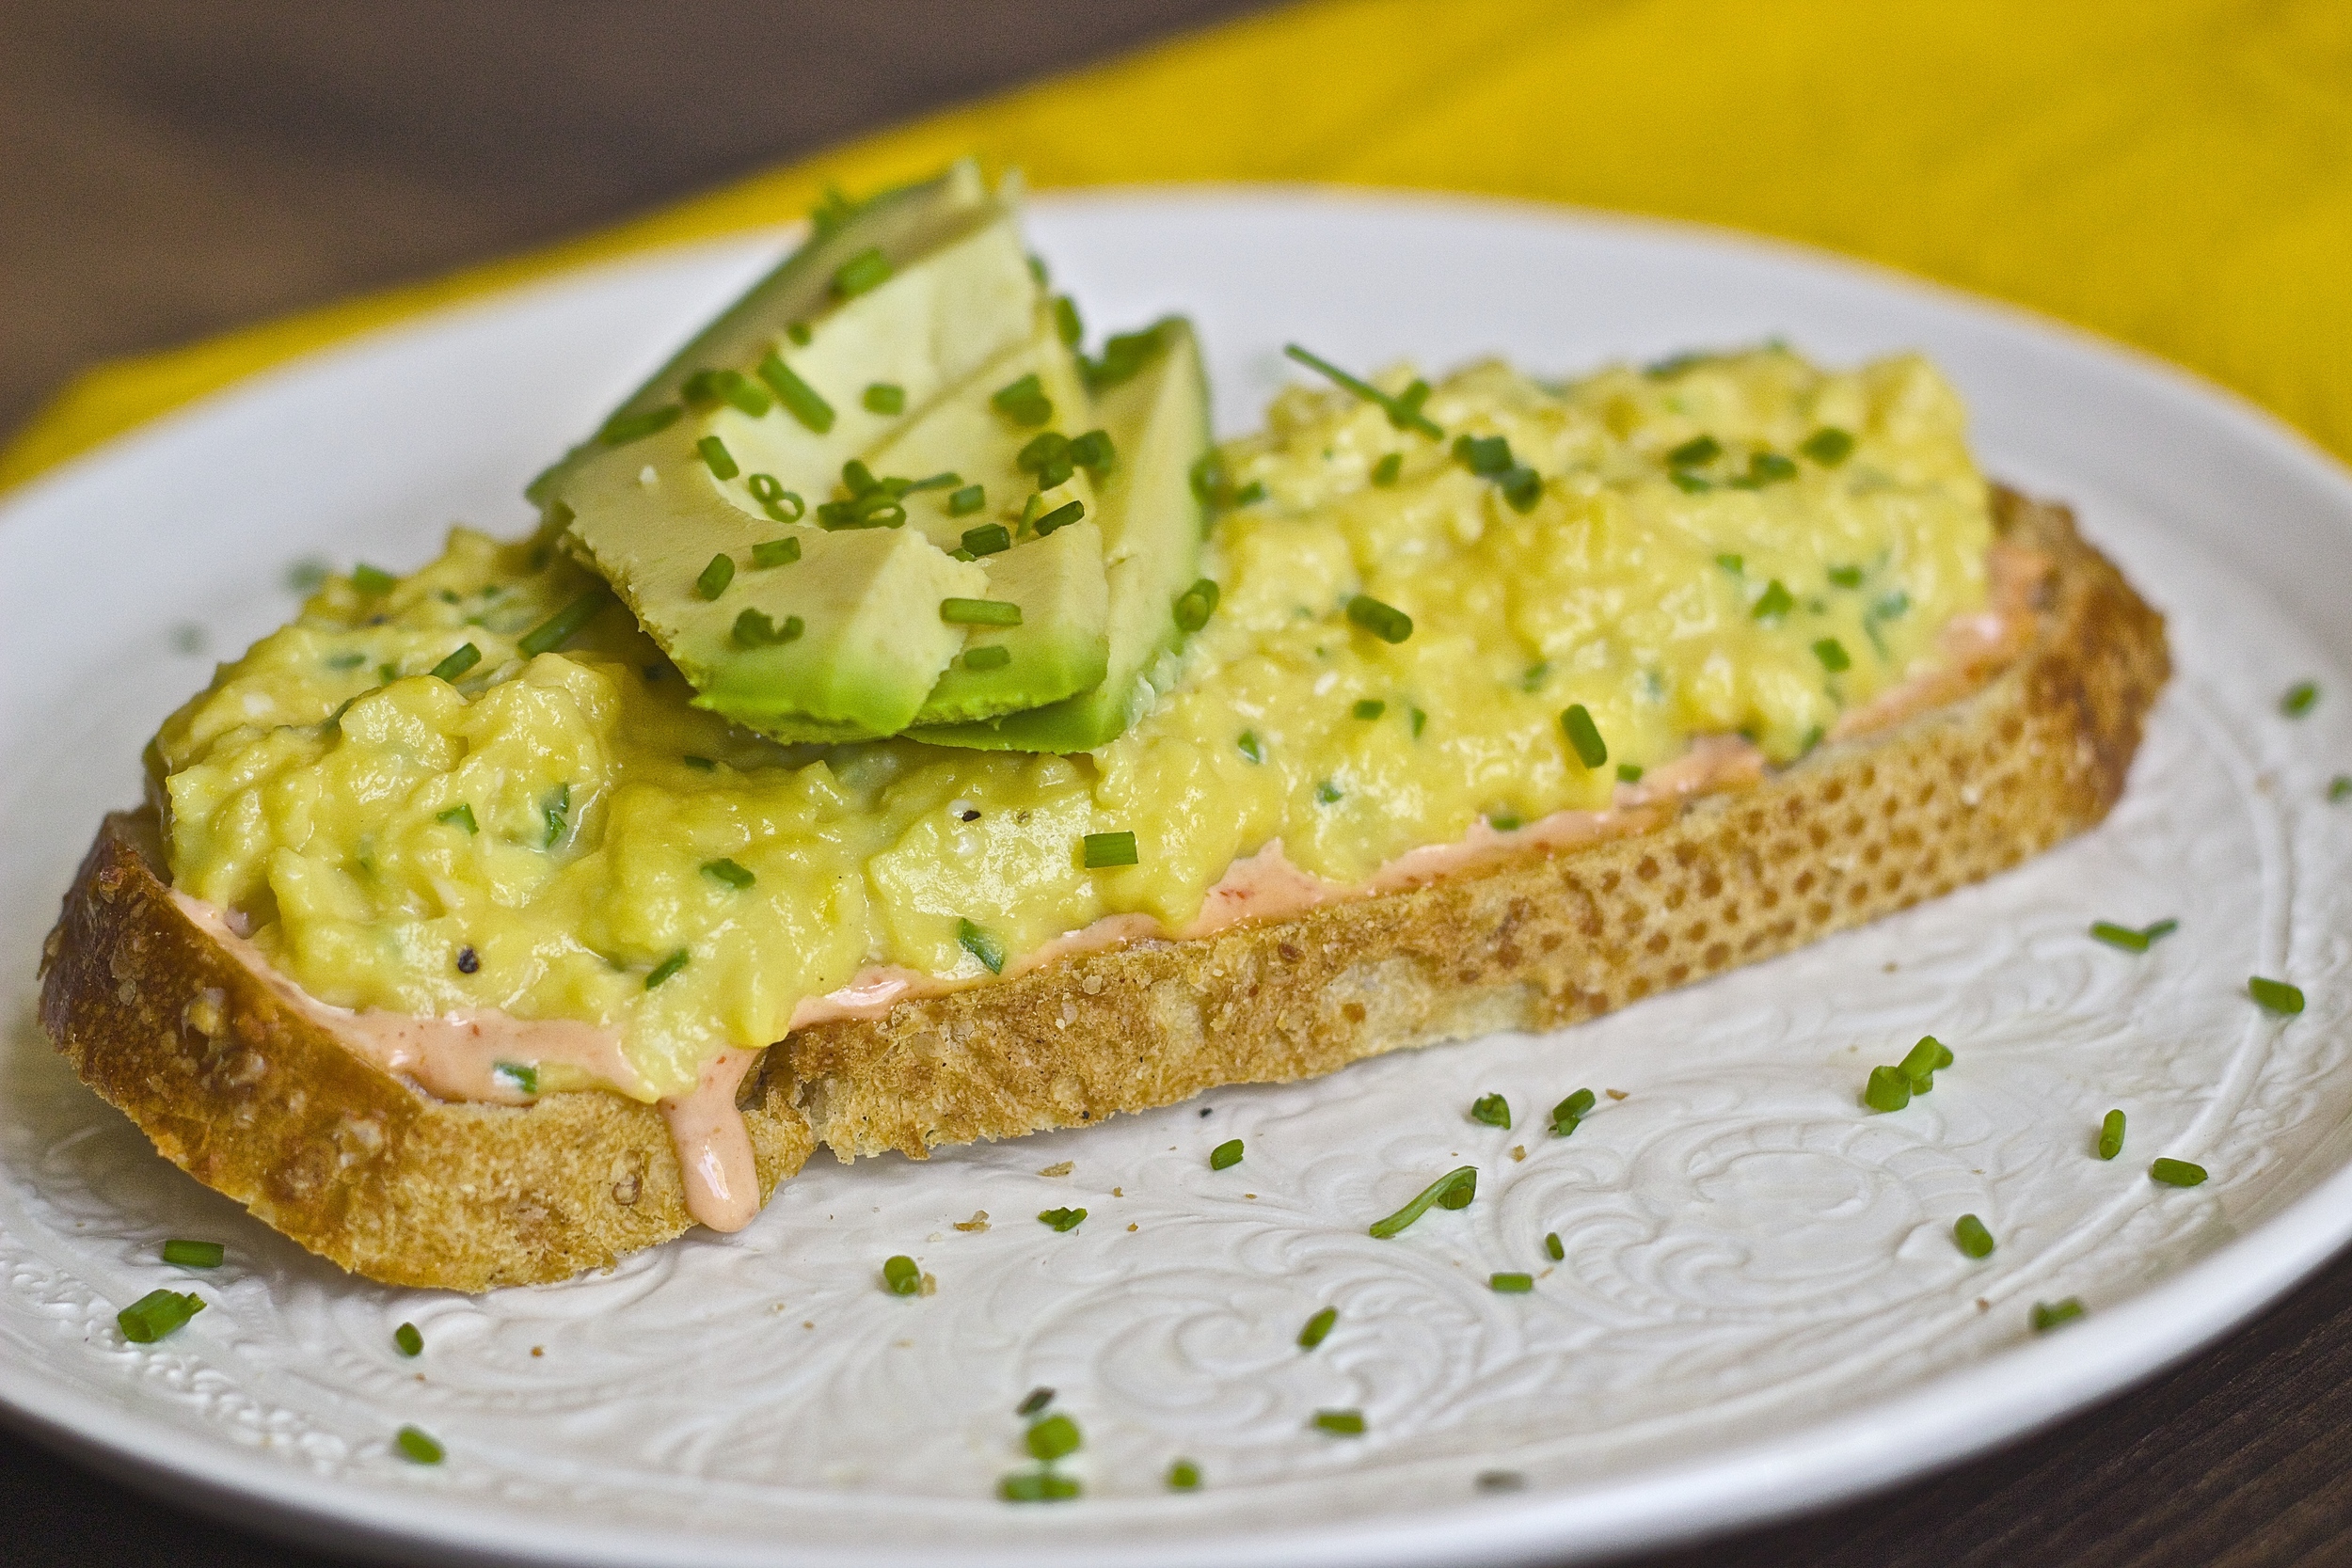
Top the toast with sriracha aioli (you probably won't use it all), eggs, avocado slices and extra chives. Enjoy!
Notes:
This is more of a technique than a recipe. Take 4 minutes of your time and watch Gordon Ramsay's video, which shows the technique perfectly.