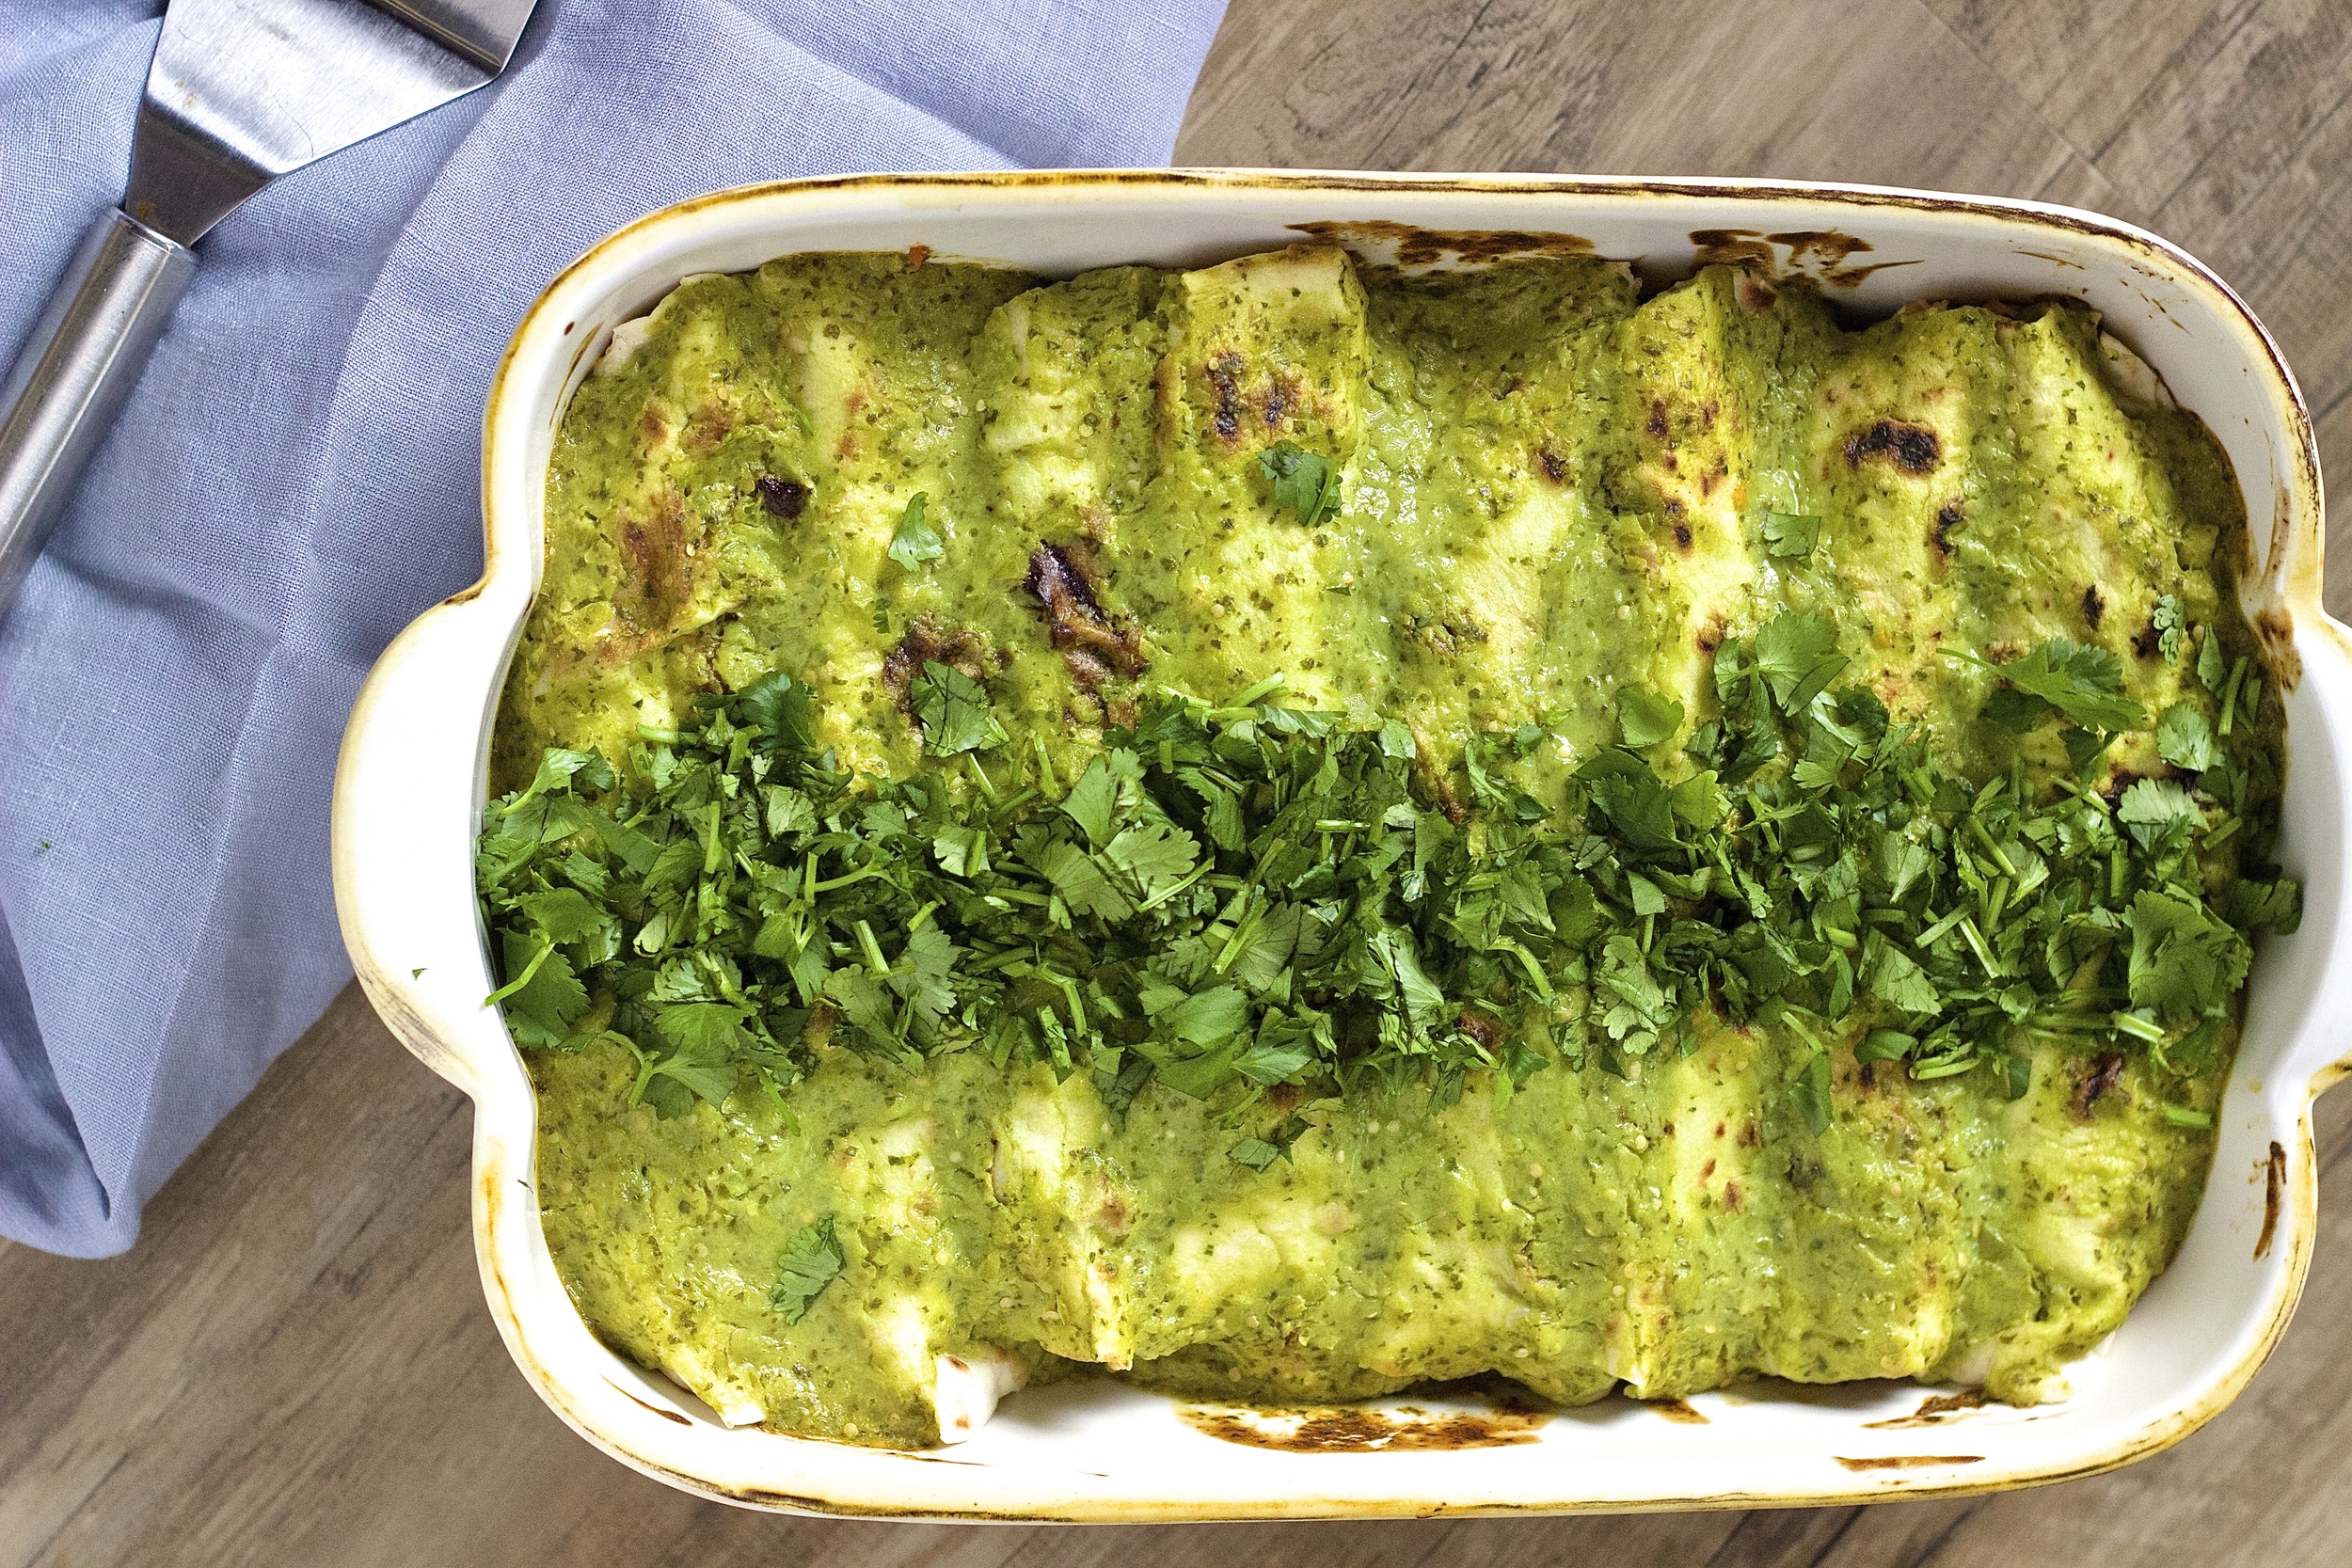
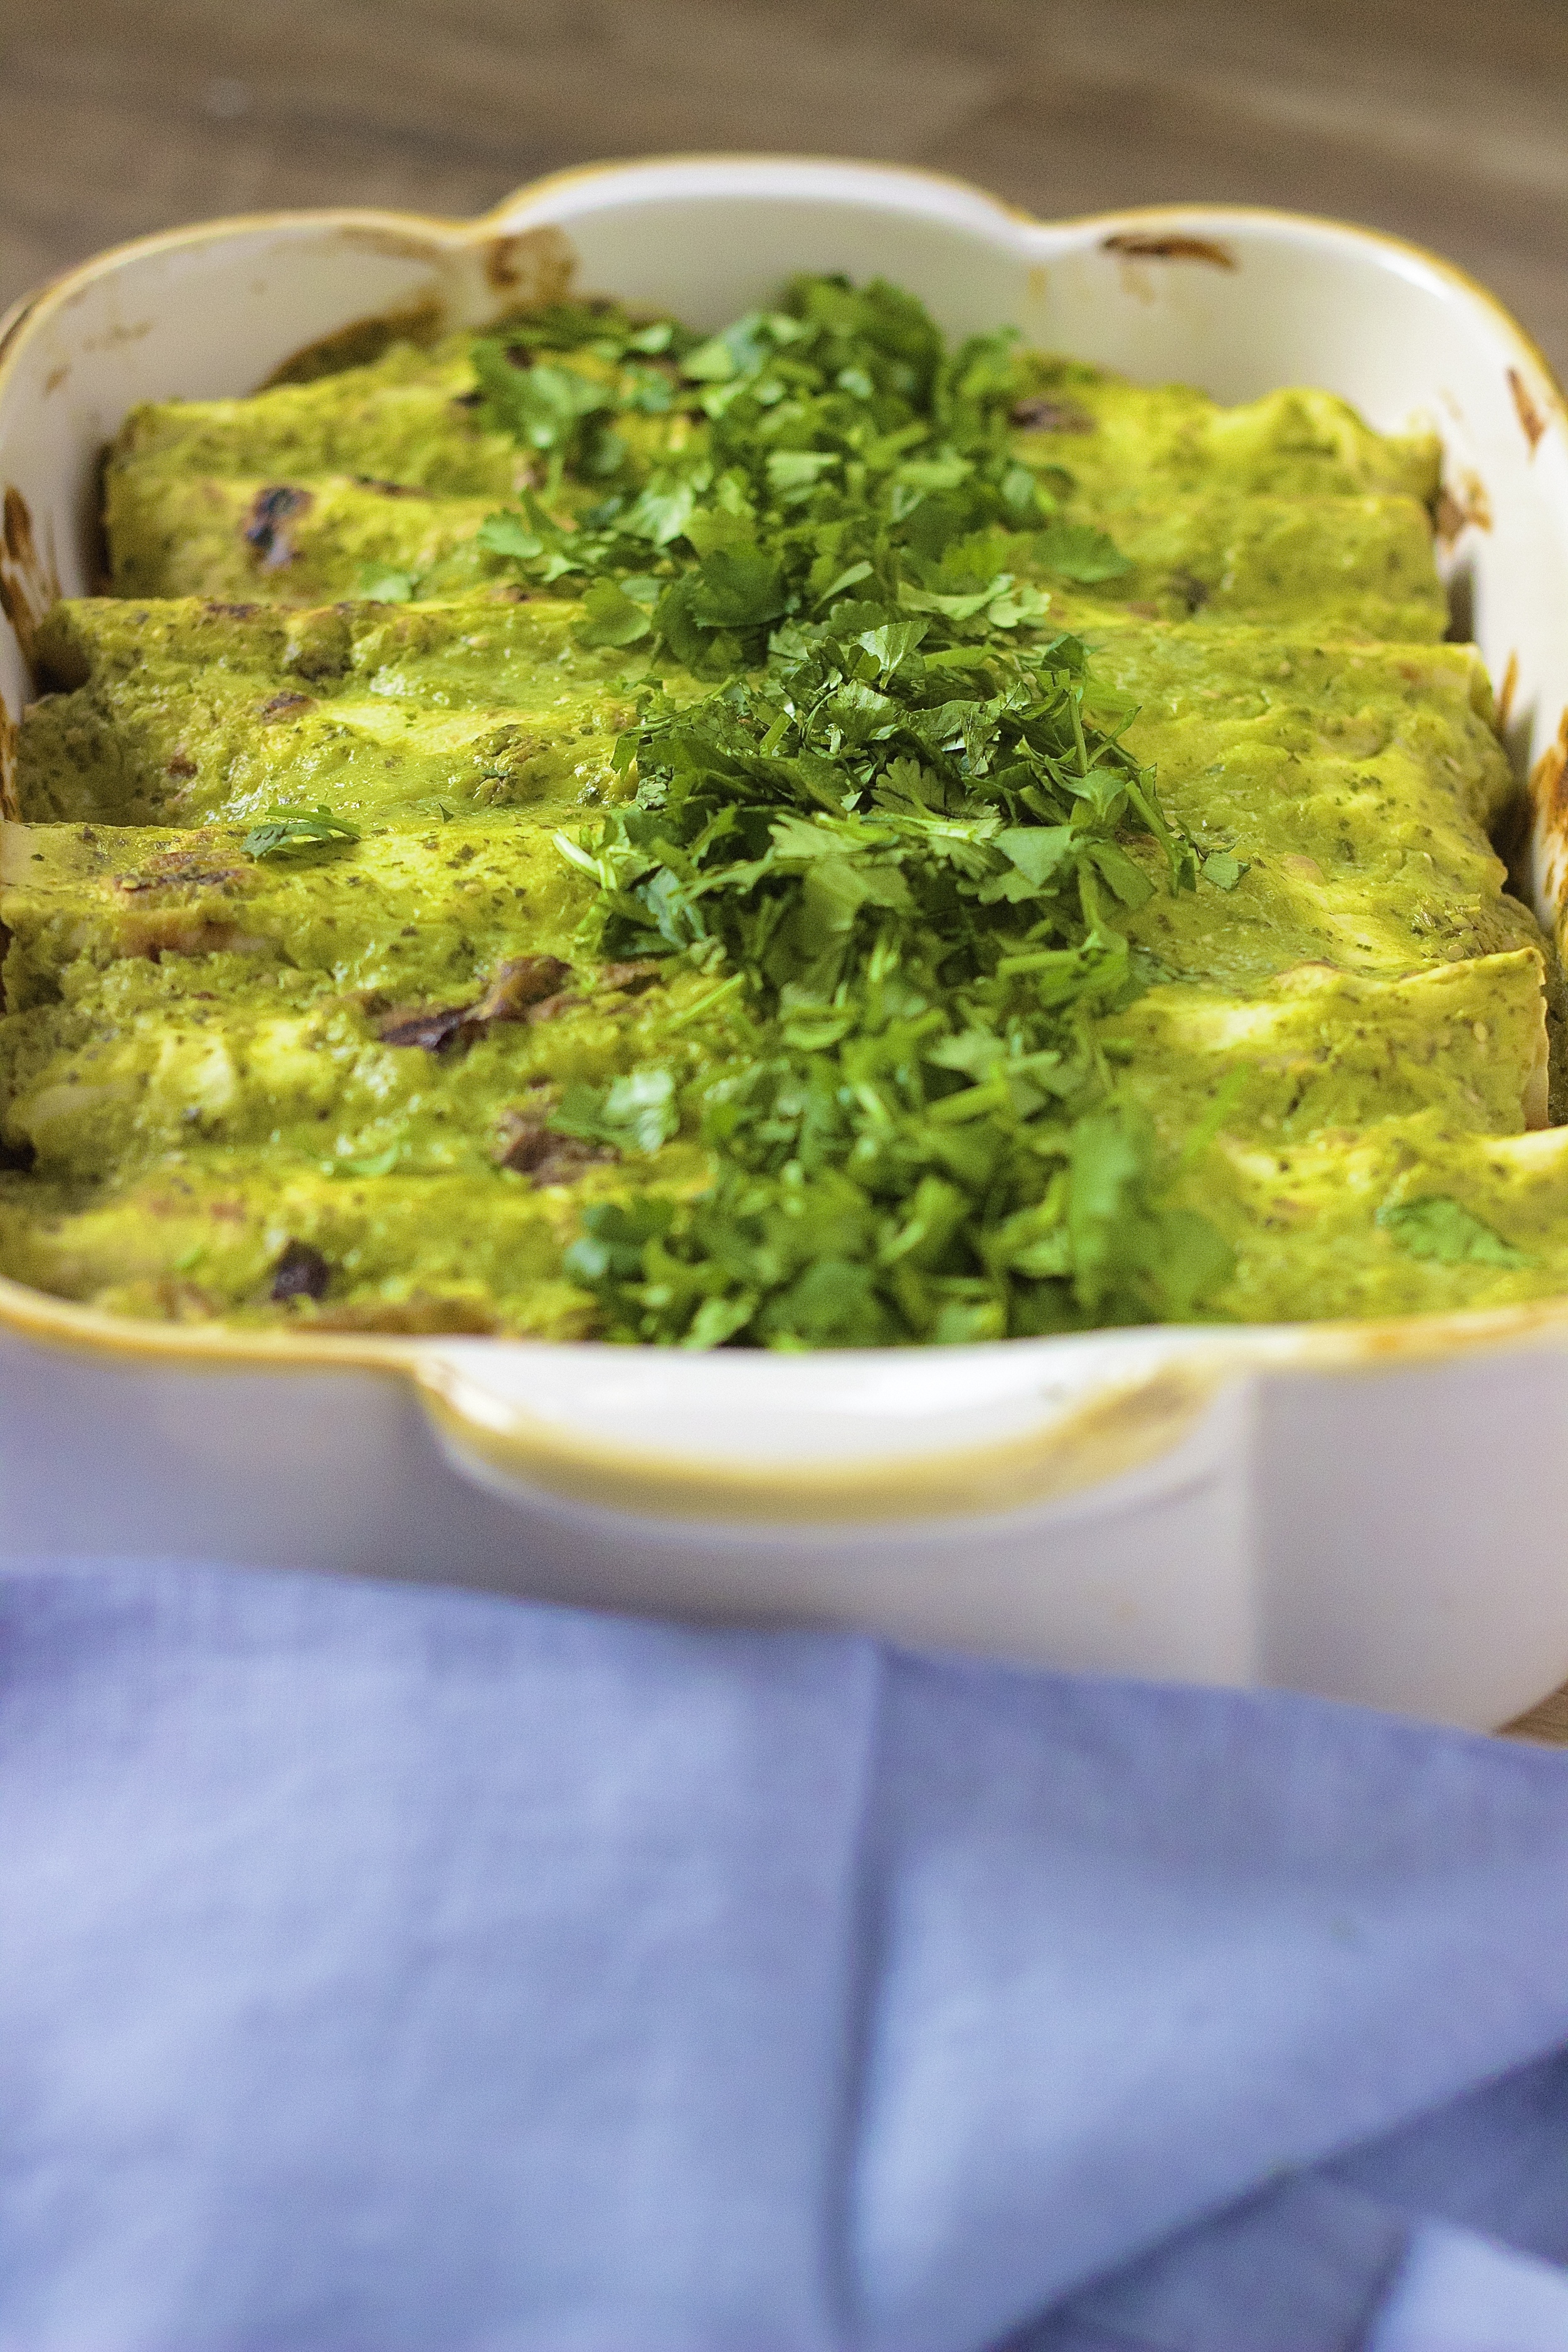
Shredded Sweet Potato & Black Bean Enchiladas

The first and only thing I missed when I became vegetarian almost three years ago was shredded chicken enchiladas. I don't even know if it was so much the chicken, more the texture, and the fact that it was enchiladas.
I grew up eating what my family called "Enchiladas de Crema" a dish my mom made about once a week and we all loved it. They were your traditional enchiladas with shredded chicken, green chilies, and jack cheese. The sauce was thick, creamy, and filled with tomatoes. I later learned when my mom taught be how to make them before I left for college the sauce was achieved through a nice mixing of crushed tomatoes and sour cream, hence the "de crema". My dad's family is hispanic, so there's a chance these enchiladas could have been somewhat authentic (not that we would have cared) but they probably weren't.


It's funny looking back on foods I ate as a child. I remember after I got married I begged my mom to track down the chicken and spinach crepe recipe I LOVED as a kid, only the find out the secret ingredient is a package of dry onion soup flavoring... And without sounding pretentious or ungrateful, some sort of veil was lifted. But alas, I chalk it up to generational food trends, because if you've ever read a cookbook from the generation before my parents it was undoubtedly filled with cups of mayonnaise, spam, and all the other wonders of the invention of processed food.
Needless to say, things have shifted a bit. And I'm happy to be part of the new trend - plant-based food (which makes me wonder how ridiculous our kids will find some of the foods we eat today). The enchiladas I make in my home now look a bit different, but haven't changed too much. We swapped shredded chicken for shredded sweet potato, flavored with spices, lime, some onion, cilantro and jalapeño. And we swapped tomato sauce and sour cream for avocado salsa verde, which might be slightly less creamy and decadent, but definitely just as delicious and much fresher. The pan of 8 still gets demolished in a day or two, if not sooner, and they're still just as homemade tasting at the ones my mom made as a kid.


Serves 4
Ingredients:
1 batch Avocado Salsa Verde*
4 cups grated sweet potato, (~ 3 sweet potatoes)
1 small yellow onion
2 garlic cloves
2 tablespoons olive oil
1/2 teaspoon coriander
1 teaspoon chili powder
2 teaspoons cumin
1 pinch cayenne (or more for extra spiciness)
1/2 teaspoon salt
1 jalapeño, diced
1/4 cup cilantro, packed
2 large shallots, diced
2-3 tablespoons lime juice
1 can black beans
4oz can green chilies
8 tortillas
4oz goat cheese, (optional)
avocado & cilantro (for serving)
Prepare the salsa verde, measure out 1 1/2 cups (12 oz) and set aside.
Heat a large sauté pan over medium low heat. Meanwhile, dice the onion and garlic. Add the olive oil, onions and garlic to the hot pan and cook until the onions are translucent.
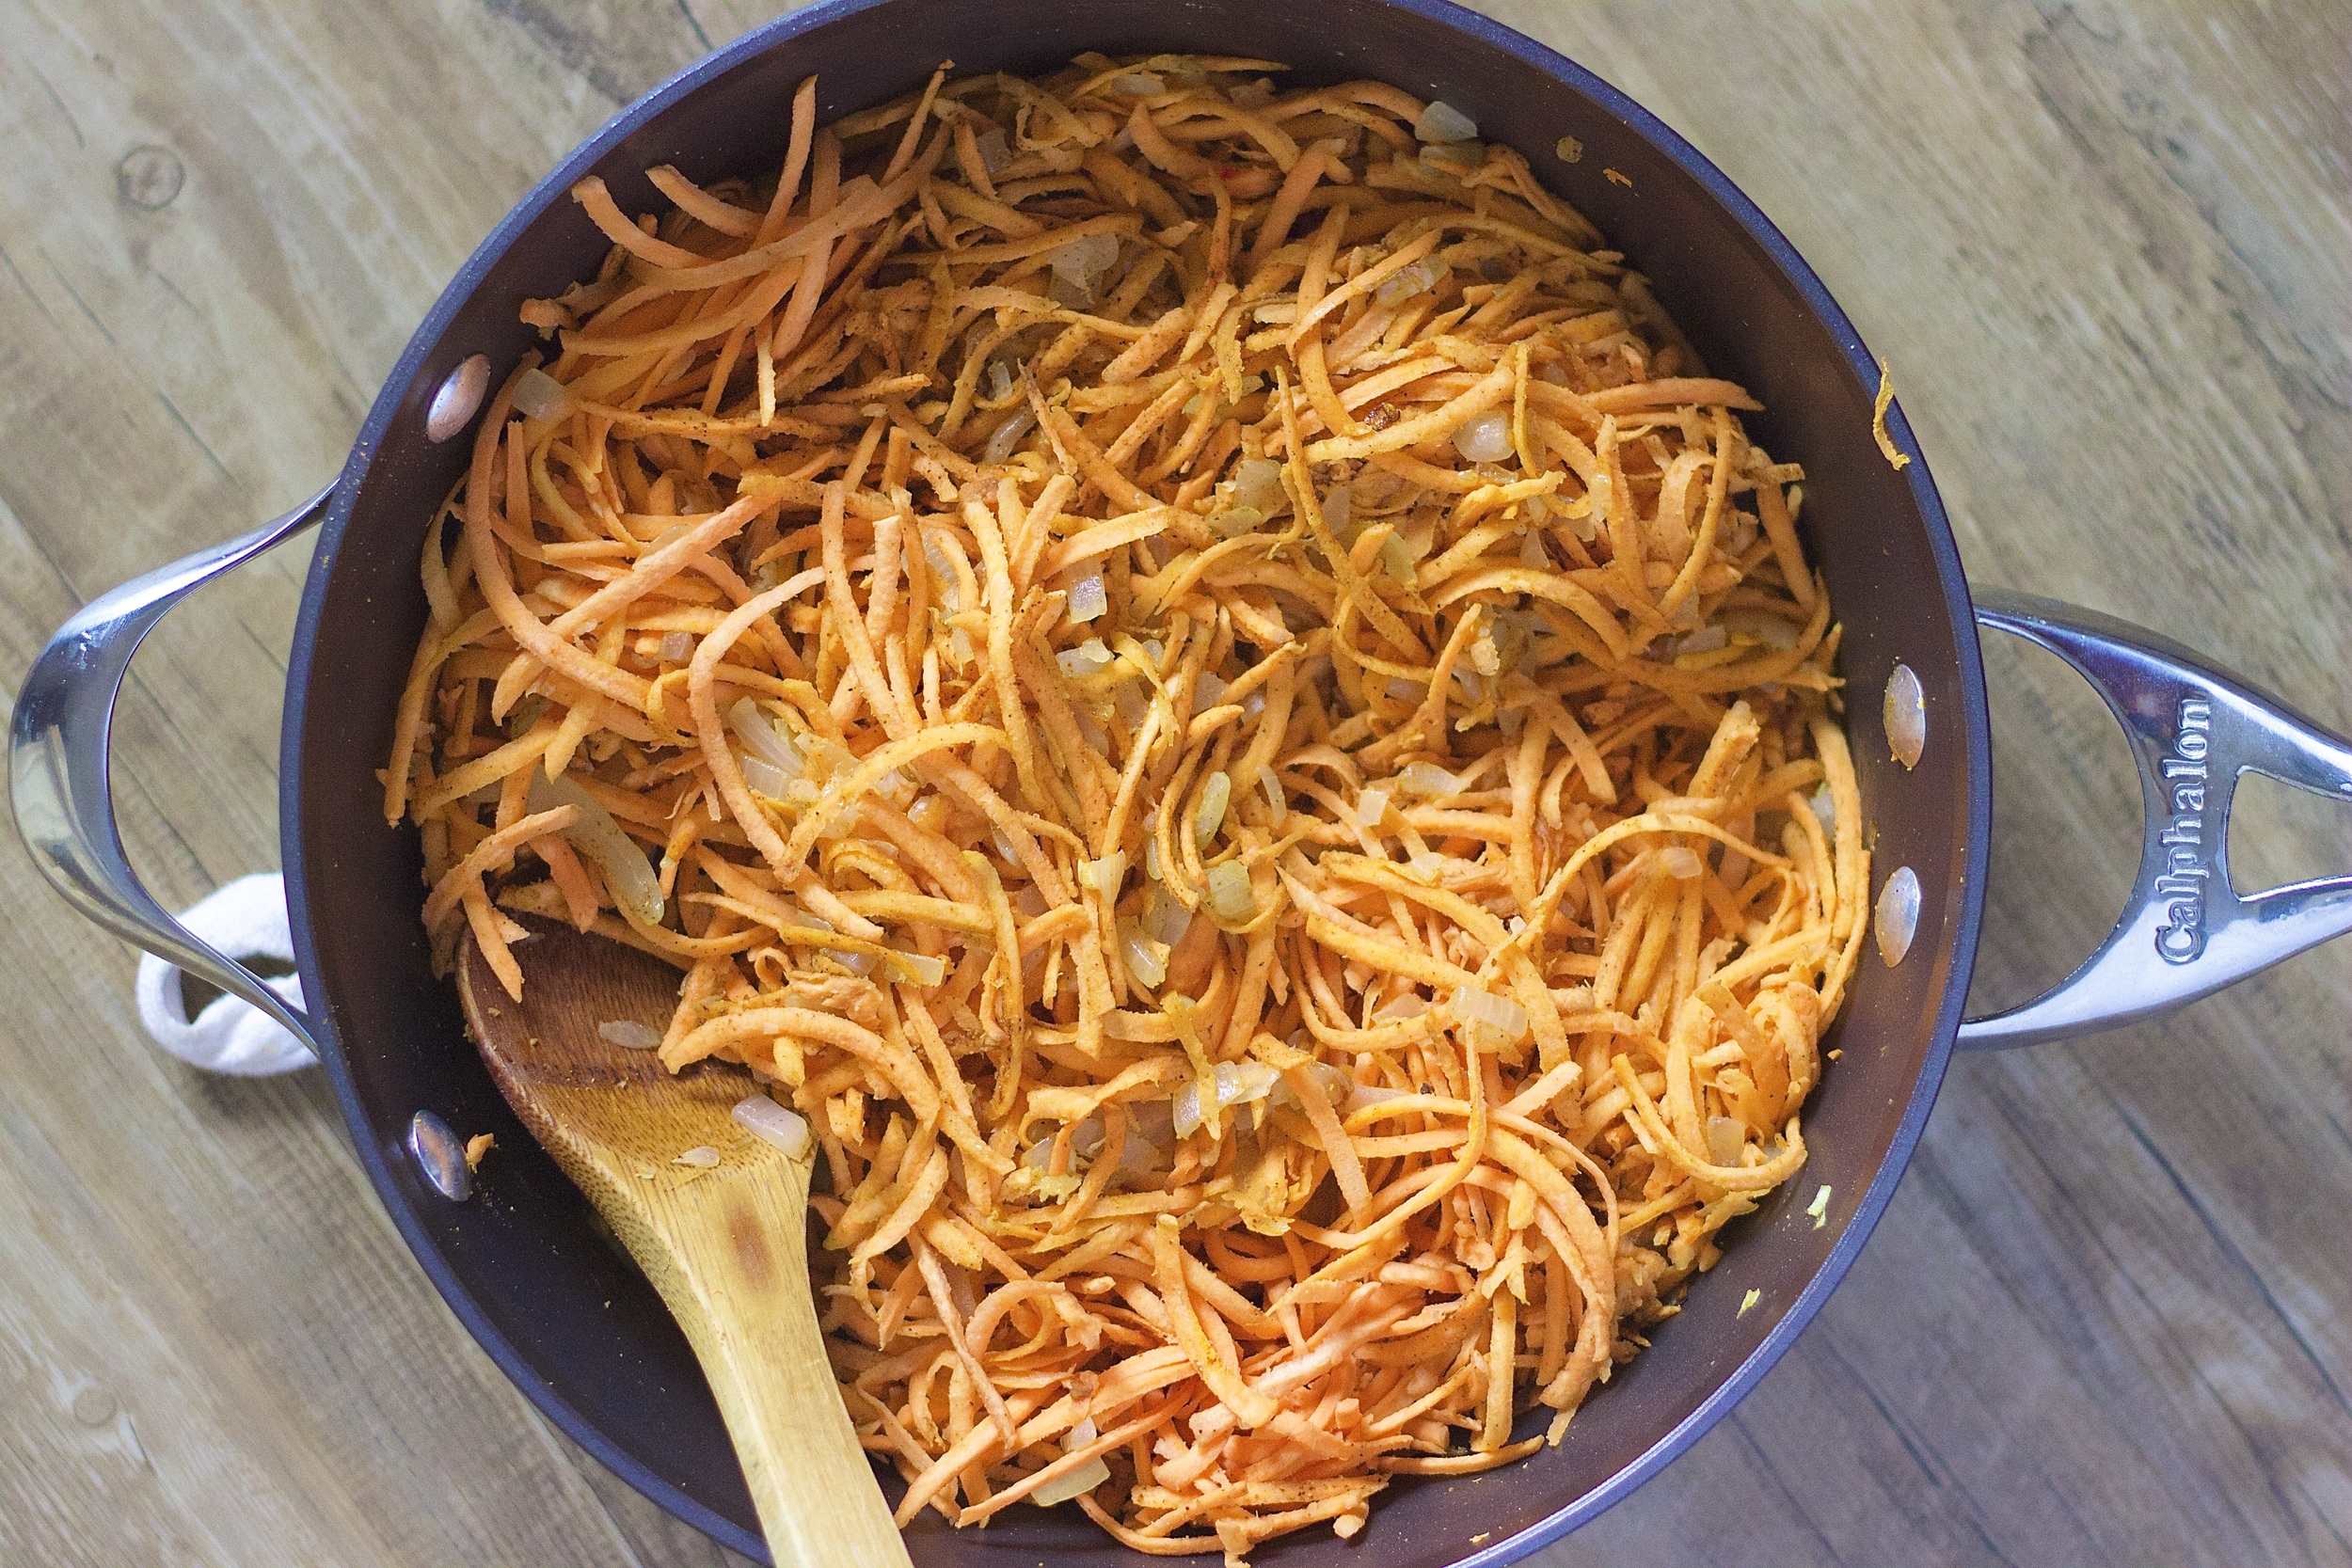
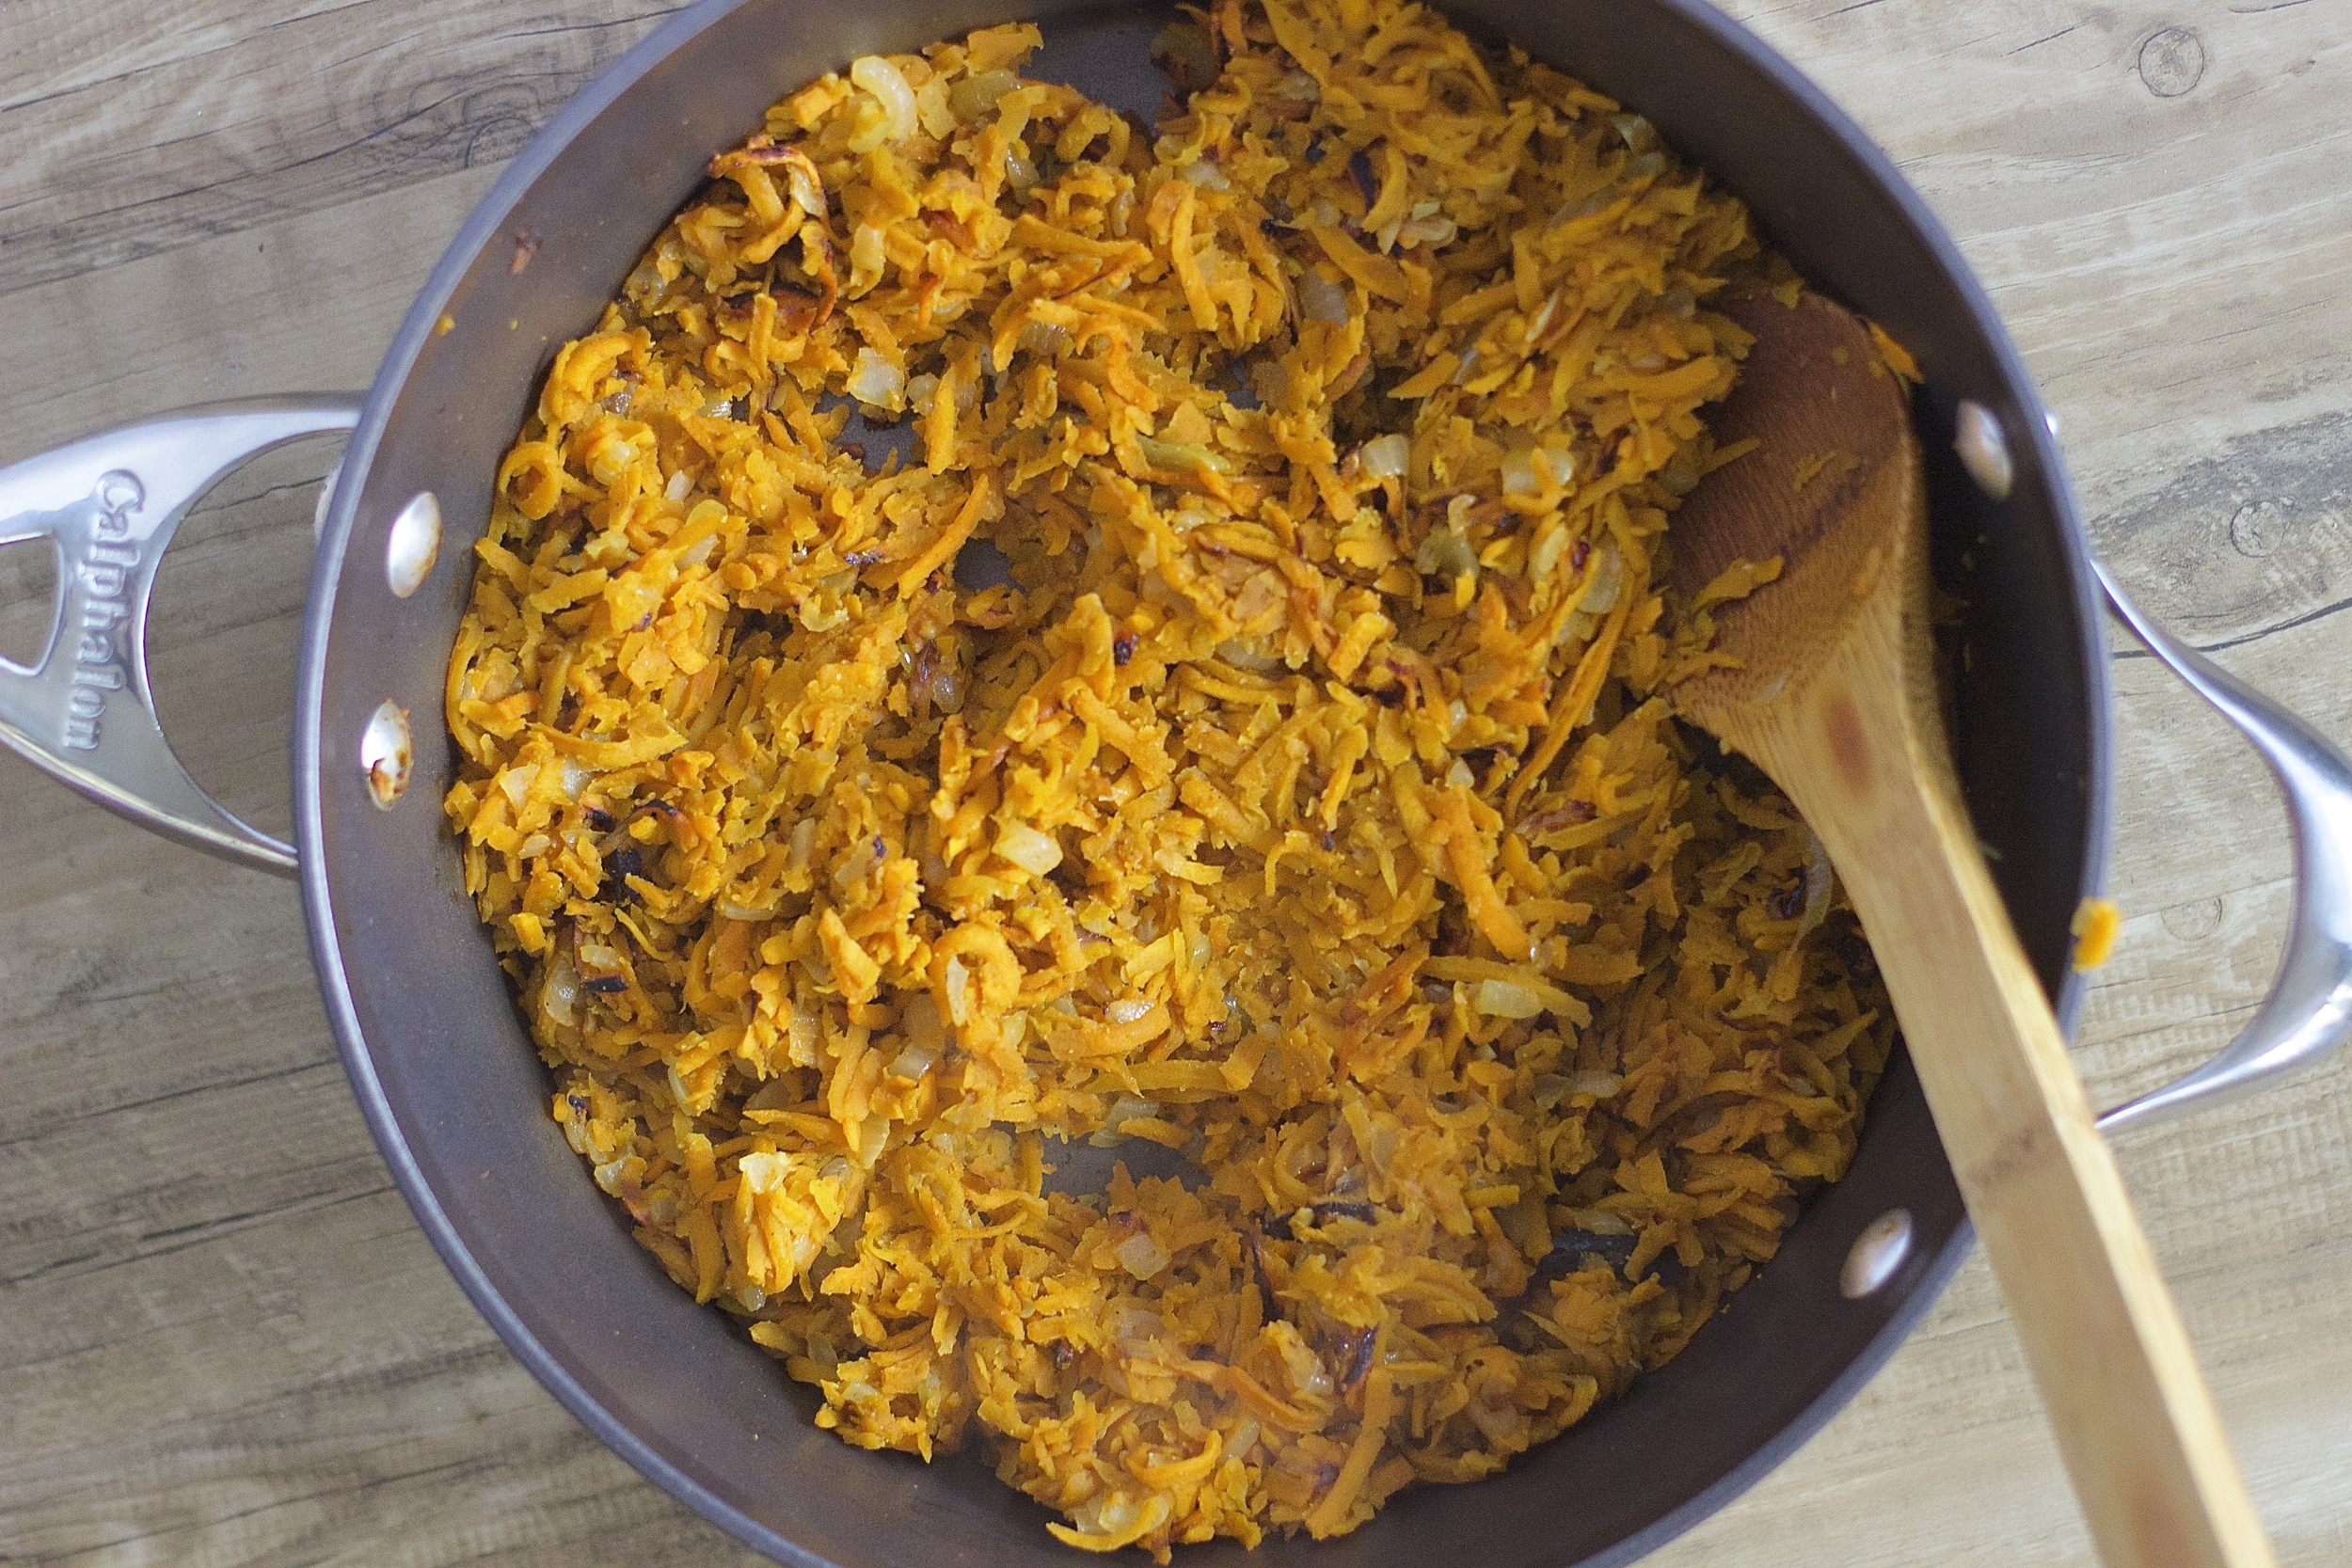
Add the grated sweet potato, coriander, chili powder, cumin, cayenne, and salt to the onion mixture and stir to combine. Cover and cook for 10 minutes, stirring several times to ensure even cooking.
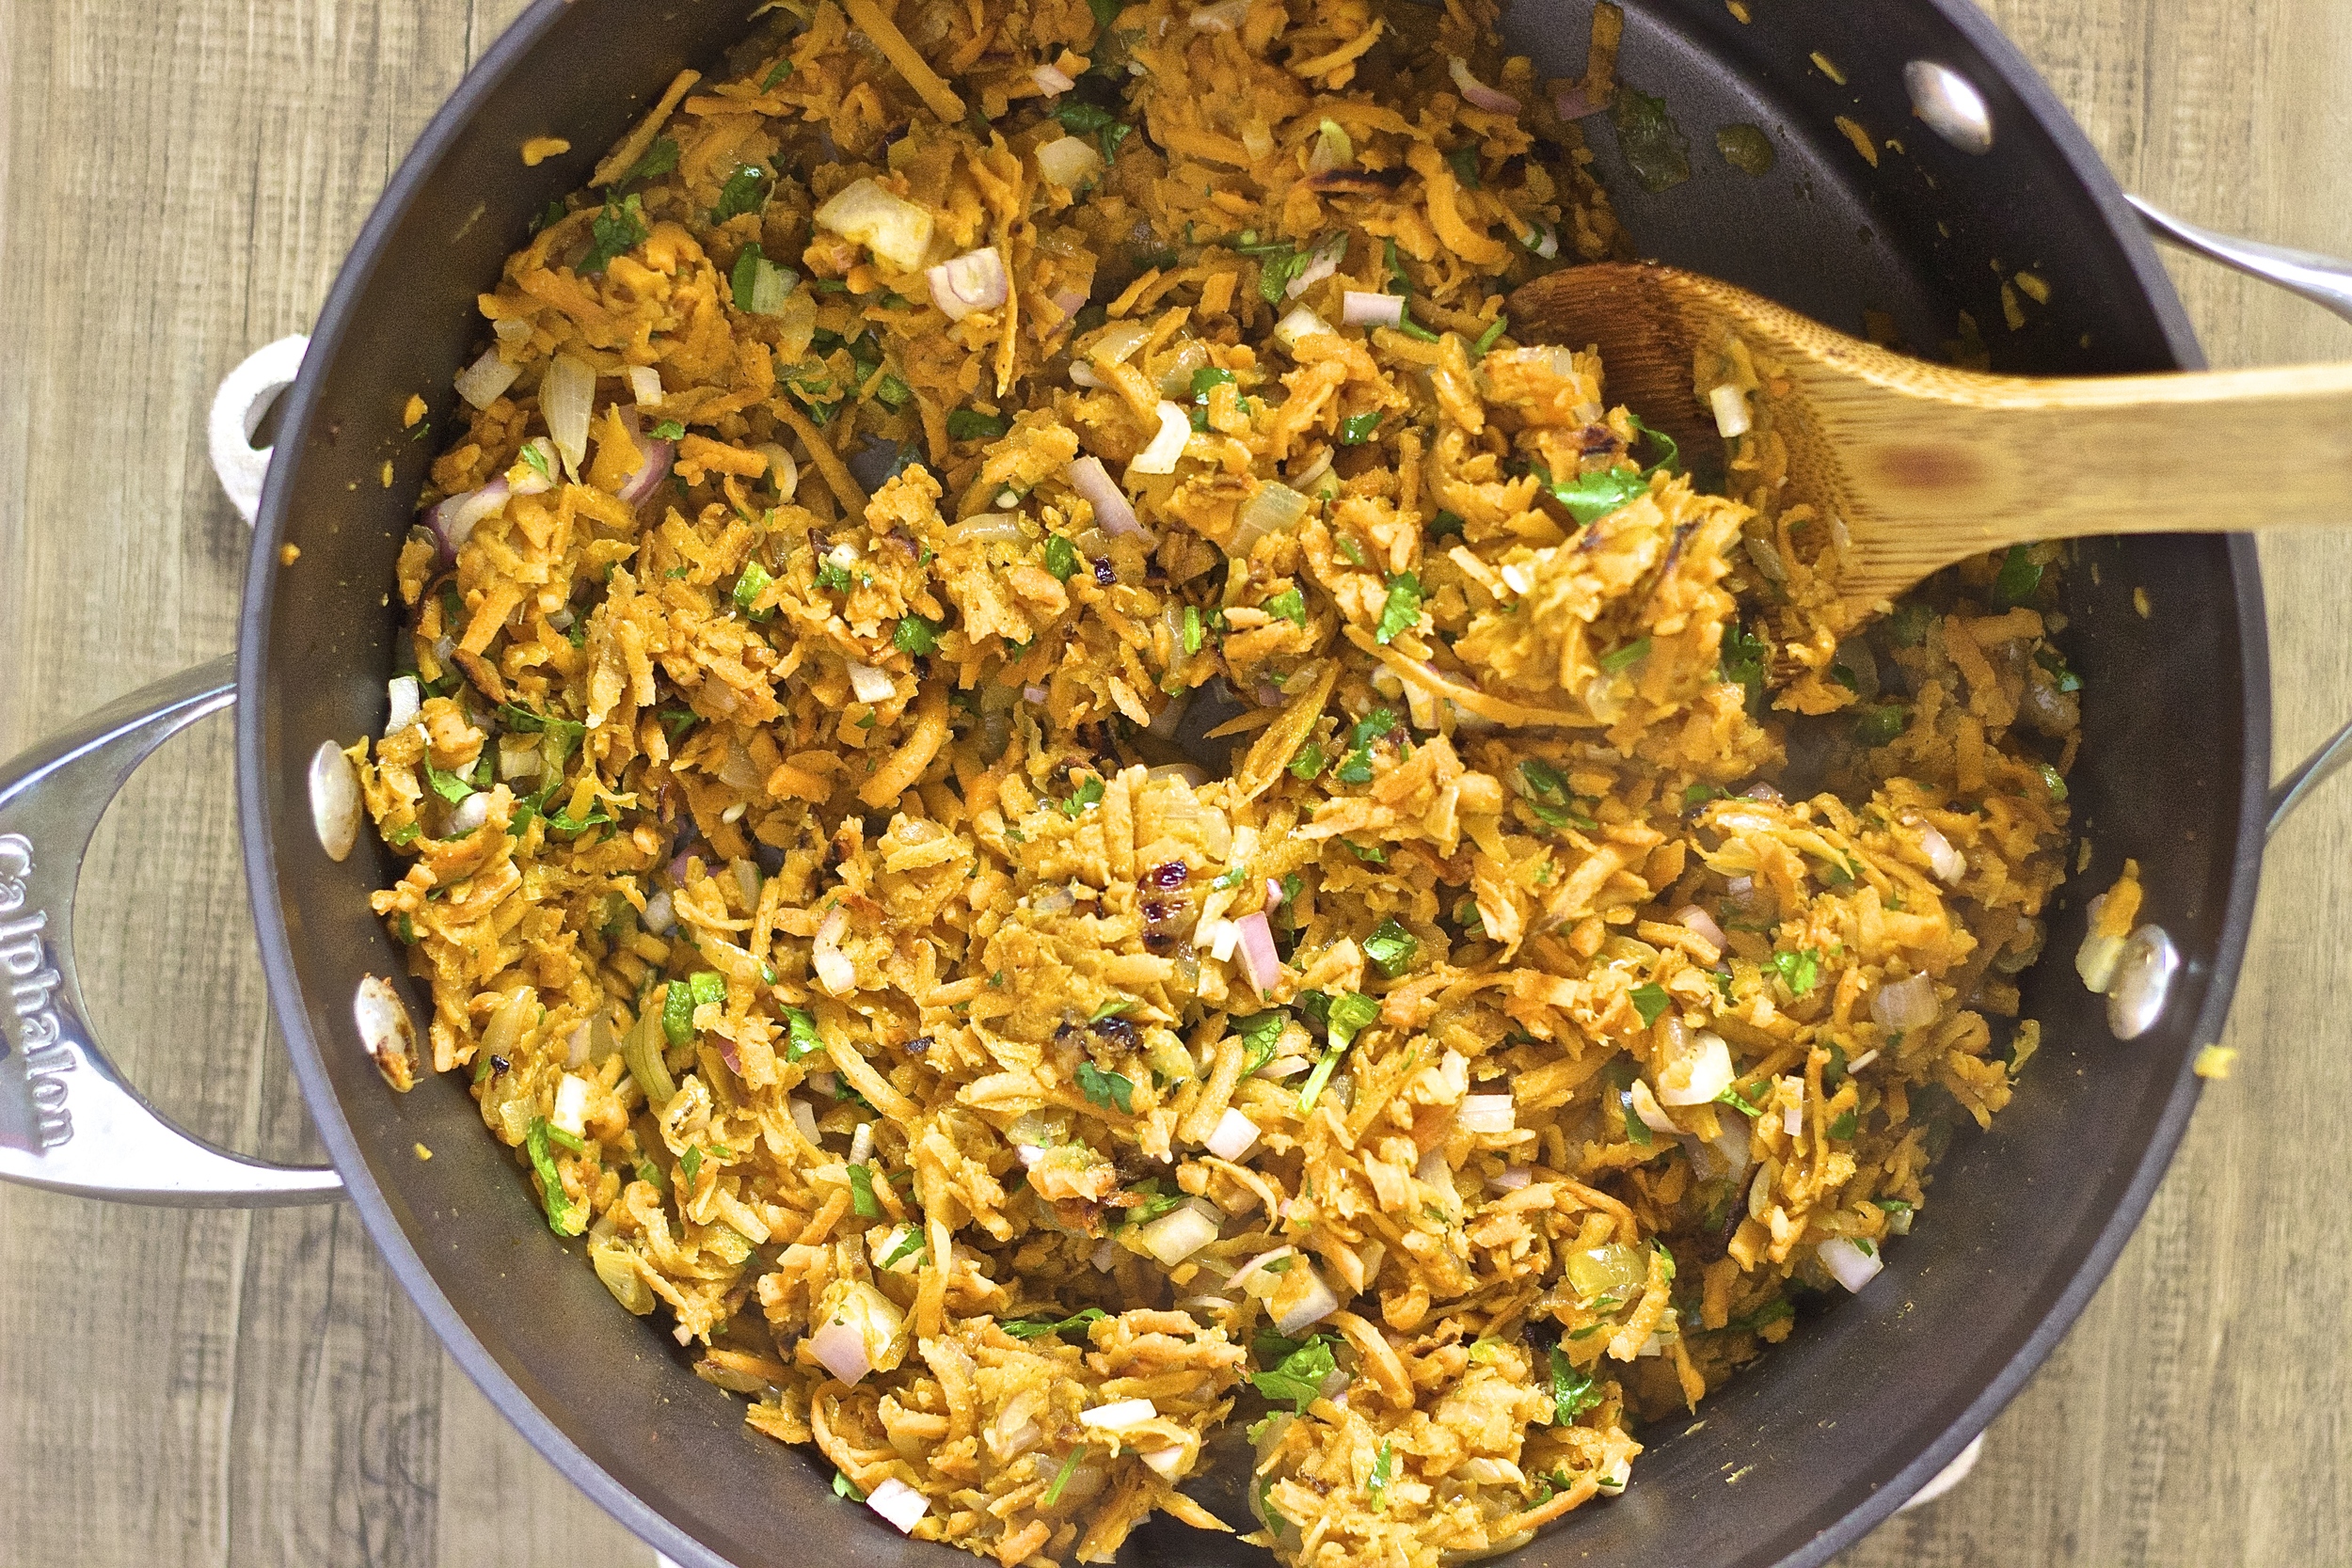
While the sweet potatoes are cooking, roughly chop the cilantro then add it to a small bowl with the jalapeño, shallots, and lime juice then stir to combine. When the potatoes are soft, remove from heat and stir in the cilantro mixture. Set aside to cool.
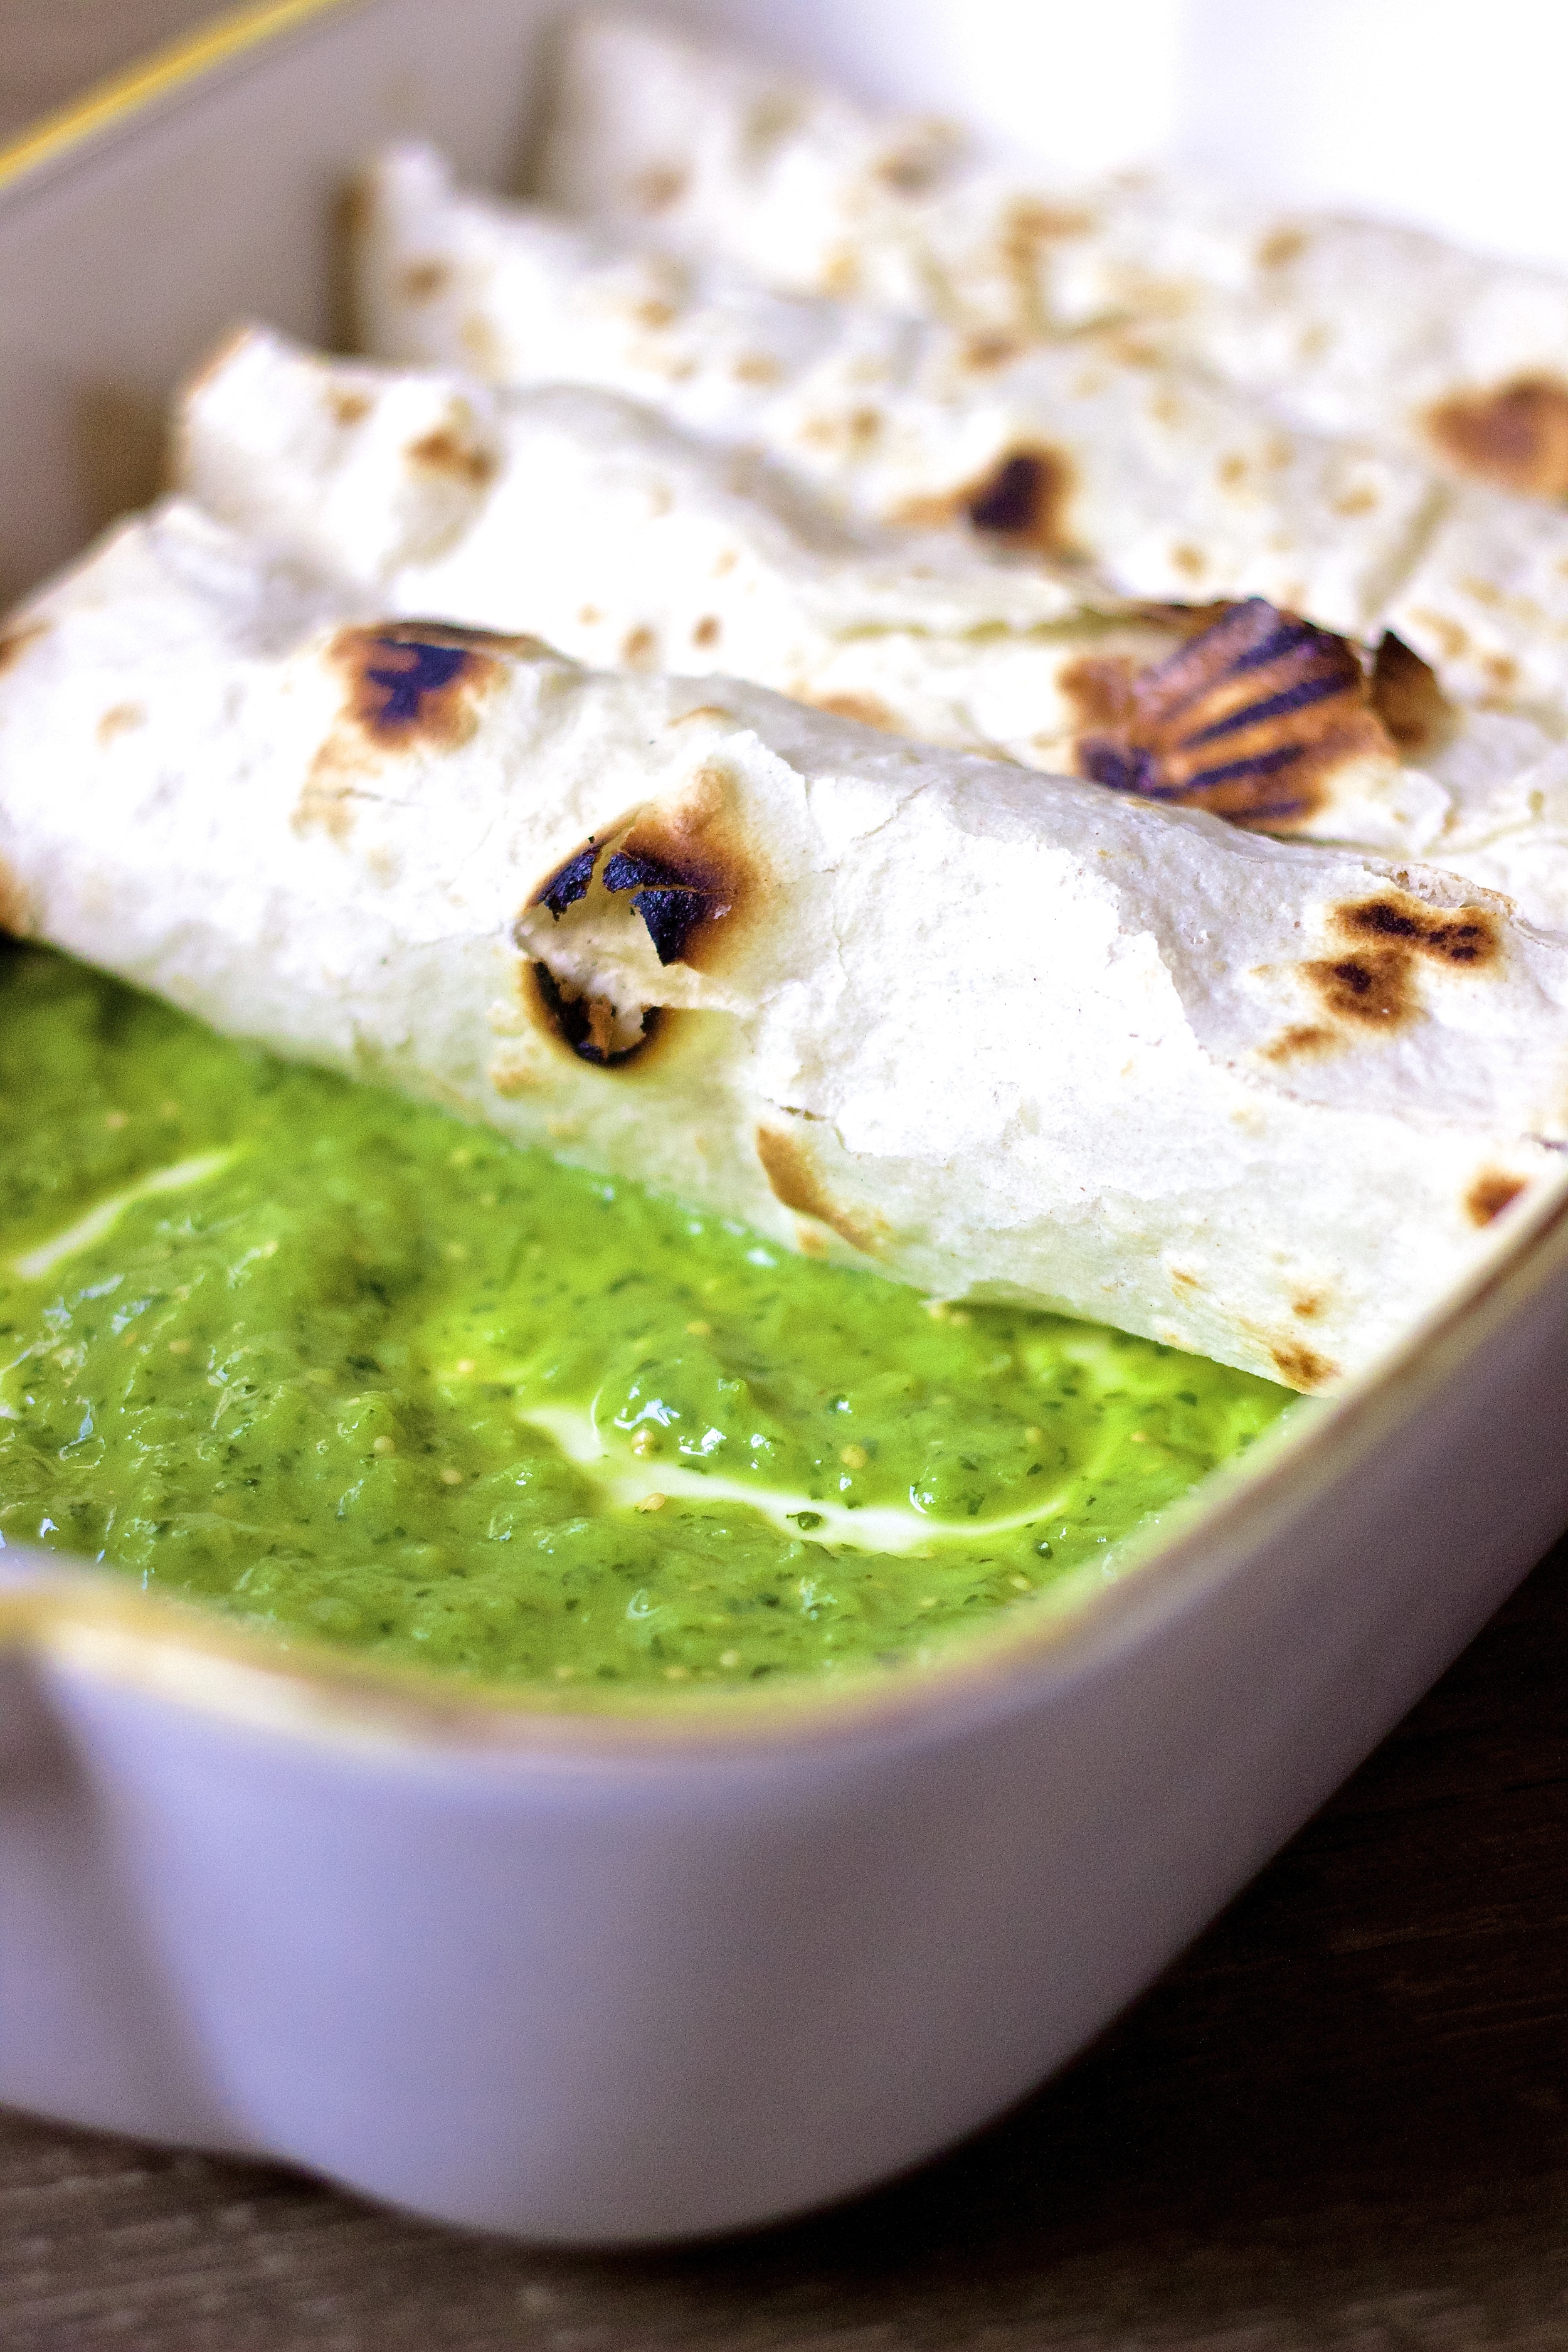
Preheat the oven to 350 degrees. Pour about half of the salsa into the bottom of a 9x13 inch baking dish. Prepare the sweet potato, green chilies, black beans and goat cheese (if using) in a conveyer belt line.
One at a time, crisp the tortilla over open flame (or in a frying pan if you have an electric stove) until crispy and slightly charred on each side. Transfer the tortilla to a cutting board then fill with a big spoonful of sweet potato, beans, chilies, and cheese. Roll up tightly then place seam side down in the baking dish. Continue with the remaining 7 tortillas. Once finished pour the remaining salsa on top, cover, and back for 20 minutes covered, uncover, then back for another 10 minutes.
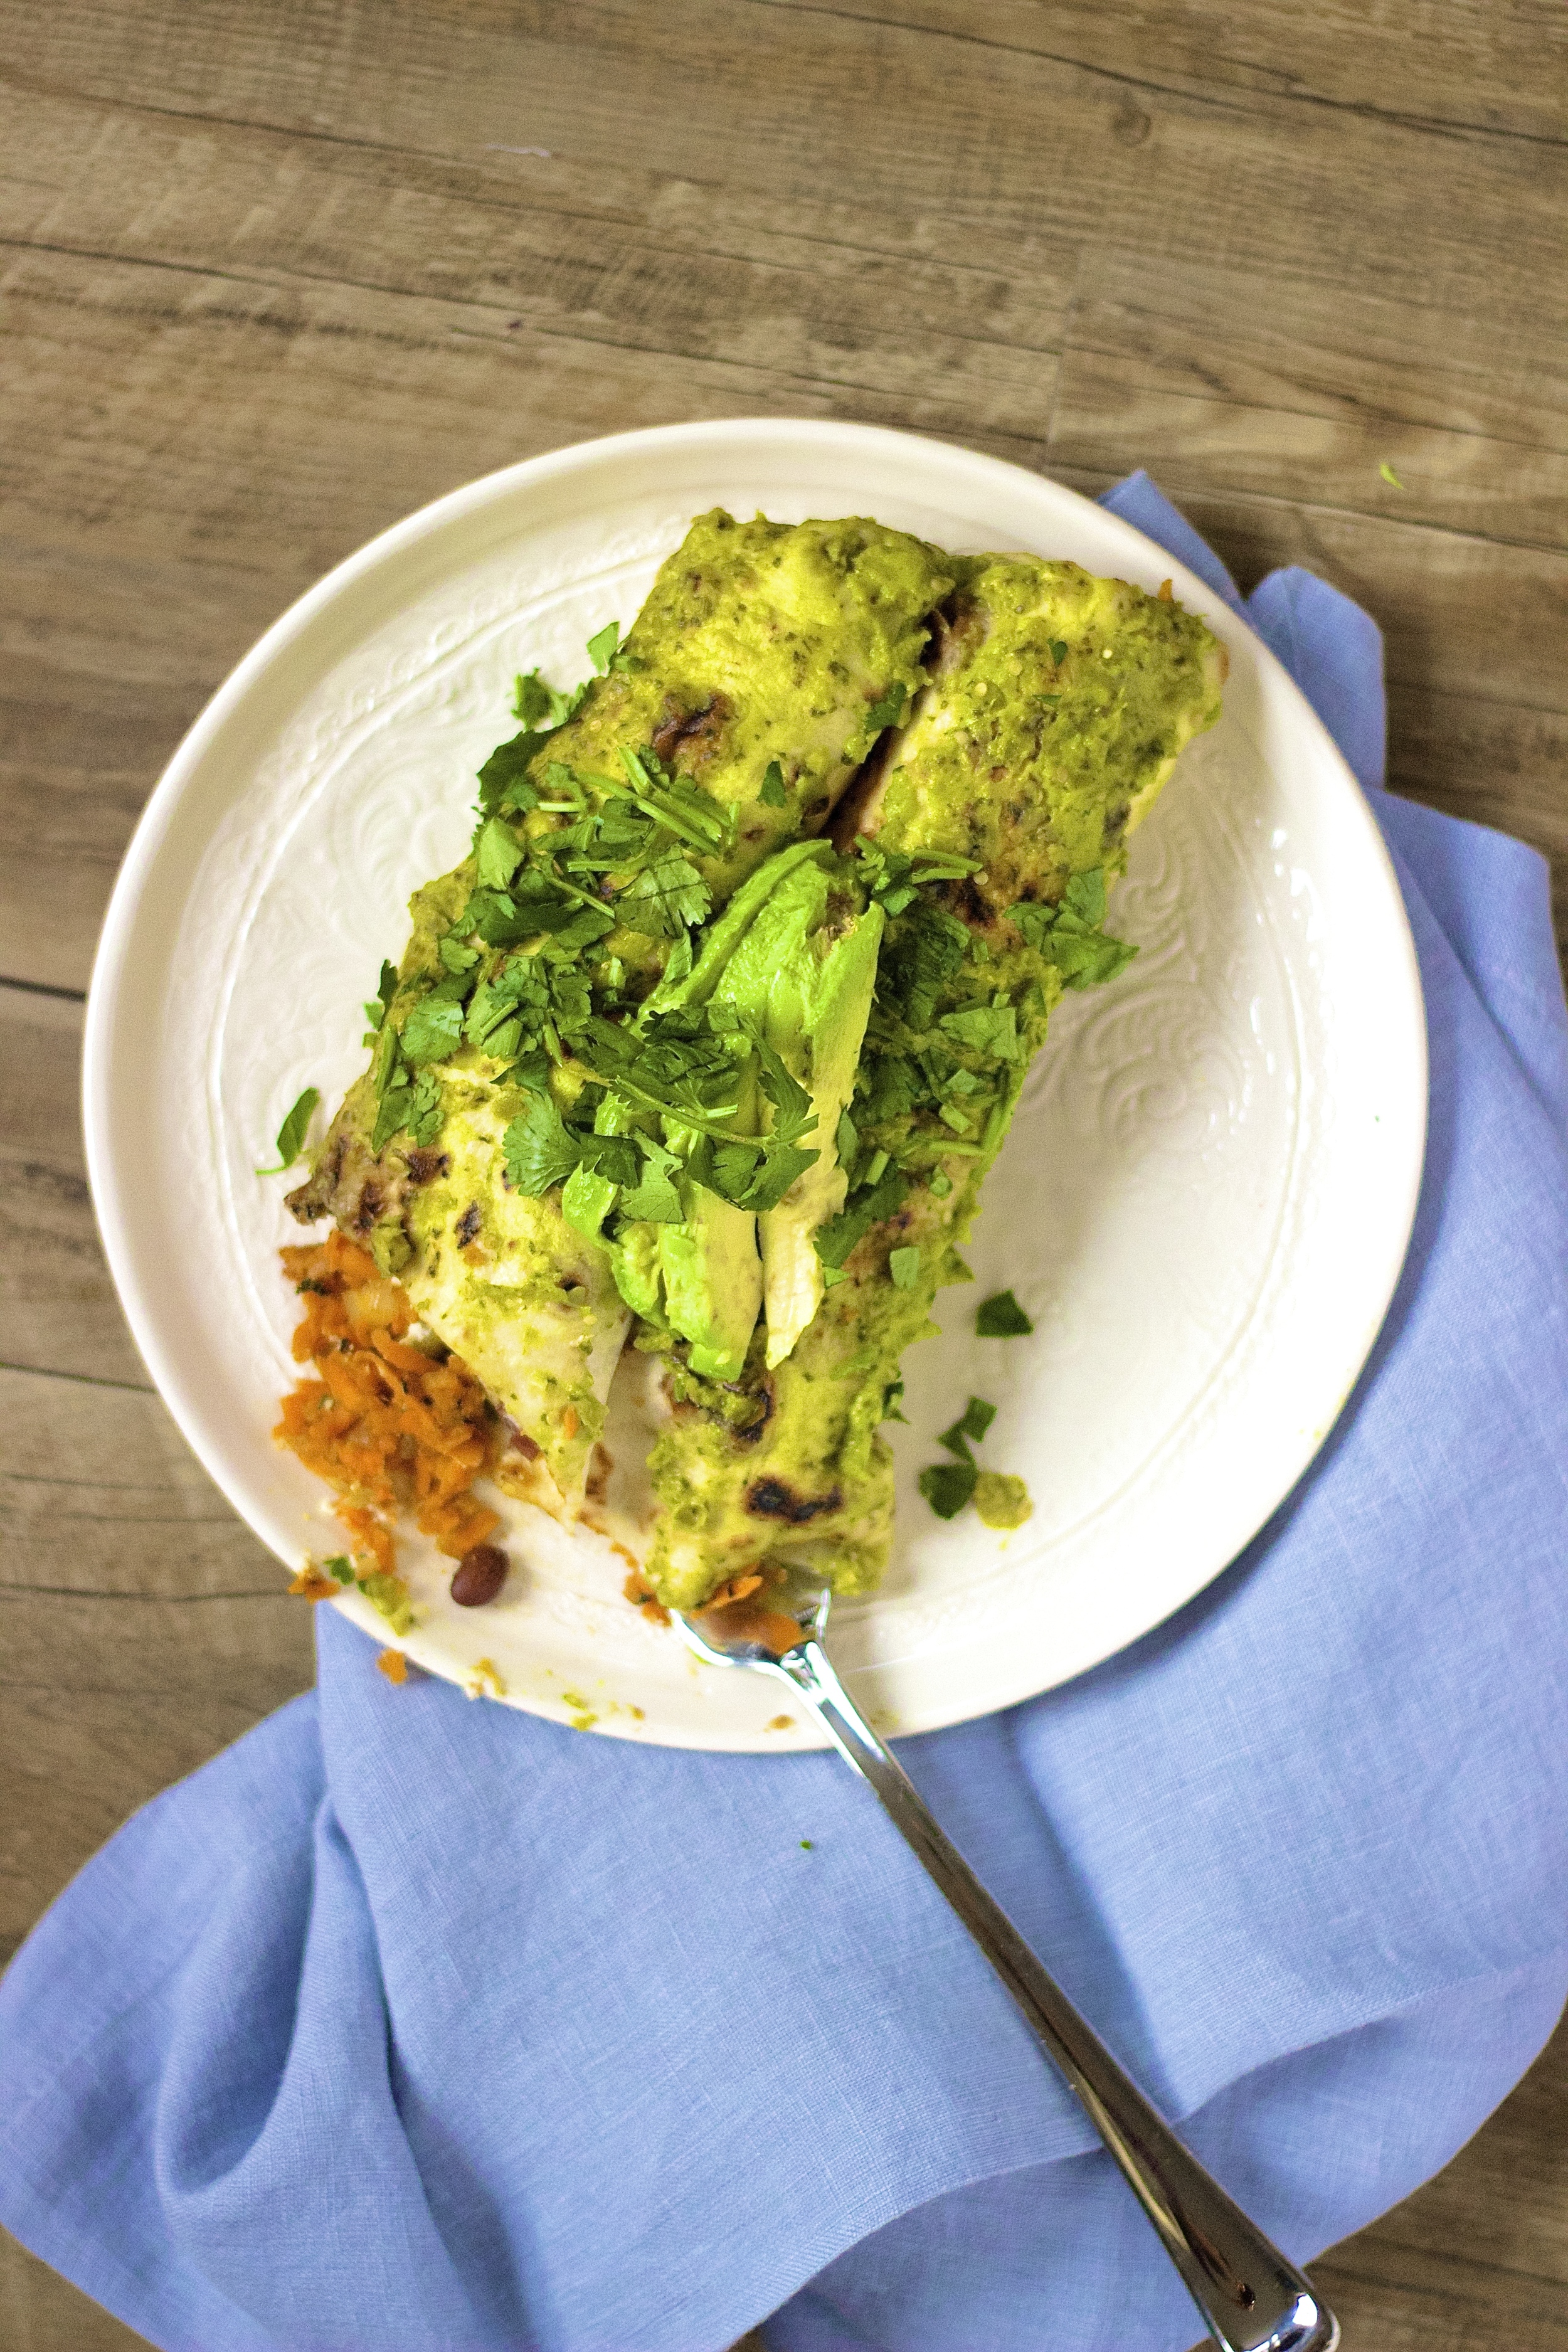
Serve with avocado & chopped cilantro.
Notes: They are excellent with the avocado salsa verde, which just so happens to be the very first recipe I ever posted (I had no idea what I was doing, but was so excited to be doing it!) but to save time you could totally use 12 oz store bought sauce of your choice. If you like spicy, I'm a fan of Trader Joe's Hatch Valley Salsa.
Pistachio Lemon Granola Bars

The number one thing I hear in response to my love for cooking is always how stressed cooking makes people feel. People often associate cooking and childhood memories around it with a stressed out parent struggling to get the big meal out on the special holiday. And to that, I say, I totally get it.
Michael Pollan, whose documentary series I just started watching on netflix, talks about how the entertainment industry plays on this stress by making cooking shows that portray cooking as something better left up the pros (iron chef anyone?) and the food industry has been telling us we're too busy and too stressed to cook for years so that they could valiantly come in and save the day.
The first time I made these granola bars, my vitamix died mid-blend of homemade almond butter. And as I was trying to figure out what the hell was wrong I burnt approximately $15 worth of pistachios that I had just spent 20 minutes shelling. I slammed the pan of burnt nuts down on the counter, yelled at my husband about how next time will be paying extra for store-bought almond butter and pre-shelled pistachios and screw the fact that I was trying to be responsible and save money because look where it got me! Then I slammed the door of our bedroom and put my legs up the wall for a couple deep breaths.

So yeah, I totally get it how cooking can be stressful. That's one of the reasons I prefer to cook alone without a time limit and without a crowd to please, and preferably with a good playlist in the background. As ocd as I sound, I need to start with an immaculate kitchen, and clean as I go, even if it takes longer. This, by the way, drives my husband nuts. But my kitchen is my workspace, and a clean kitchen takes away stress and makes the whole cooking process much safer, trust me.
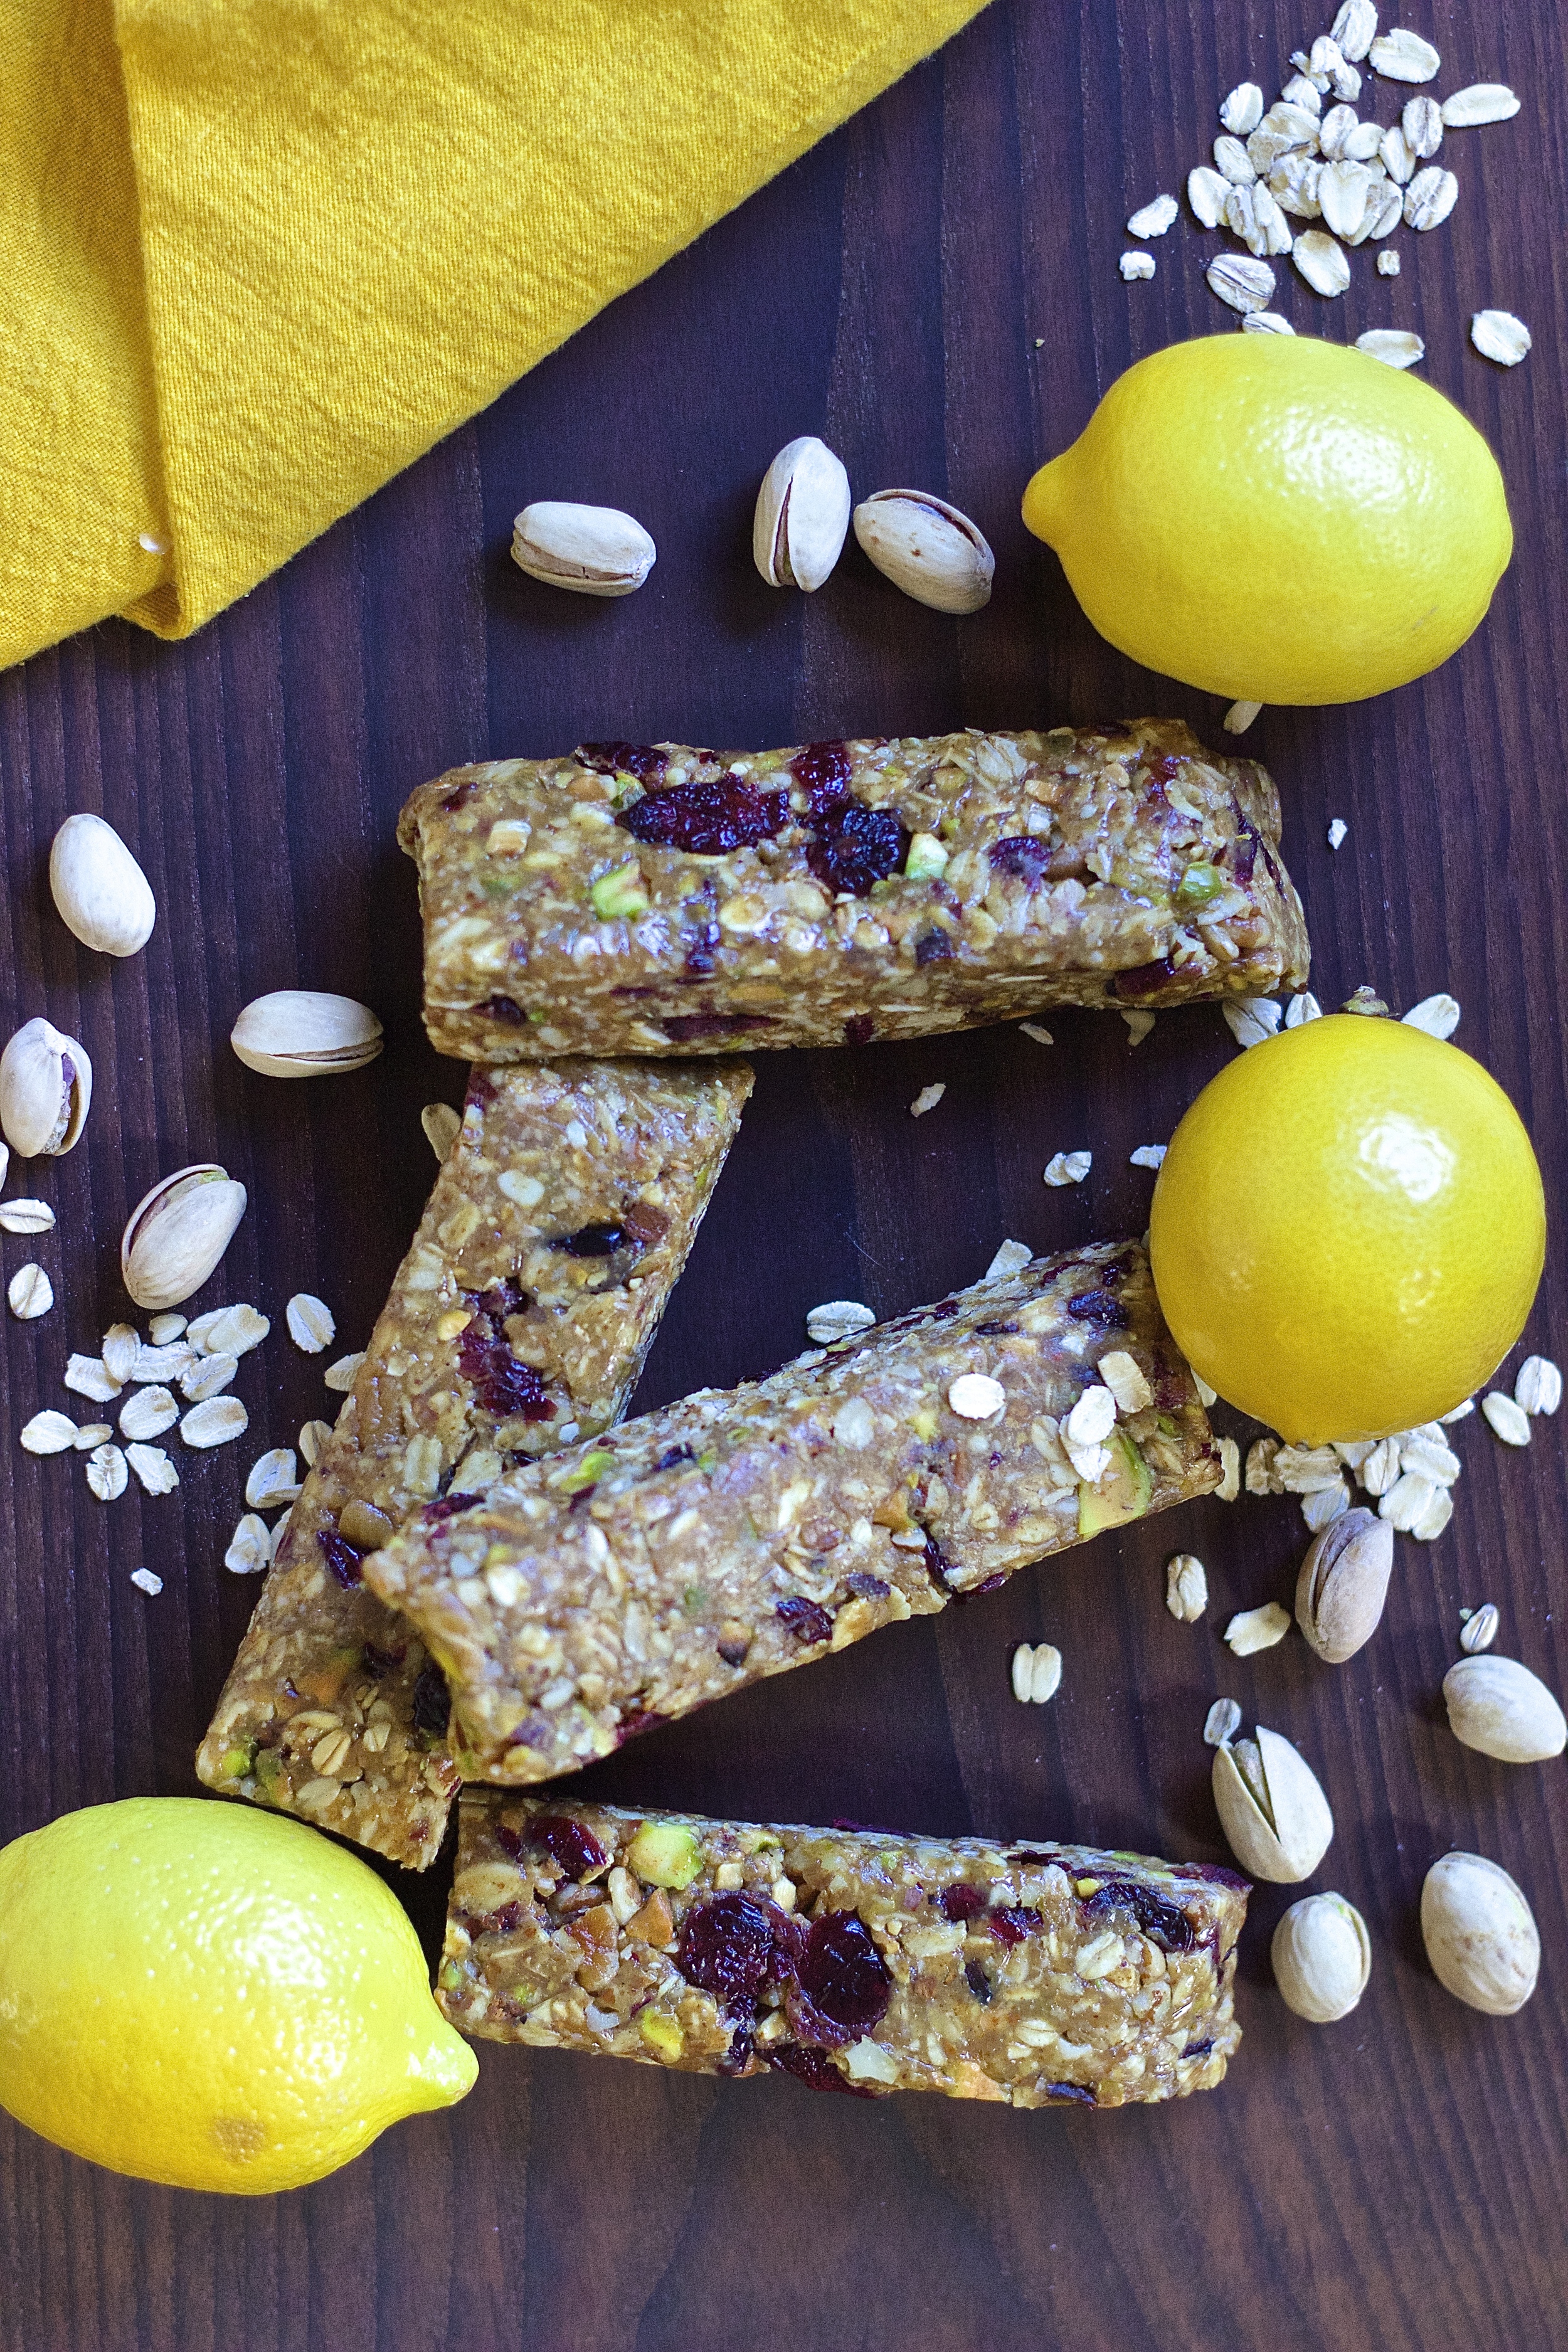
Somehow after picking out the black nut pieces, these bars came out just as I imagined. They're adapted from one of my favorite food blogs, Cookie and Kate, and inspired by my favorite larabar flavor, lemon! I'm such a sucker for tart, springy lemon. The bars are bound together with a combination of nut butter and honey and packed with so much protein and fiber they could almost qualify as breakfast.
I stocked up on homemade granola bars before this semester of grad school started, and individually wrapped them in plastic wrap then tossed them in a freezer bag on the door of the freezer. They defrost in about 30 minutes, and warm perfectly in the toaster if you're in a rush. Super filling and totally guilt-free on-the-go-treat that will ultimately save you money and leave you feeling fuller than any store-bought kind. Bring these to work or class and people will be jealous. Just saying. They're pretty awesome.


Yields 12-16 bars
Ingredients:
1/3 cup pecans (1.5 oz)
2/3 cup shelled pistachios (1.5 oz)
1/3 cup pepitas
2/3 cup dried cranberries (or dried fruit of your choice)
1 3/4 cup old fashioned oats
1 packed tablespoon lemon zest (from about 3 lemons)
1/2 - 3/4 teaspoon salt (decrease if your nut butter is salted)
1 cup almond butter or peanut butter (I did half and half)
1/2 cup honey (or maple syrup)
1/2 teaspoon vanilla extract
2 tablespoons lemon juice
Line an 8x8 (for 12 thick bars) or 9x9 (for 16 thinner bars) inch baking dish with parchment and set aside. Toast the pecans, pistachios and pepitas in a skillet over medium heat for 5-7 minutes, stirring occasionally, until fragrant.
In the bowl of a food processor, pulse the oats for about 5 seconds until broken up significantly, then transfer to a large mixing bowl. Once the nuts & pepitas are toasted add them to the bowl of the food processor along with the dried fruit and run for about 10 seconds then transfer to the mixing bowl with the oats. Add the lemon zest and salt and whisk to combine.
In a small bowl bowl (or liquid measuring cup) combine the nut butter, honey, vanilla extract, and lemon juice and stir until combined. Add the wet ingredients to the dry and stir to combine. I found using my hands to integrate the ingredients into a thick, sticky batter was easiest, but you could also use a wooden spoon and some elbow grease. If the batter seems too dry add in another small scoop of nut butter.
Press the batter into the parchment lined baking dish (the bottom of a drinking glass works best for this) then cover with plastic wrap and refrigerate for at least 4 hours, ideally overnight. Cut into bars and serve. Bars store best individually wrapped in plastic then stored in a freezer bag in the freezer. Stored this way they should last up to 6 months.
Fusilli with Whipped Feta, Cinnamon, & Crispy Garlic

I wish I was creative and innovative enough to come up with this recipe all on my own, but alas it's a recreation from my all-time-favorite restaurant ever, Lula Cafe, in Logan Square. To be honest, it wasn't even love at first bite with this place. I fell in love with the restaurant after we found out we were moving to Chicago and a friend told me I have to try their vegetarian tasting menu. Yeah, vegetarian tasting menu. It's six of the most interesting, creative, tasty vegetable-focused dishes you will ever eat. I ordered it for our 3 year anniversary back in October and it was everything.

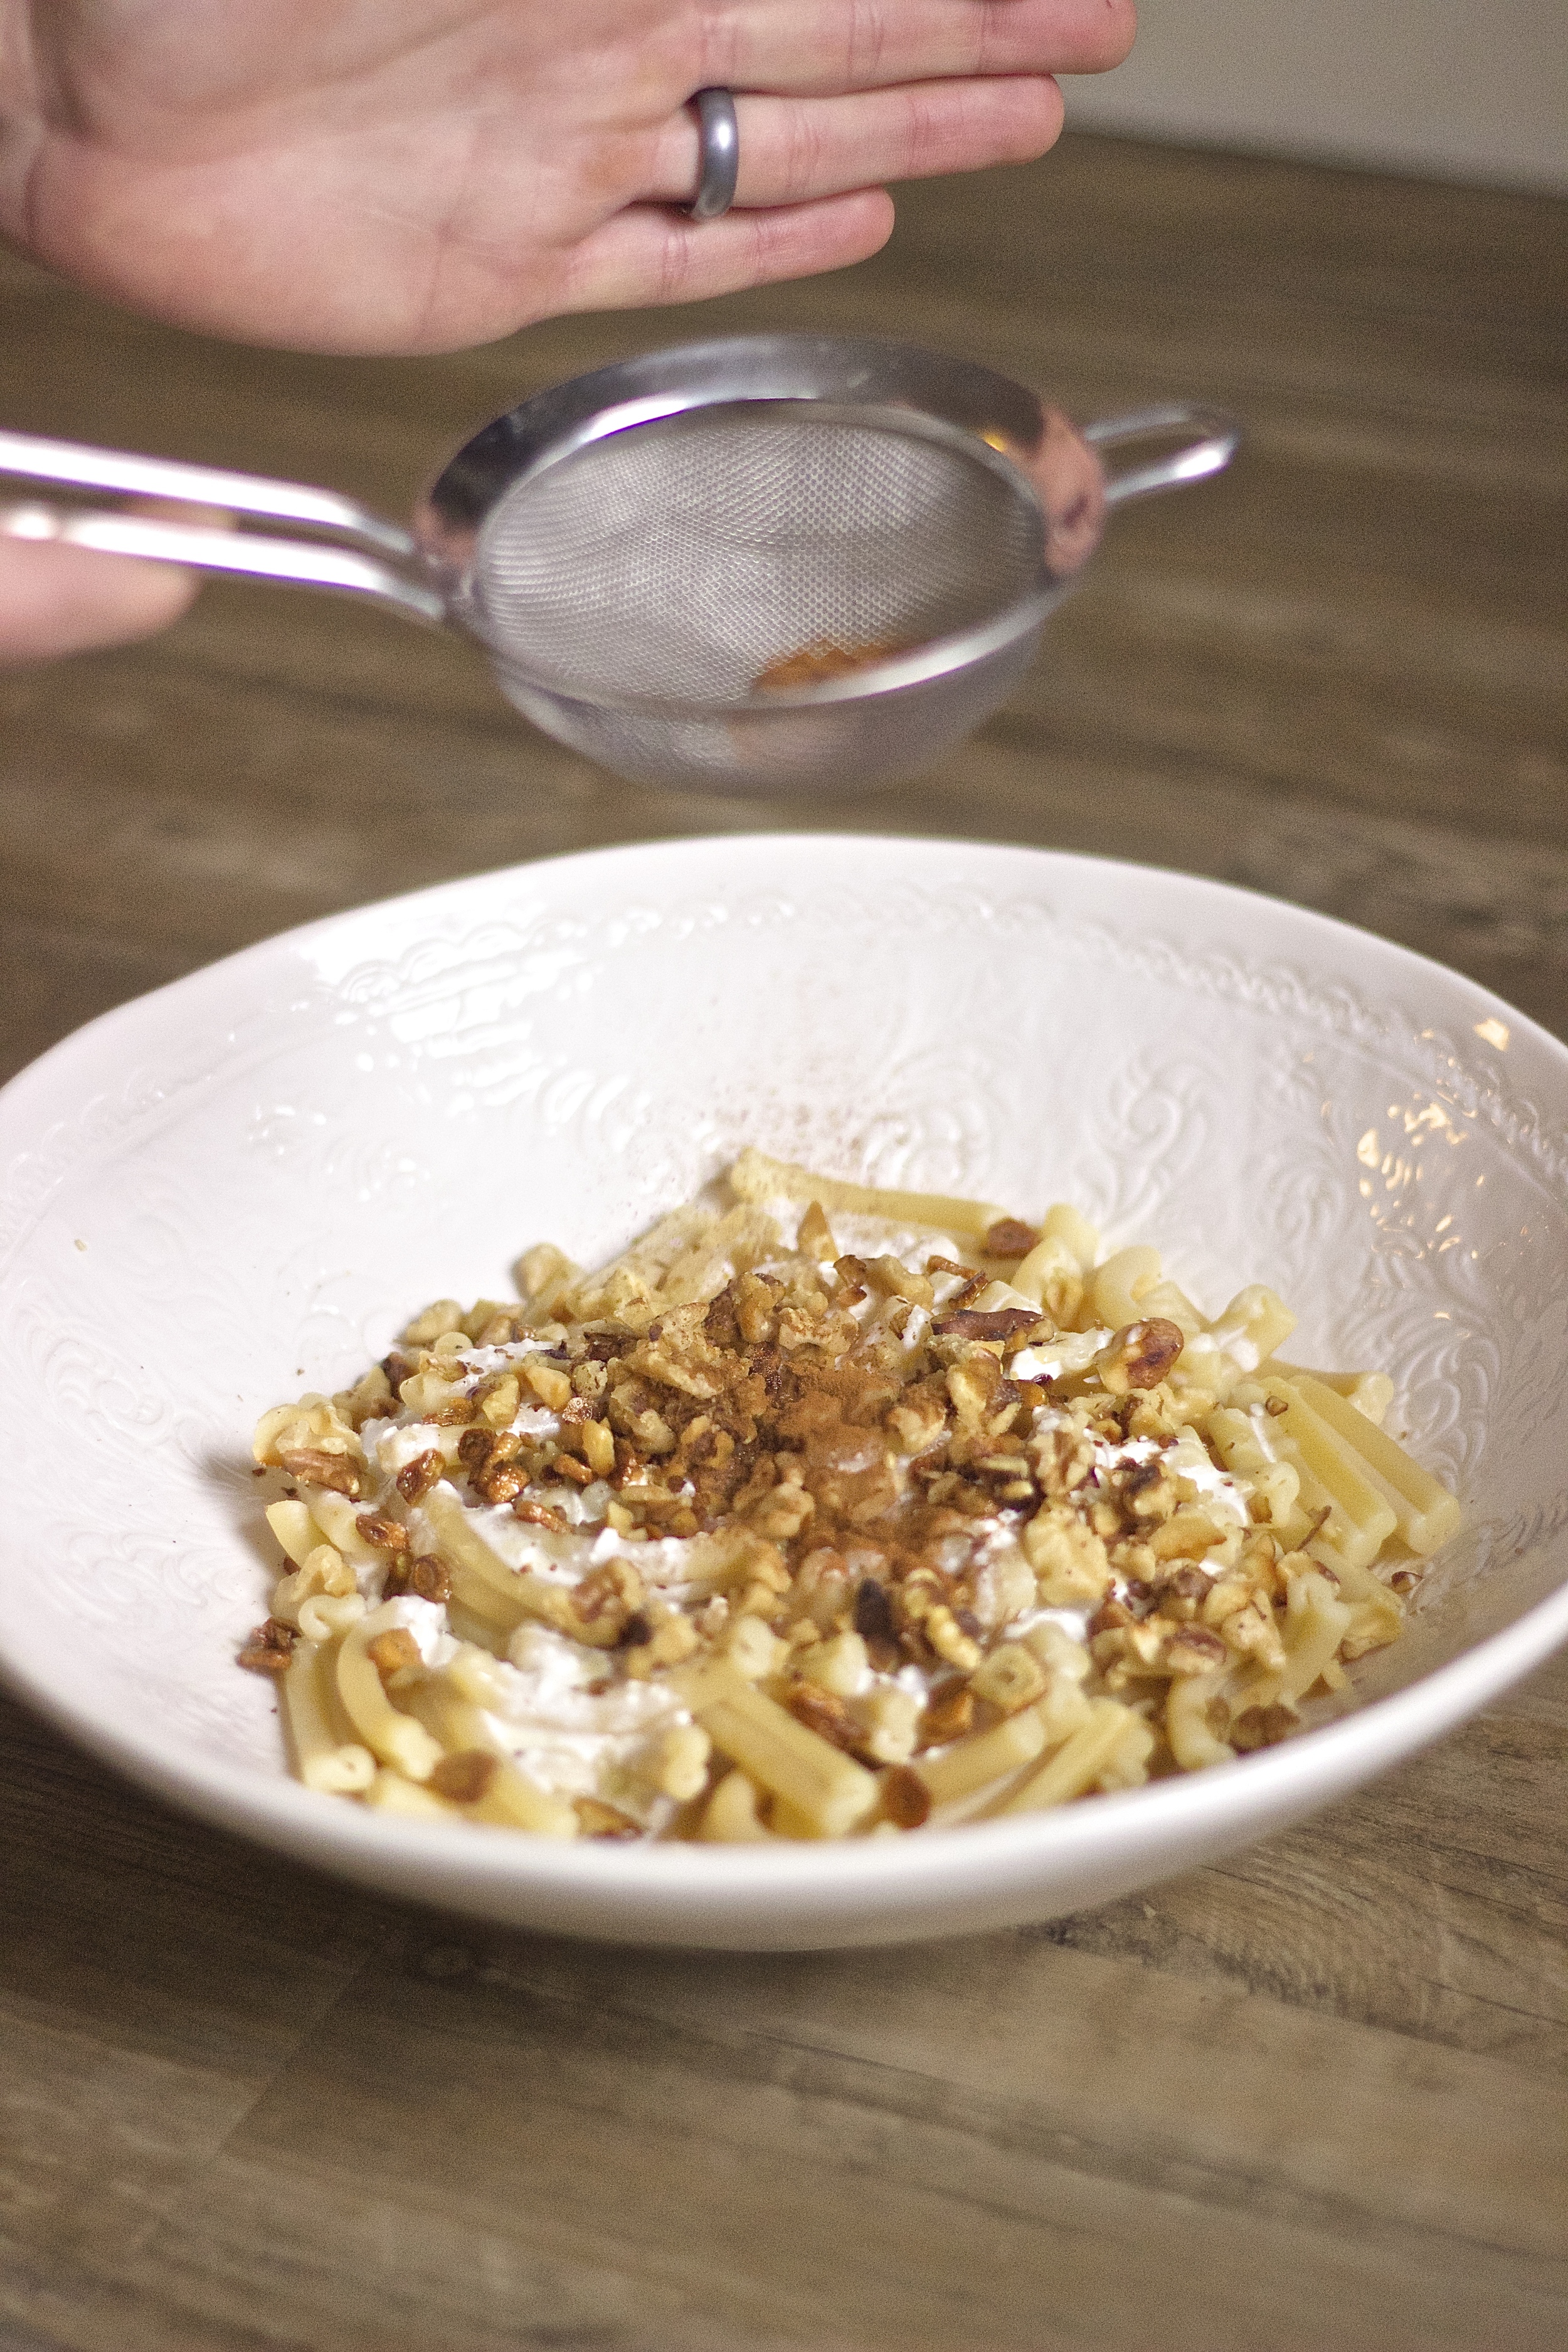
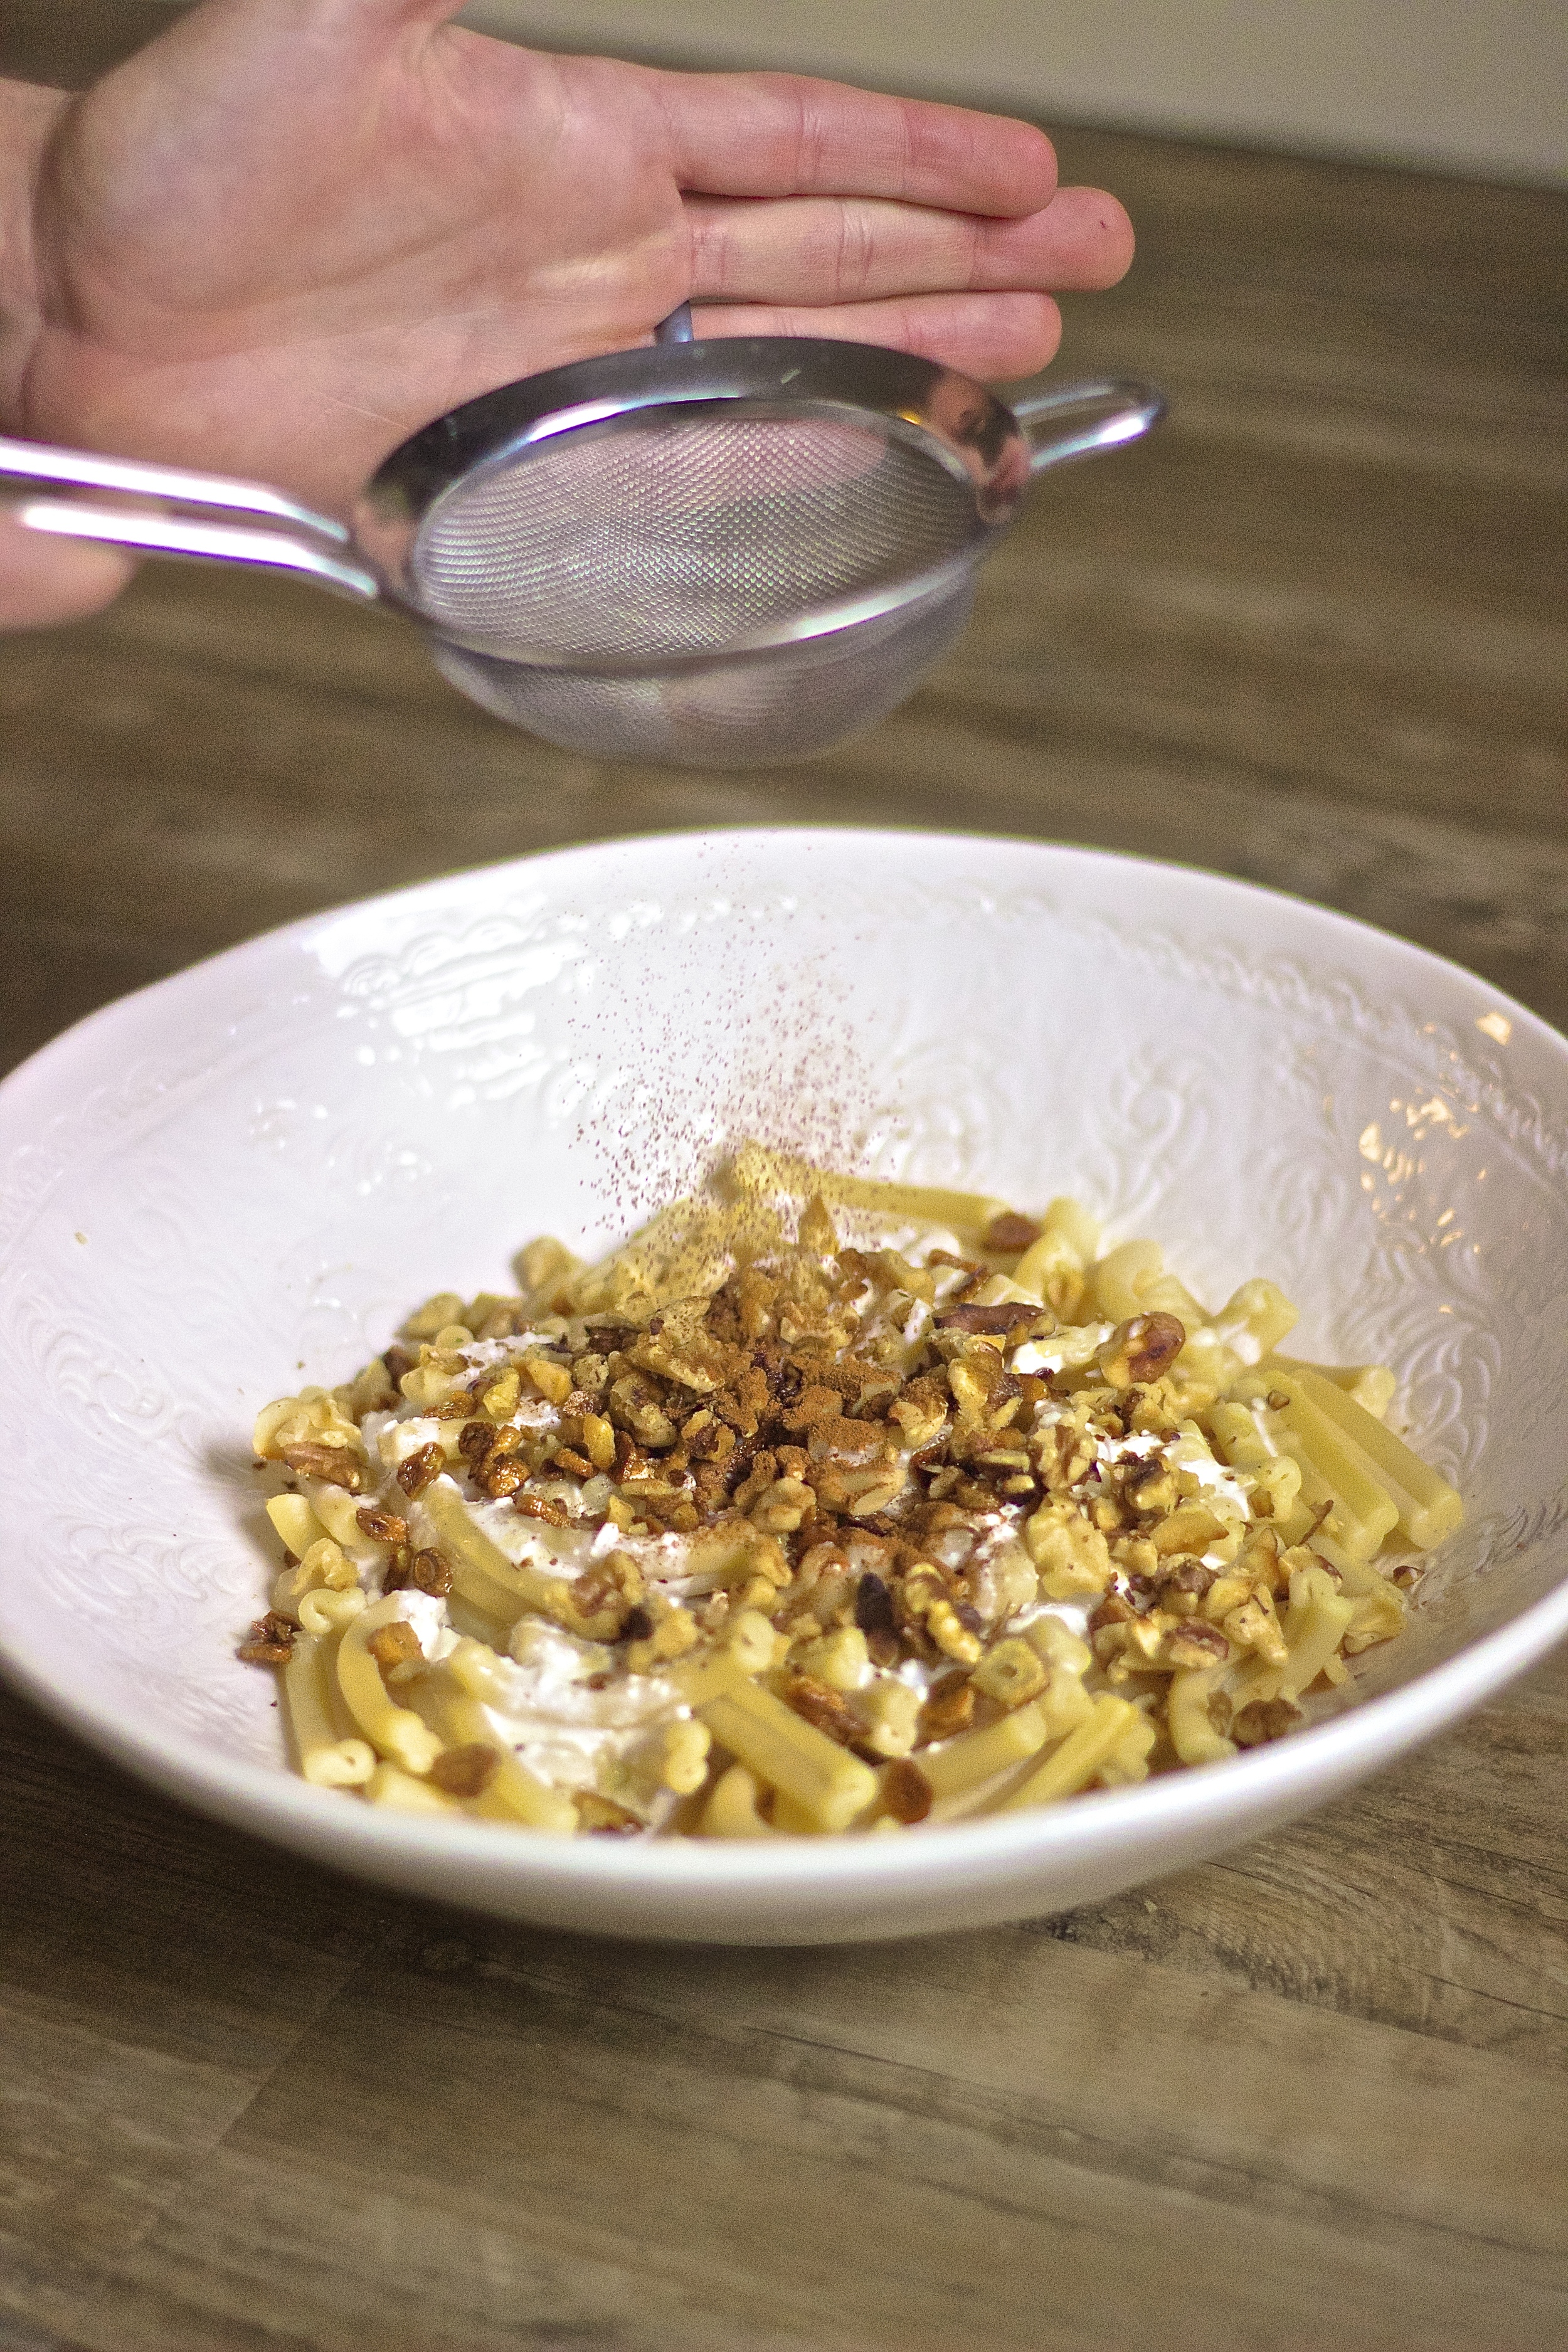
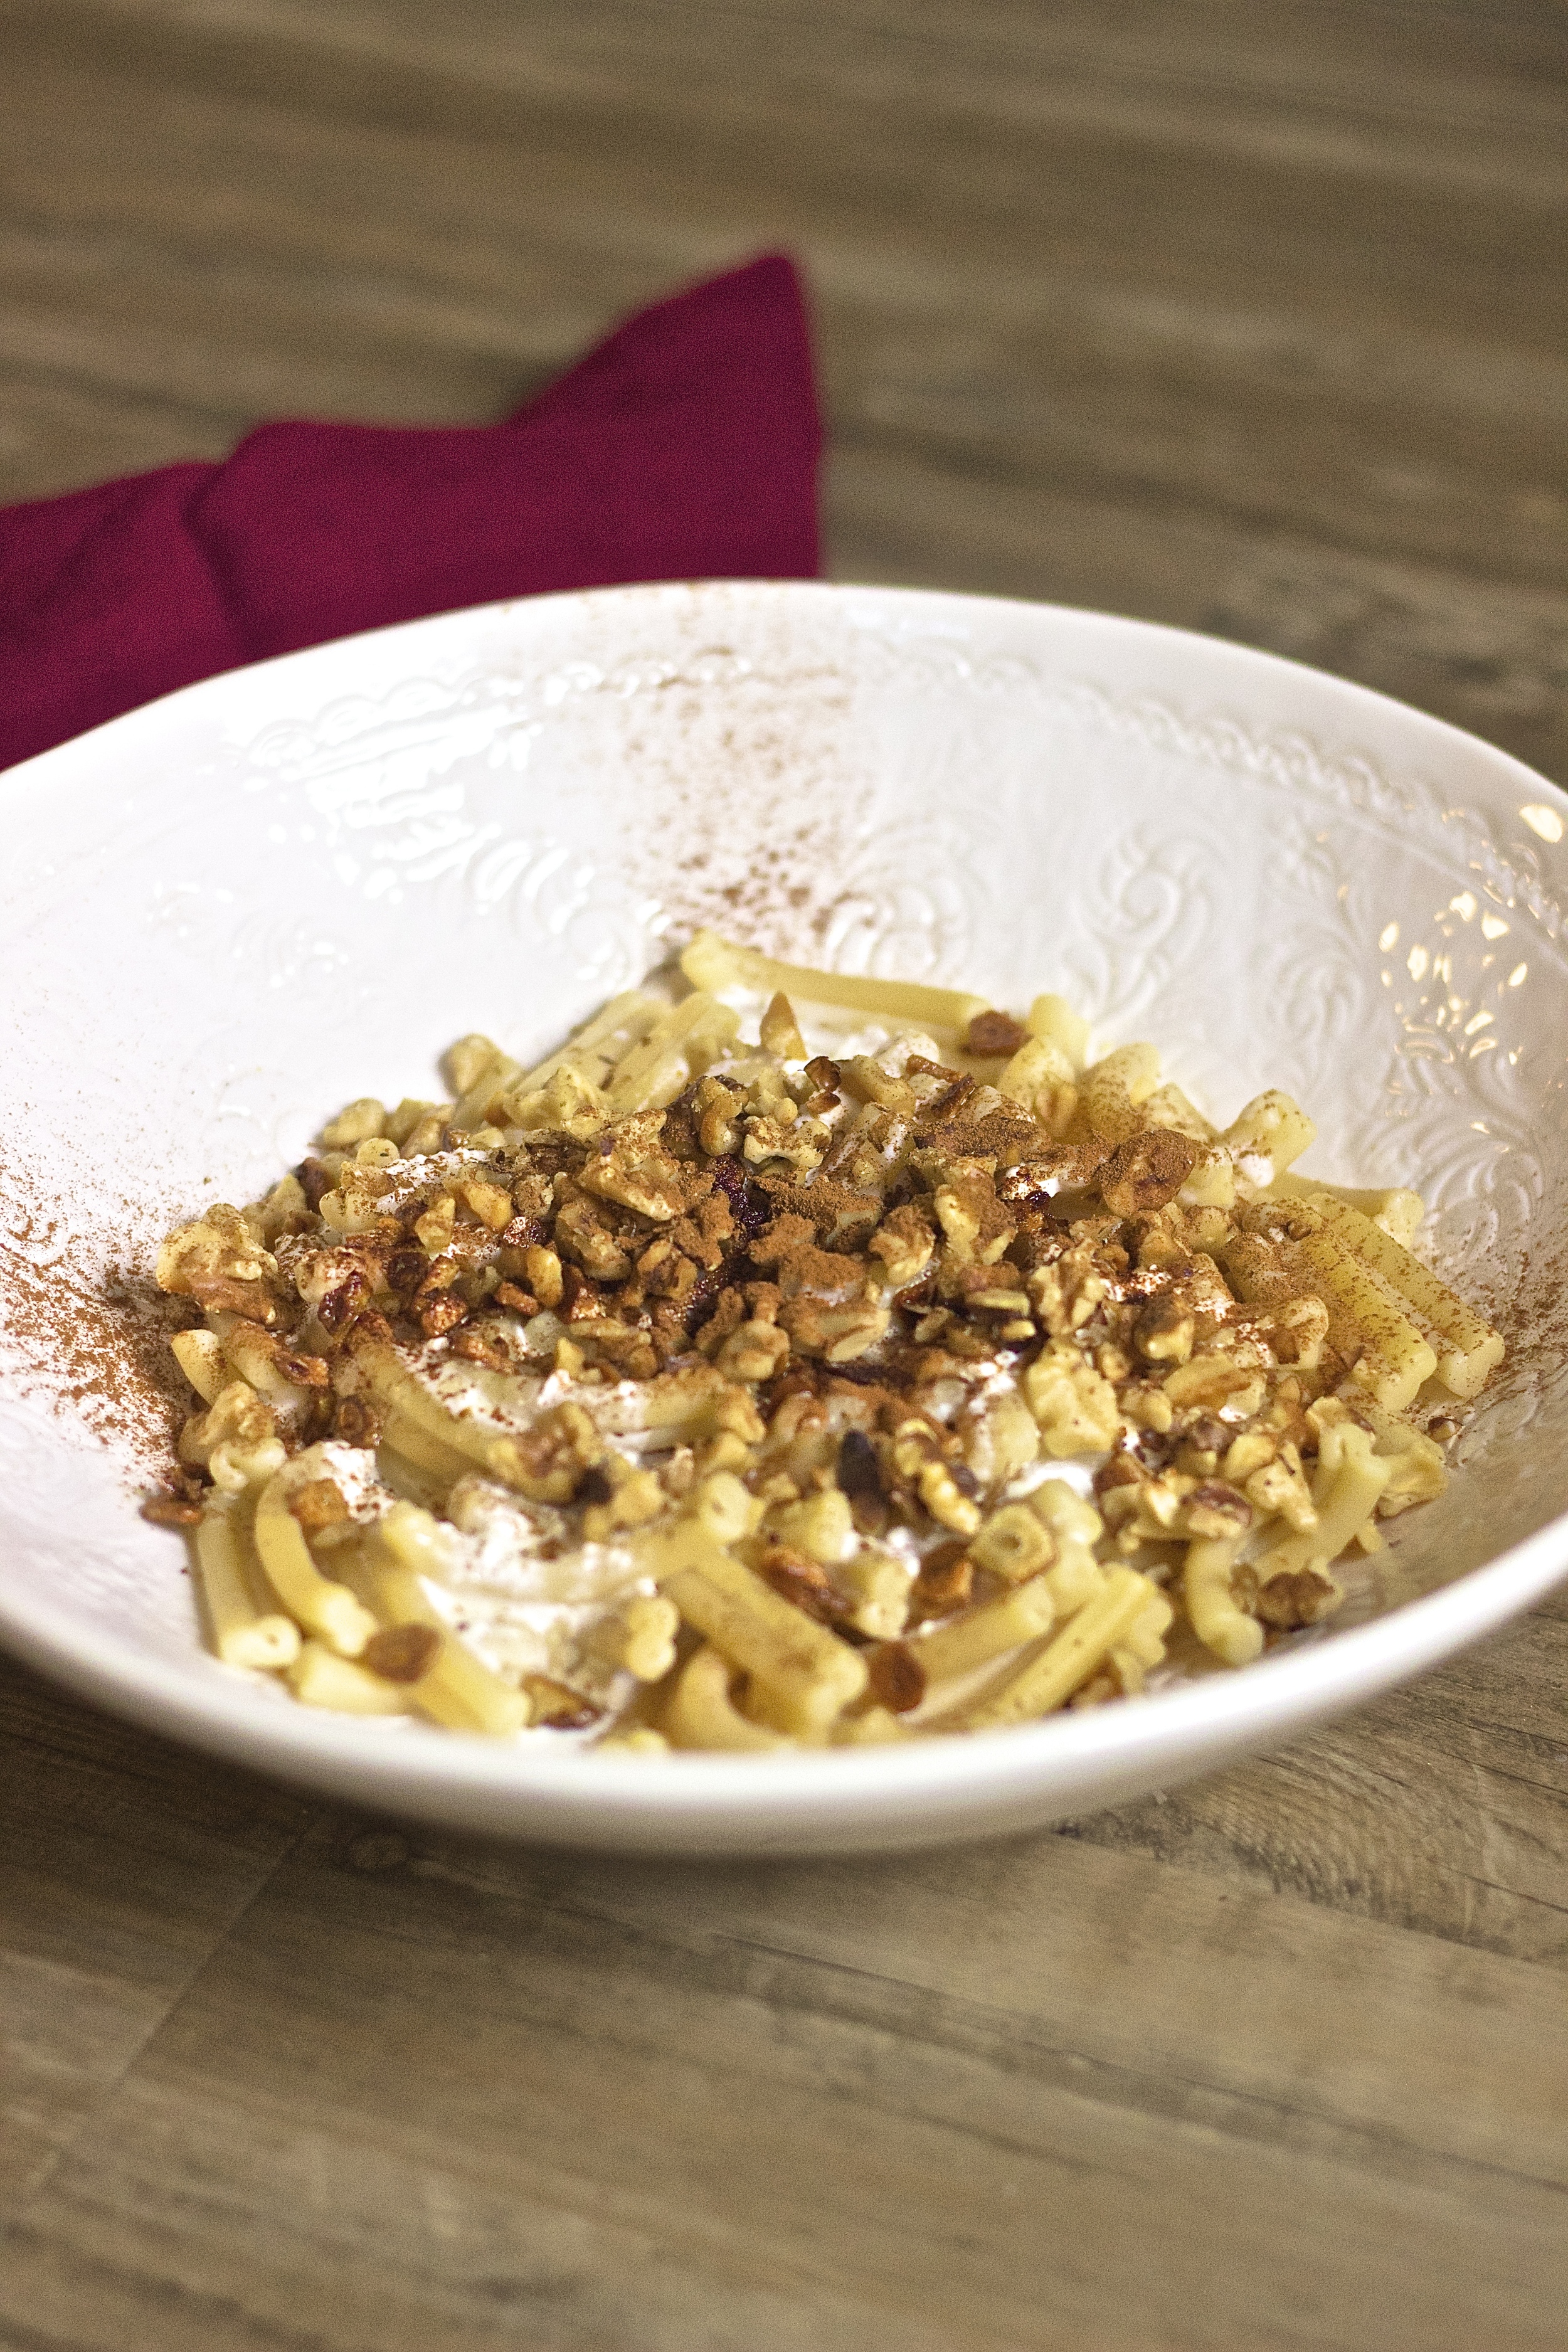


Nate ordered this dish the first time we ate there. "Pasta YiaYia", as it's listed on their menu, is a creamy combination of salty whipped feta, crispy brown garlic, and warm cinnamon. Cinnamon in pasta? I know, I was skeptical at first too but it's ridiculously good. I crunched things up by adding some warm toasted walnuts, and result is just as good as the original. It's the perfect comforting, warm dish for cold winter nights and comes together in literally 20 minutes.

Serves Two
Ingredients:
8 ounces fusilli caserecci (or pasta shape of your choice)
1.5 ounces chopped walnuts (see notes), ~ 1/3 cup
3.5 ounces feta
3-4 large garlic cloves, thinly sliced
2 teaspoons olive oil
1/2 teaspoon cinnamon, plus more for garnish
1/4 cup freshly grated parmesan
1. Bring a large stockpot of heavily salted water to a boil.
2. Meanwhile, place the walnuts in a pan over medium heat and cook until slightly browned and very fragrant, tossing occasionally. Once walnuts are toasted, remove from pan and set aside.
3. Using the same pan, heat the olive oil over medium heat, then toss in the garlic. Cook, stirring occasionally until the garlic slices are golden brown. Once browned, remove the pan from heat and set aside.
4. Once the water is boiling, cook the pasta until al dente (reserve the pasta water).
5. While the pasta is cooking, place the feta in either the bowl of a stand mixer with a whisk attachment (you can also use a hand-mixer). Whisk the feta at medium speed until smooth and creamy. Just before the pasta is done, scoop 2 tablespoons of pasta water and whisk it into the feta.
6. Transfer the pasta to a serving bowl, top with feta mixture, toasted walnuts, garlic, parmesan and cinnamon. Toss and serve, topping each serving with a light dusting of more cinnamon and parmesan.
Notes:
You could totally substitute any nuts you have on hand, I think this dish would be especially good with hazelnuts! I splurged a bit on the awesomely shaped pasta from Eataly, but seriously any pasta shape will do, even gluten-free pasta works well - this is our favorite.