Pistachio Lemon Granola Bars

The number one thing I hear in response to my love for cooking is always how stressed cooking makes people feel. People often associate cooking and childhood memories around it with a stressed out parent struggling to get the big meal out on the special holiday. And to that, I say, I totally get it.
Michael Pollan, whose documentary series I just started watching on netflix, talks about how the entertainment industry plays on this stress by making cooking shows that portray cooking as something better left up the pros (iron chef anyone?) and the food industry has been telling us we're too busy and too stressed to cook for years so that they could valiantly come in and save the day.
The first time I made these granola bars, my vitamix died mid-blend of homemade almond butter. And as I was trying to figure out what the hell was wrong I burnt approximately $15 worth of pistachios that I had just spent 20 minutes shelling. I slammed the pan of burnt nuts down on the counter, yelled at my husband about how next time will be paying extra for store-bought almond butter and pre-shelled pistachios and screw the fact that I was trying to be responsible and save money because look where it got me! Then I slammed the door of our bedroom and put my legs up the wall for a couple deep breaths.

So yeah, I totally get it how cooking can be stressful. That's one of the reasons I prefer to cook alone without a time limit and without a crowd to please, and preferably with a good playlist in the background. As ocd as I sound, I need to start with an immaculate kitchen, and clean as I go, even if it takes longer. This, by the way, drives my husband nuts. But my kitchen is my workspace, and a clean kitchen takes away stress and makes the whole cooking process much safer, trust me.
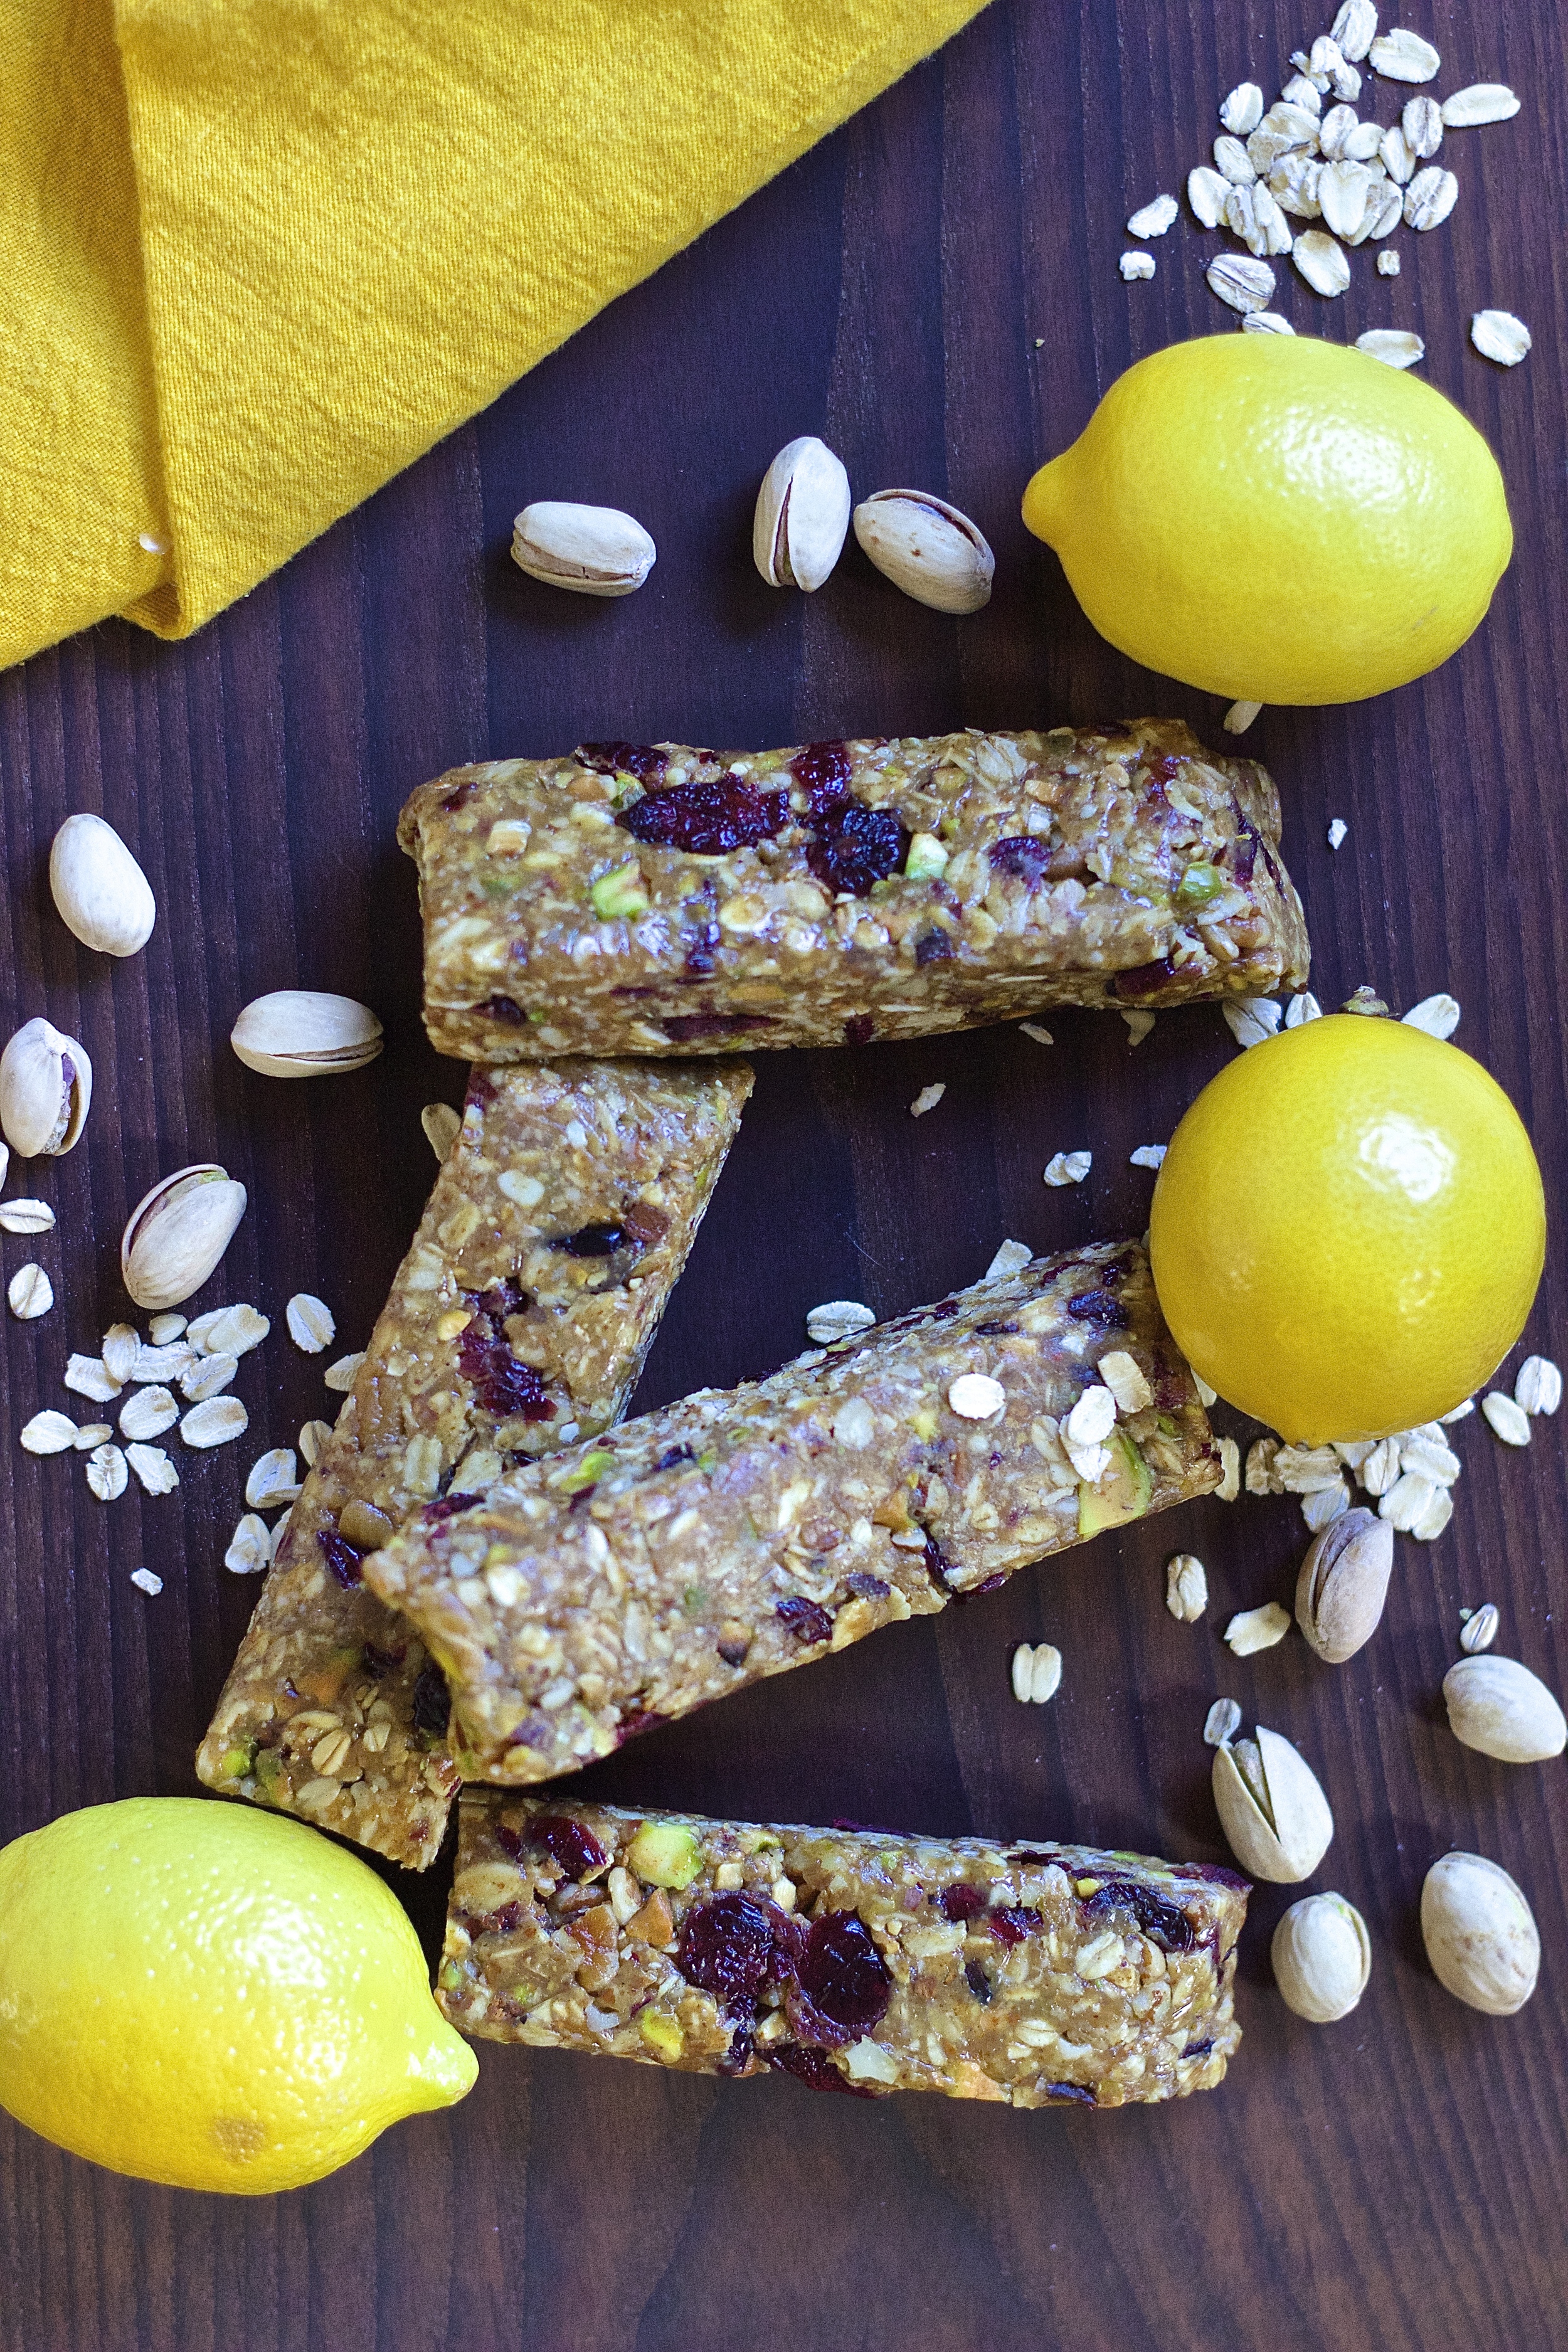
Somehow after picking out the black nut pieces, these bars came out just as I imagined. They're adapted from one of my favorite food blogs, Cookie and Kate, and inspired by my favorite larabar flavor, lemon! I'm such a sucker for tart, springy lemon. The bars are bound together with a combination of nut butter and honey and packed with so much protein and fiber they could almost qualify as breakfast.
I stocked up on homemade granola bars before this semester of grad school started, and individually wrapped them in plastic wrap then tossed them in a freezer bag on the door of the freezer. They defrost in about 30 minutes, and warm perfectly in the toaster if you're in a rush. Super filling and totally guilt-free on-the-go-treat that will ultimately save you money and leave you feeling fuller than any store-bought kind. Bring these to work or class and people will be jealous. Just saying. They're pretty awesome.


Yields 12-16 bars
Ingredients:
1/3 cup pecans (1.5 oz)
2/3 cup shelled pistachios (1.5 oz)
1/3 cup pepitas
2/3 cup dried cranberries (or dried fruit of your choice)
1 3/4 cup old fashioned oats
1 packed tablespoon lemon zest (from about 3 lemons)
1/2 - 3/4 teaspoon salt (decrease if your nut butter is salted)
1 cup almond butter or peanut butter (I did half and half)
1/2 cup honey (or maple syrup)
1/2 teaspoon vanilla extract
2 tablespoons lemon juice
Line an 8x8 (for 12 thick bars) or 9x9 (for 16 thinner bars) inch baking dish with parchment and set aside. Toast the pecans, pistachios and pepitas in a skillet over medium heat for 5-7 minutes, stirring occasionally, until fragrant.
In the bowl of a food processor, pulse the oats for about 5 seconds until broken up significantly, then transfer to a large mixing bowl. Once the nuts & pepitas are toasted add them to the bowl of the food processor along with the dried fruit and run for about 10 seconds then transfer to the mixing bowl with the oats. Add the lemon zest and salt and whisk to combine.
In a small bowl bowl (or liquid measuring cup) combine the nut butter, honey, vanilla extract, and lemon juice and stir until combined. Add the wet ingredients to the dry and stir to combine. I found using my hands to integrate the ingredients into a thick, sticky batter was easiest, but you could also use a wooden spoon and some elbow grease. If the batter seems too dry add in another small scoop of nut butter.
Press the batter into the parchment lined baking dish (the bottom of a drinking glass works best for this) then cover with plastic wrap and refrigerate for at least 4 hours, ideally overnight. Cut into bars and serve. Bars store best individually wrapped in plastic then stored in a freezer bag in the freezer. Stored this way they should last up to 6 months.
Fusilli with Whipped Feta, Cinnamon, & Crispy Garlic

I wish I was creative and innovative enough to come up with this recipe all on my own, but alas it's a recreation from my all-time-favorite restaurant ever, Lula Cafe, in Logan Square. To be honest, it wasn't even love at first bite with this place. I fell in love with the restaurant after we found out we were moving to Chicago and a friend told me I have to try their vegetarian tasting menu. Yeah, vegetarian tasting menu. It's six of the most interesting, creative, tasty vegetable-focused dishes you will ever eat. I ordered it for our 3 year anniversary back in October and it was everything.

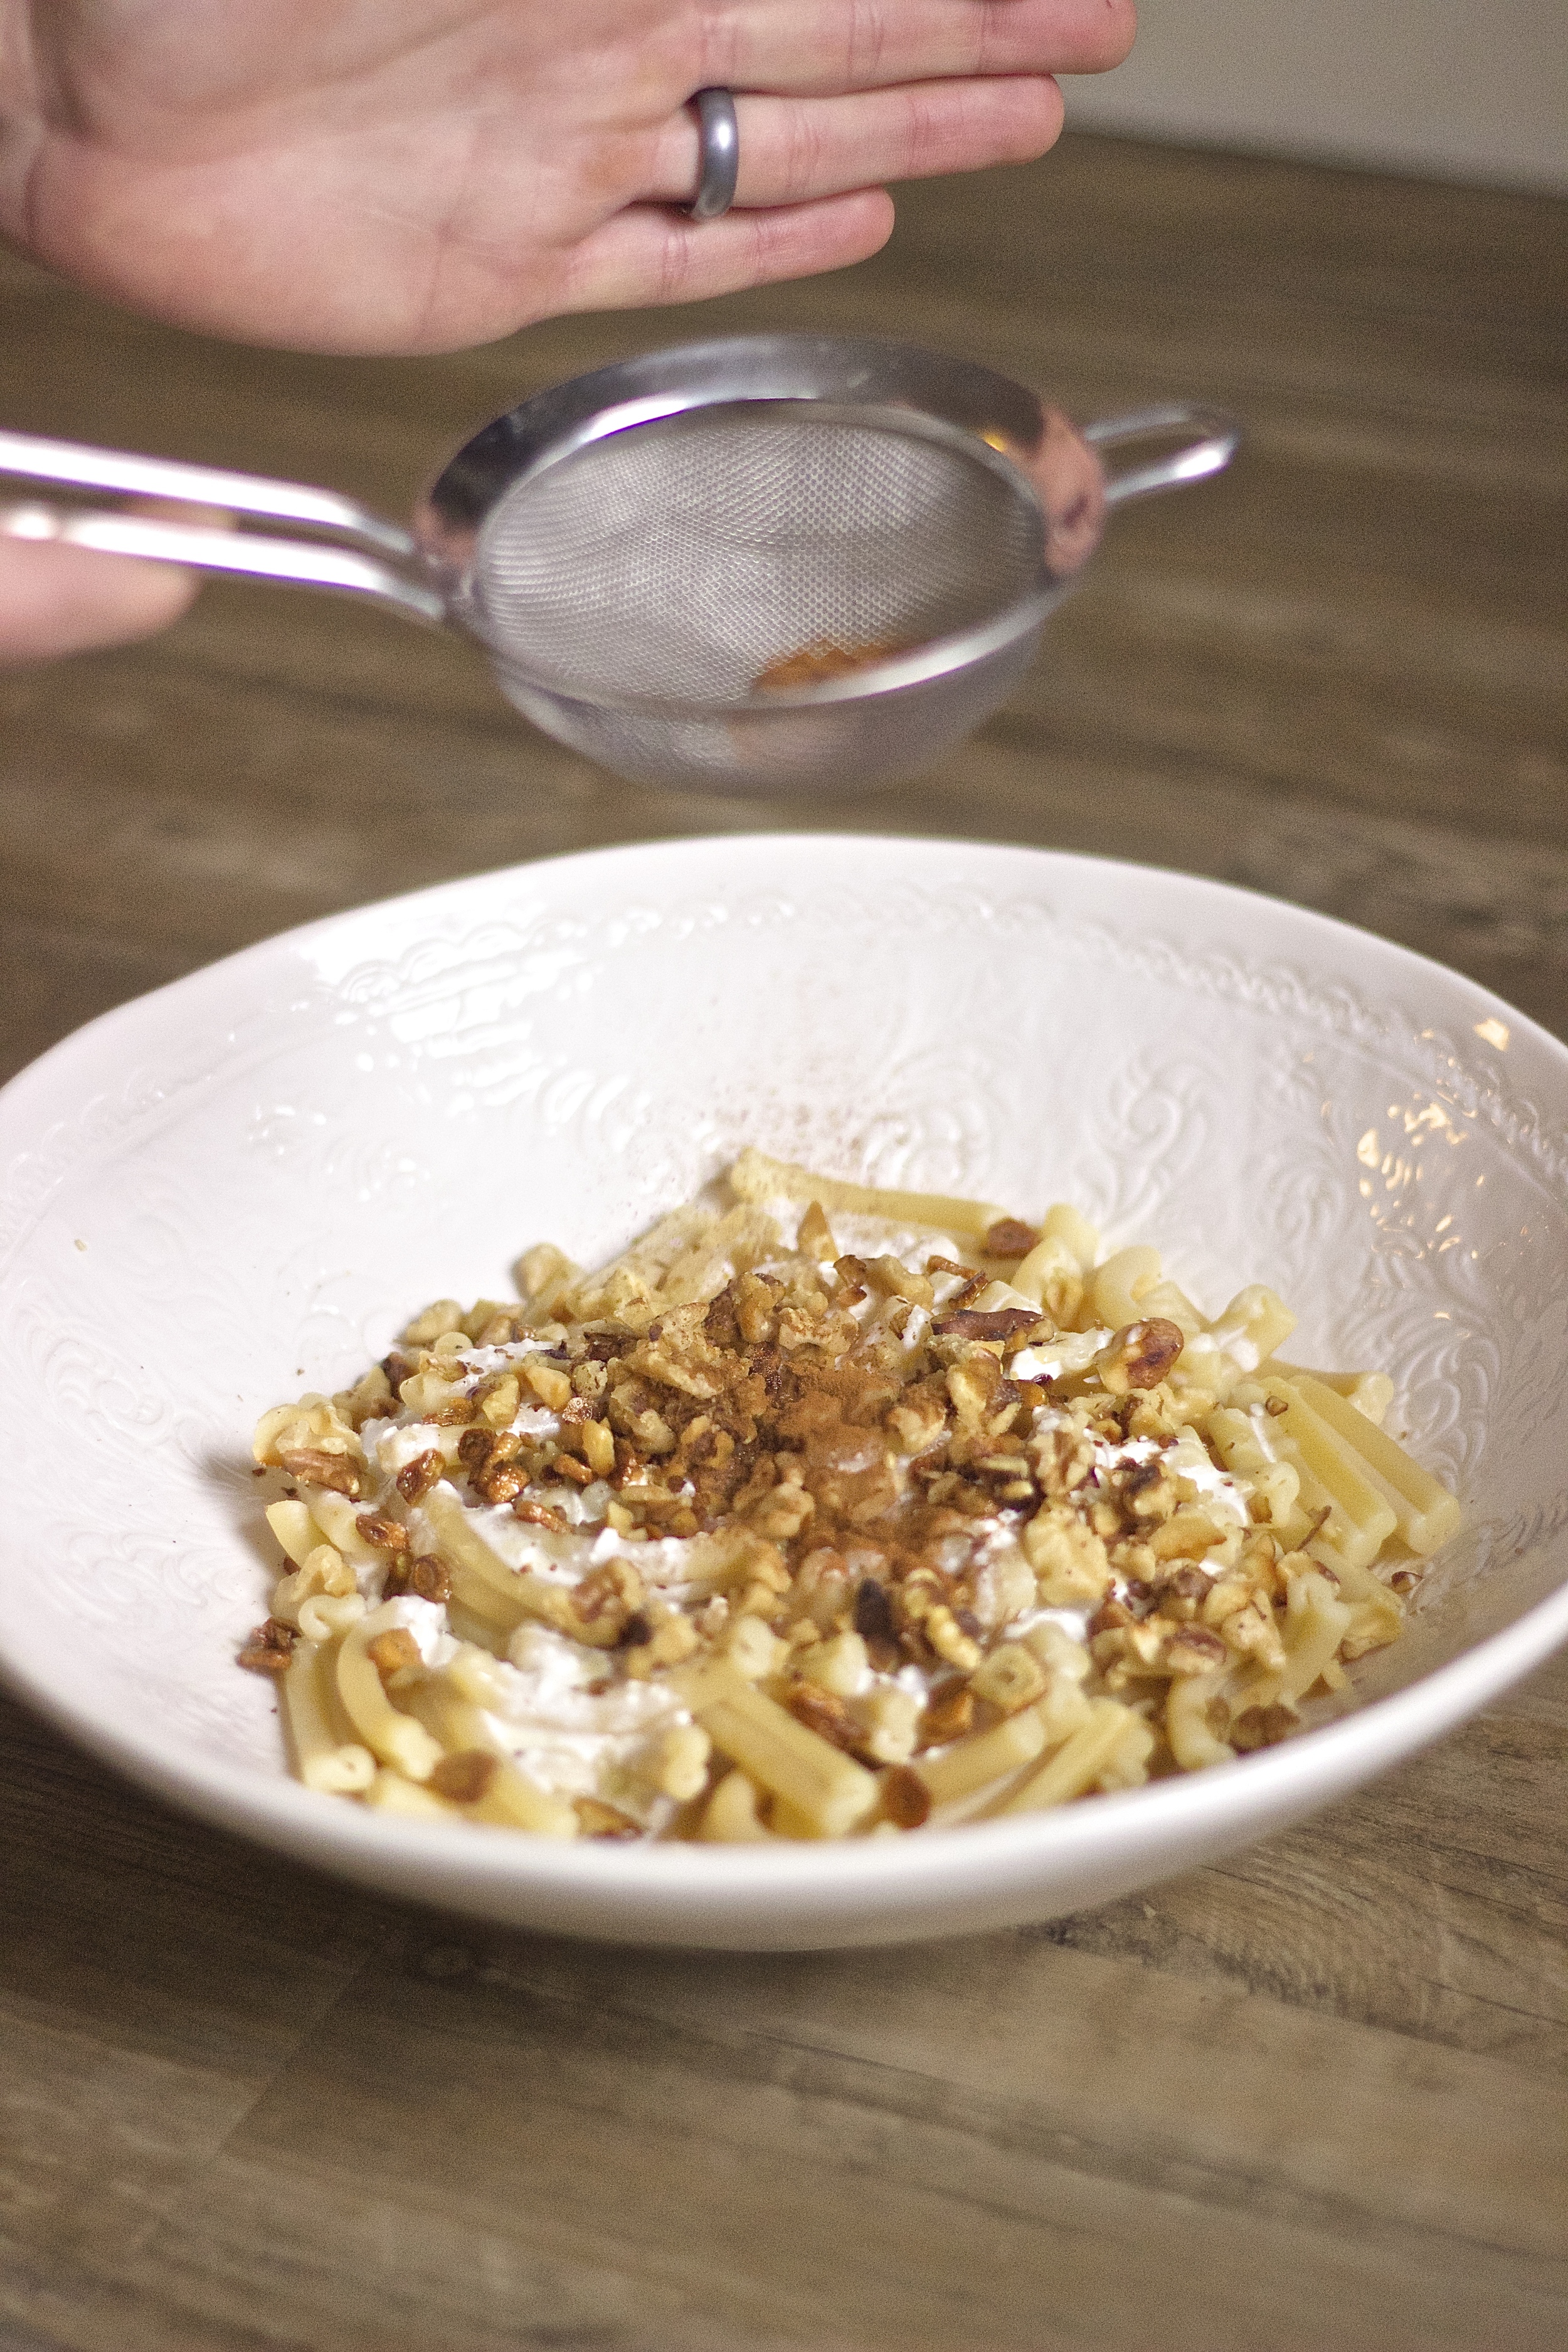
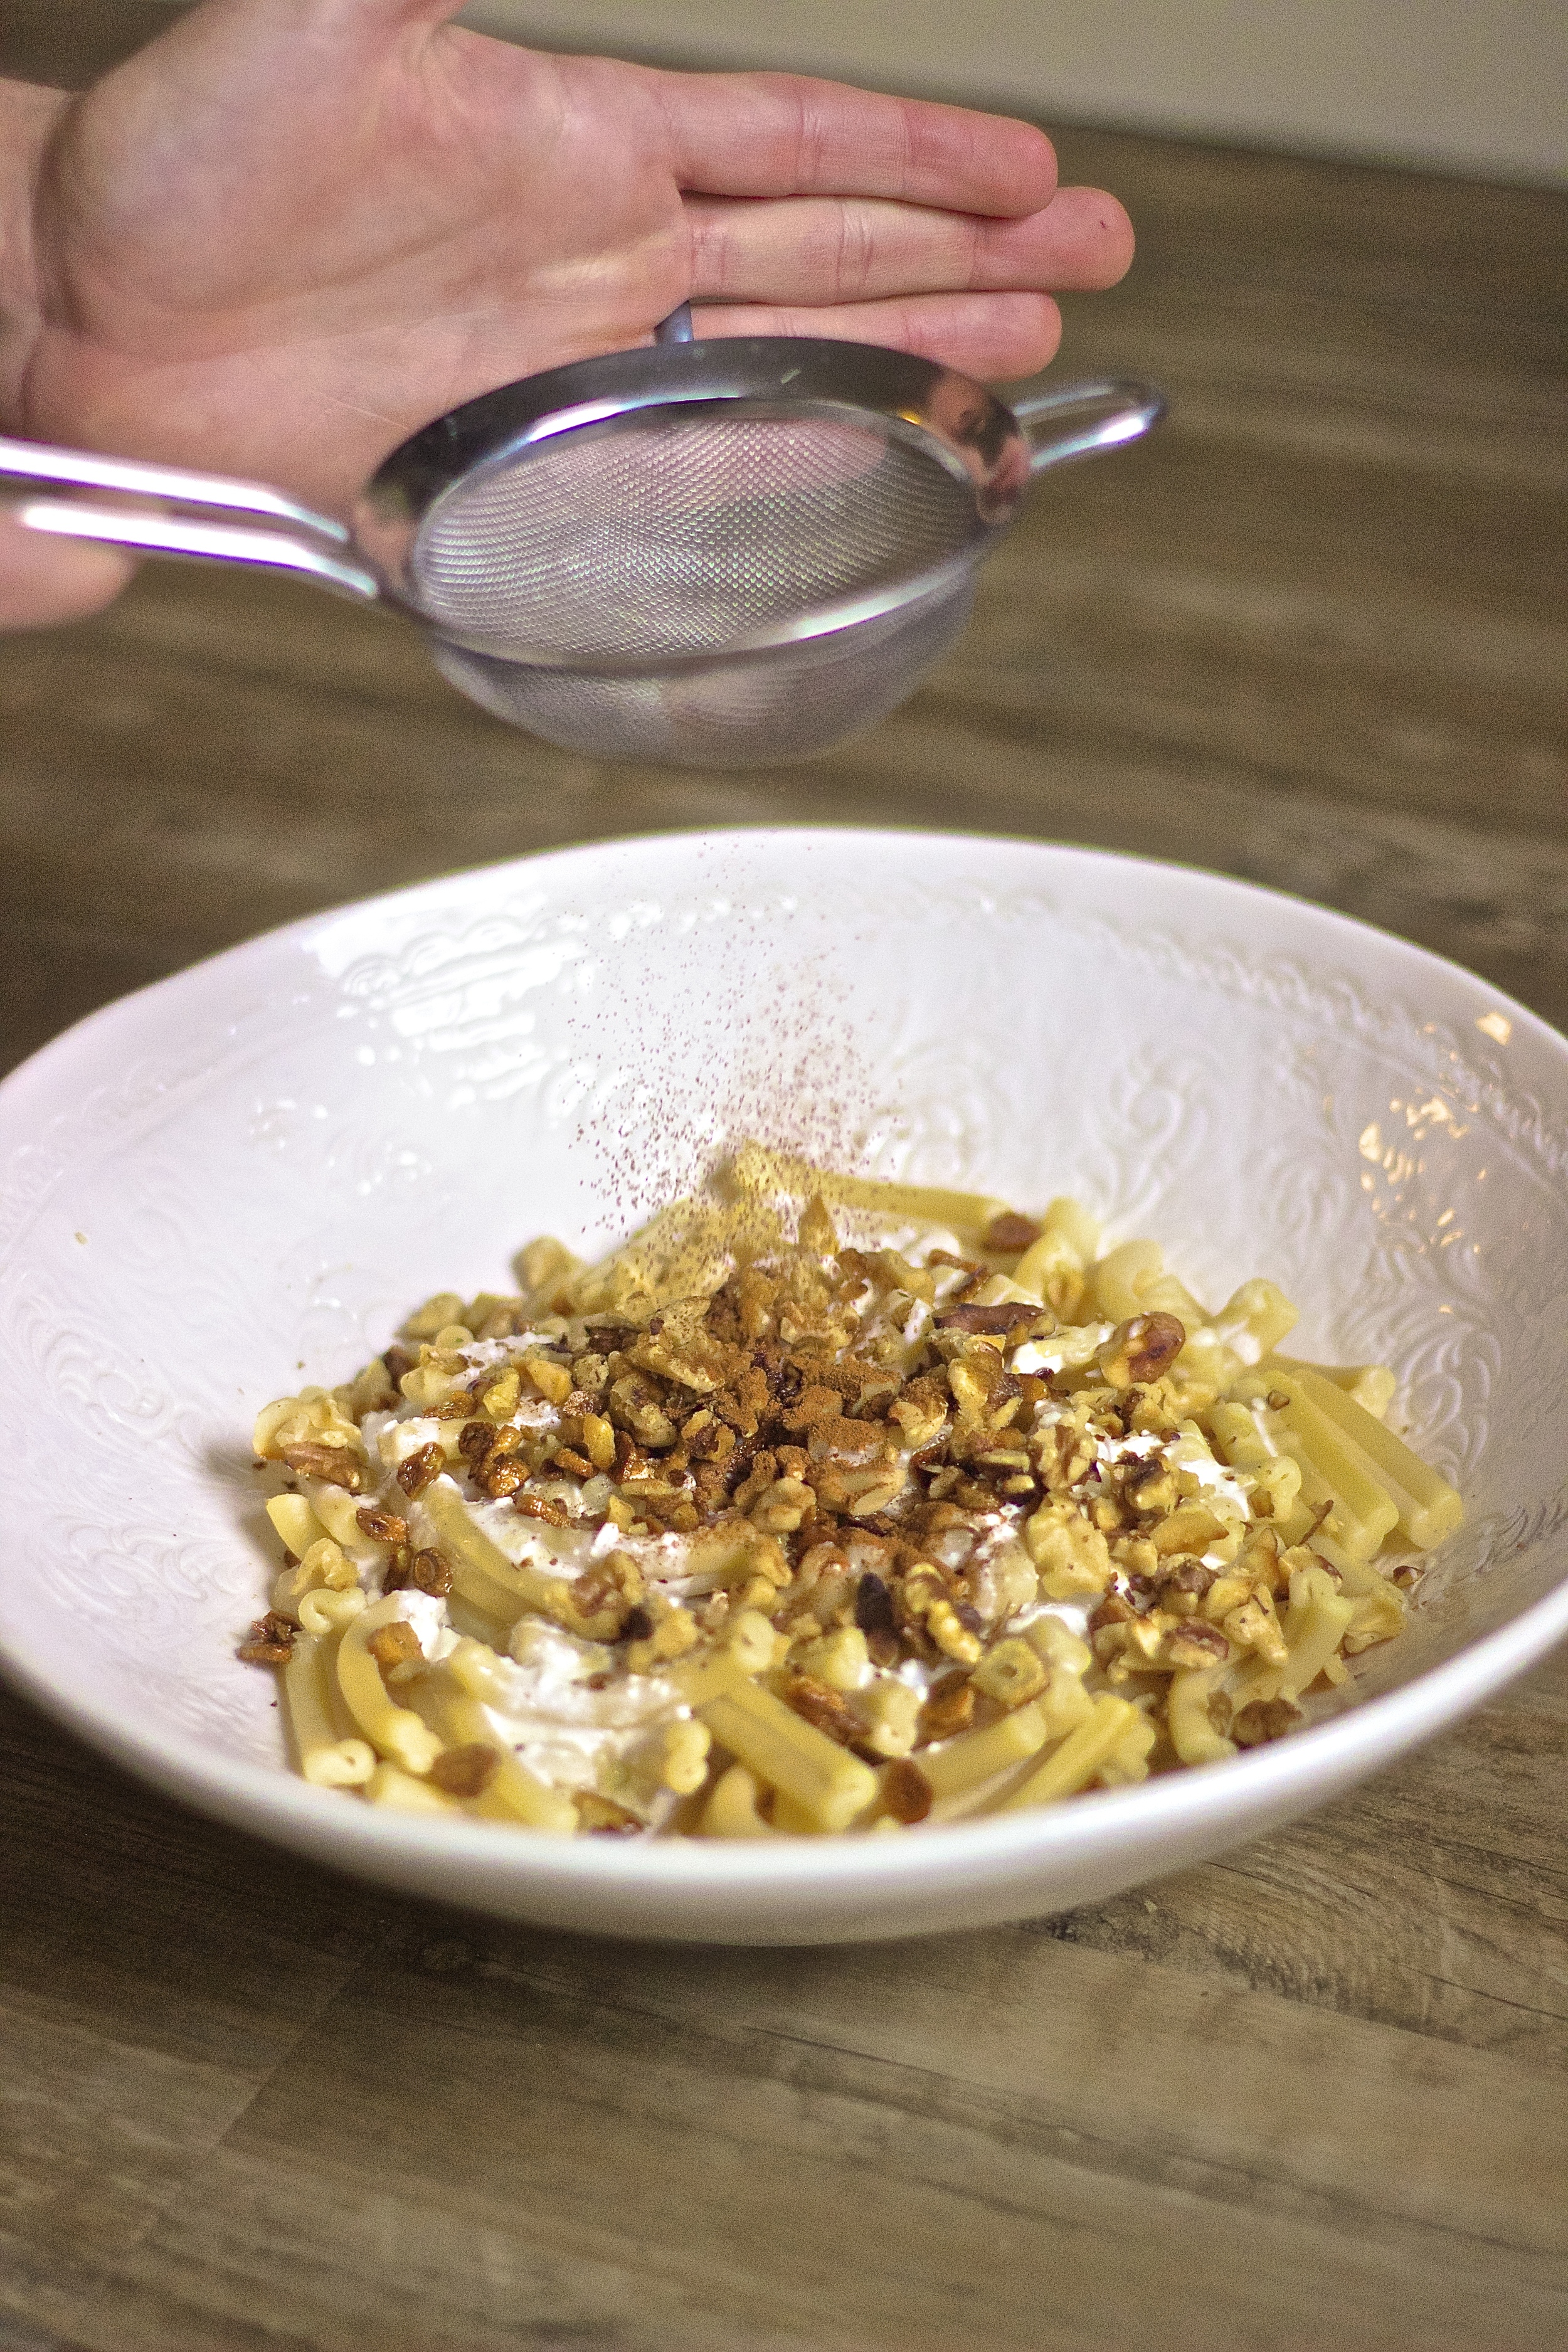
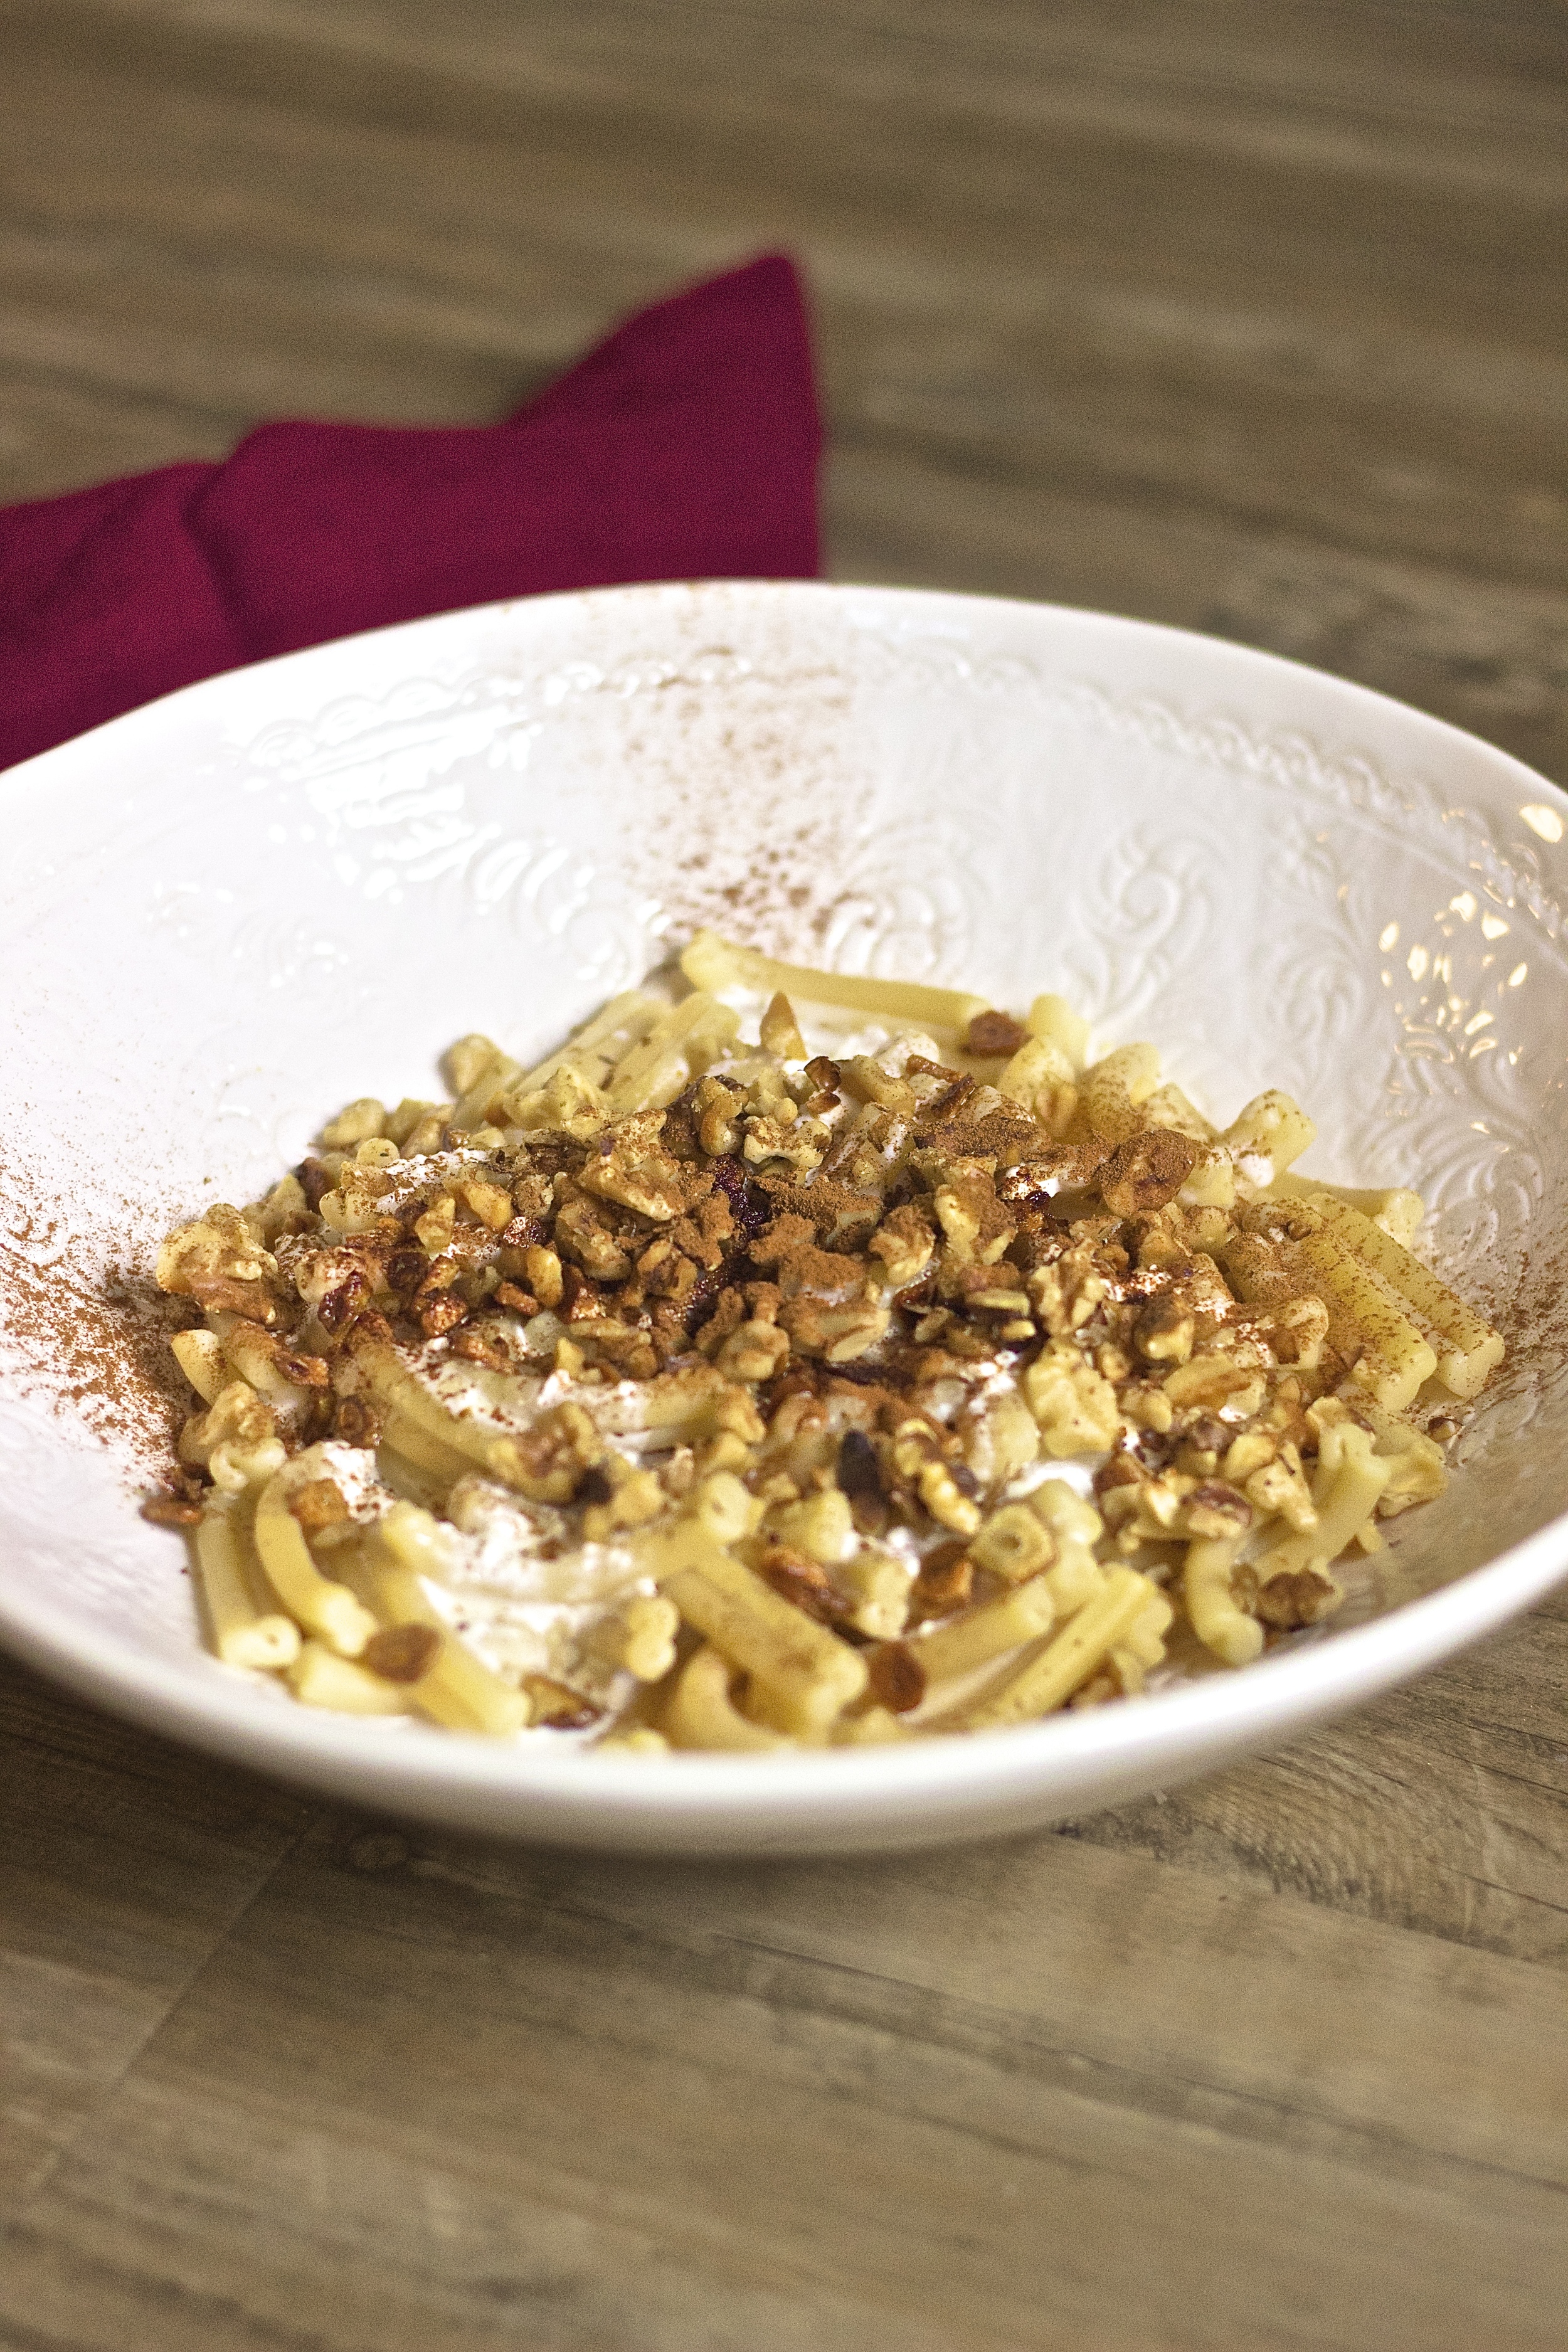


Nate ordered this dish the first time we ate there. "Pasta YiaYia", as it's listed on their menu, is a creamy combination of salty whipped feta, crispy brown garlic, and warm cinnamon. Cinnamon in pasta? I know, I was skeptical at first too but it's ridiculously good. I crunched things up by adding some warm toasted walnuts, and result is just as good as the original. It's the perfect comforting, warm dish for cold winter nights and comes together in literally 20 minutes.

Serves Two
Ingredients:
8 ounces fusilli caserecci (or pasta shape of your choice)
1.5 ounces chopped walnuts (see notes), ~ 1/3 cup
3.5 ounces feta
3-4 large garlic cloves, thinly sliced
2 teaspoons olive oil
1/2 teaspoon cinnamon, plus more for garnish
1/4 cup freshly grated parmesan
1. Bring a large stockpot of heavily salted water to a boil.
2. Meanwhile, place the walnuts in a pan over medium heat and cook until slightly browned and very fragrant, tossing occasionally. Once walnuts are toasted, remove from pan and set aside.
3. Using the same pan, heat the olive oil over medium heat, then toss in the garlic. Cook, stirring occasionally until the garlic slices are golden brown. Once browned, remove the pan from heat and set aside.
4. Once the water is boiling, cook the pasta until al dente (reserve the pasta water).
5. While the pasta is cooking, place the feta in either the bowl of a stand mixer with a whisk attachment (you can also use a hand-mixer). Whisk the feta at medium speed until smooth and creamy. Just before the pasta is done, scoop 2 tablespoons of pasta water and whisk it into the feta.
6. Transfer the pasta to a serving bowl, top with feta mixture, toasted walnuts, garlic, parmesan and cinnamon. Toss and serve, topping each serving with a light dusting of more cinnamon and parmesan.
Notes:
You could totally substitute any nuts you have on hand, I think this dish would be especially good with hazelnuts! I splurged a bit on the awesomely shaped pasta from Eataly, but seriously any pasta shape will do, even gluten-free pasta works well - this is our favorite.
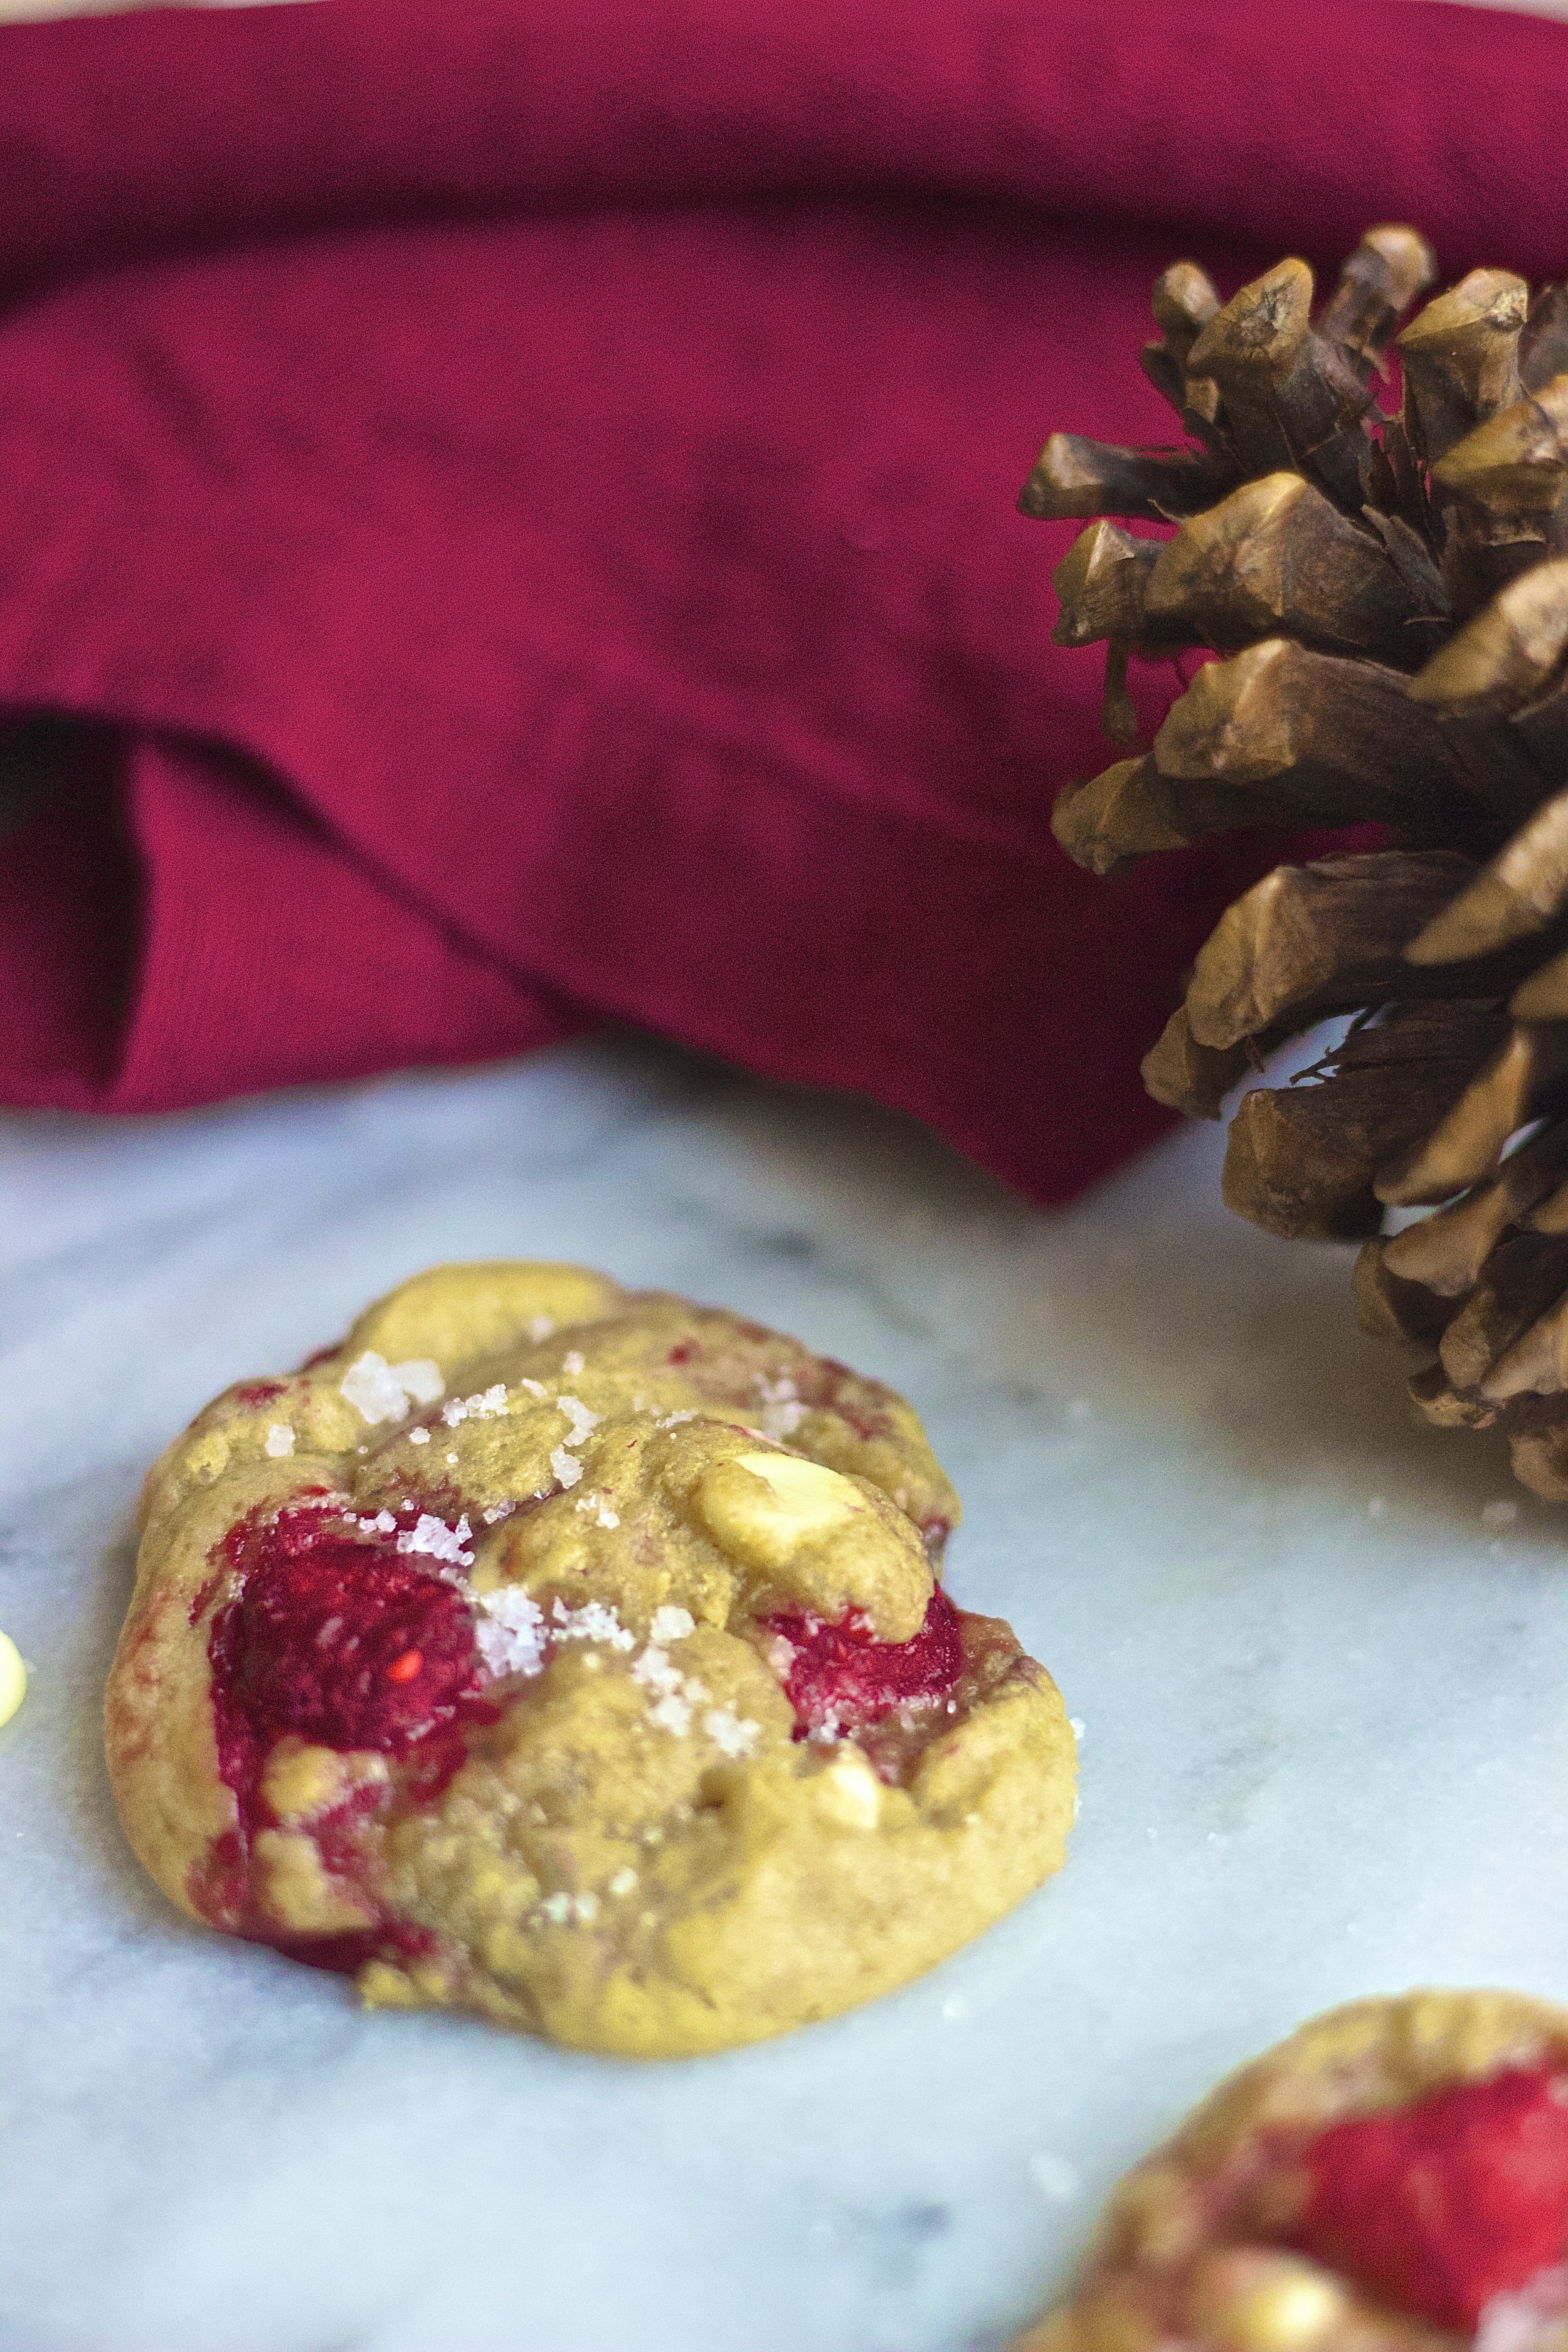
Raspberry White Chocolate Cookies

From my experience, I've learned the world is divided into two camps. One is "team tutti-fruity". This camp is made up of people who love sweets like gummy bears, jelly beans, and twizzlers. My husband lives on this team, as I frequently find sour gummies covered in sugar hidden behind the seat in his car. Oh the shame.
Then there is "team chocolate" of which I've been a member my whole life. The darker, the richer, the better! I also happen to come from a long line of chocolate lovers. In fact, I distinctly have memories of my dad insisting that white chocolate is not actually chocolate at all and is therefore not even worthy of the name. And I must admit, I agree. I mean how can something that doesn't even contain cocoa be called chocolate?
So if you've been following this blog for a while, my chocolate obsession is no secret. In fact, chocolate partnered with berries is probably my favorite flavor combination in the world. Something about the warm richness of dark chocolate partnered with the sharp tartness of perfectly ripe berries.
So to my fellow dark chocolate lovers (and to myself!), I feel I must apologize. I have momentarily betrayed you. Accept my sincerest condolences in the form of:
Dark Chocolate Cranberry Crumble Cake
Dark Chocolate Bark with Pomegranate, Sea Salt & Cookie Crumbs
Chocolate Doughnuts with Real Strawberry Icing
Angel Food Cake With Dark Chocolate Whipped Cream & Pomegranate Syrup
No-Bake Chocolate Peanut Butter Brownie Bites
Homemade Dark Chocolate Nutella
DIY Dark Chocolate Speculoos Cookie Butter Cups With Sea Salt


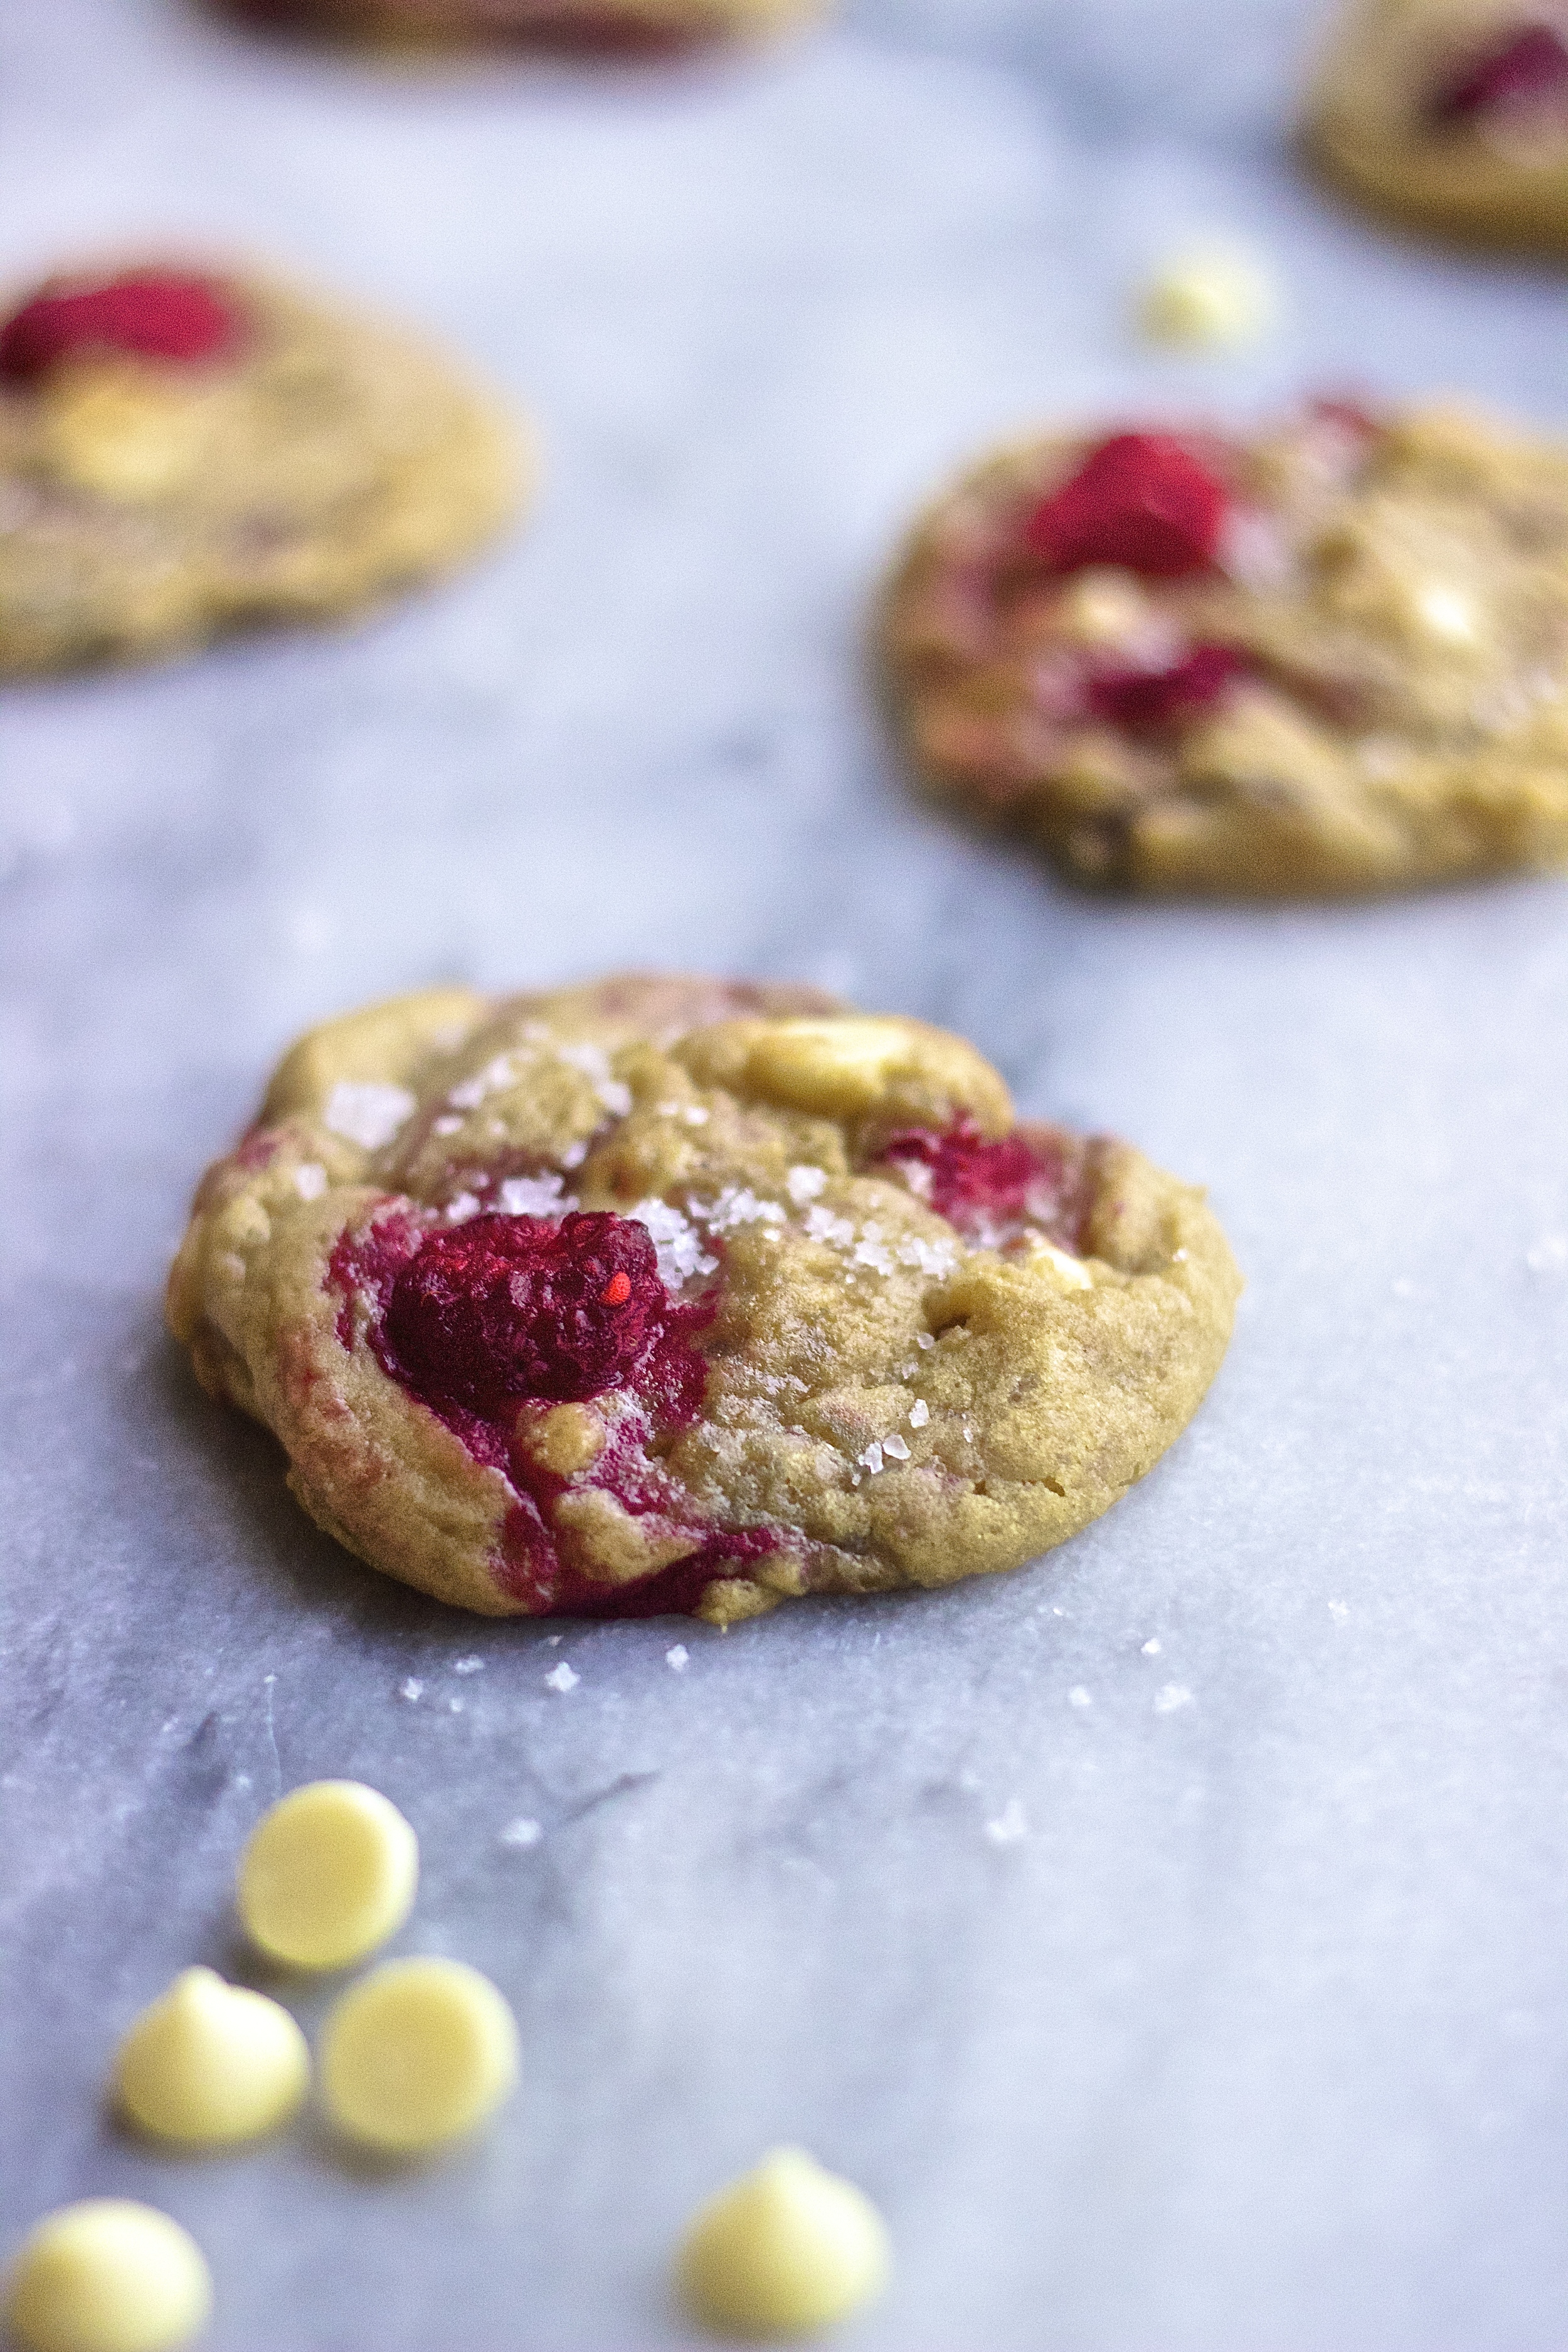
But let me just say these cookies are everything. And as possibly the world's greatest white chocolate skeptic, I can whole-heartedly say that it works, in a surprising and fantastic way. And white chocolate aside, when I attempted to throw whole frozen raspberries into my favorite chocolate chip cookie recipe, I had serious doubts. I figured they would get soggy, the berries wouldn't cook through, the cookies would turn into a mess. But somehow, it worked and the result is perfect.
I hope you have a lovely christmas. I hope time spent traveling is done so safely, and I hope the next week provides you with some time to relax and take care of yourself. I hope that if things do get stressful, as they often can when holiday expectations are partnered with family, that you eat and share these cookies. Because somehow food has a way of transcending us, I think. Of blurring the lines of generation and political affiliation. Good food is something I think (and I hope!) we can all get behind. And I sincerely thank you for letting me share mine with you all year long. Merry Christmas and Happy New Year.


Makes about 29 cookies
adapted from: Date Night In
Ingredients:
1/2 cup unsalted butter, room temperature
2 tablespoons granulated cane sugar
2 tablespoons turbinado sugar
3/4 cup + 2 tablespoons brown sugar
1 teaspoon vanilla extract
1 large egg, room temperature
1 3/4 cup all purpose flour
3/4 teaspoon baking soda
1/2 teaspoon salt
4 oz white chocolate chips, ~heaping 1/2 cup
5 oz frozen raspberries, ~ 1 heaping cup
fluer de sel (for finishing)
Preheat the oven to 360 degree and line two large baking sheets with parchment.
In the bowl of a stand mixer, cream the butter and sugars together for about 5 minutes until the mixture is light color and smooth in consistency. Scrape the sides of the bowl with a rubber spatula as needed. Meanwhile, in a medium bowl, whisk together the flour, baking soda, and salt. With the mixer on low, add in the egg and vanilla and continue to mix until fully incorporated.
With the mixer still on low, slowly scoop the flour mixture into the butter mixture. Continue until no streaks of flour remain. You will likely need to scape the sides of the bowl a couple times. Add the chocolate chips and mix to combine.
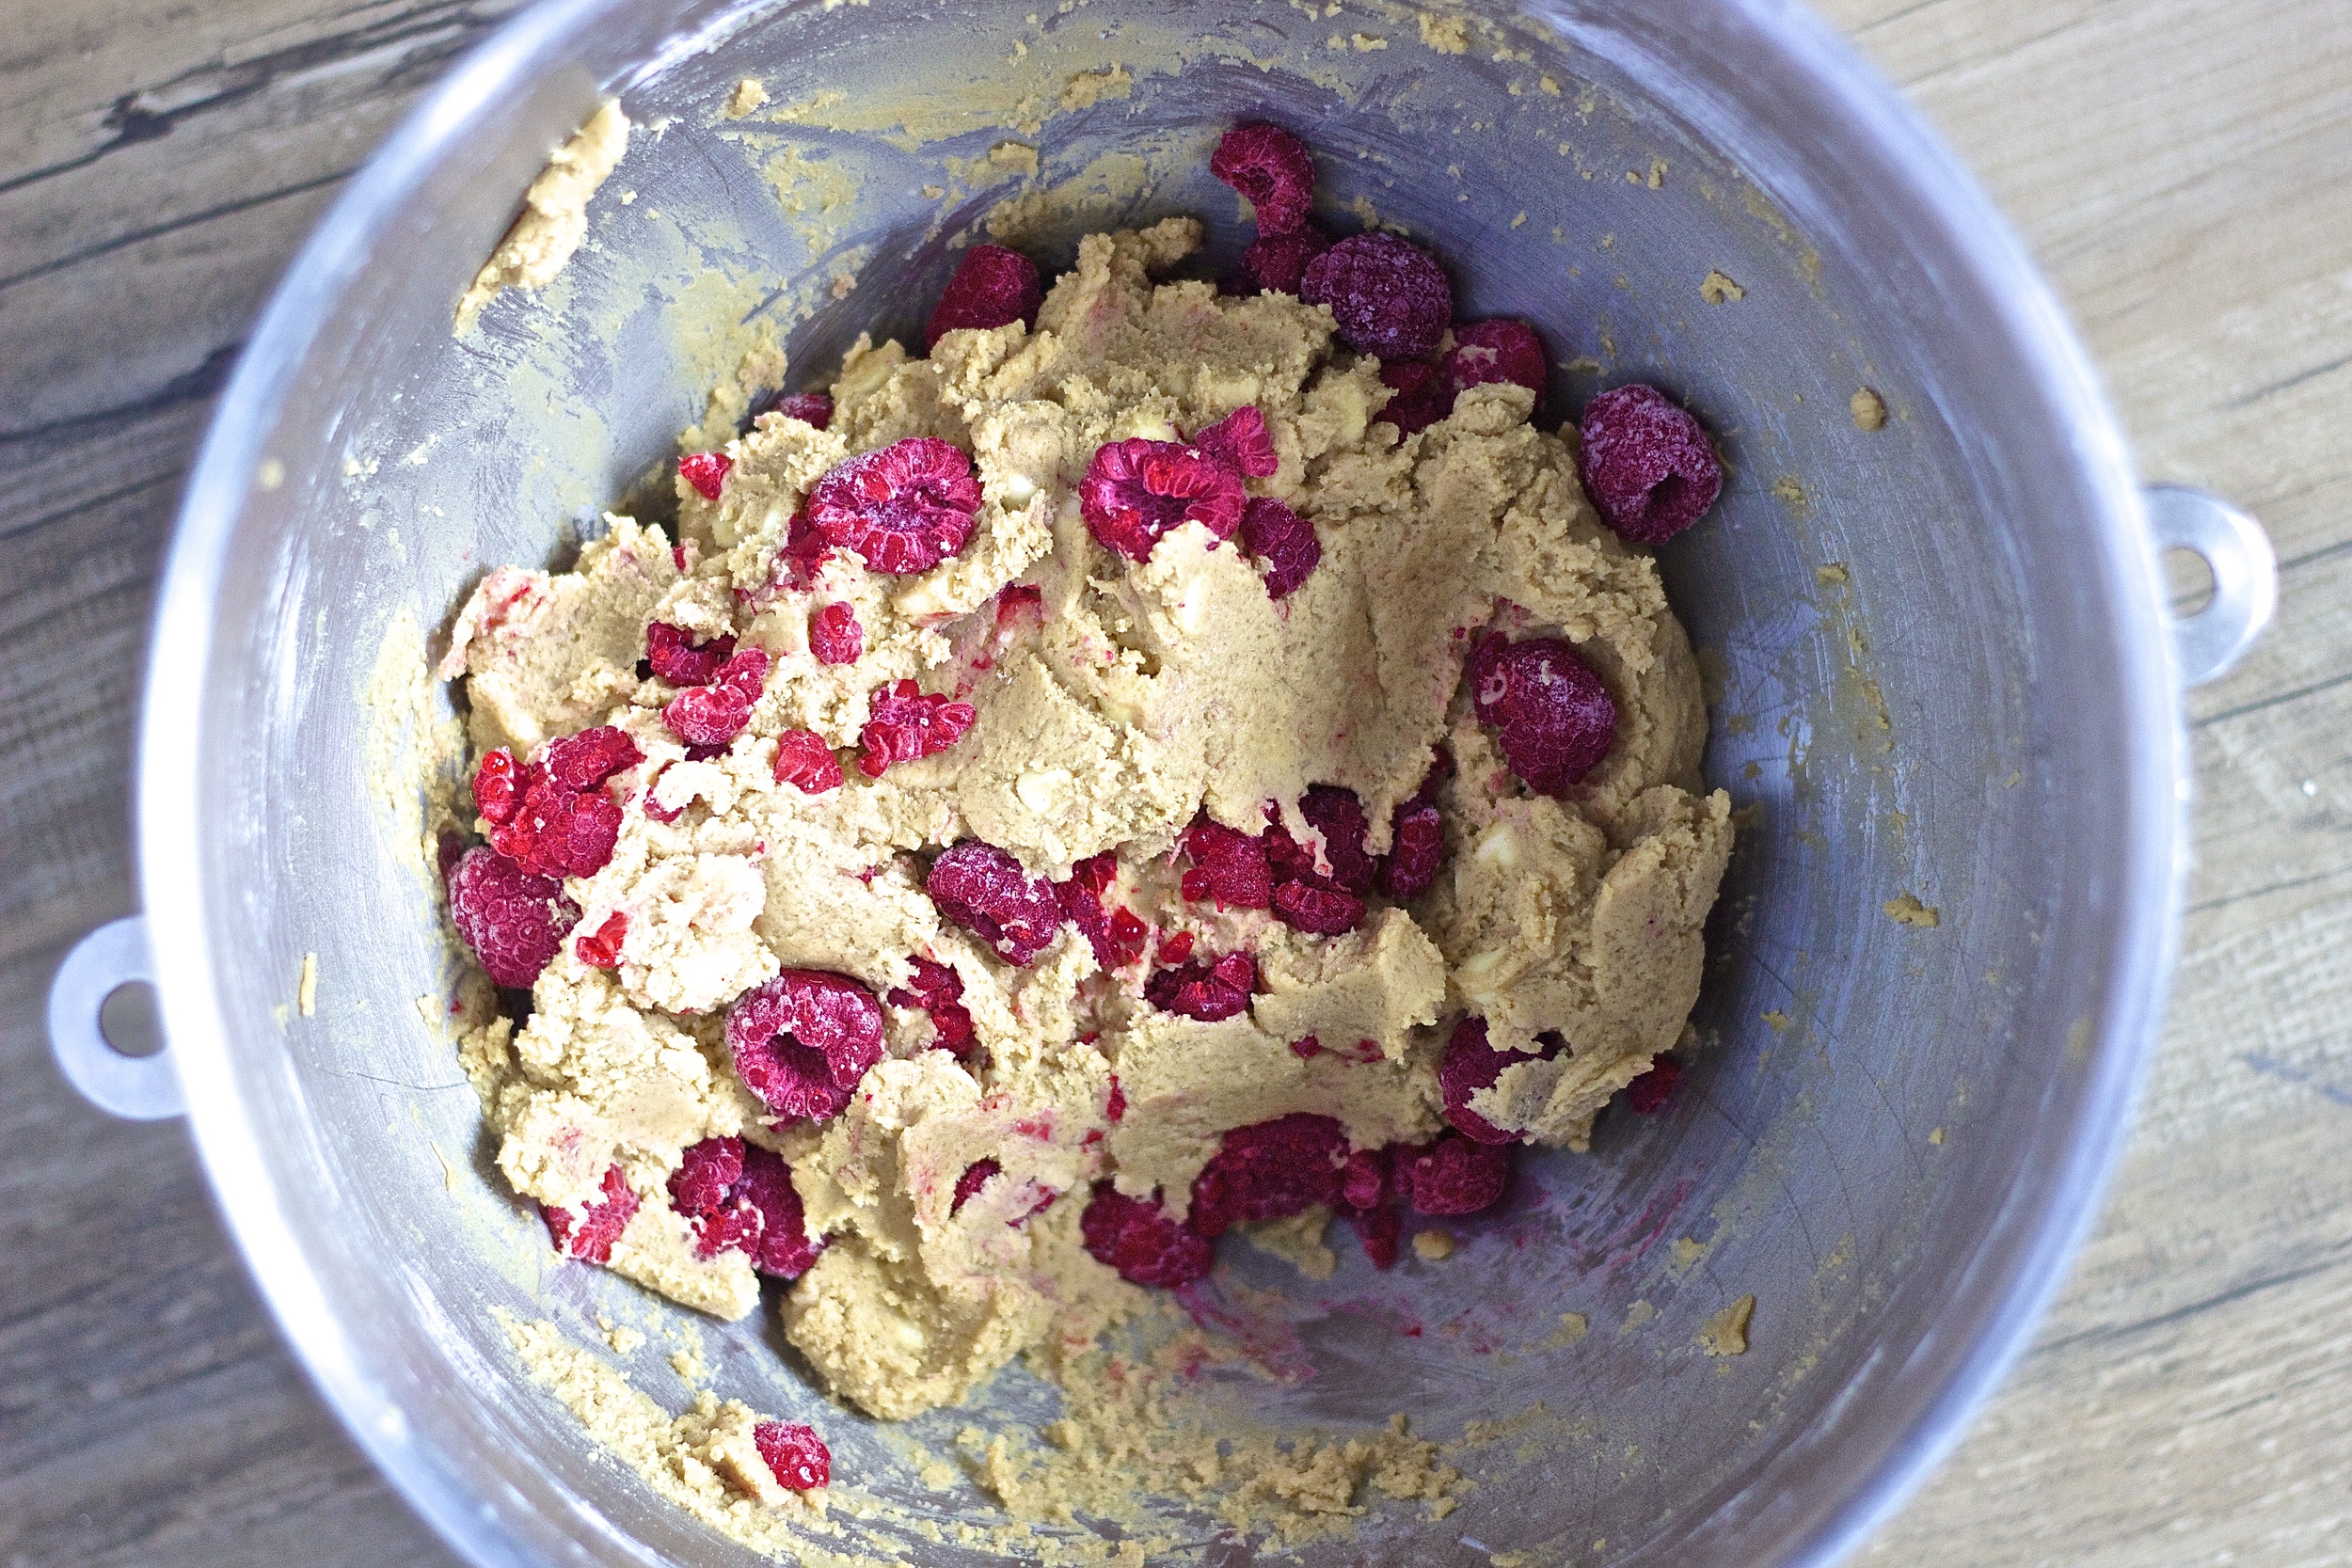
Remove the bowl from the stand mixer, and pour in frozen raspberries. Using a spatula or wooden spoon, gentle integrate the raspberries into the dough. Though some will inevitably become smashed, try to keep the whole raspberries intact.
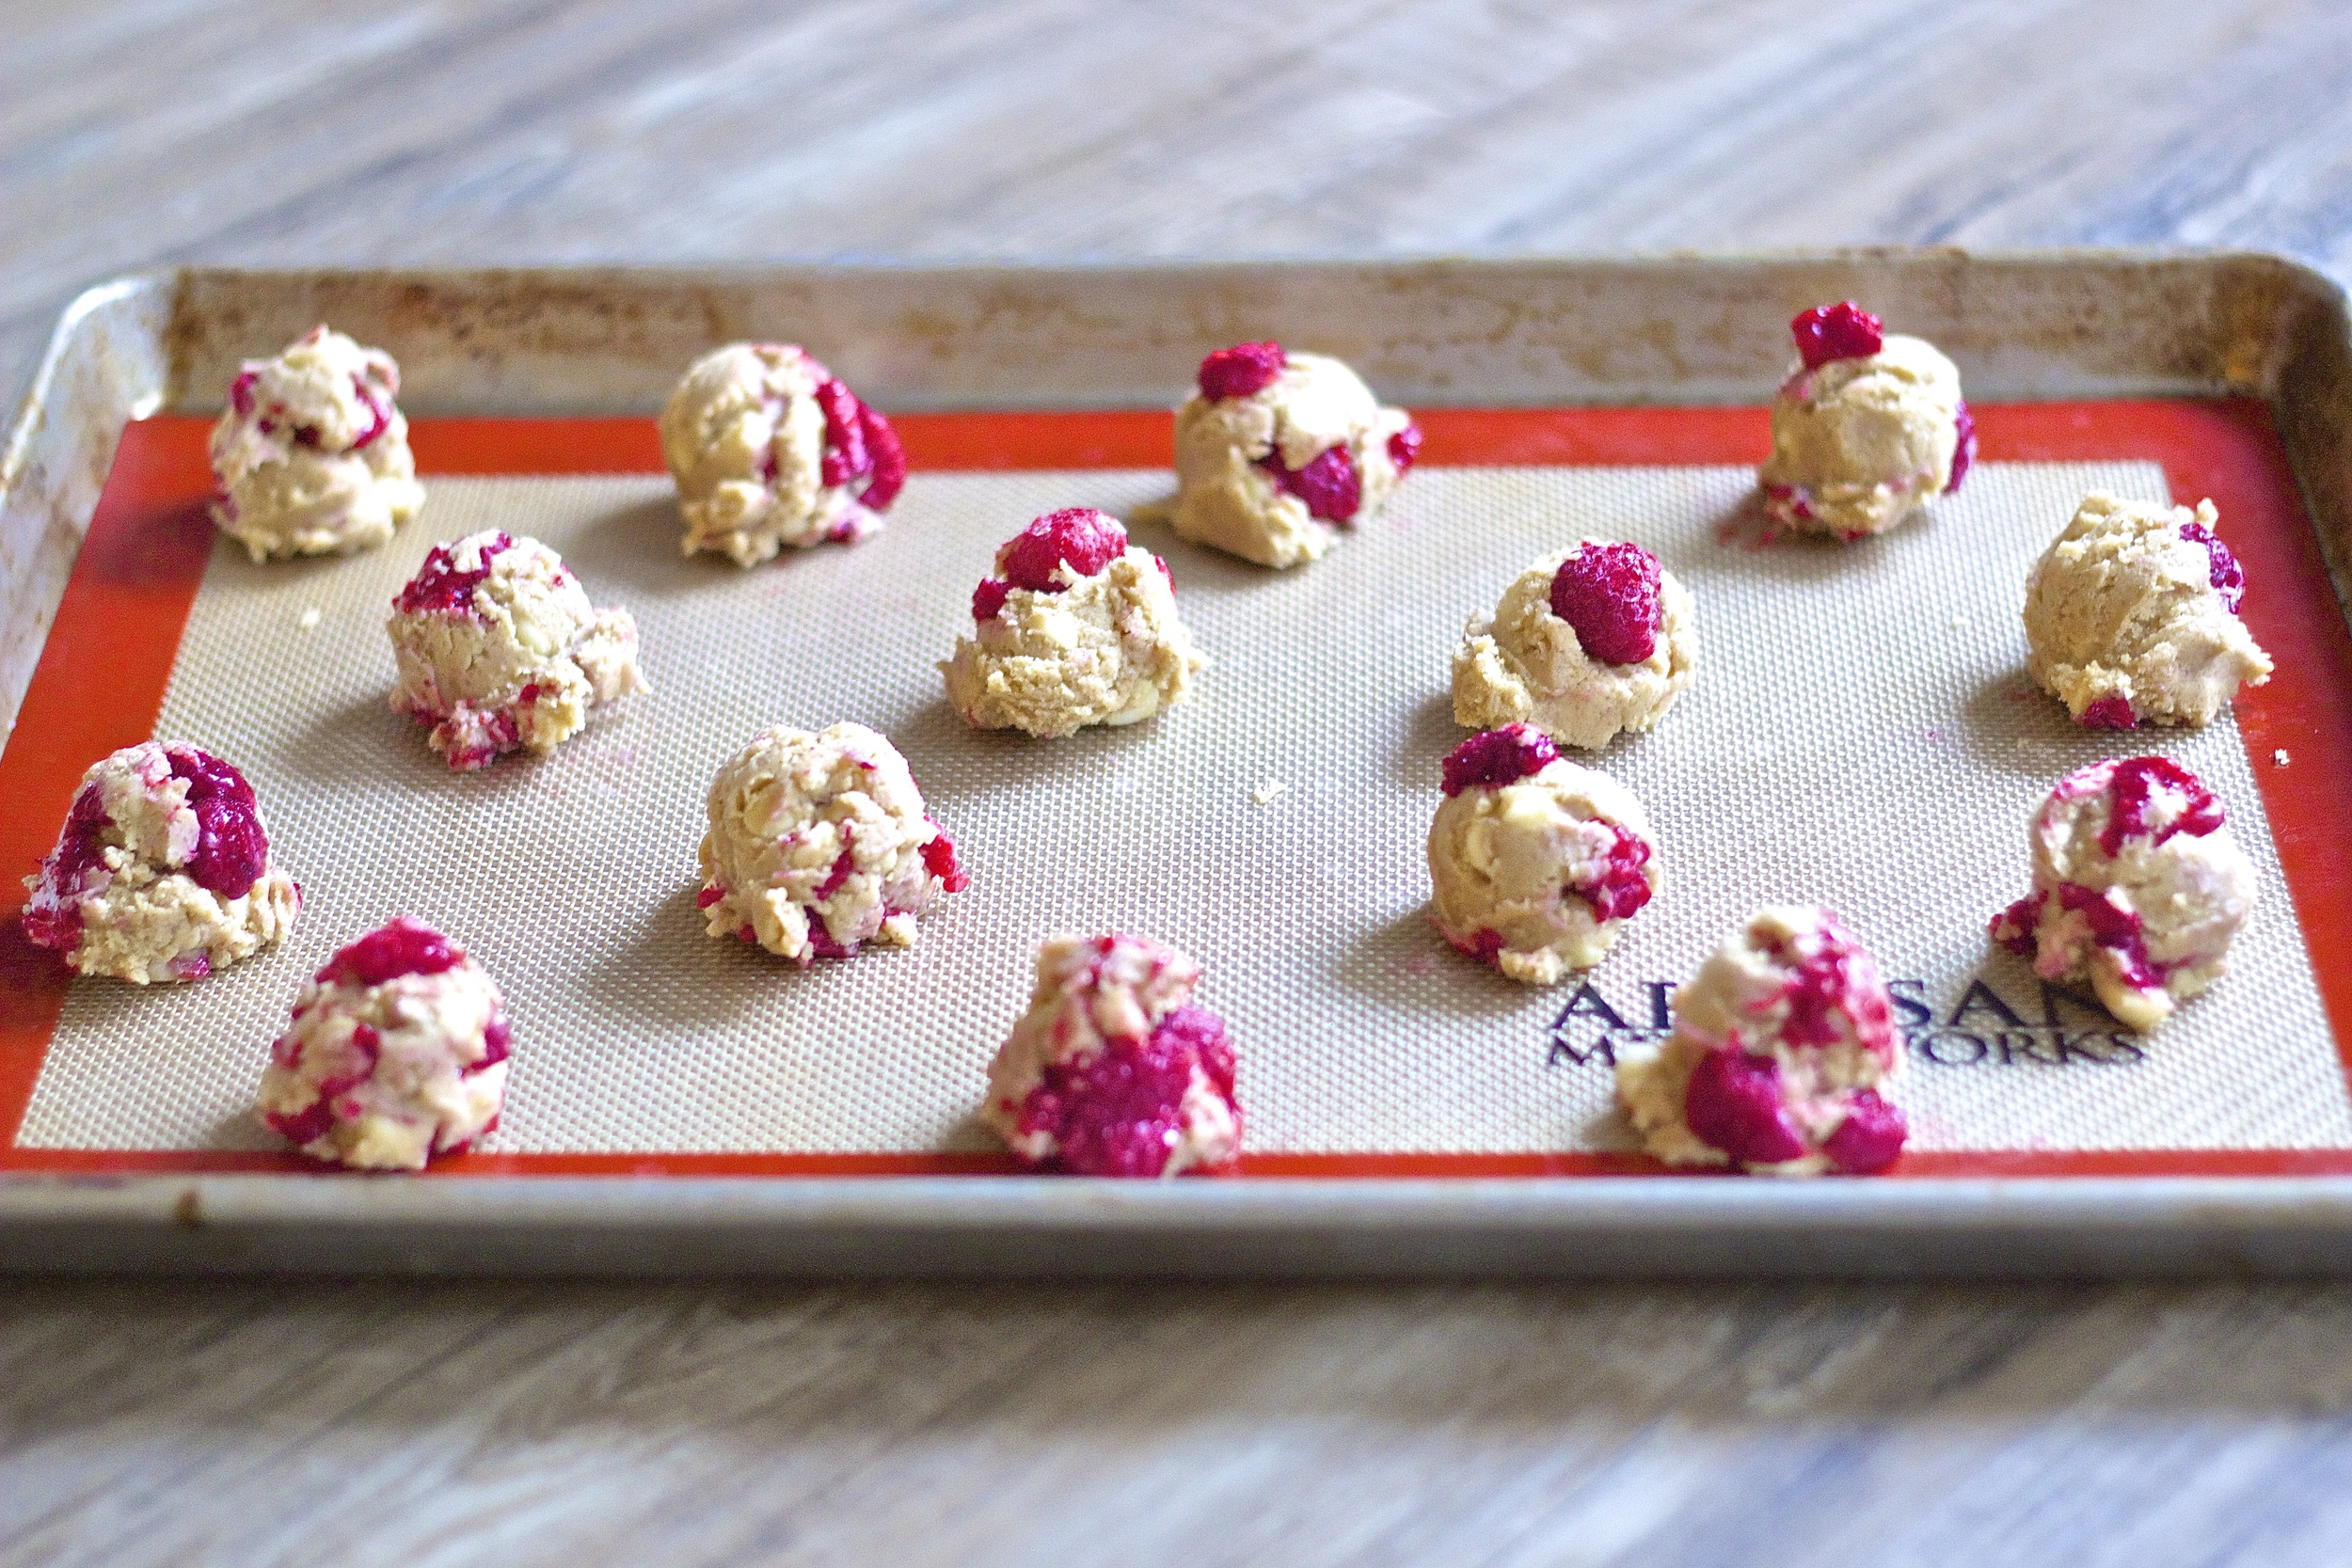
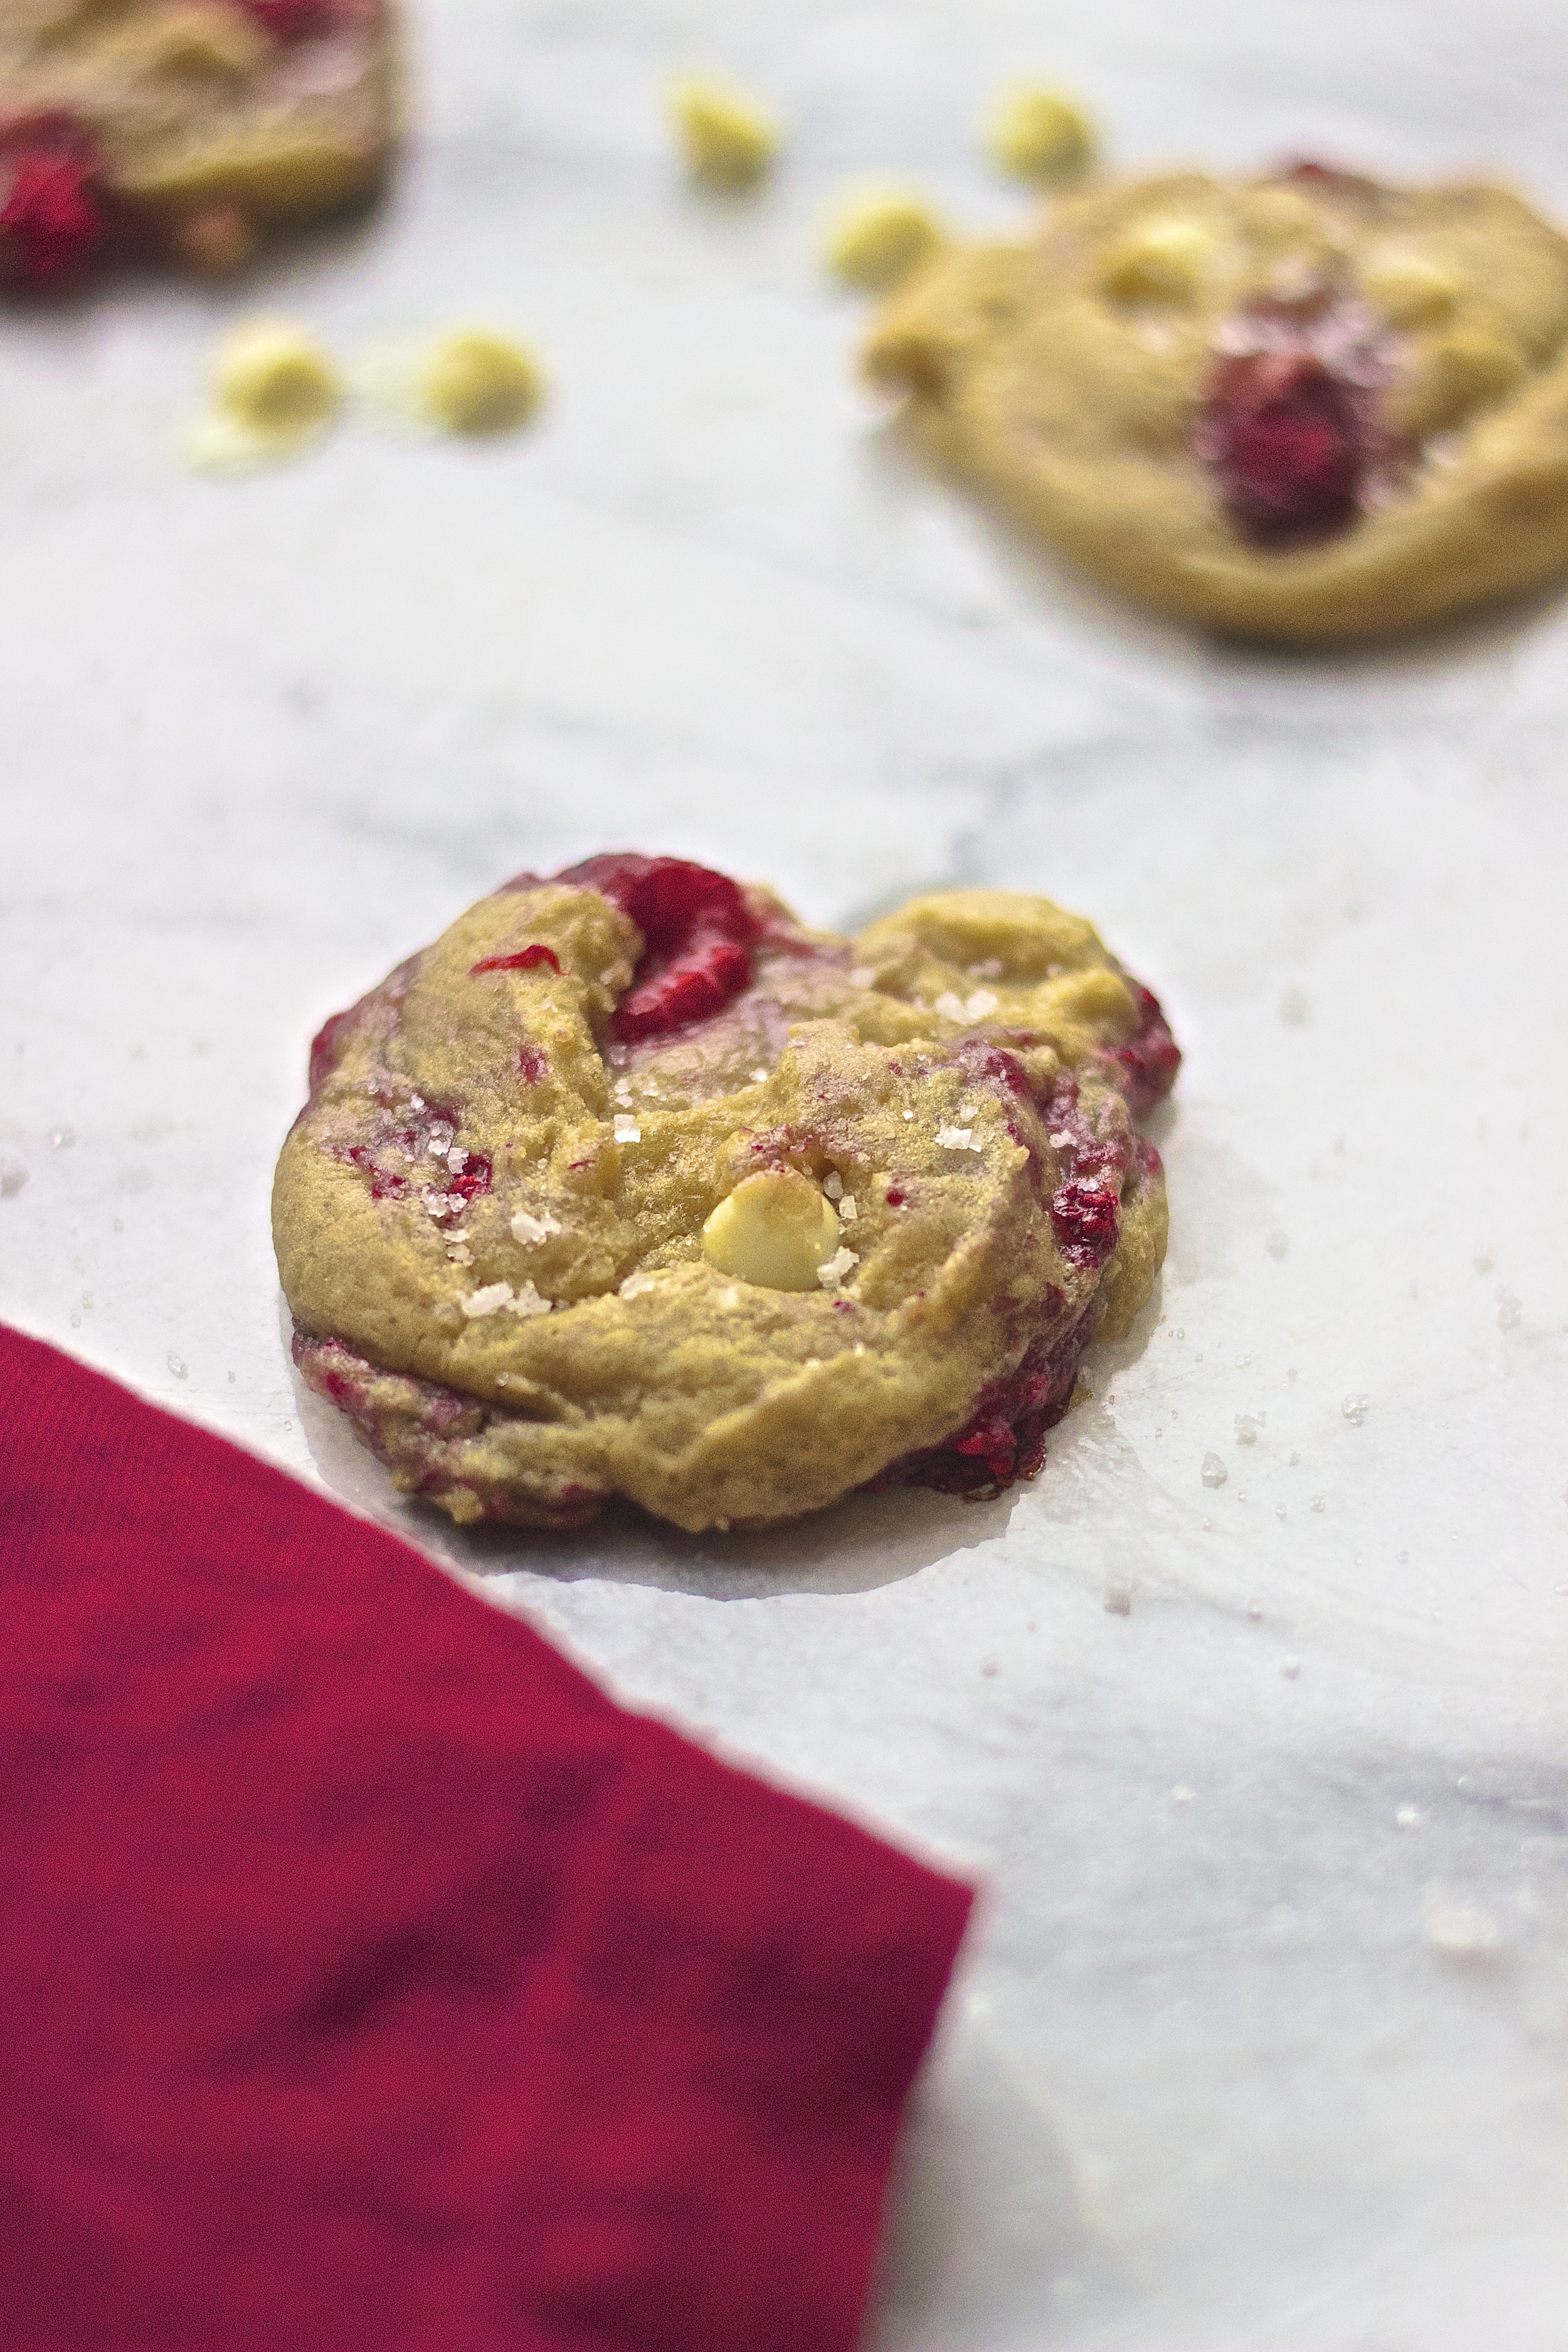
Using a small cookie scoop or spoon, scoop the dough into balls and line onto the baking sheet. Bake for 11-15 minutes (I did 12 minutes for very gooey but cooked cookies) until slightly golden on top. Let cool for 5 minutes, then sprinkle with sea salt and serve.
Notes:
Have extra dough or want to make it ahead? I recommend scooping the finished dough into cookie dough balls then freezing in a freezer bag until you're ready to bake. Alternately you could form a log of cookie dough and slice and bake when ready. You will likely need an extra minute or two of baking time if cookies are frozen.
Although it's ok, I do not recommend refrigerating the dough once the raspberries are incorporated. The raspberries will melt and their juices will make things messy resulting in streaky blue (though still very tastey) bruised-looking cookies.