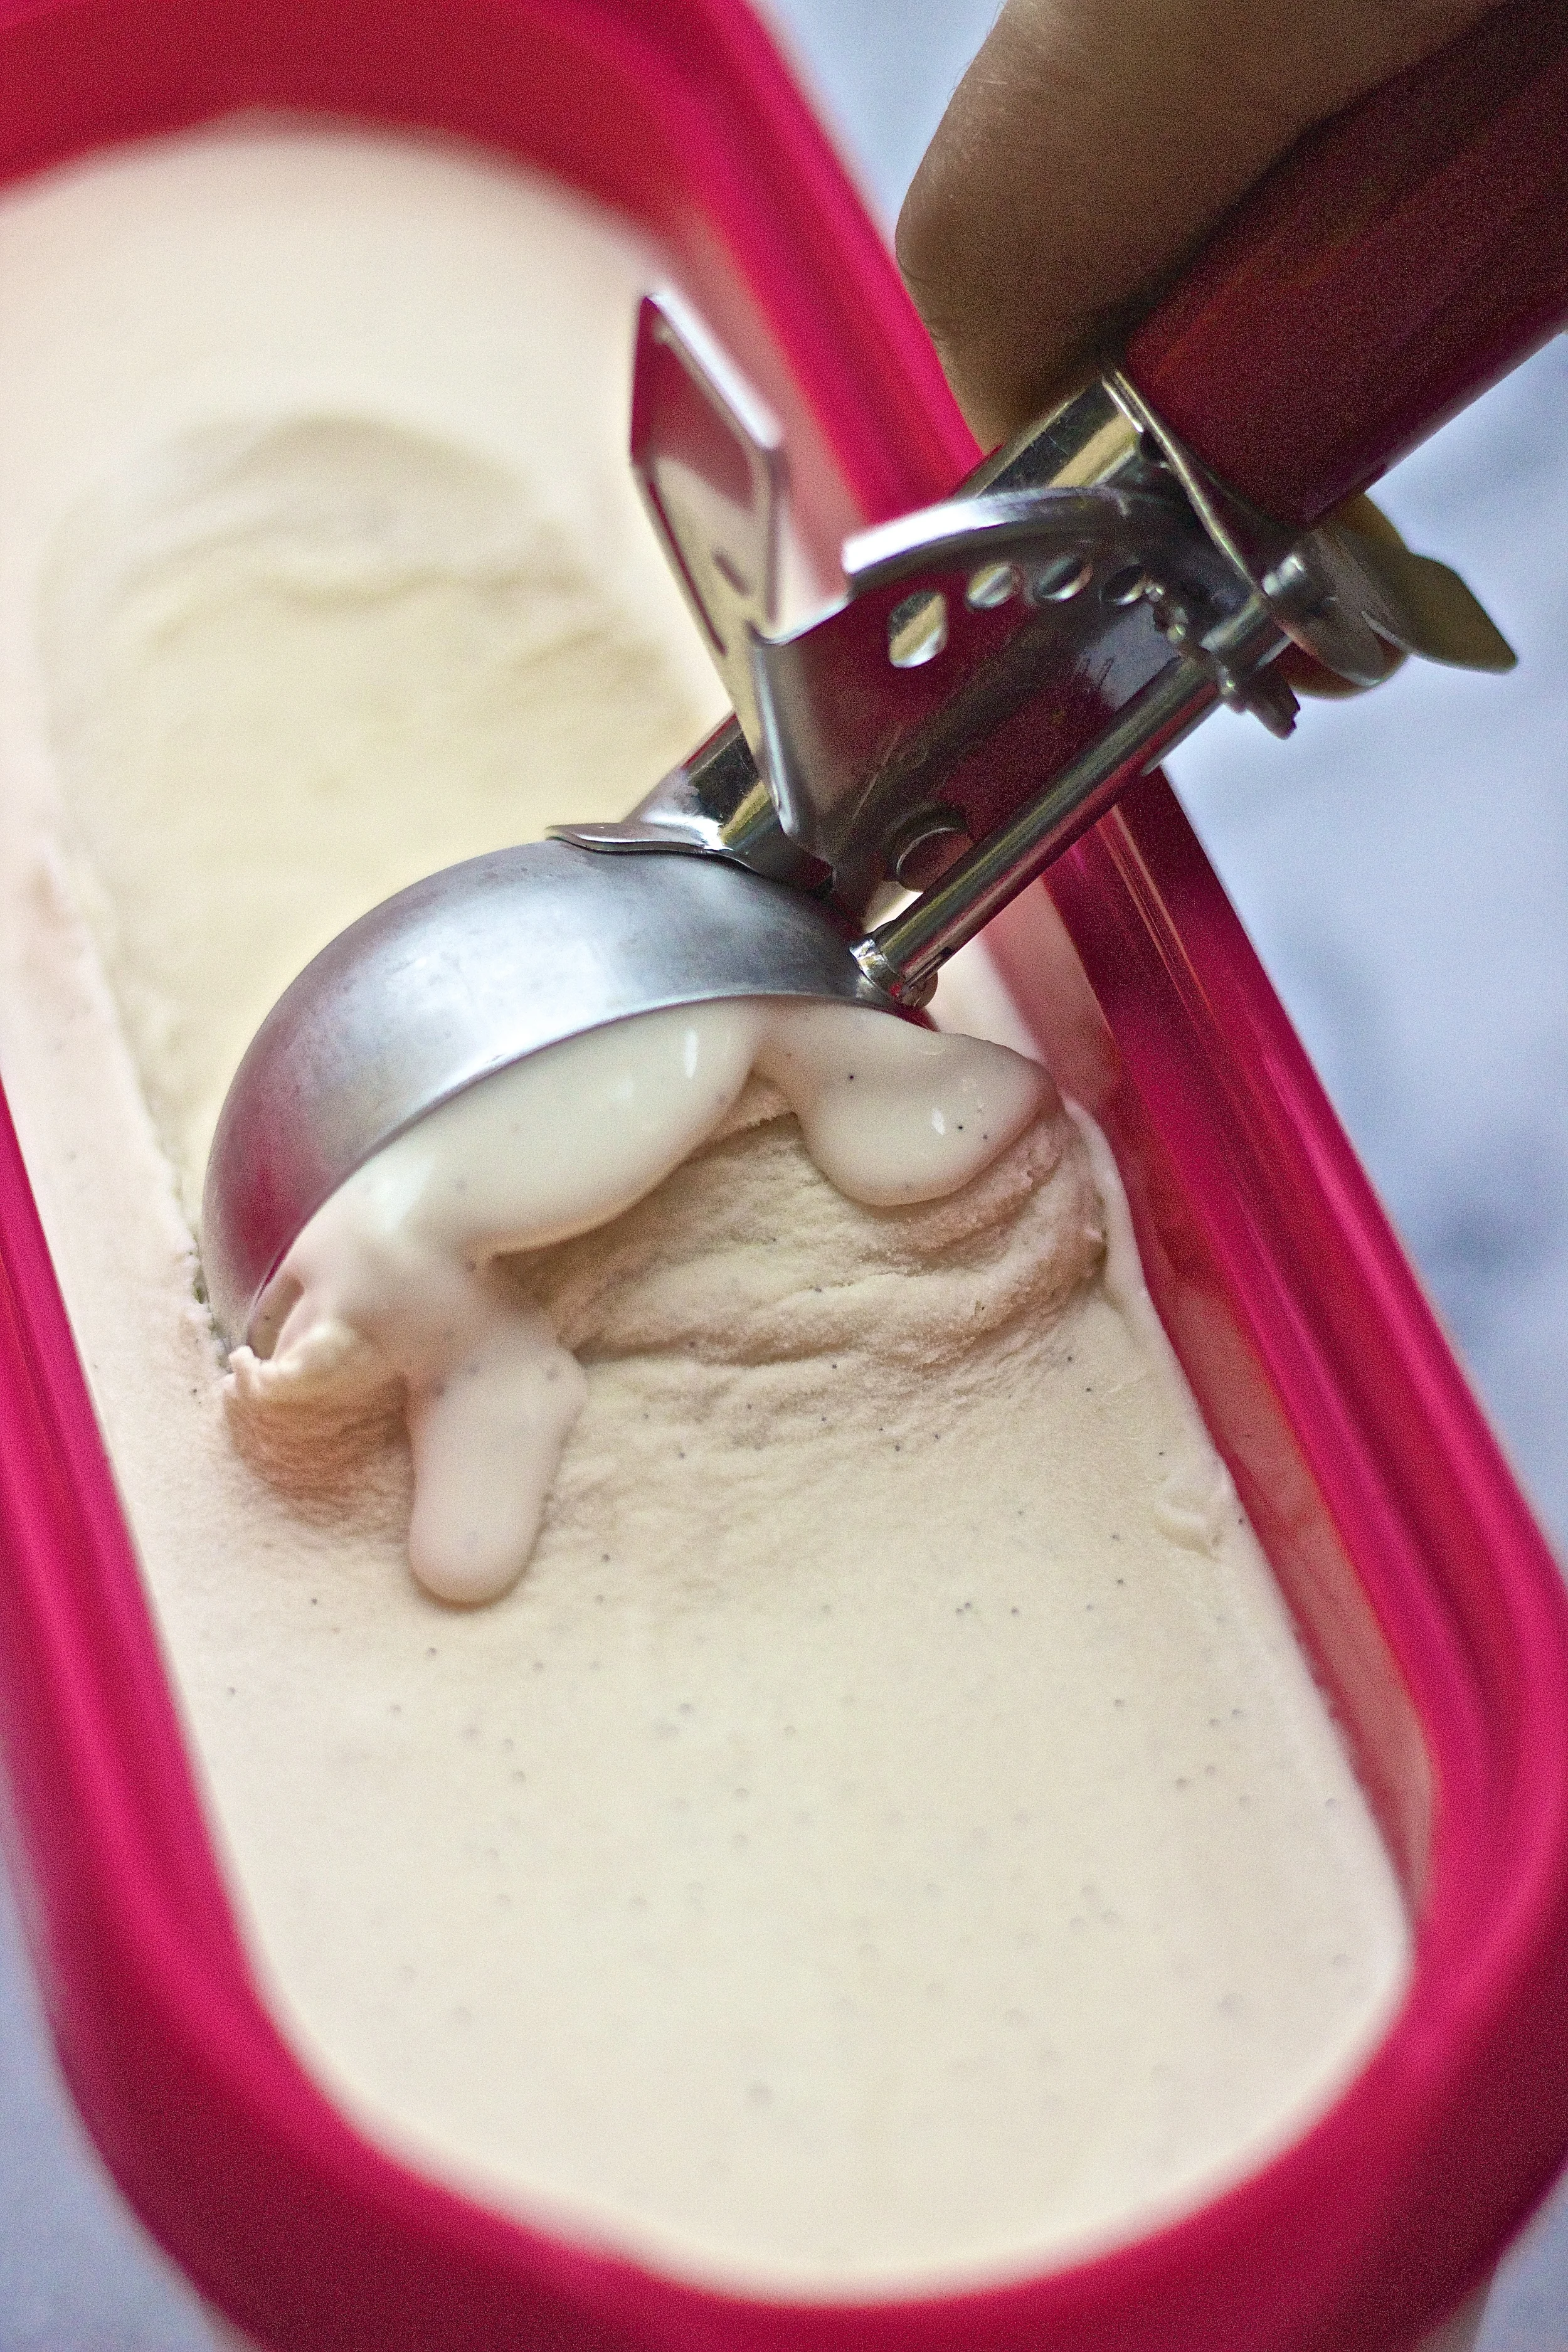
Dairy-Free Vanilla Bean Ice Cream {vegan}

Dairy Free Vanilla Ice Cream | Kneading Home

We're no stranger to homemade ice cream. On a scale of not-worth-your-time-buy-store-bought and I'm-never-buying-store-bought-again-where-has-this-homemade-version-been-all-my-life?! homemade ice cream is tipping the scales at the latter. There's just something about simple, real ingredients, no fillers, no preservatives, not chalked full of air, no stabilizers to keep it from melting - just pure real ingredients with a far superior taste and texture.  

Last summer we made peach bourbon pecan cobbler ice cream and then we celebrated fall with cinnamon apple pie ice cream. We're a house divided between dairy-free ice cream and traditional. I've pretty much perfected the thick creamy consistency without dairy and with so many dairy-free store bought versions tasting just so off, I am such a sucker for a good homemade dairy free ice cream. The secret, like most delicious creamy dairy-free desserts, is in the coconut milk which when combined with coconut cream pretty much gives you the exact consistency of heavy cream without ever having the milk a cow. Other than that, this recipe is pretty straight forward, classic. 

Dairy Free Vanilla Ice Cream | Kneading Home

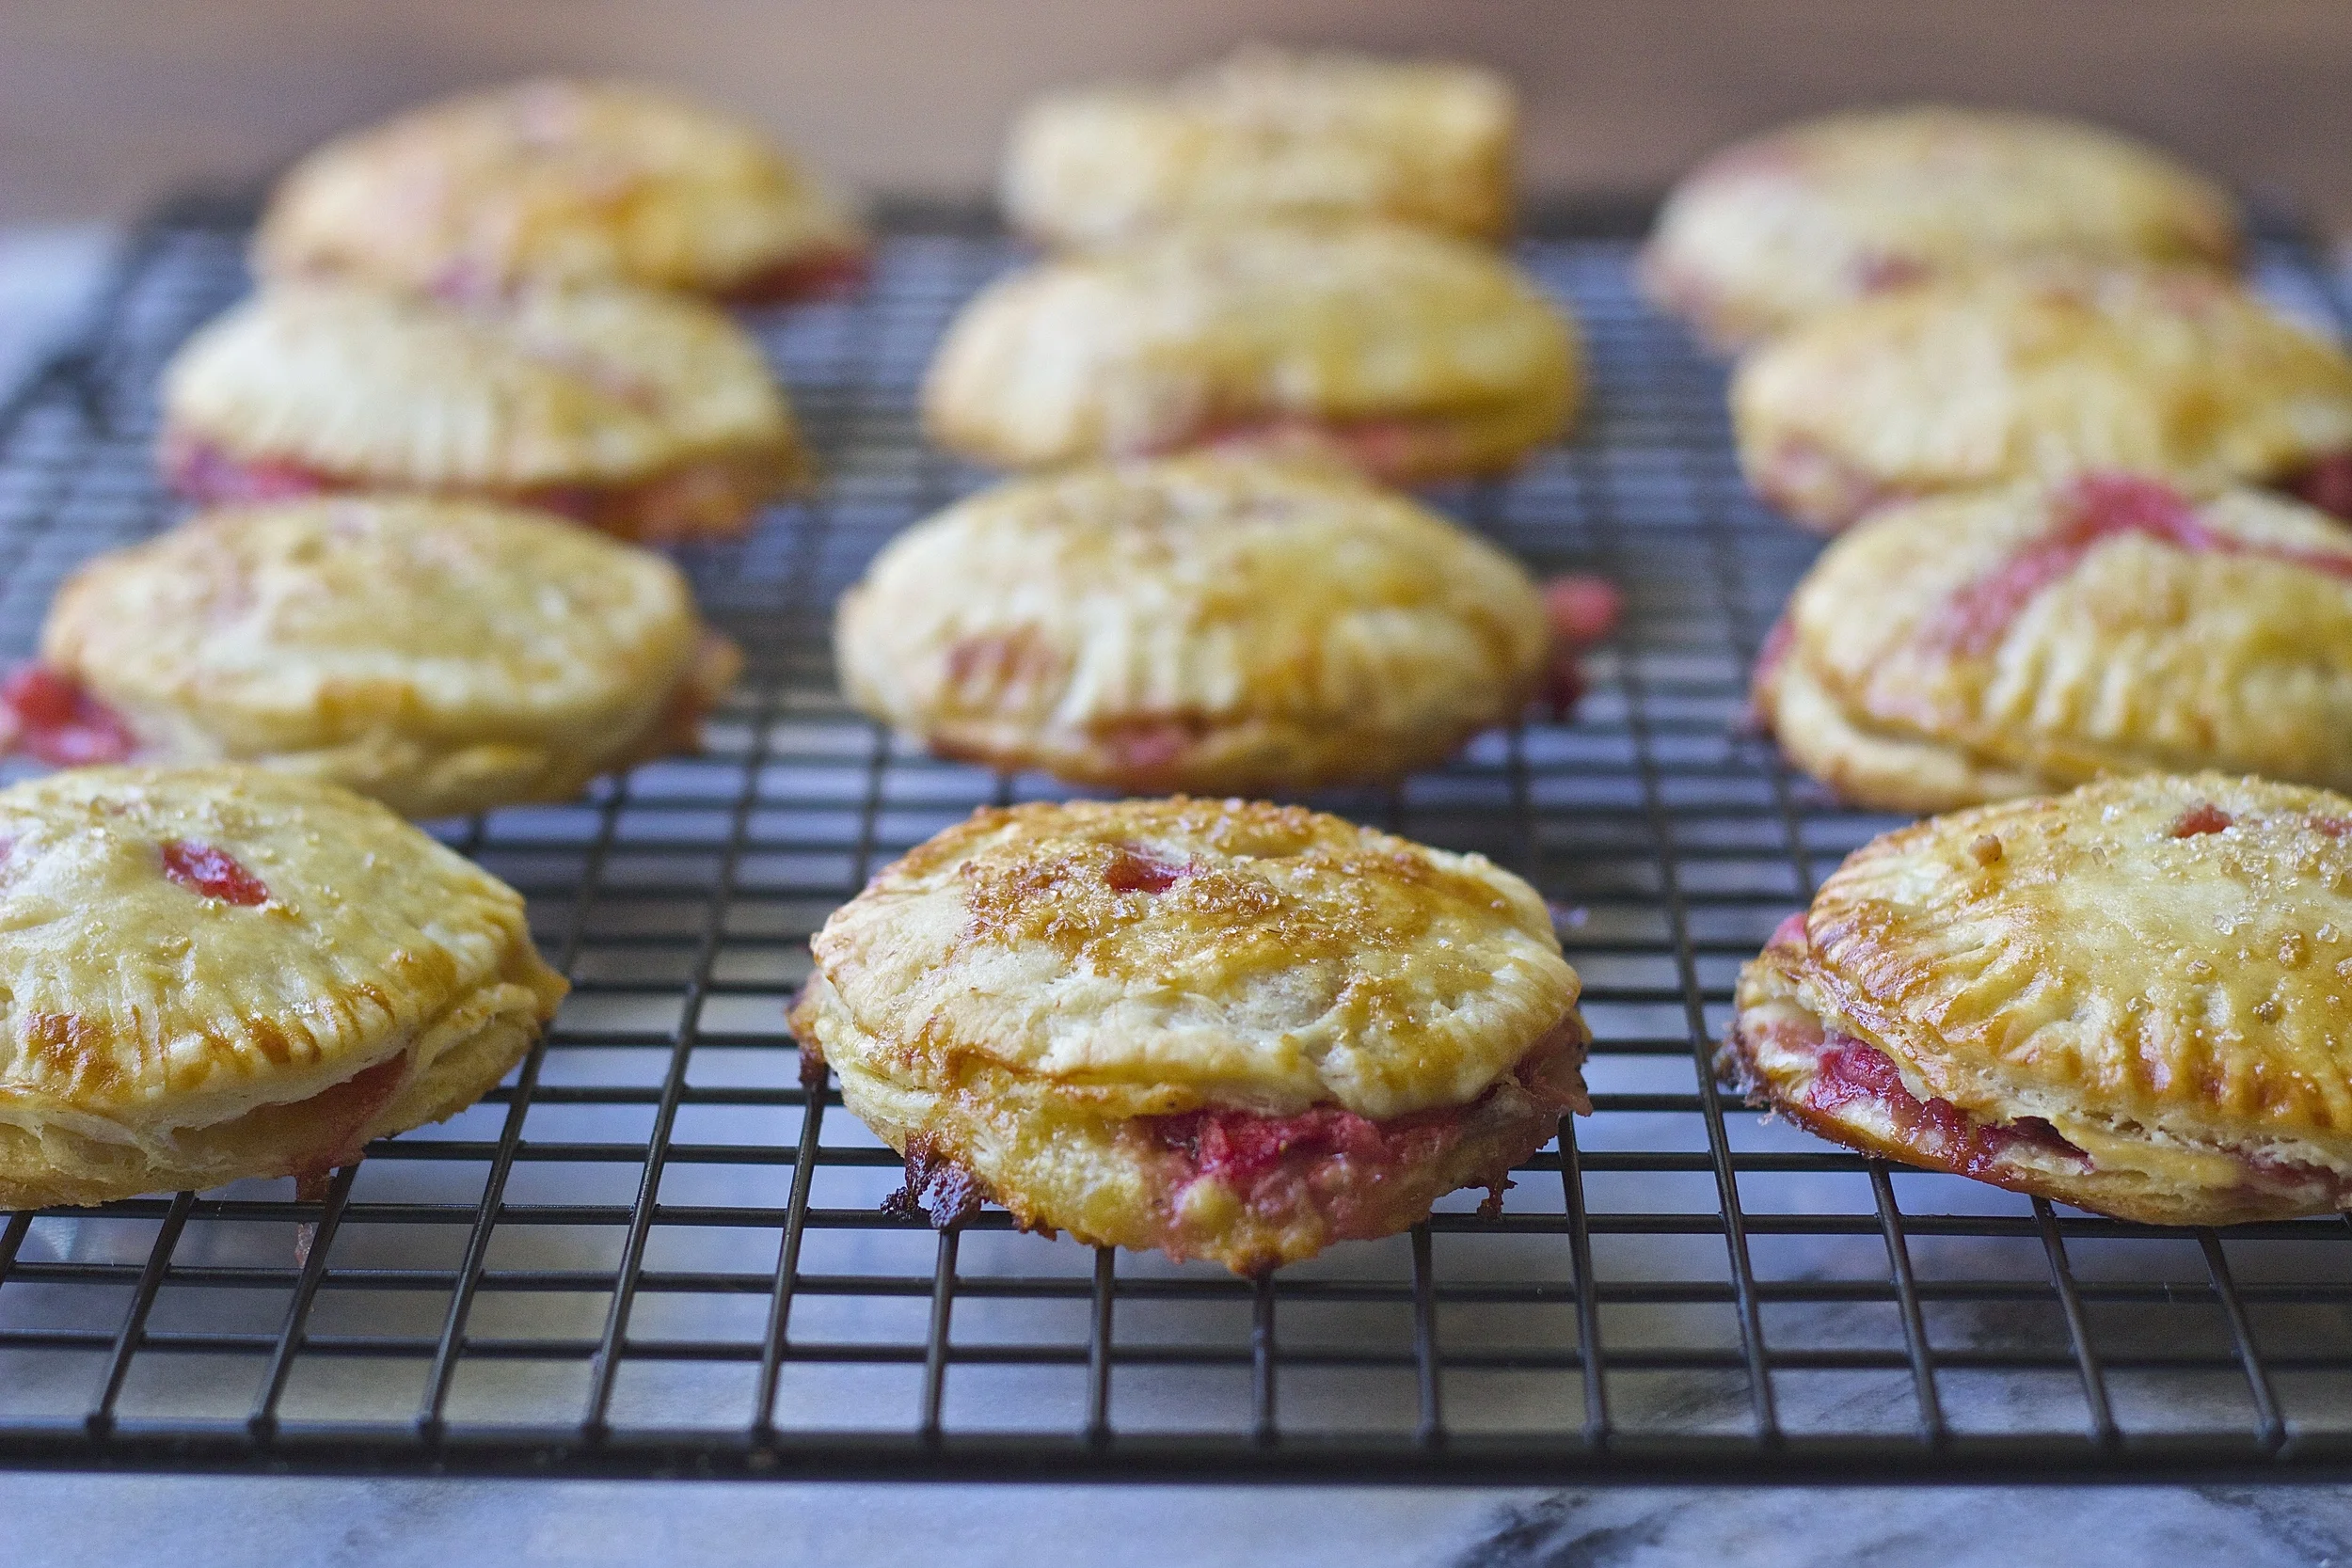
Every now and then I think it's good to get back to the basics. And because there are probably one million vanilla ice cream recipes out there, but only a handful of dairy free ones, I'm throwing my hate into the ring with this recipe. It makes the perfect base for throwing in chocolate cookies for cookies and cream, seasonal fruit, jam, or even specks of melted chocolate. It's a staple for topping over cobblers and pies or just dunking a spoon into when it's super hot out. Oh, and be sure to check back next week because we're doing something super fun with it. 

Dairy Free Vanilla Ice Cream | Kneading Home

My husband's been gone back and forth traveling for work since May and just came home, so I'm looking forward to spending the 4th as a pack, just the three of us. We're making Alexandra Cooks' peach pizza, which I've deemed a 4th of july tradition and smitten's zucchini crisps with sangria and this ice cream. Happy 4th! 

Dairy Free Vanilla Ice Cream | Kneading Home

Dairy-Free Vanilla Bean Ice Cream 
Makes 1 scant quart (which becomes a full quart with mix-ins) 

1/3 cup cane sugar 
1/3 cup brown sugar
2 egg yolks (room temp) OR 1 tablespoon cornstarch (see notes)  
1 can full fat coconut milk 
1 can coconut cream 
1 vanilla bean 
pinch of salt 

Prepare a double boiler by bringing 1-2 inches of water to a gentle boil in a small sauce pan topped with a heat-proof bowl. Be mindful the water doesn't actually touch the bottom of the bowl. Over medium-low heat, whisk sugars, egg yolks OR cornstarch and 1-2 tablespoons of coconut milk to loosen in the heat proof bowl for about 3 minutes until the mixture thickens and the sugars melt.

Pour in the coconut milk, followed by the coconut cream and whisk. Slice open the vanilla bean and using the backside of a knife, scrape out the insides. Toss this vanilla bean "caviar" along with the vanilla bean pod and a generous pinch of salt into the coconut mixture. Continue to whisk for about 5 minutes. Remove from heat and let cool slightly. Pour the mixture through a fine mesh sieve and discard the remnants. Cover and refrigerate for at least 2 hours. 

Pour the cooled mixture into your ice cream maker and follow manufacture's instructions. Once the ice cream comes together it will be the consistency of soft serve. If you like it a bit more firm pop in the freezer before serving. 

Notes: 

Egg yolks v. Cornstarch. Traditionally creamy custard style ice cream is made with egg yolks. Upon researching vegan alternatives I discovered cornstarch acts in a very similar way. I made a batch of each, expecting the egg yolk batch to come out creamier. We did a blind taste test and couldn't tell a difference. So we'll leave the decision up to you! Not into either? You could skip on both, the ice cream will just be more icy less creamy. 

Coconut cream? I buy it from trader joe's and it's only slightly thicker than regular full fat coconut milk. If you can't find it just go with two cans of coconut milk and you'll be fine. Definitely avoid light coconut milk here, we're making ice cream, and it will come out super icy. 

We have this ice cream maker. It's pretty great. 


Strawberry, Basil + Mascarpone Hand Pies

Strawberry, Basil + Mascarpone Hand Pies | Kneading Home

I'm in Chicago this week apartment hunting. We've got five days to find a live-able apartment in a safe neighborhood with the best kitchen a student's budget can buy. I'm praying for a gas range and natural light. No big deal. 

Strawberry, Basil + Mascarpone Hand Pies | Kneading Home

On a more exciting note, I made hand pies! I love hand pies. They are cute, portable, and infinitely less fussy than regular pies. And these hand pies are no exception. They beg to be taken on a picnic somewhere sunny and cool and savored down to the last buttery bite. The flavors epitomize Spring meeting Summer with fresh juicy strawberries, bright green basil, and creamy mascarpone cheese. If you're unfamiliar with mascarpone it's like cream cheese's savory, more sophisticated Italian cousin. The three blend together beautifully in a flakey all-butter crust (my favorite part), providing a bite-sized, adult-version of the strawberry cream cheese pies you probably ate as a kid.

Strawberry, Basil + Mascarpone Hand Pies | Kneading Home

Did I mention they are also super fun to make? They have that charming hand-made, perfectly imperfect look with oozy strawberry juices coming out the sides and fork-crimped natural edges. It's been scientifically proven that it's impossible to be in a bad mood while making and eating hand pies. Don't believe me? Try it. 

Strawberry, Basil + Mascarpone Hand Pies 
adapted from Joy the Baker 
Makes about 13 3.5-inch pies 

For the crust: 
2 1/2 cups all purpose flour 
1 cup (2 sticks) unsalted butter 
2 tablespoons sugar 
1 teaspoon salt 
1/2 cup plus 1 tablespoon buttermilk (see notes) 

For the mascarpone filling: 
8 oz mascarpone, softened slightly 
1 large egg yolk 
2 tablespoons agave (or sweetener of your choice) 
1/2 teaspoon vanilla extract 

For the strawberries: 
1 pound strawberries 
1 tablespoon lemon juice 
1 teaspoon lemon zest 
1 tablespoon agave (or sweetener of your choice)
6-8 medium basil leaves, thinly sliced (optional)
a pinch of salt 

1 egg, for egg wash
turbinado sugar, for topping 

Make the dough. Cube the butter into 1/2 inch chunks then pop it in the freezer for 5 minutes. Whisk together flour, sugar, and salt in a medium bowl. Add the cold butter chunks, and using your hands integrate the butter into the flour until the butter chunks are roughly the size of peas - some larger some smaller. Form a "well" in the middle of the flour/butter mixture and pour in the buttermilk. Using a fork, mix the edges of the flour mixture into the buttermilk. Keep going until everything is wet and just combine. Keep those butter chunks intact. On a lightly floured surface, knead the dough into two disks, wrap each in plastic wrap and refrigerate for at least an hour and up to 2 days. 

Prep the mascarpone mixture. With a rubber spatula combine all the ingredients until smooth. 

Prep the strawberries. Dice the strawberries, discarding the stem and white insides. In a medium bowl toss the strawberries with lemon juice, zest, agave, basil leaves and salt. 

Assemble the pies. In a small prep bowl whisk the egg. Working with 1 disc of dough at a time, on a floured work surface, roll out the pie crust until it's about 1/8 inch thick. Using a biscuit or pastry cutter, cut out circular disks (I used a 3.5 inch biscuit cutter).

Using a pastry brush, paint a 1-inch border around the edges of the disk with the egg wash. Scoop roughly 1 heaping tablespoon of the mascarpone mixture into the center of the disc followed by roughly the same amount of strawberry mixture. Lightly stretch a second disk then drape it over the strawberries and mascarpone. Using a fork, crimp the edges by pressing the top dough layer into the bottom. It's okay if the strawberry juices and mascarpone seep out the sides a little. Repeat with remaining pies.

Using a knife, cut small holes into the top of each pie for steam to release. Transfer prepared pies to a baking sheet lined with parchment. Preheat the oven to 400 degrees and pop the pies in the fridge to cool as the oven heats. Just before putting the pies in the oven, brush the tops with the egg wash and sprinkle with turbinado sugar. Cook for 20-22 minutes until golden brown. 

Repeat with the second batch of dough. You can re-use the scraps, just pop them in the refrigerator for a couple minutes to harden up. You can also brush scraps with egg wash, top with sugar, and bake as pie crust "cookies". 

Notes: 

  • About the buttermilk. If you're like me and don't keep buttermilk around you can make your own by mixing 1/2 cup plus 1/2 tablespoon milk (of any kind, I actually used almond) then adding 1/2 tablespoon of fresh lemon juice. Let sit for 5 minutes. It will curdle slightly. Then you're good to go. 

  • The basil is totally optional and you might want to omit it if you have, say, picky kids. But in my humble opinion the basil is what makes these pies. It gives them a bright almost peppery surprise that pairs so well with the fresh strawberries.

  • About re-using dough scrapes - know that the more you work the dough the tougher it will become.  

Grilled Pineapple Salsa

Grilled Pineapple Salsa | Kneading Home

After we found out we're moving to Chicago, Nate and I came up with a california bucket list of things to do before we move. Although we've been less than loving LA for a while now, it's a bit unnerving to think we may never come back to the city we live in again. I may never visit our Trader Joe's or take class at my yoga studio or spend a date night at our favorite Indian restaurant ever again. I know, I'm being a bit dramatic, but once we pick up and leave we're closing this chapter of our lives, a chapter we're happy to close. But there's something about closing a chapter that brushes over the rough parts and washes over everything with nostalgia. 

I know this because when I think of the 5 years I spent living in New York, I don't remember the roaches or cursing MTA as I'm late for class and the damn train won't come. I remember the best days of my life in what I still fiercely describe as the greatest city in the world. I remember being surrounded by friends, brilliant teachers, and the pulse of a vibrant city packed with more charm than Los Angeles could ever muster. 

Grilled Pineapple Salsa | Kneading Home

It's also a bit unnerving how much where you live changes you. Los Angeles has made me softer, that's for sure. I look back on the person I was when I first moved here over 3 years ago and I barely recognize her. It's both scary and exciting to think about the person I'll become as a Chicagoan. As a mid-westerner (something that still continues to fill my mind with stereotypes that don't feel like me). What will my life be like? What will I be like? 

I recently told Nate that after we move I want to spend the first few weeks cooking the meals we already know and love. And how comforting I imagine it will be to eat the same crispy eggplant with mango salsa we've been eating for years. He doesn't relate to any of this because he moved every two years growing up. He has quite literally mastered moving on. He doesn't have friends from childhood or a hometown and because of it he is the most adaptable person I know. 

Grilled Pineapple Salsa | Kneading Home

So in effort to savor these last couple months and check some things off our list, we headed up to Ventura last weekend and ate at Beach House Tacos on the pier. We went there the morning we got engaged, so it's sort of special to us. They sell the cheapest best tacos I've ever had, hands down. They definitely have that street taco feel - no fuss, simple, good. So last weekend we ordered a side of grilled pineapple salsa for the first time. Spicy roasted tomato salsa with thick chunks of juicy grilled pineapple. I barely finished chewing my first bite before I said, "WE HAVE TO MAKE THIS". 

Cinco de Mayo is here so what better time? I'd never made a salsa like this before, so I figured why not go with the pro, Rick Bayless, whose famous Chicago restaurant XOCO we ate at the night I interviewed. This recipe starts with simple whole ingredients. Instead of using canned fire roasted tomatoes, I roasted them myself. It's really super simple. Dry roast everything on a sizzling hot cast iron skillet until blackened. Peel off the skins and blend into chunky salsa goodness with a surprising bite of juicy sweetness from grilled pineapple. It is taco stand worthy, simple, authentic, and delicious. 

Grilled Pineapple Salsa | Kneading Home

Grilled Pineapple Salsa 
adapted from Rick Bayless via The Splendid Table 
makes about 1 quart 

1 pound fresh tomatoes (I used greenhouse tomatoes on the vine) 
2 large jalapeños
3 garlic cloves, unpeeled 

1/2 teaspoon salt, divided 
1/2 white onion ~ 3 oz, finely diced 
1/3 - 1/2 cup chopped cilantro 
1 small pineapple, or 1/2 large pineapple 

Heat both a large cast iron skillet covered in tin foil and a grill pan over high heat. You could also use a regular grill. Remove the rind, and cut the pineapple in long, 1/2 inch thick slices. 

Place tomatoes, jalapeños, and unpeeled garlic in the cast iron skillet, place the slices of pineapple in the grill pan and reduce the heat to medium. Cook the pineapple until dark brown grill marks appear on the bottom, then flip, about 12 minutes on each side - though it will depend on the temperature of your grill. Rotate the tomatoes, garlic, and jalapeños every couple of minutes until they are soft, blistered, and blackened almost all over. For me, this took about 25 minutes. It's okay if the tomato skins stick to the foil. Remove from the skillets and let everything cool.  

Meanwhile, run cold water over the diced white onion and set aside. Roughly chop the cilantro. 

Remove the skins from the tomatoes, jalapeños, and garlic. Discard the jalapeños stem and if you like your salsa mild remove and discard all of the seeds. I left about a dozen seeds and it was pretty spicy - so a little goes a long way. 

In the bowl of a food processor pulse the jalapeños, garlic and 1/2 teaspoon of salt until completely ground. You will need a scape the sides a couple times. Add the tomatoes pineapple and pulse until desired chunkiness is achieved. Transfer the salsa to a bowl and stir in the onion and cilantro. Let sit at room temperature for at least 3 hours to let the flavors marinate. The flavors only get better with time.