Watermelon Cucumber Coolers

Watermelon Cucumber Coolers | Kneading Home

I fell in love with the science of Ayurveda, the sister science to yoga, a couple years ago after reading Vasad Lad's Complete Book of Ayurvedic Home Remedies, then Eat, Taste, Heal which applies ayurvedic principles solely to nutrition. What I love most about Ayurveda is that it approaches health from a completely holistic perspective. It acknowledges that every body is different. What is good for one, may not be good for another, and knowing your own body's unique constitution and eating food which supports it creates optimal health. 

There are three doshic types, Pitta, Kapha, and Vata. In Ayurveda, Summer is Pitta season. And for people with pitta as their primary dosha, summers can be particularly difficult. My husband is the perfect pitta-stereotype: driven, hard-working, hot-headed, and completely intolerant of heat. I swear it could be snowing and he'd still be sweating. This translates to rough summers, with a serious need for heat management. Enter, watermelon cucumber coolers. 

Watermelon Cucumber Coolers | Kneading Home

According to Ayurveda, cucumber and watermelon are some of the most cooling, pitta-pacifying foods out there. So we juice them, and drink them over ice, when hot valley summers feel too much to bear. I recently added coconut water, another shockingly cooling beverage, and the result is summer-perfection. Refreshing, cooling, hydrating and pitta-pacifying. 

Watermelon Cucumber Coolers | Kneading Home

Watermelon Cucumber Coolers 
makes about 8 cups 

3.5 pound small watermelon 
2.5 pounds cucumbers ~ 3 large 
1 cup coconut water 

Juice watermelon and cucumbers. You will have to do this in batches and they both produce a lot of liquid. Transfer the juice to a large pitcher and stir in coconut water. Adjust to taste - for a sweeter beverage add more watermelon. 

Alternatively, if you don't have a juicer, you could blend the watermelon and cucumbers until smooth, then pour through a fine mesh strainer or cheese cloth. 

Best if consumed within 24 hours. 


Blueberry Pie Milkshakes {Dairy-Free + Vegan}

Blueberry Pie Milkshakes {dairy-free} | Kneading Home

We went to Chicago three weeks ago to find a place to live next month. No big deal. While we were there we got to check out Chicago's "Restaurant Row" on Randolph street. It's filled with fancy, world-renowned restaurants, most of which cost a pretty penny. I had to keep reminding myself "we are moving here, there will be plenty of opportunities to eat over the next 5 years". I want wanted to eat everything. So after almost two hours of waiting, we got into The Little Goat, the casual more affordable diner version of the very famous Girl and the Goat. Going there was a decision both our stomachs and wallets appreciated.

Staying true to the diner vibe we split a blueberry pie milkshake. It tasted exactly how it sounds: like some brilliant person had baked up a sweet and gooey blueberry pie with flakey buttery crust and then blended it up inside a milkshake with thick creamy vanilla ice cream. I wasn't even halfway through my first sip before vowing to re-create it at home. And so over 4th of July weekend I did just that - but my version is dairy free. Remember that vanilla bean ice cream when made last week? This is the perfect way to put it to good use. Of course, you could totally sub in real butter, milk and ice cream, but either way the result is creamy, decadent, and tastes just like someone smashed a delicious gooey blueberry pie into a creamy cold milkshake. 

Blueberry Pie Milkshakes {dairy-free} | Kneading Home

Blueberry Pie Milkshakes {vegan}
Serves 2

For the pie crust: 
4 tablespoons vegan butter (such as Earth Balance), cubed + frozen for 20 minutes  
1/2 cup plus 2 tablespoon all purpose flour 
1 teaspoon sugar 
pinch of salt
2 tablespoons ice water 

1 1/2 cups blueberries 
1/2 teaspoon cornstarch 
1 teaspoon vanilla 
1 tablespoon brown sugar 
1 tablespoon bourbon (optional) 
pinch of salt 

6 scoops Dairy-Free Vanilla Bean Ice Cream (or store-bought) 
1 - 1 1/2 cups plant-based milk of your choice 

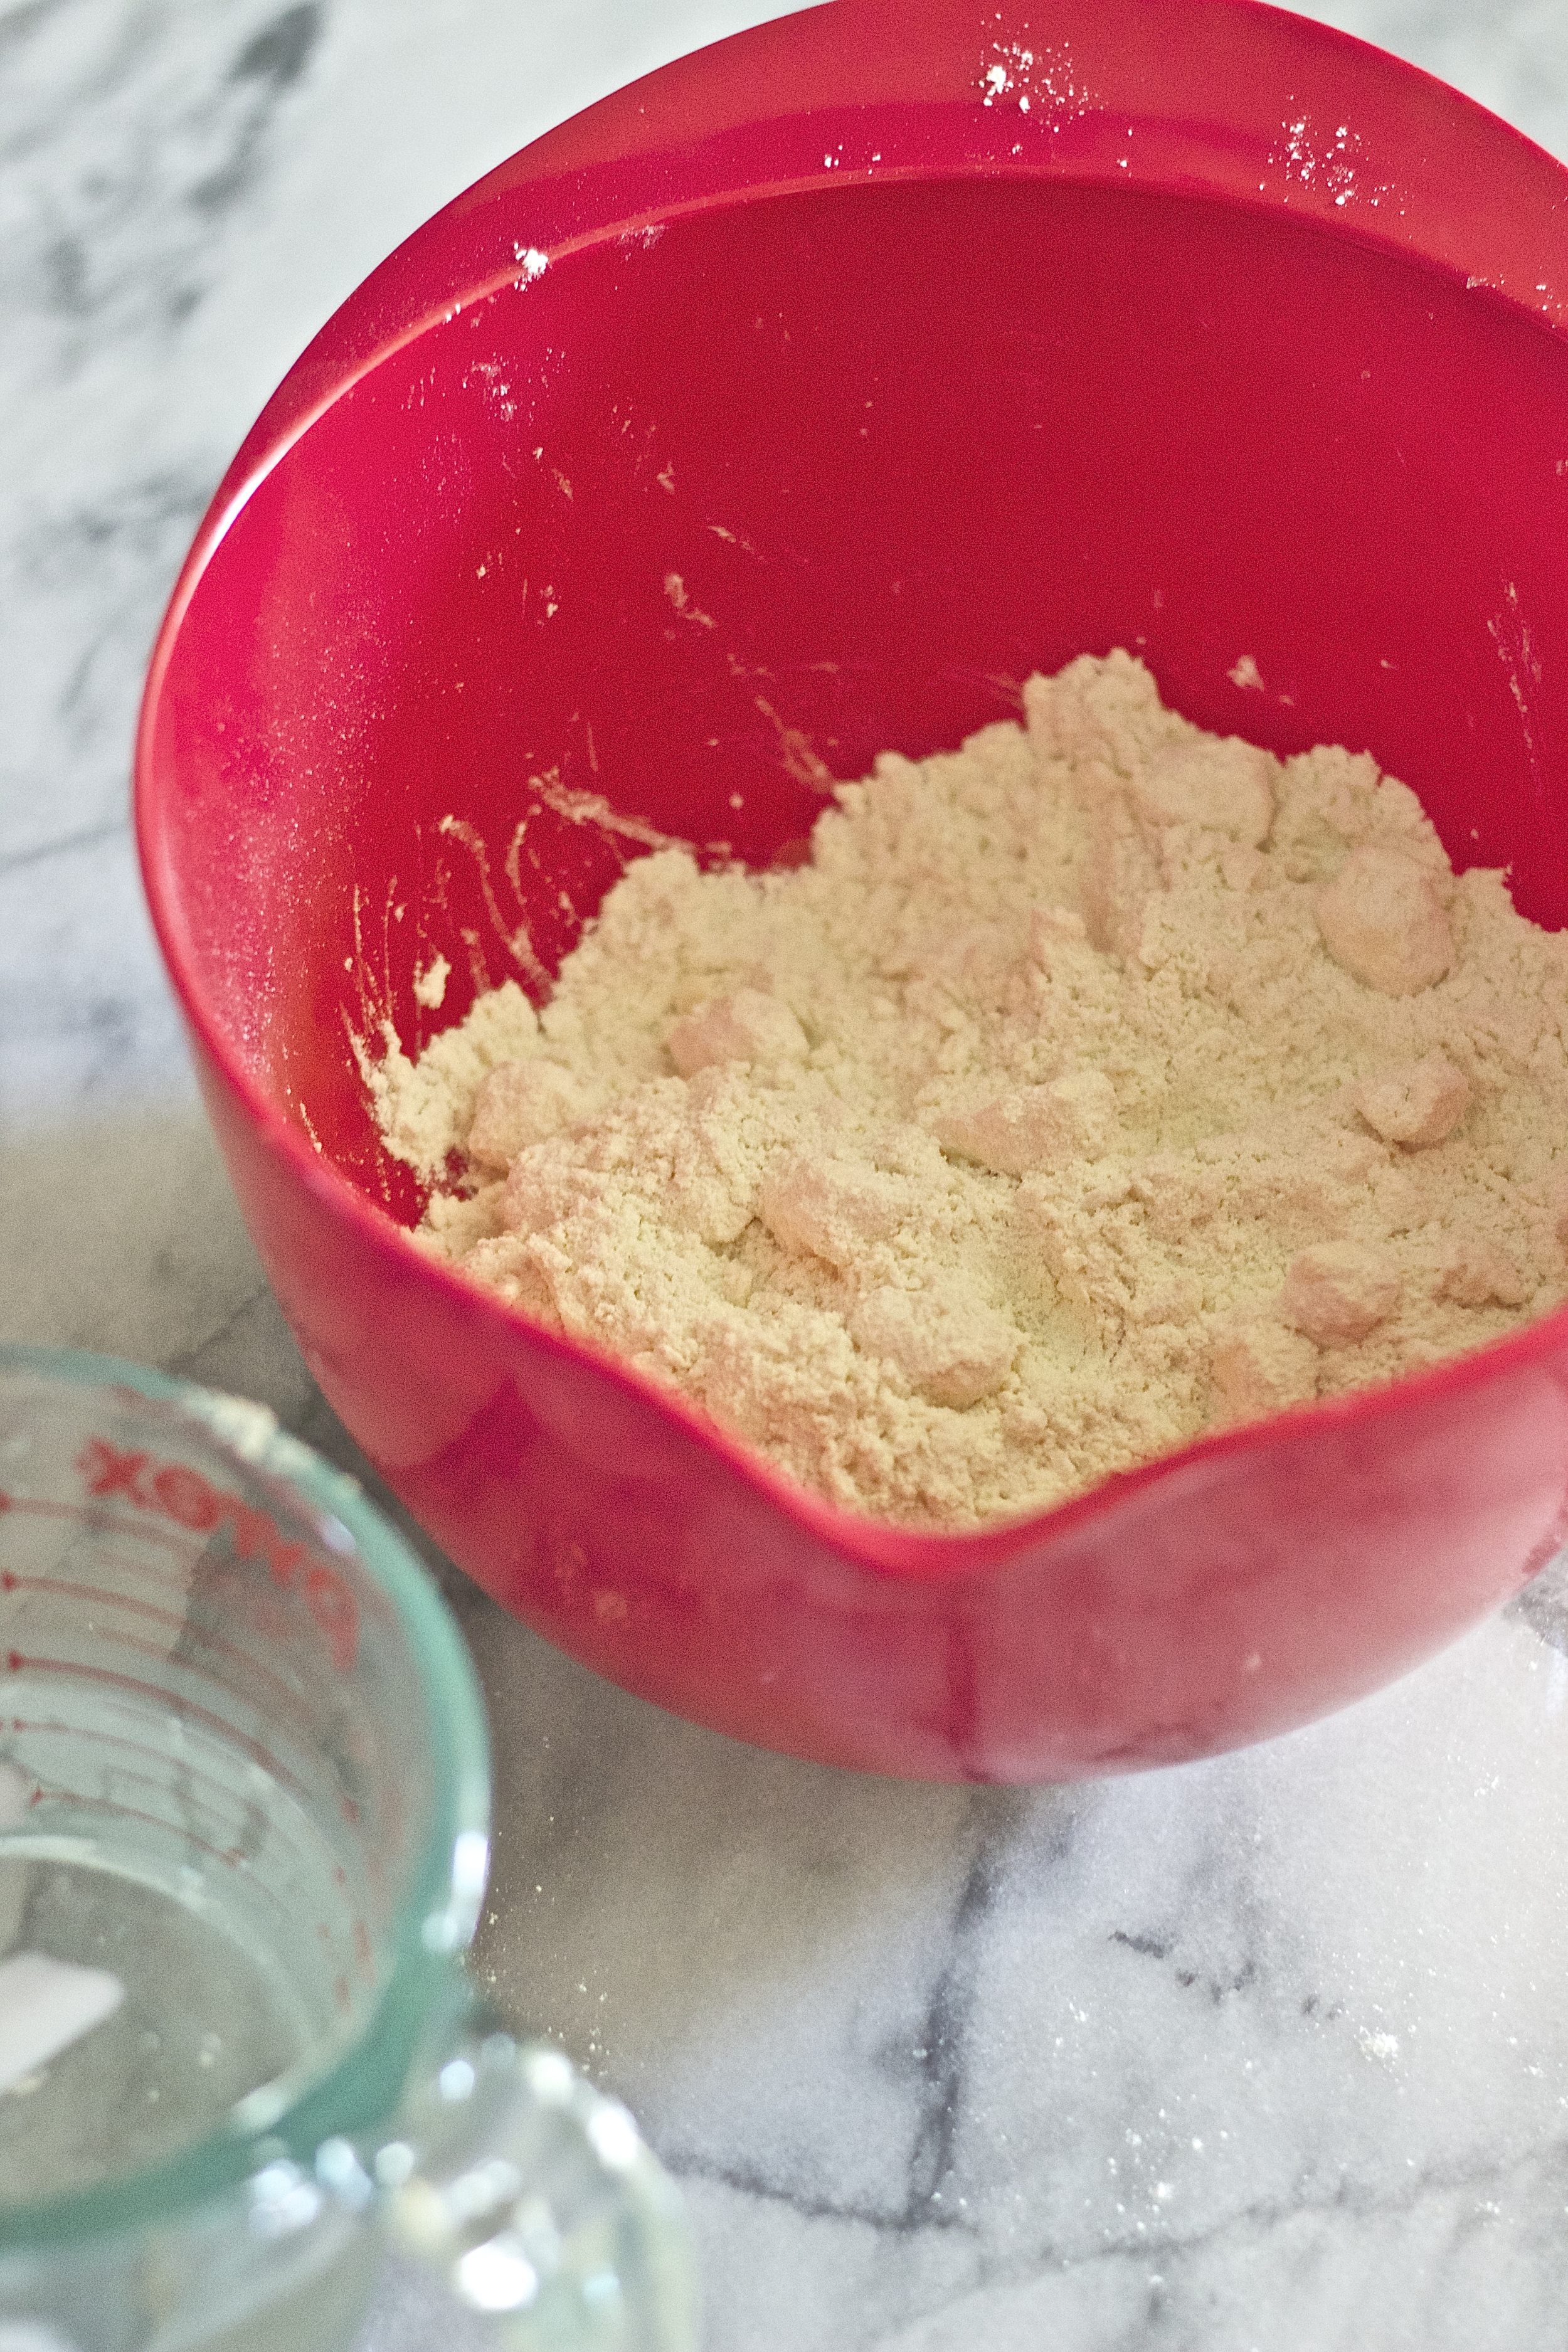
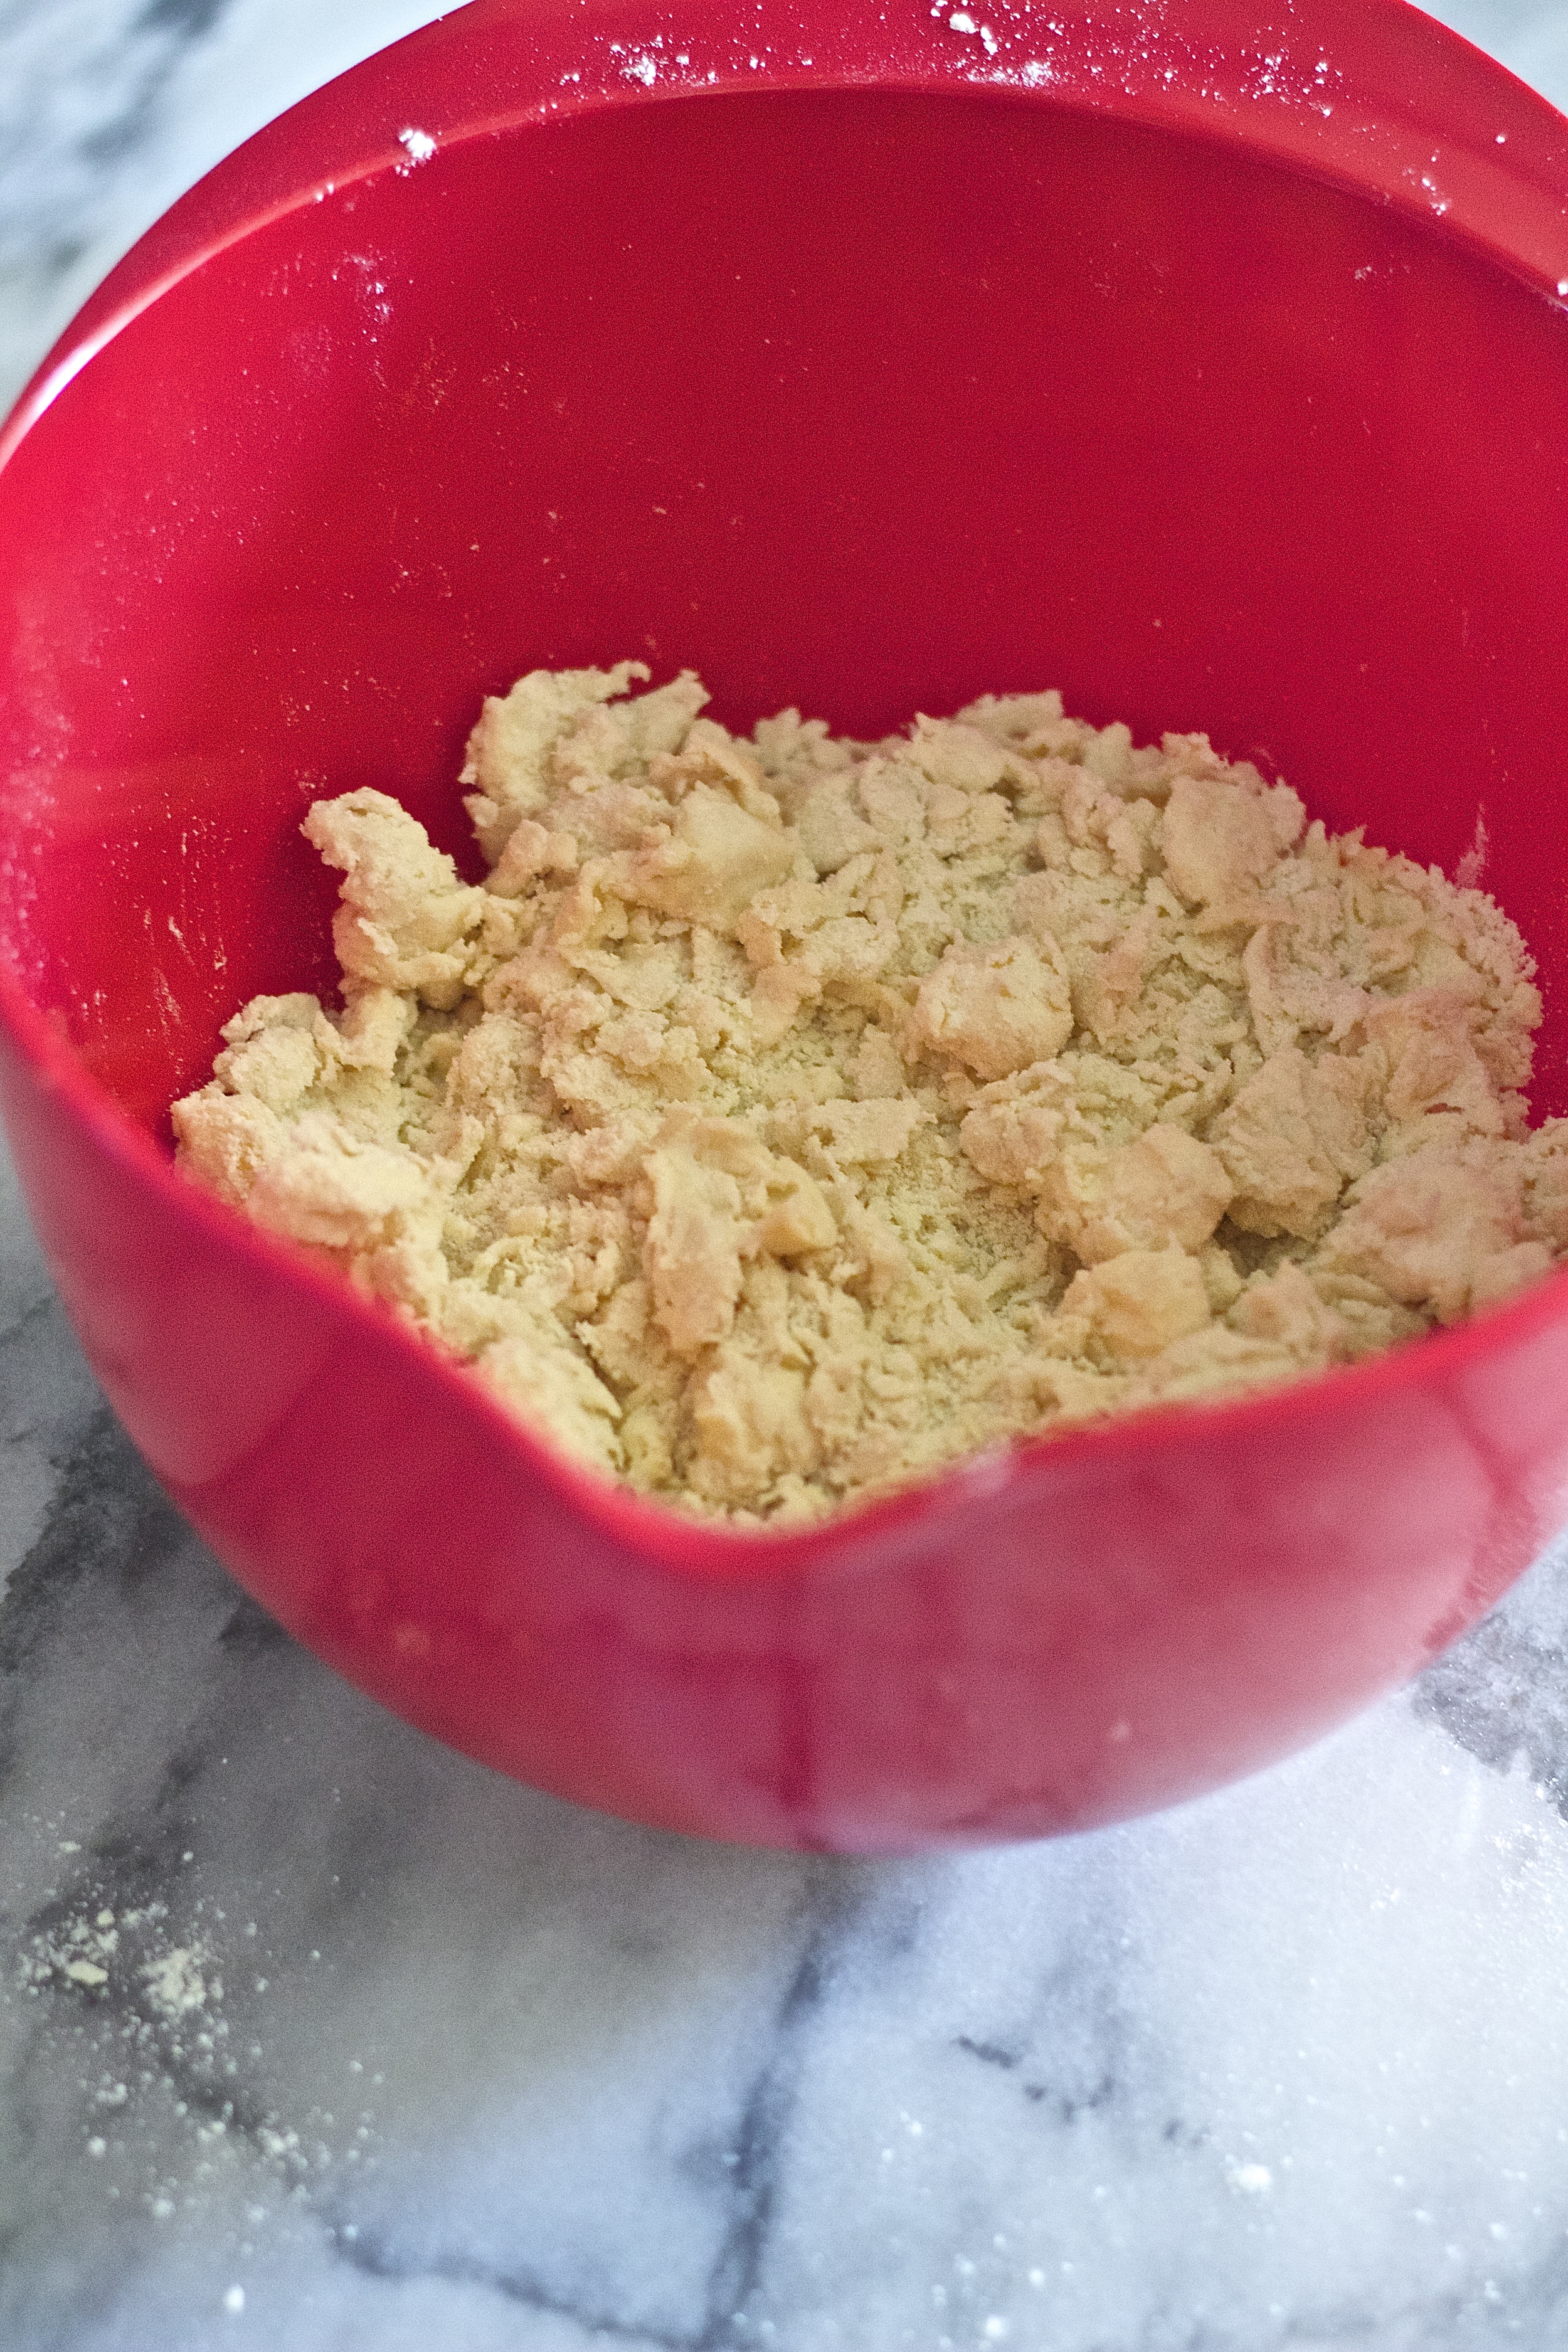
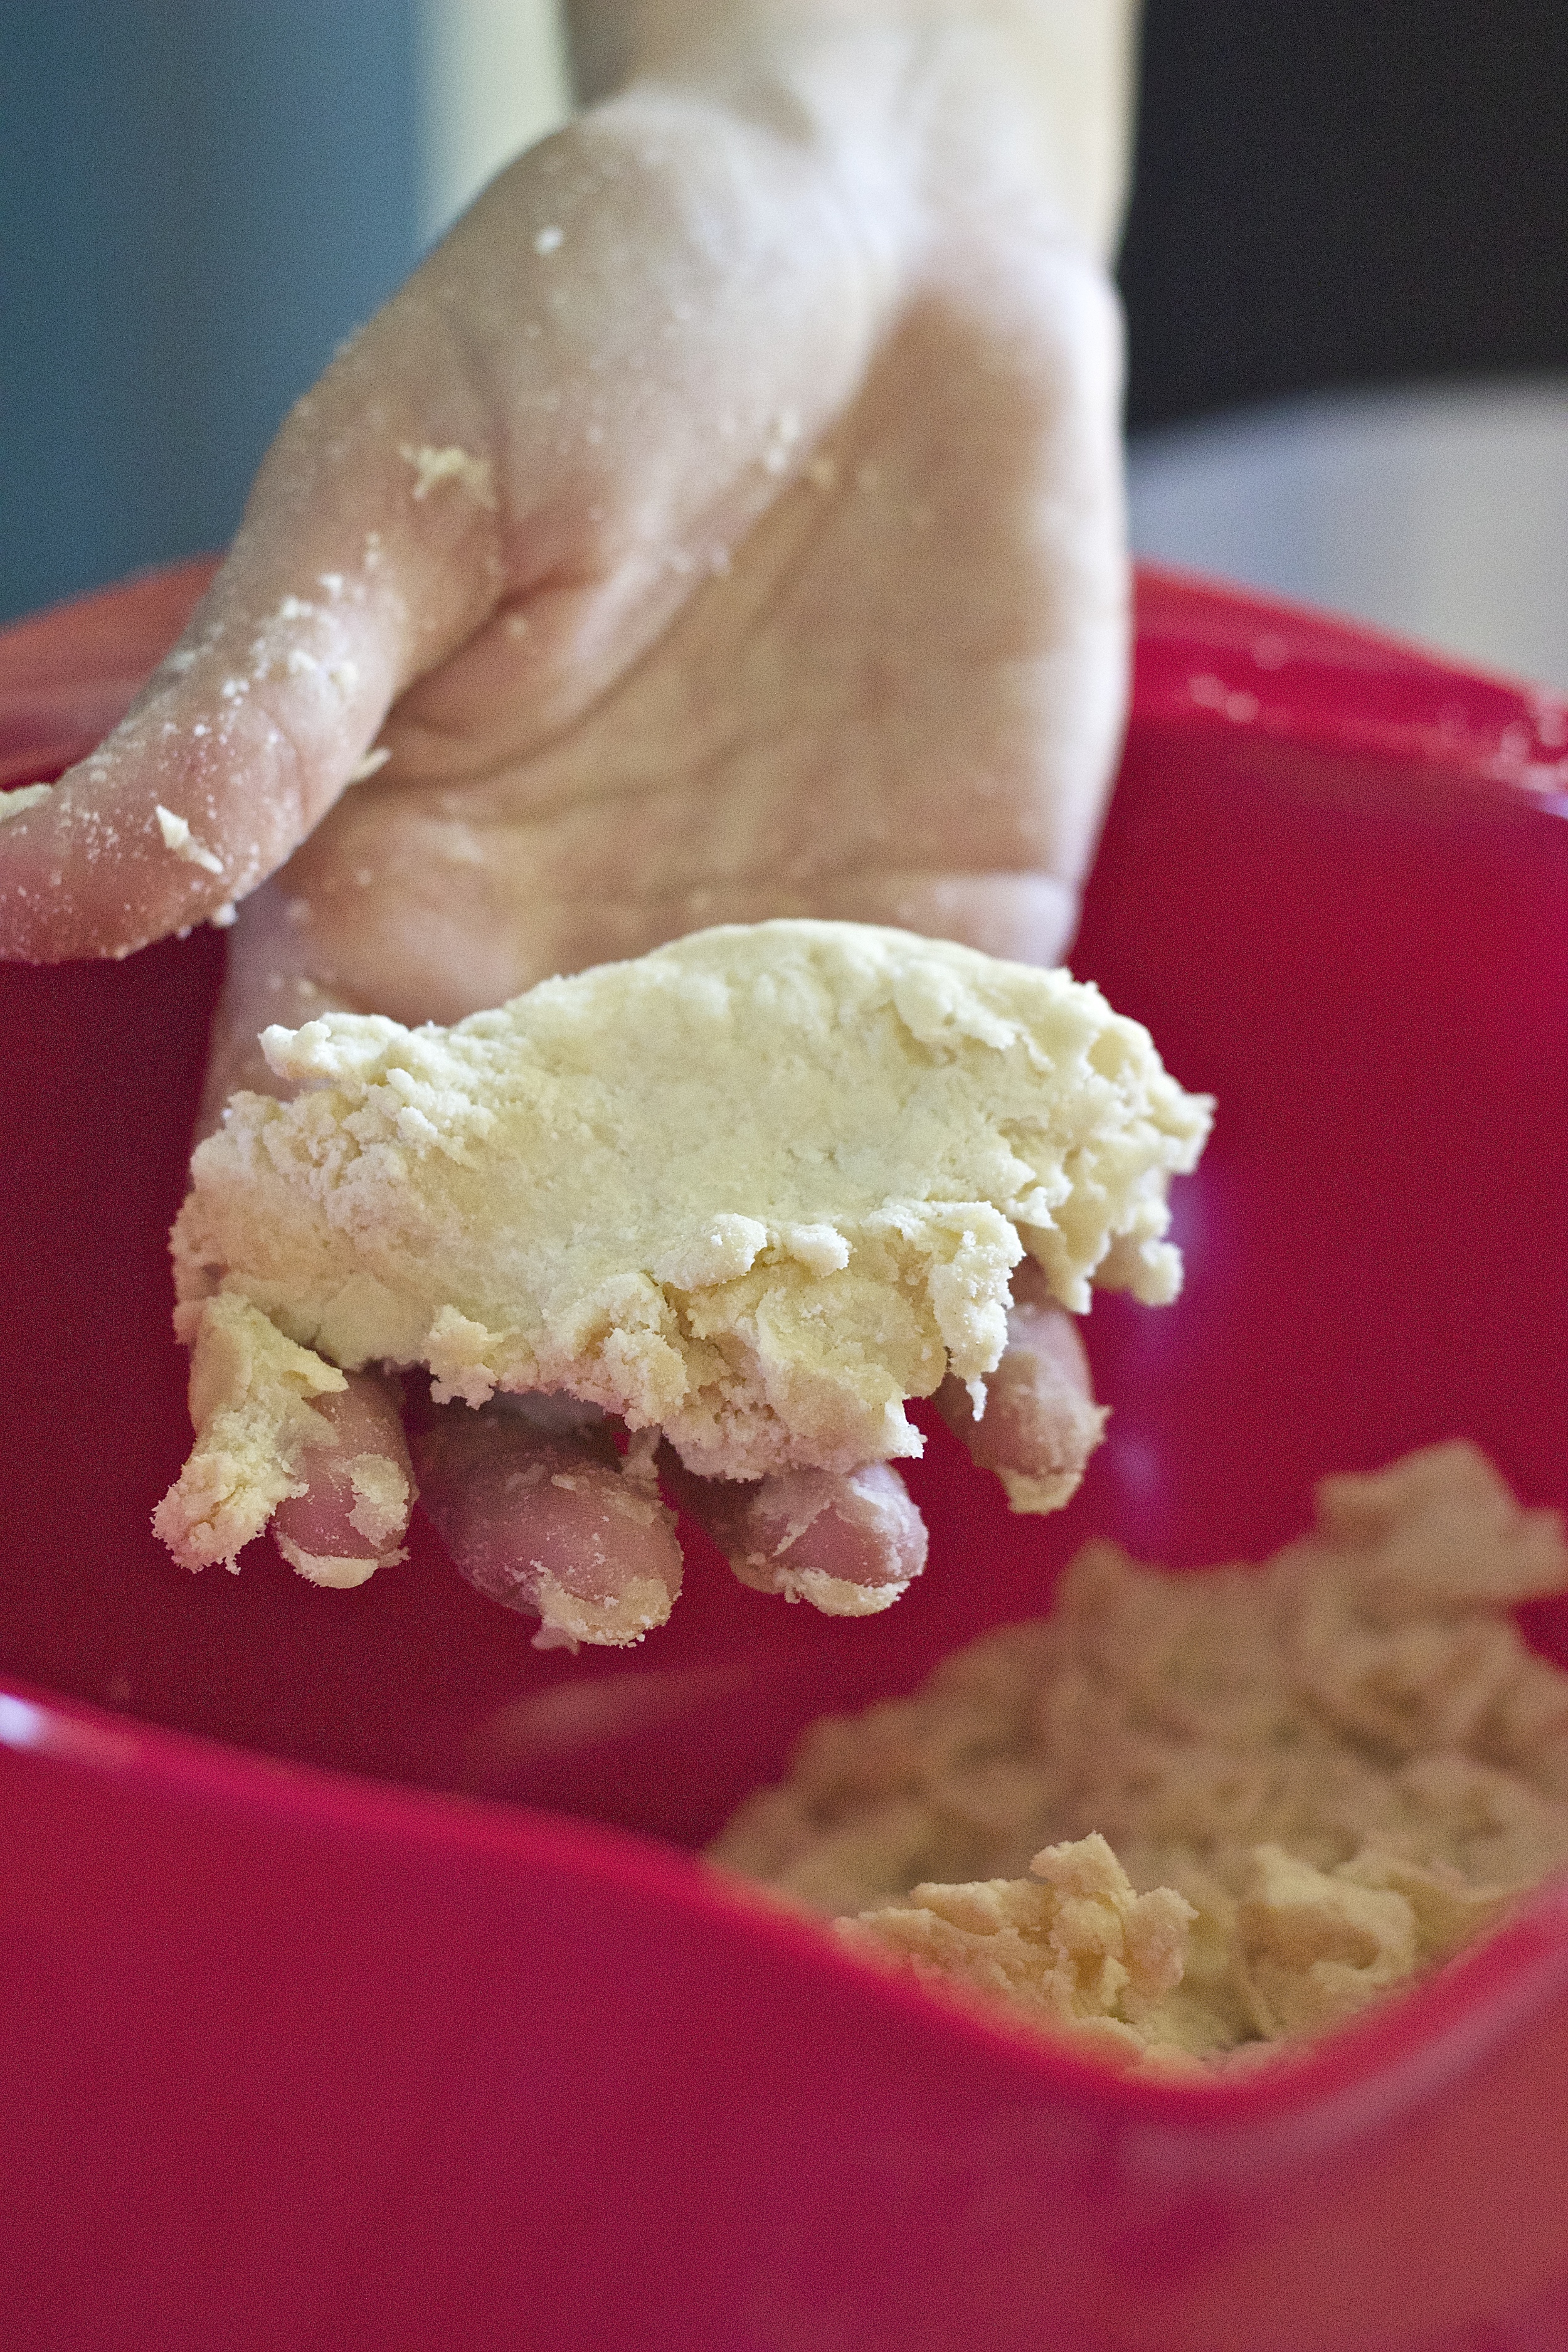
Make the crust. Whisk together flour, sugar, and salt in a medium bowl. Using your hands, cut the butter into the flour until the butter chunks are roughly the size of peas. Pour in 1 tablespoon water, mix, pour in the second tablespoon and toss until the dough is shaggy and damp. Squeeze a handful of dough in your hand - if it doesn't form together in a cohesive ball add another teaspoon of water. Bring the dough together into a disc (it will be messy, that's OK), cover and refrigerate for 20 minutes. Meanwhile, preheat the oven to 350 degrees. On a floured piece of parchment paper, roll the dough out until it's the thickness of pie crust, keeping the dough on the parchment, transfer it to a baking sheet and bake for 20 minutes until just lightly browned around the edges. Remove from the oven and let cool. 

Meanwhile, heat the blueberries, cornstarch, vanilla, brown sugar, bourbon and salt over medium in a small saucepan. Stir as it cooks for 5-7 minutes until thick and bubbly. Remove from heat. Let cool. You can pop it in the fridge to speed up the process. 

Once the crust has cooled, break it into chunks with a fork. Toss blueberry mixture, ice cream, milk, and a little over half the crust into a blender and blend until smooth. Divide among two glasses and top with remaining pie crust and serve. 

Notes: Feel free to sub butter in the pie crust, milk, and regular store-bought vanilla ice cream. 


Homemade Horchata {dairy-free}

Homemade Horchata {dairy-free + naturally sweetened} | Kneading Home

I've always been such a sucker for good horchata. And despite the fact that I'm now the proud owner of an Irish last name, my middle name's still Montes, and I'm still 1/2 hispanic. Also cinco de mayo is like really soon. 

I love the fact that horchata is naturally dairy-free. It's the perfect combination of creamy and refreshing; definitely a treat. And until yesterday I had never made my own. I did a bit of research and found 1. it's super simple. 2. basically all of the recipes call for the same ingredients, just varying in their proportions 3. it's shockingly similar to homemade almond milk, though much more flavorful. 

Homemade Horchata {dairy-free + naturally sweetened} | Kneading Home

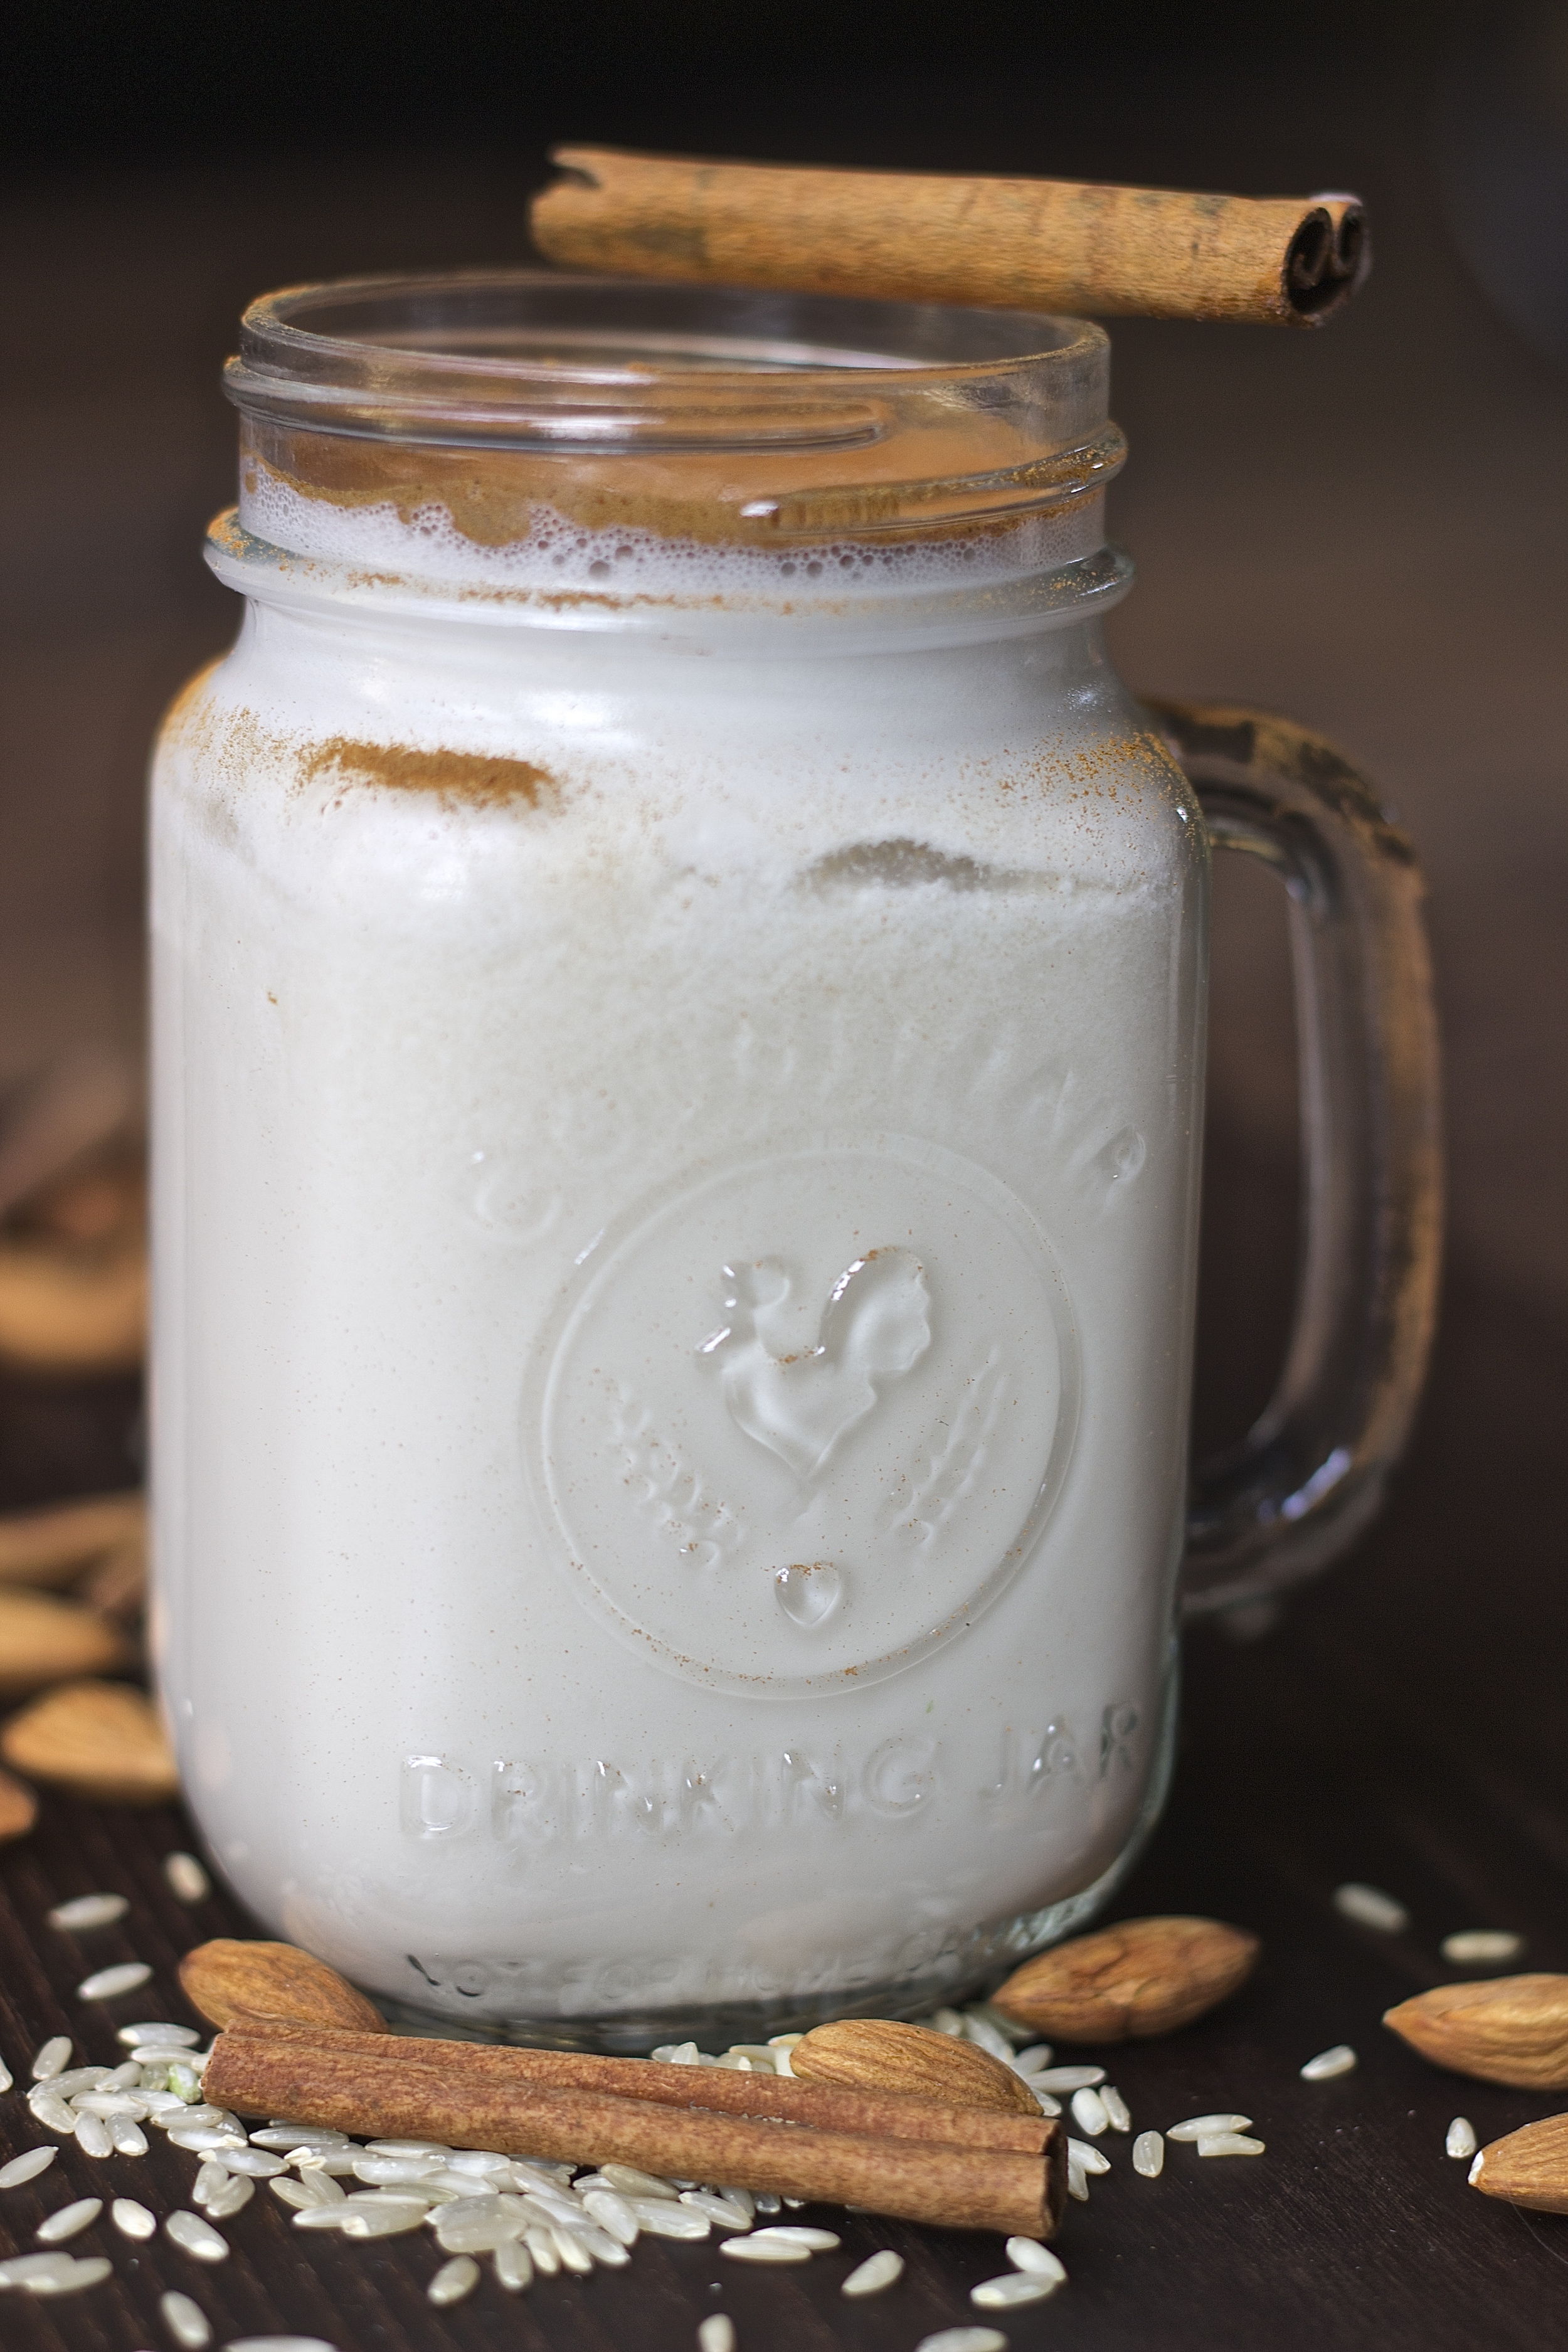
Basically you soak almonds, rice, water and a cinnamon stick overnight, blend them all up the next morning (yes, cinnamon stick and all. I was skeptical too), pour the mixture through a cheese cloth, add water, sweeten, and wah lah! The result is much creamier and much more decadent than what you would get in a restaurant. 

Homemade Horchata {dairy-free} 
Makes 4.5 cups 

2/3 cup uncooked long grain brown rice (see notes), washed 
1 1/4 cup almonds, blanched 
4 1/2 cups water, divided 
3" cinnamon stick 
1/4 cup plus 1 tablespoon agave, or sweetener of your choice
1/4 teaspoon vanilla extract (optional) 
cinnamon for garnish

If you are unable to find blanched almonds (skins removed), boil a medium pot of water and toss your almonds in for about 1 minute. Transfer the almonds to a bowl of cold water and pop off the skins. Note - this is actually the most time-consuming part of the whole recipe. 

Place rice, blanched almonds, 2 1/2 cups hot water, and the cinnamon stick in a medium bowl. Cover, and let sit over night or up to 12 hours. Pour the ingredients into a high powered blender and blend until completely smooth (yes cinnamon stick and all). Pour the mixture through a fine mesh strainer/cheese cloth/milk bag (I used a milk bag) and discard the pulp. 

Pour the liquid back into your blender, add two cups of cold water, vanilla, and agave. I recommend starting with about 1/4 cup agave then adding more one tablespoon at a time if desired. I found 1/4 cup + 1 tablespoon was enough for me but if you're used to the super sweet restaurant style you could add up to a cup. 

Serve over ice with a generous dusting of cinnamon. 

Notes: 

  • I used long grain brown rice but you could use any type of white or brown long grain rice. What exactly is long grain rice? I had the same question. Examples include basmati, carolina, jasmine, or texmati. The Kitchn has a great article discussing a taste test they did using different types of rice. They concluded that brown rice provided a more nutty flavor, while the white tastes more authentic but a bit chalky. Feel free to try whatever you have on hand. 

  • I couldn't decide whether I liked the horchata with or without the vanilla extract, so it's totally optional. 

  • You could definitely sweeten with maple syrup or honey instead of agave. I even considered coconut sugar. If you wanted to, you could use regular sugar, though I'd probably recommend incorporating it into a simple syrup with some of the water.  

  • I want to find a way to re-use the leftover almond/rice/cinnamon mixture. I'm thinking bread pudding of some sort? Has anyone ever done anything like this?