Home Sweet Home

Home | Kneading Home

Sunday morning we loaded our entire life into a truck and began the drive to the midwest. I'm not going to lie, the last week has been hard. Each day I said goodbye to a different group of students. My heart swells when I think about what a gift it has been to be their teacher. And the packing. I thought I was a minimalist until I packed my kitchen, and literally cried over sheets of packing paper and wine glasses just wanting for it to all be over.

Home | Kneading Home

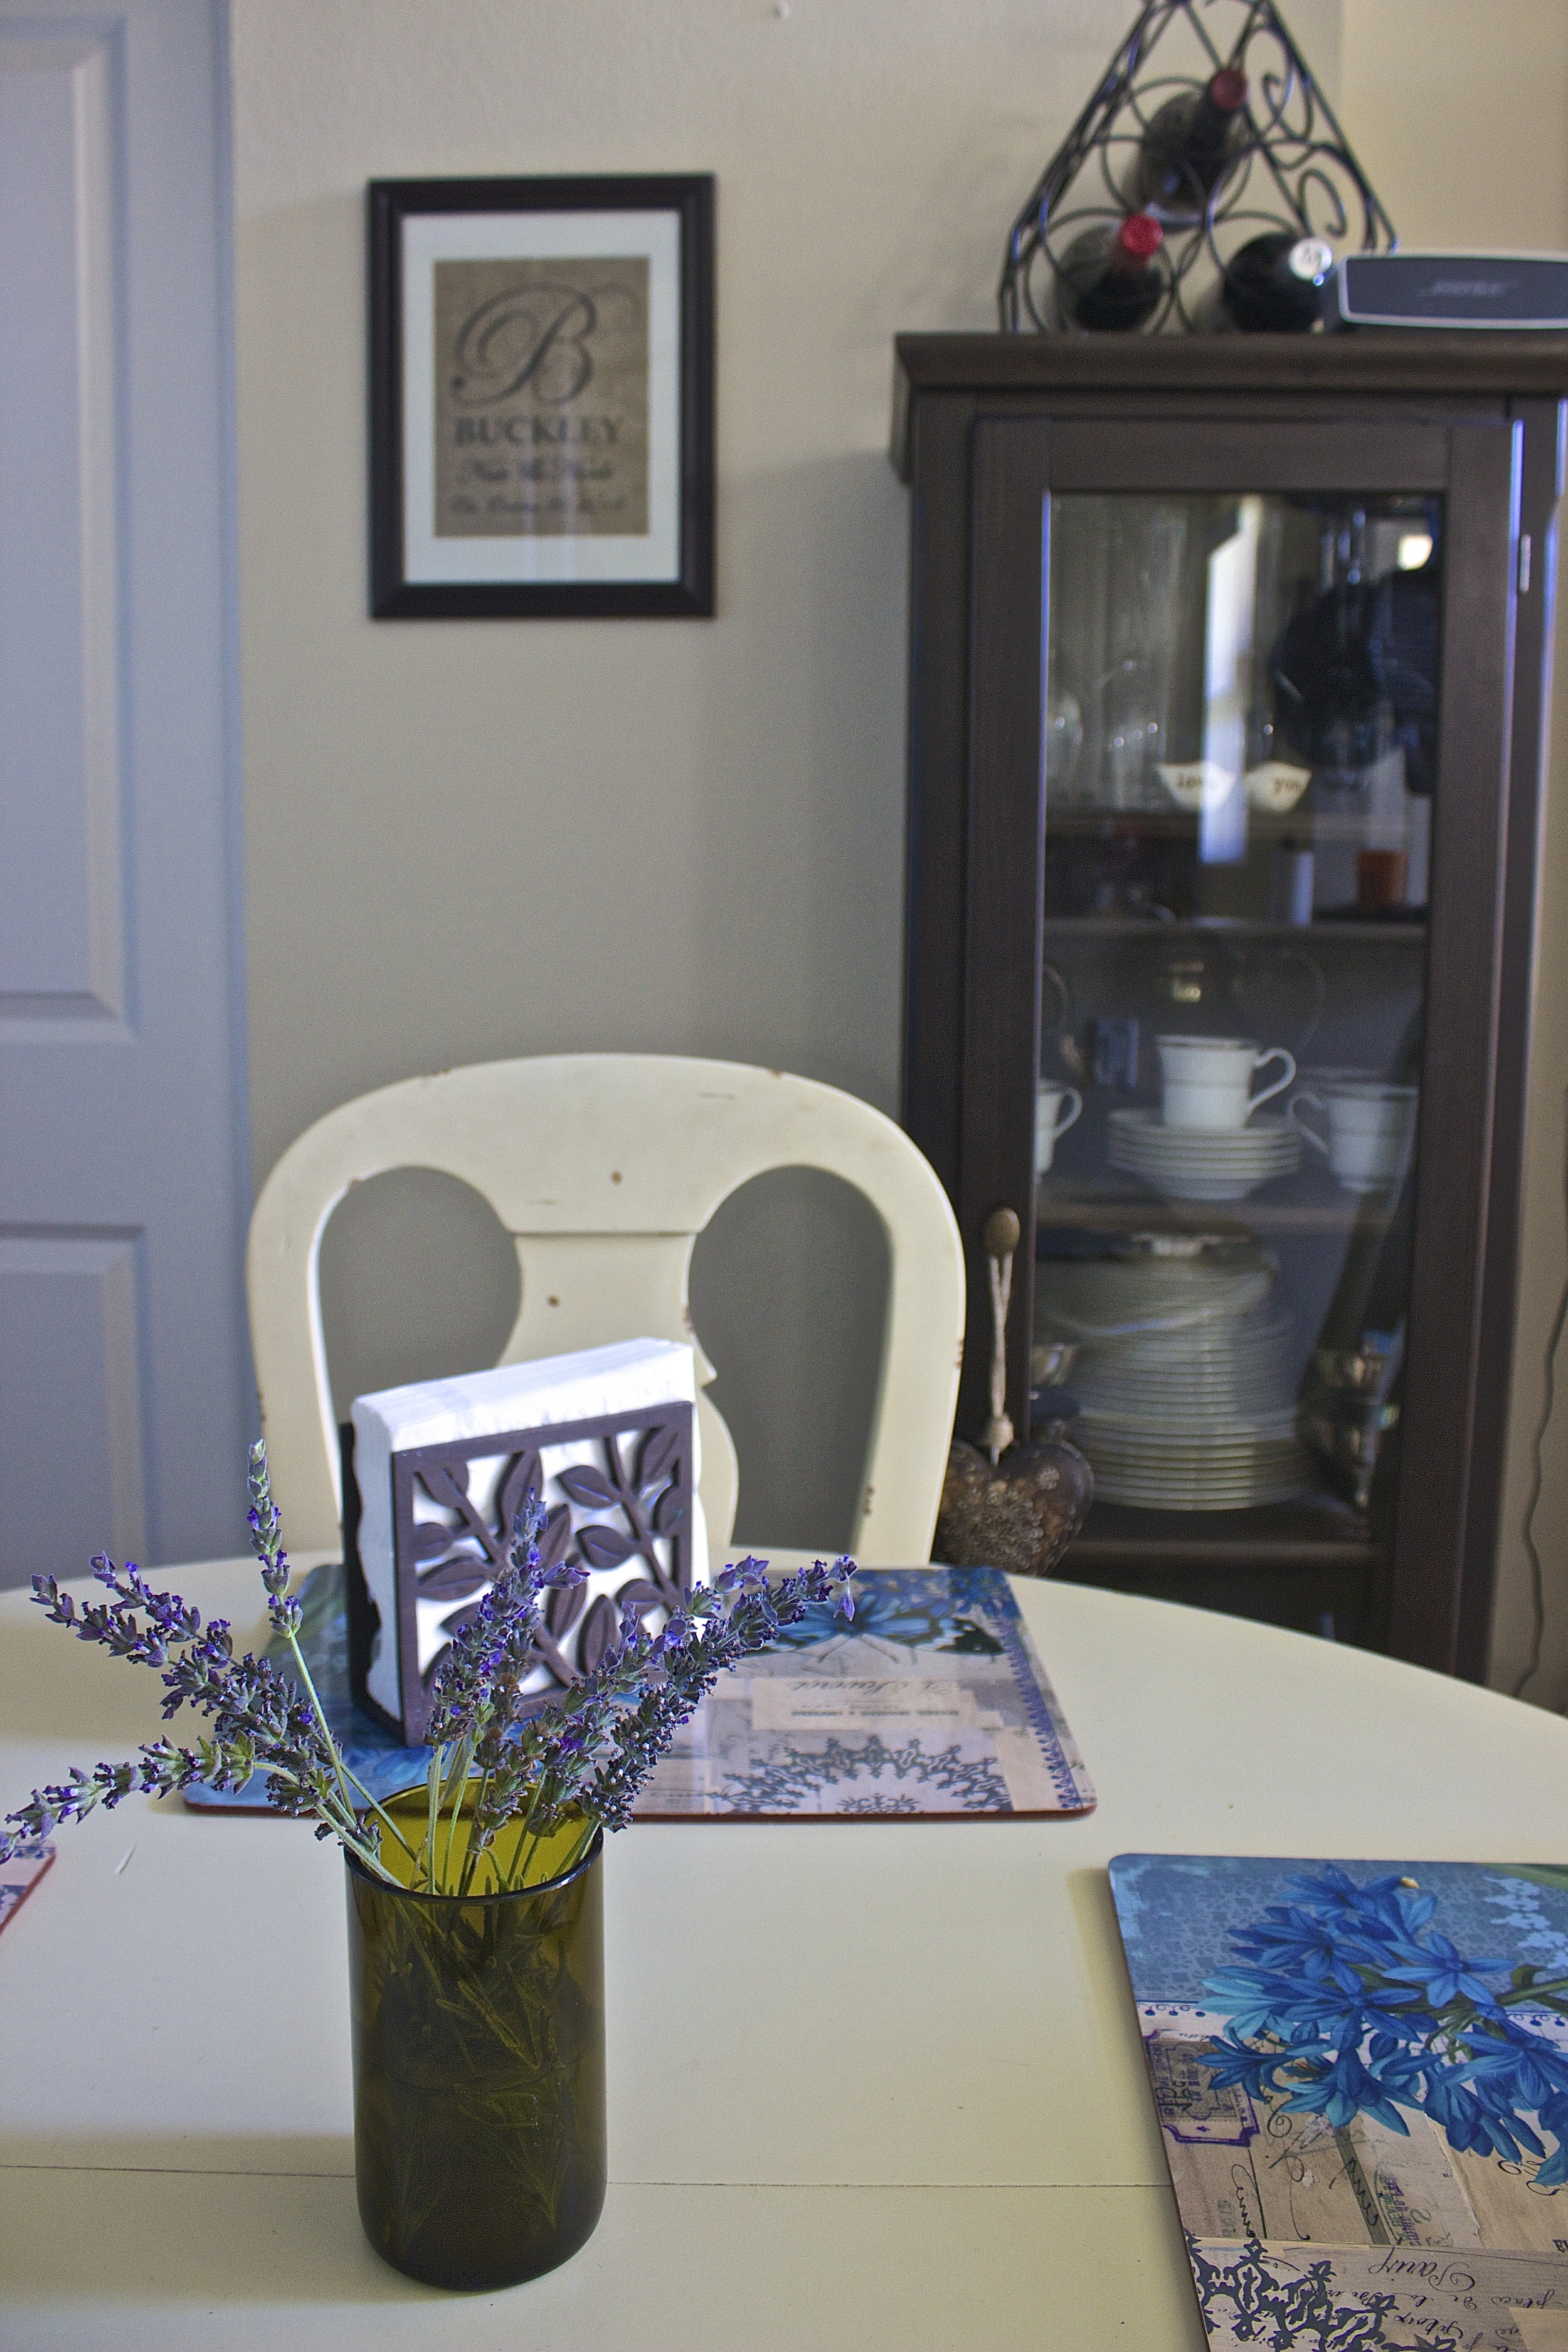
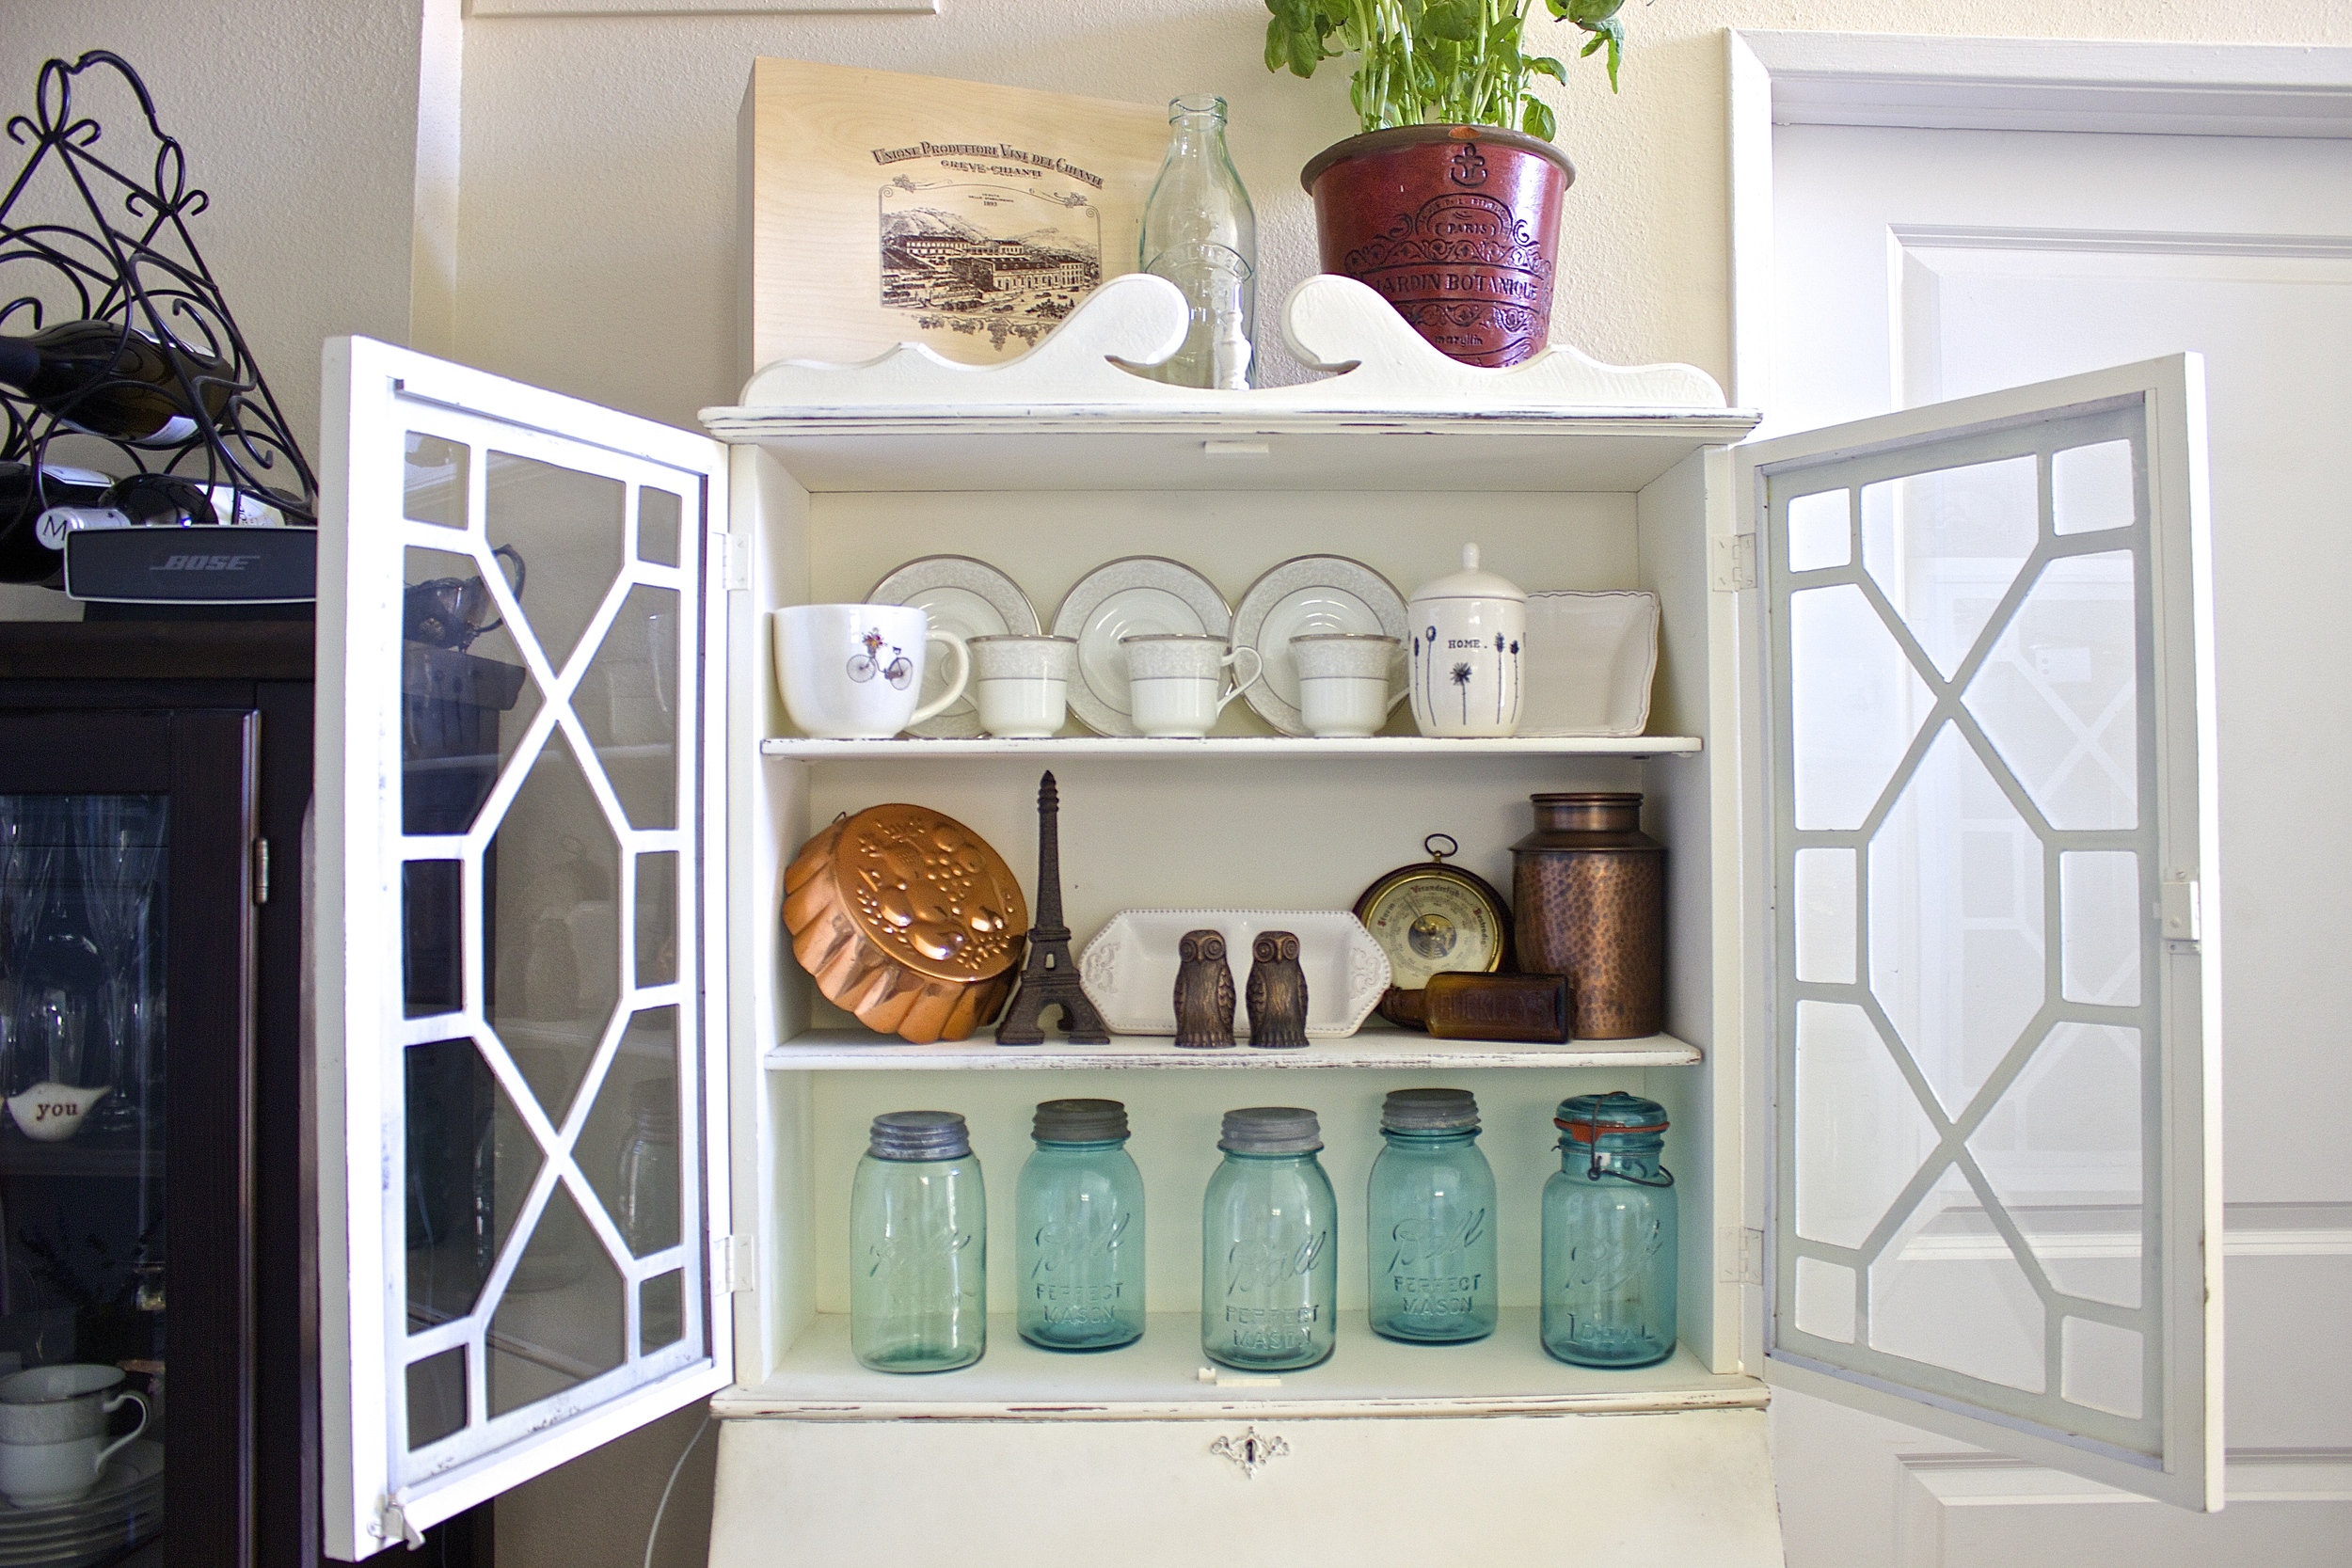
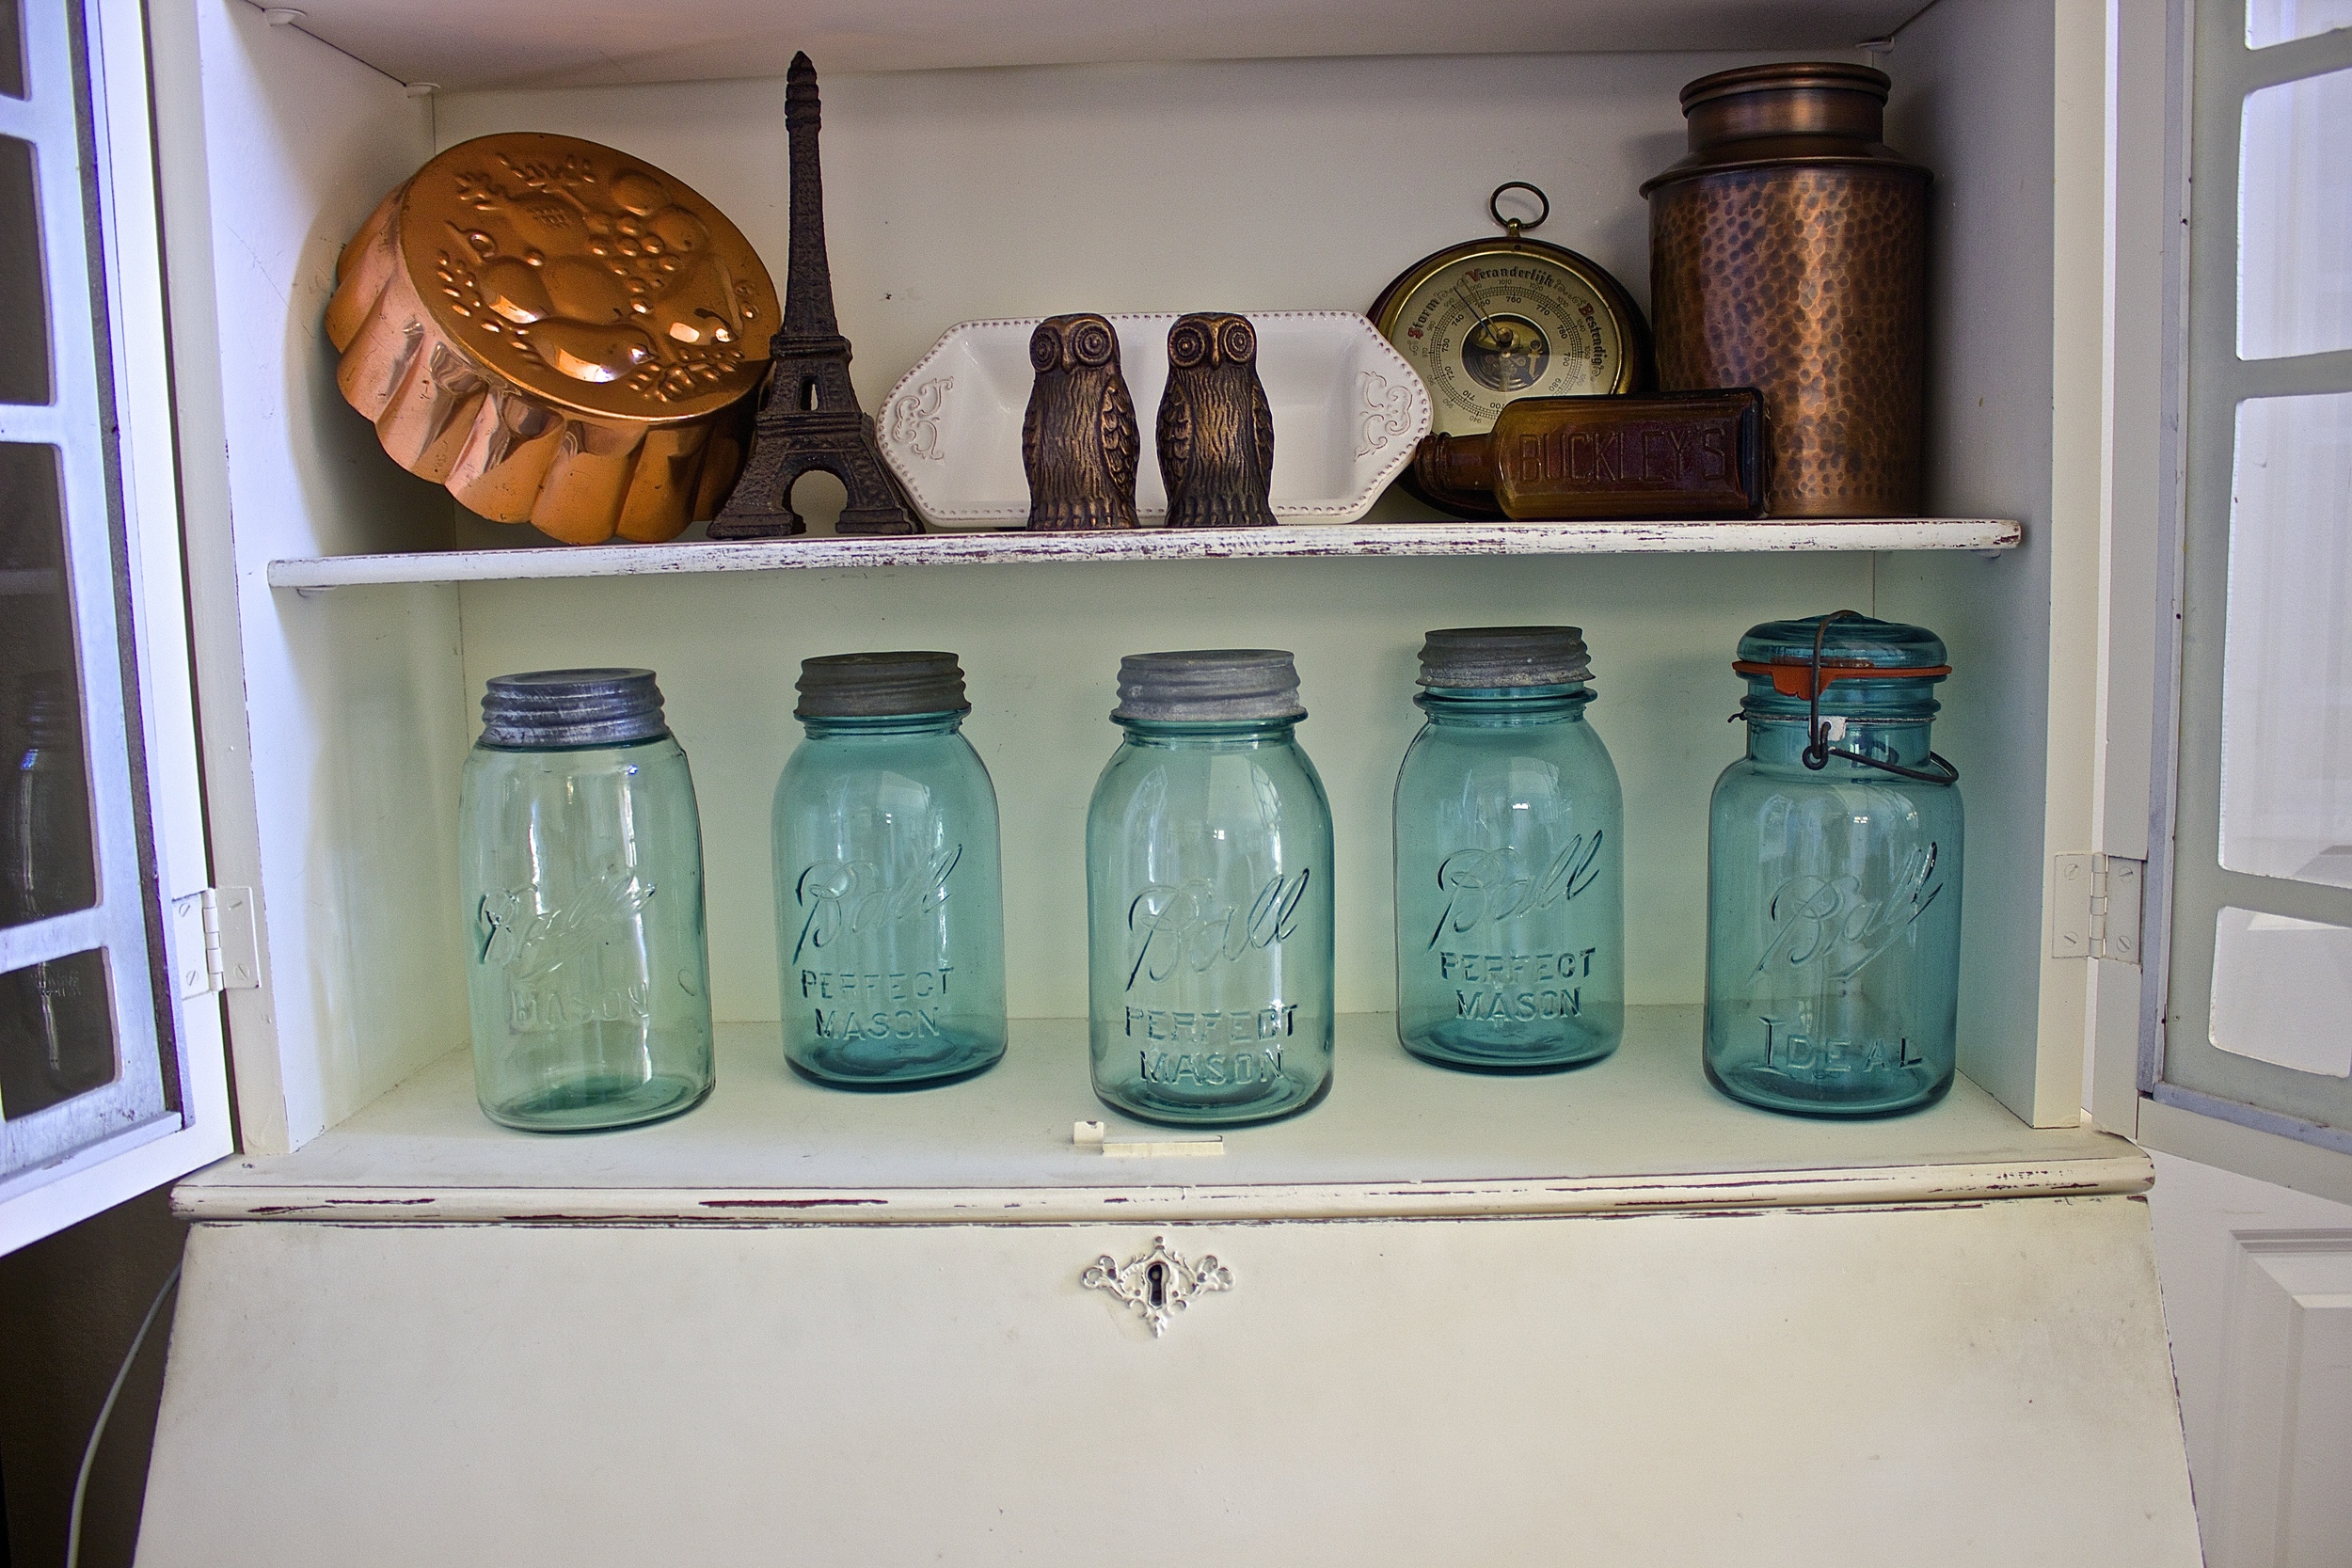
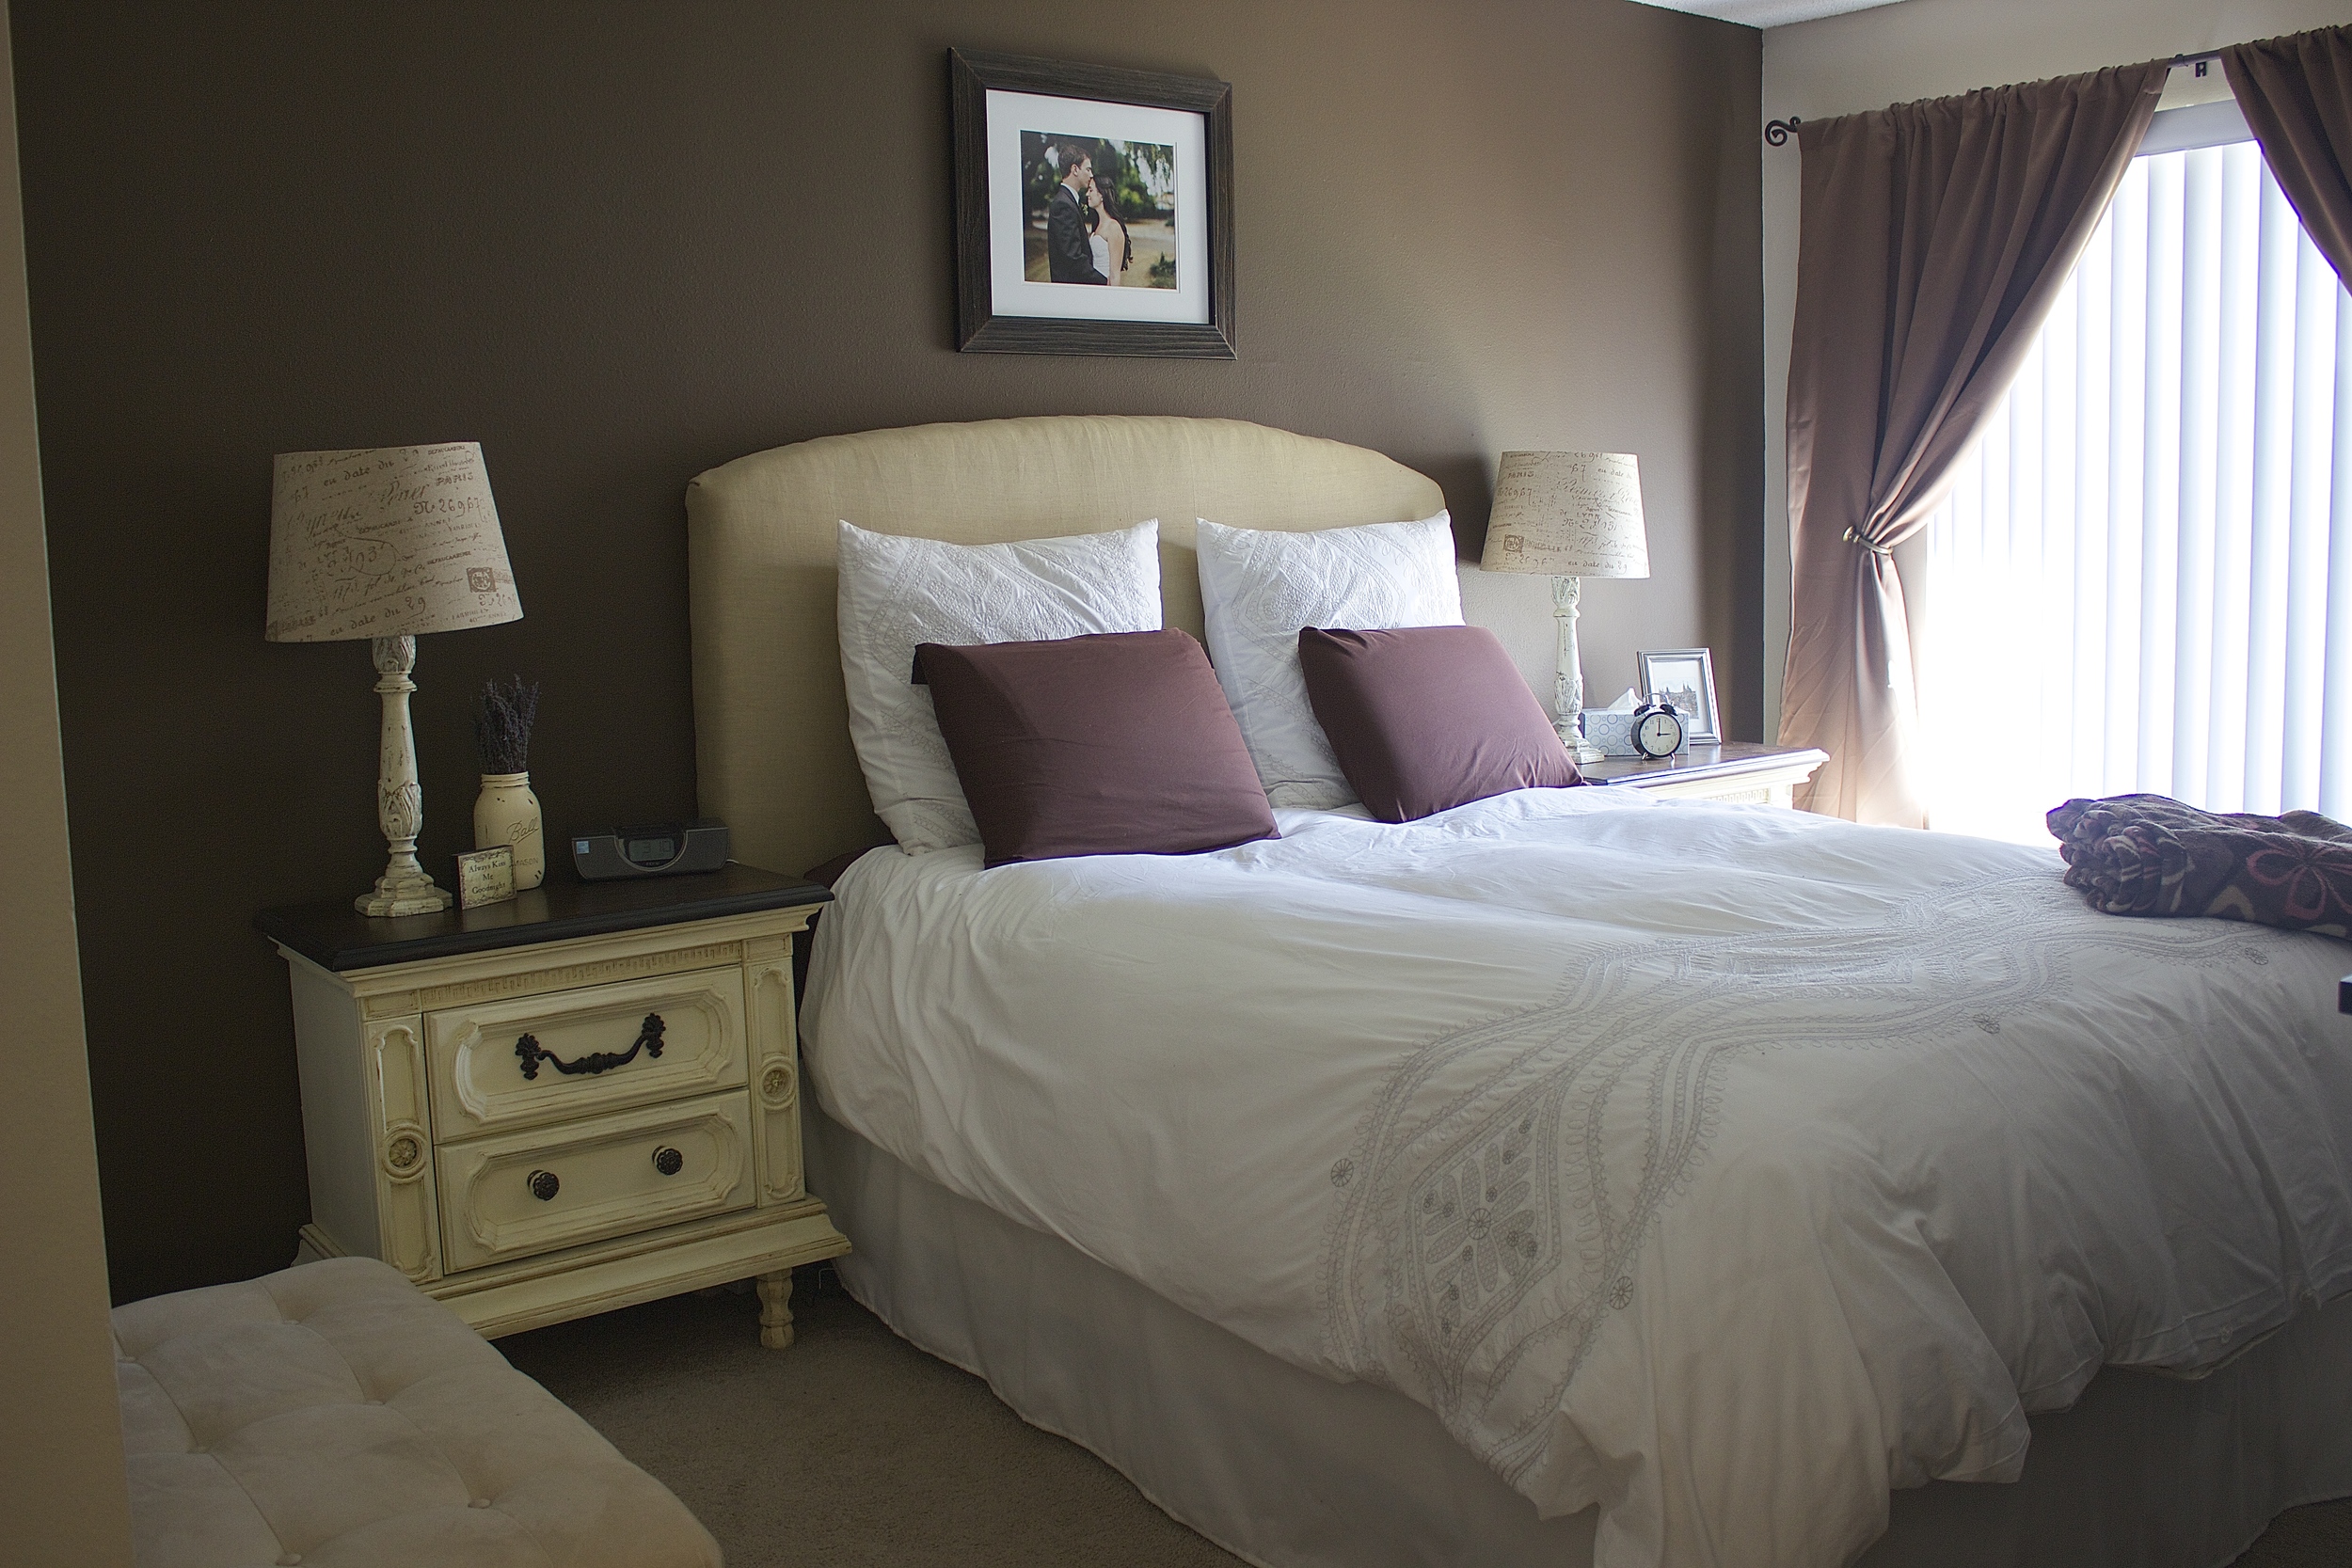
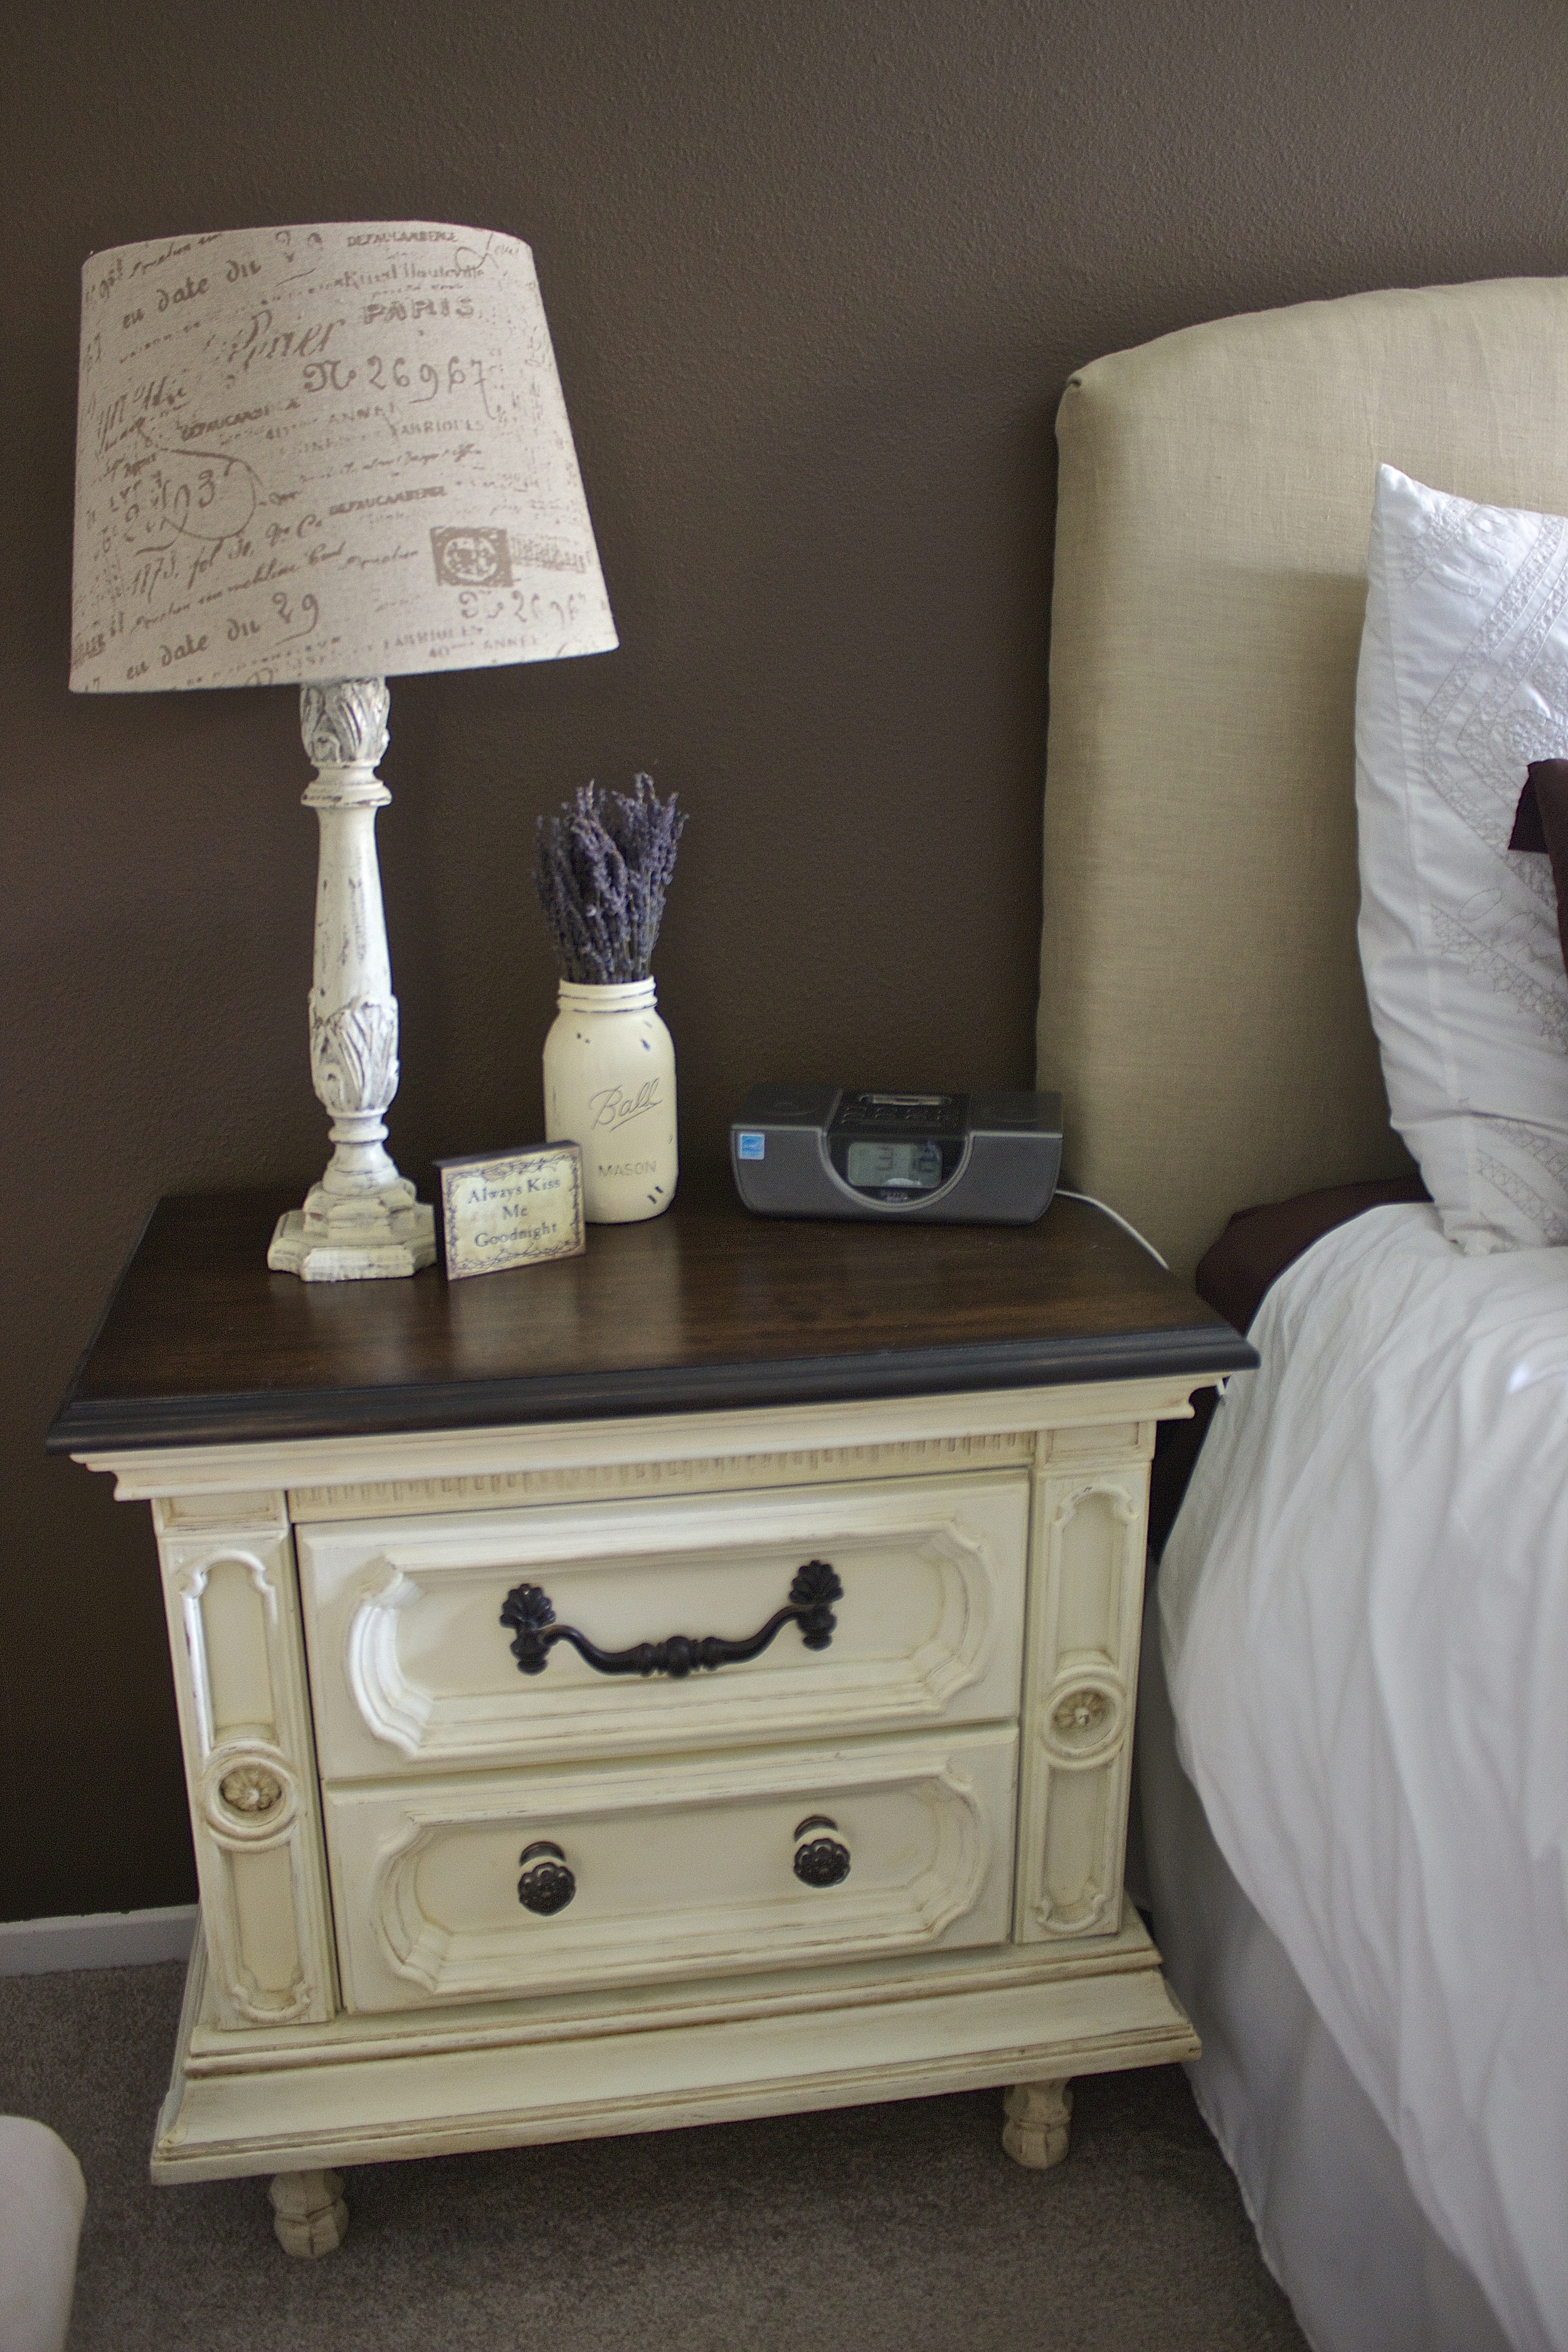
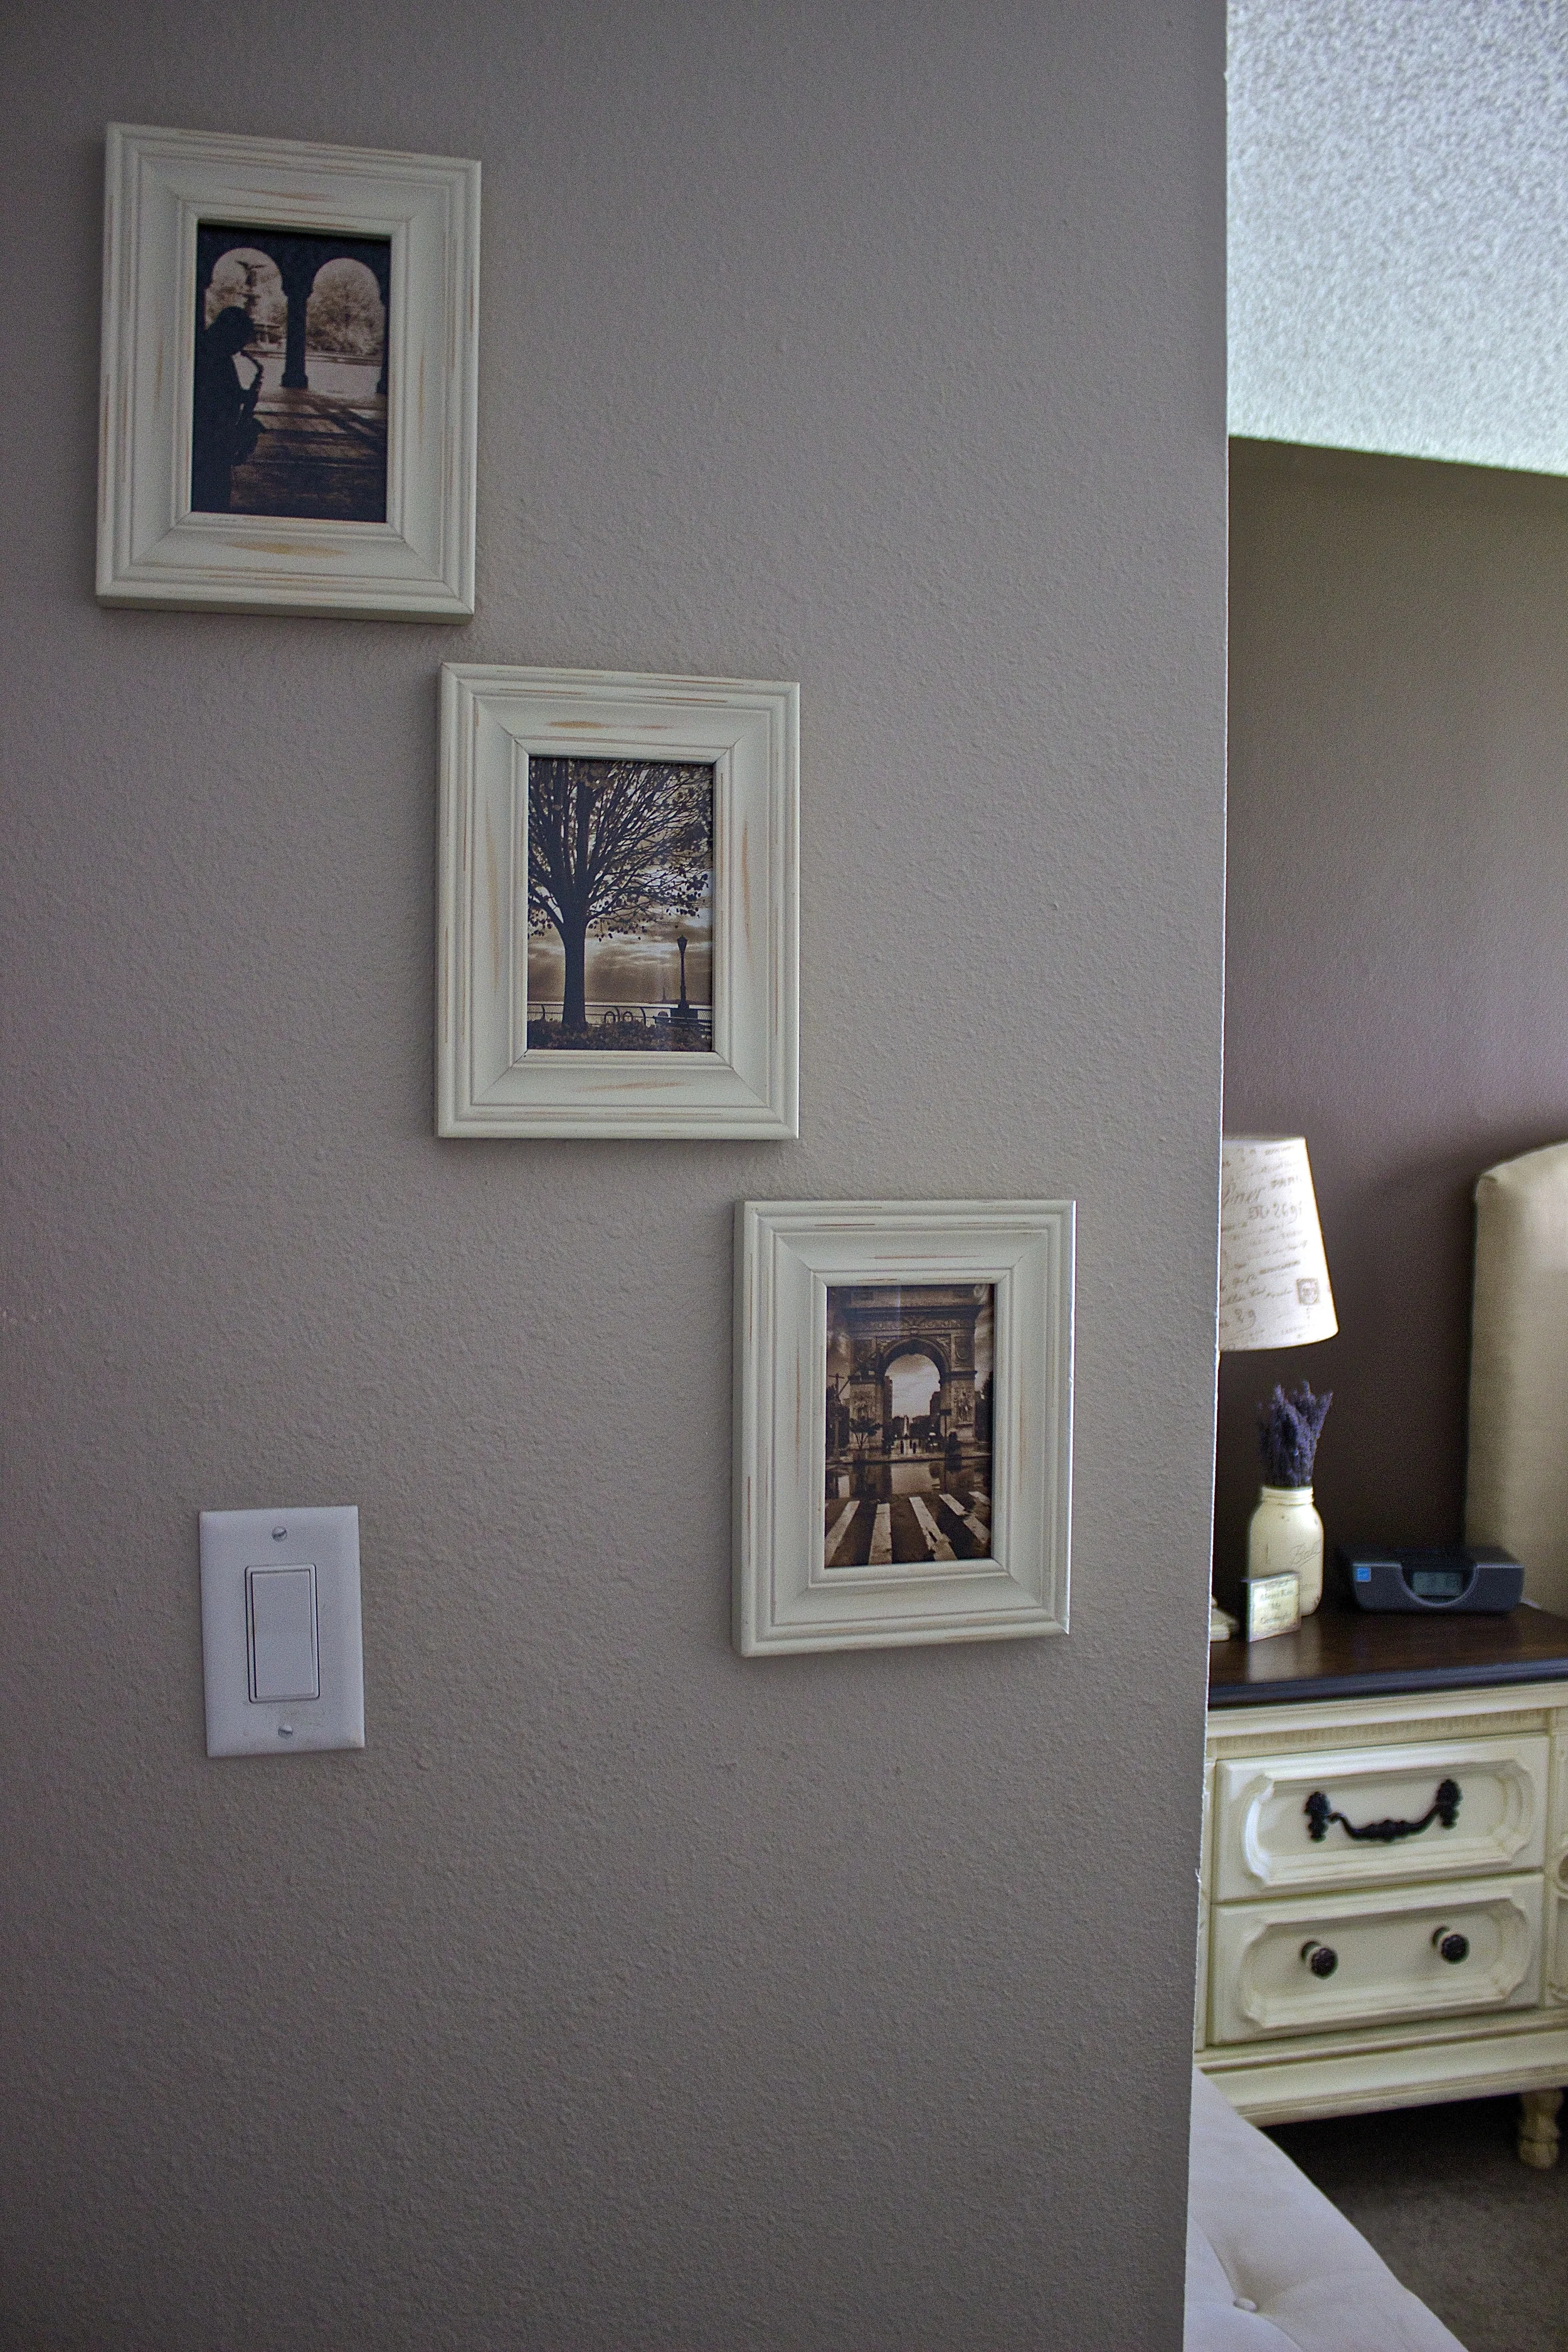
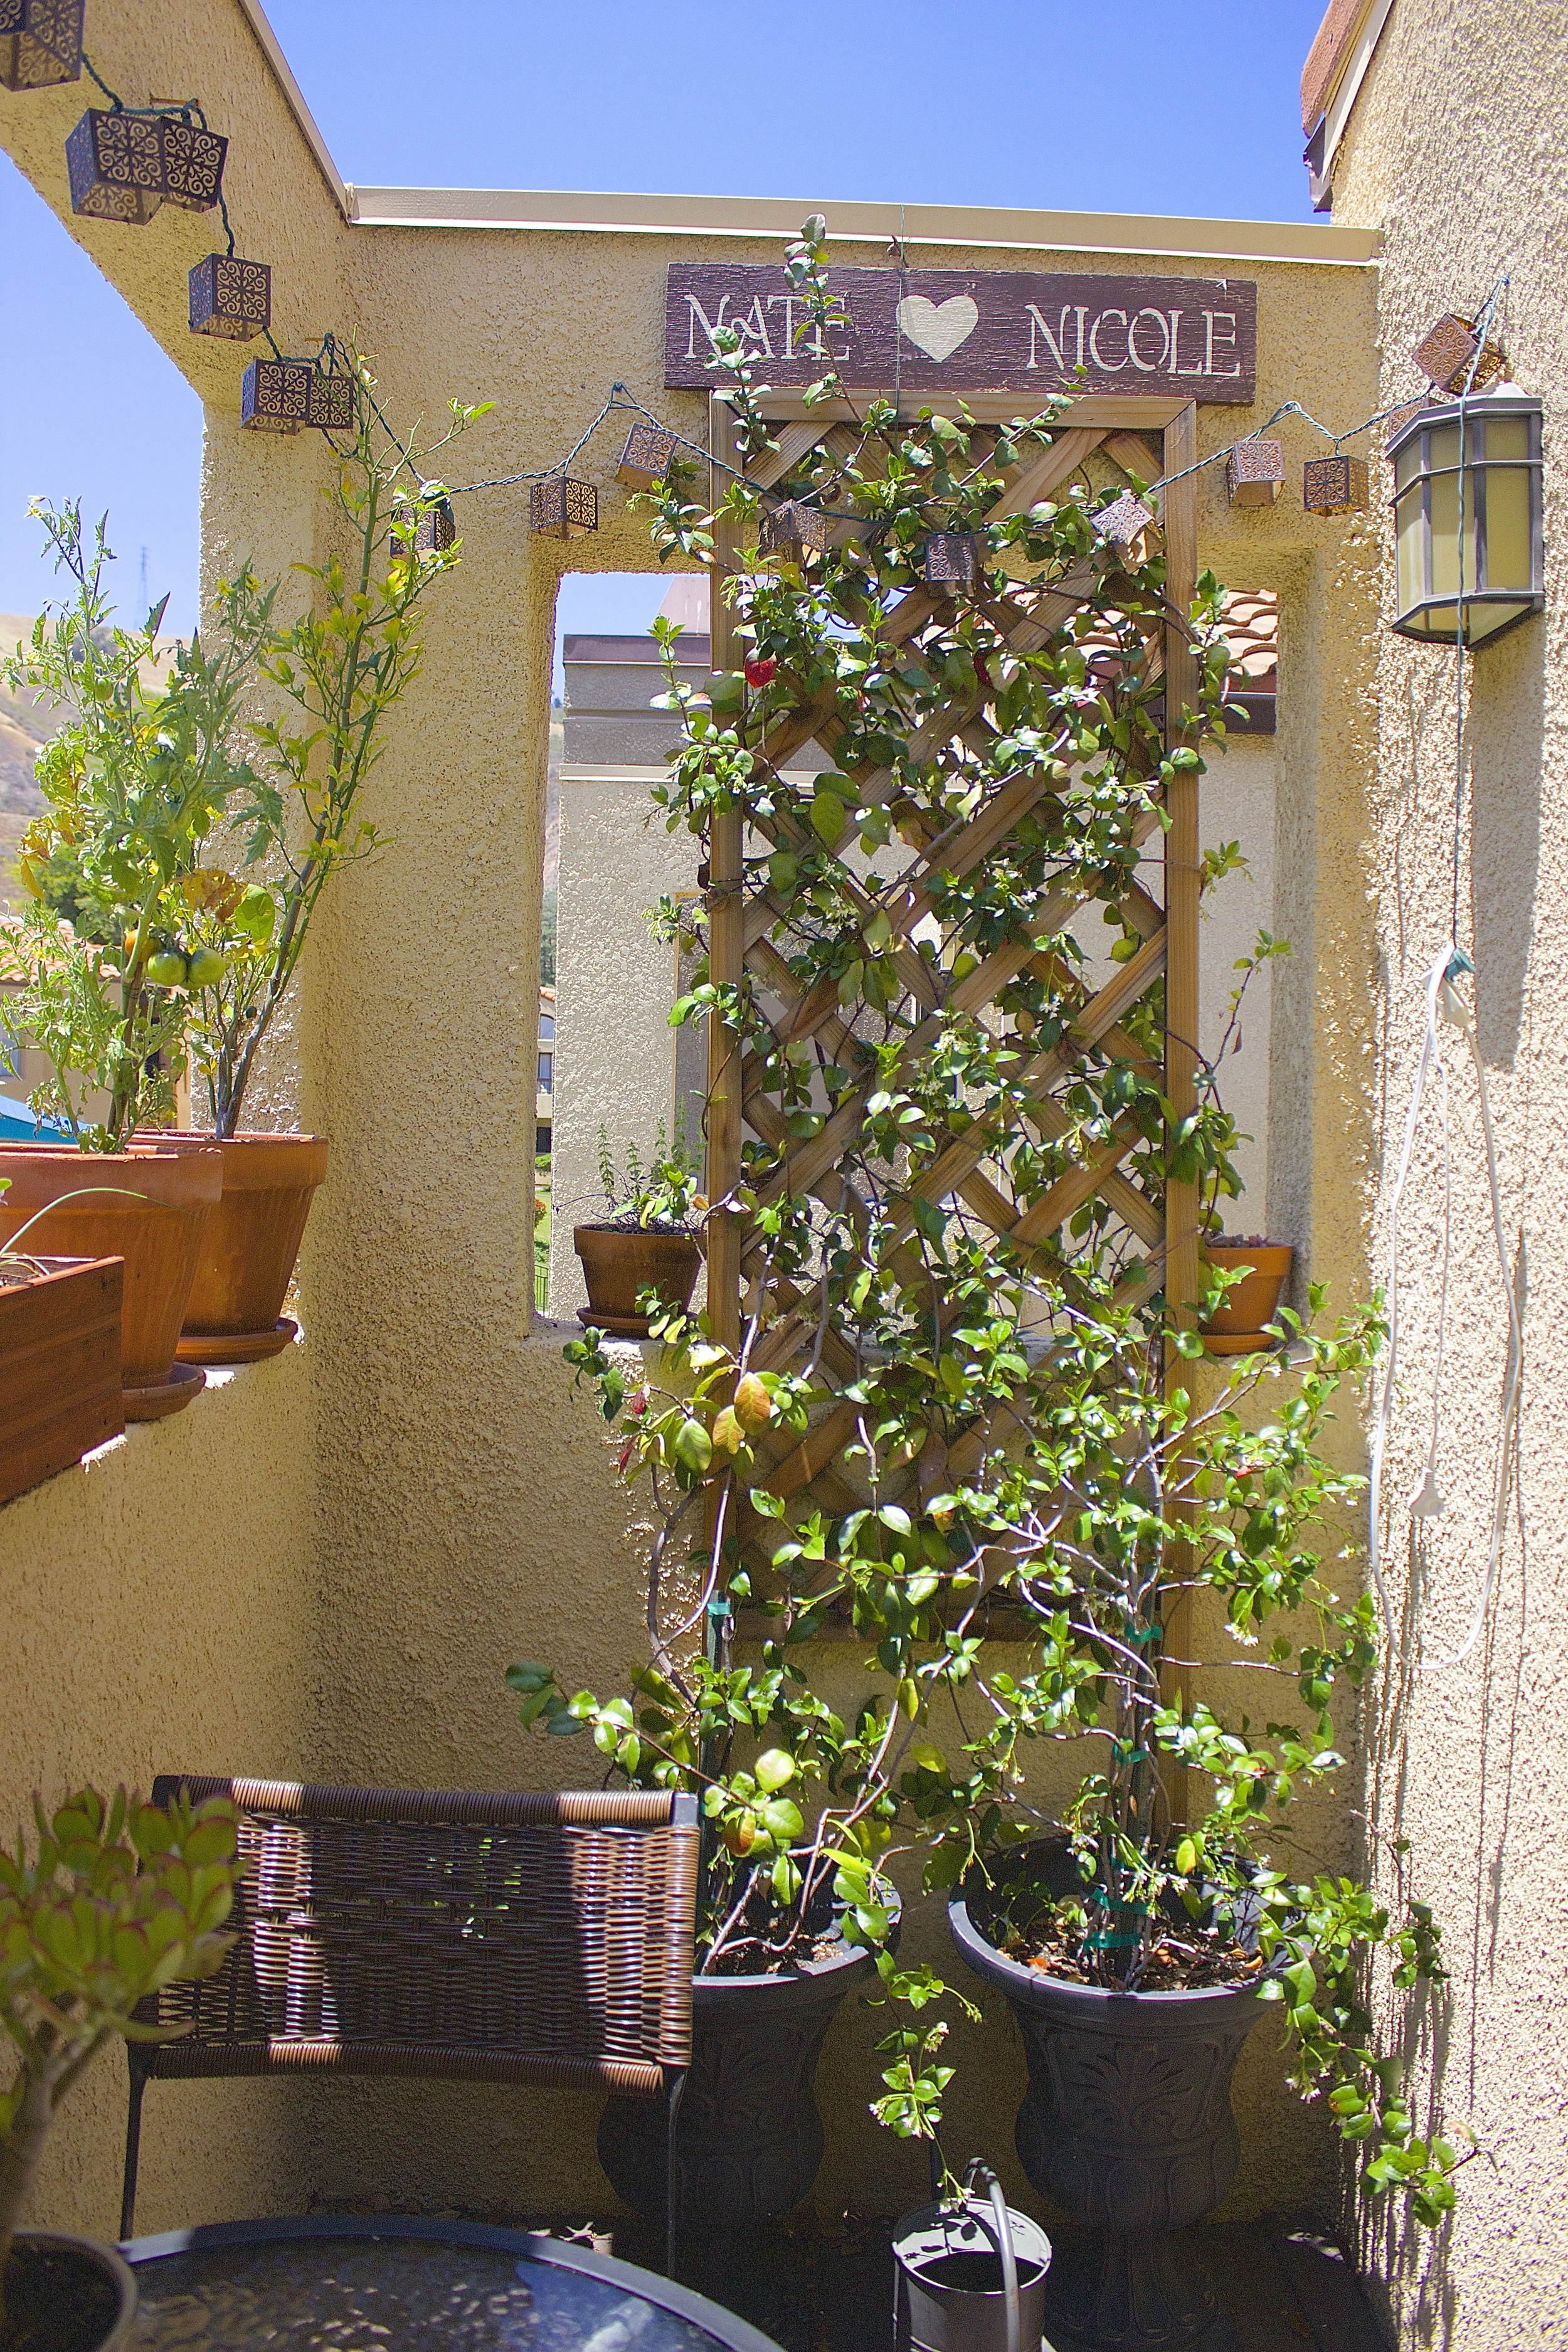
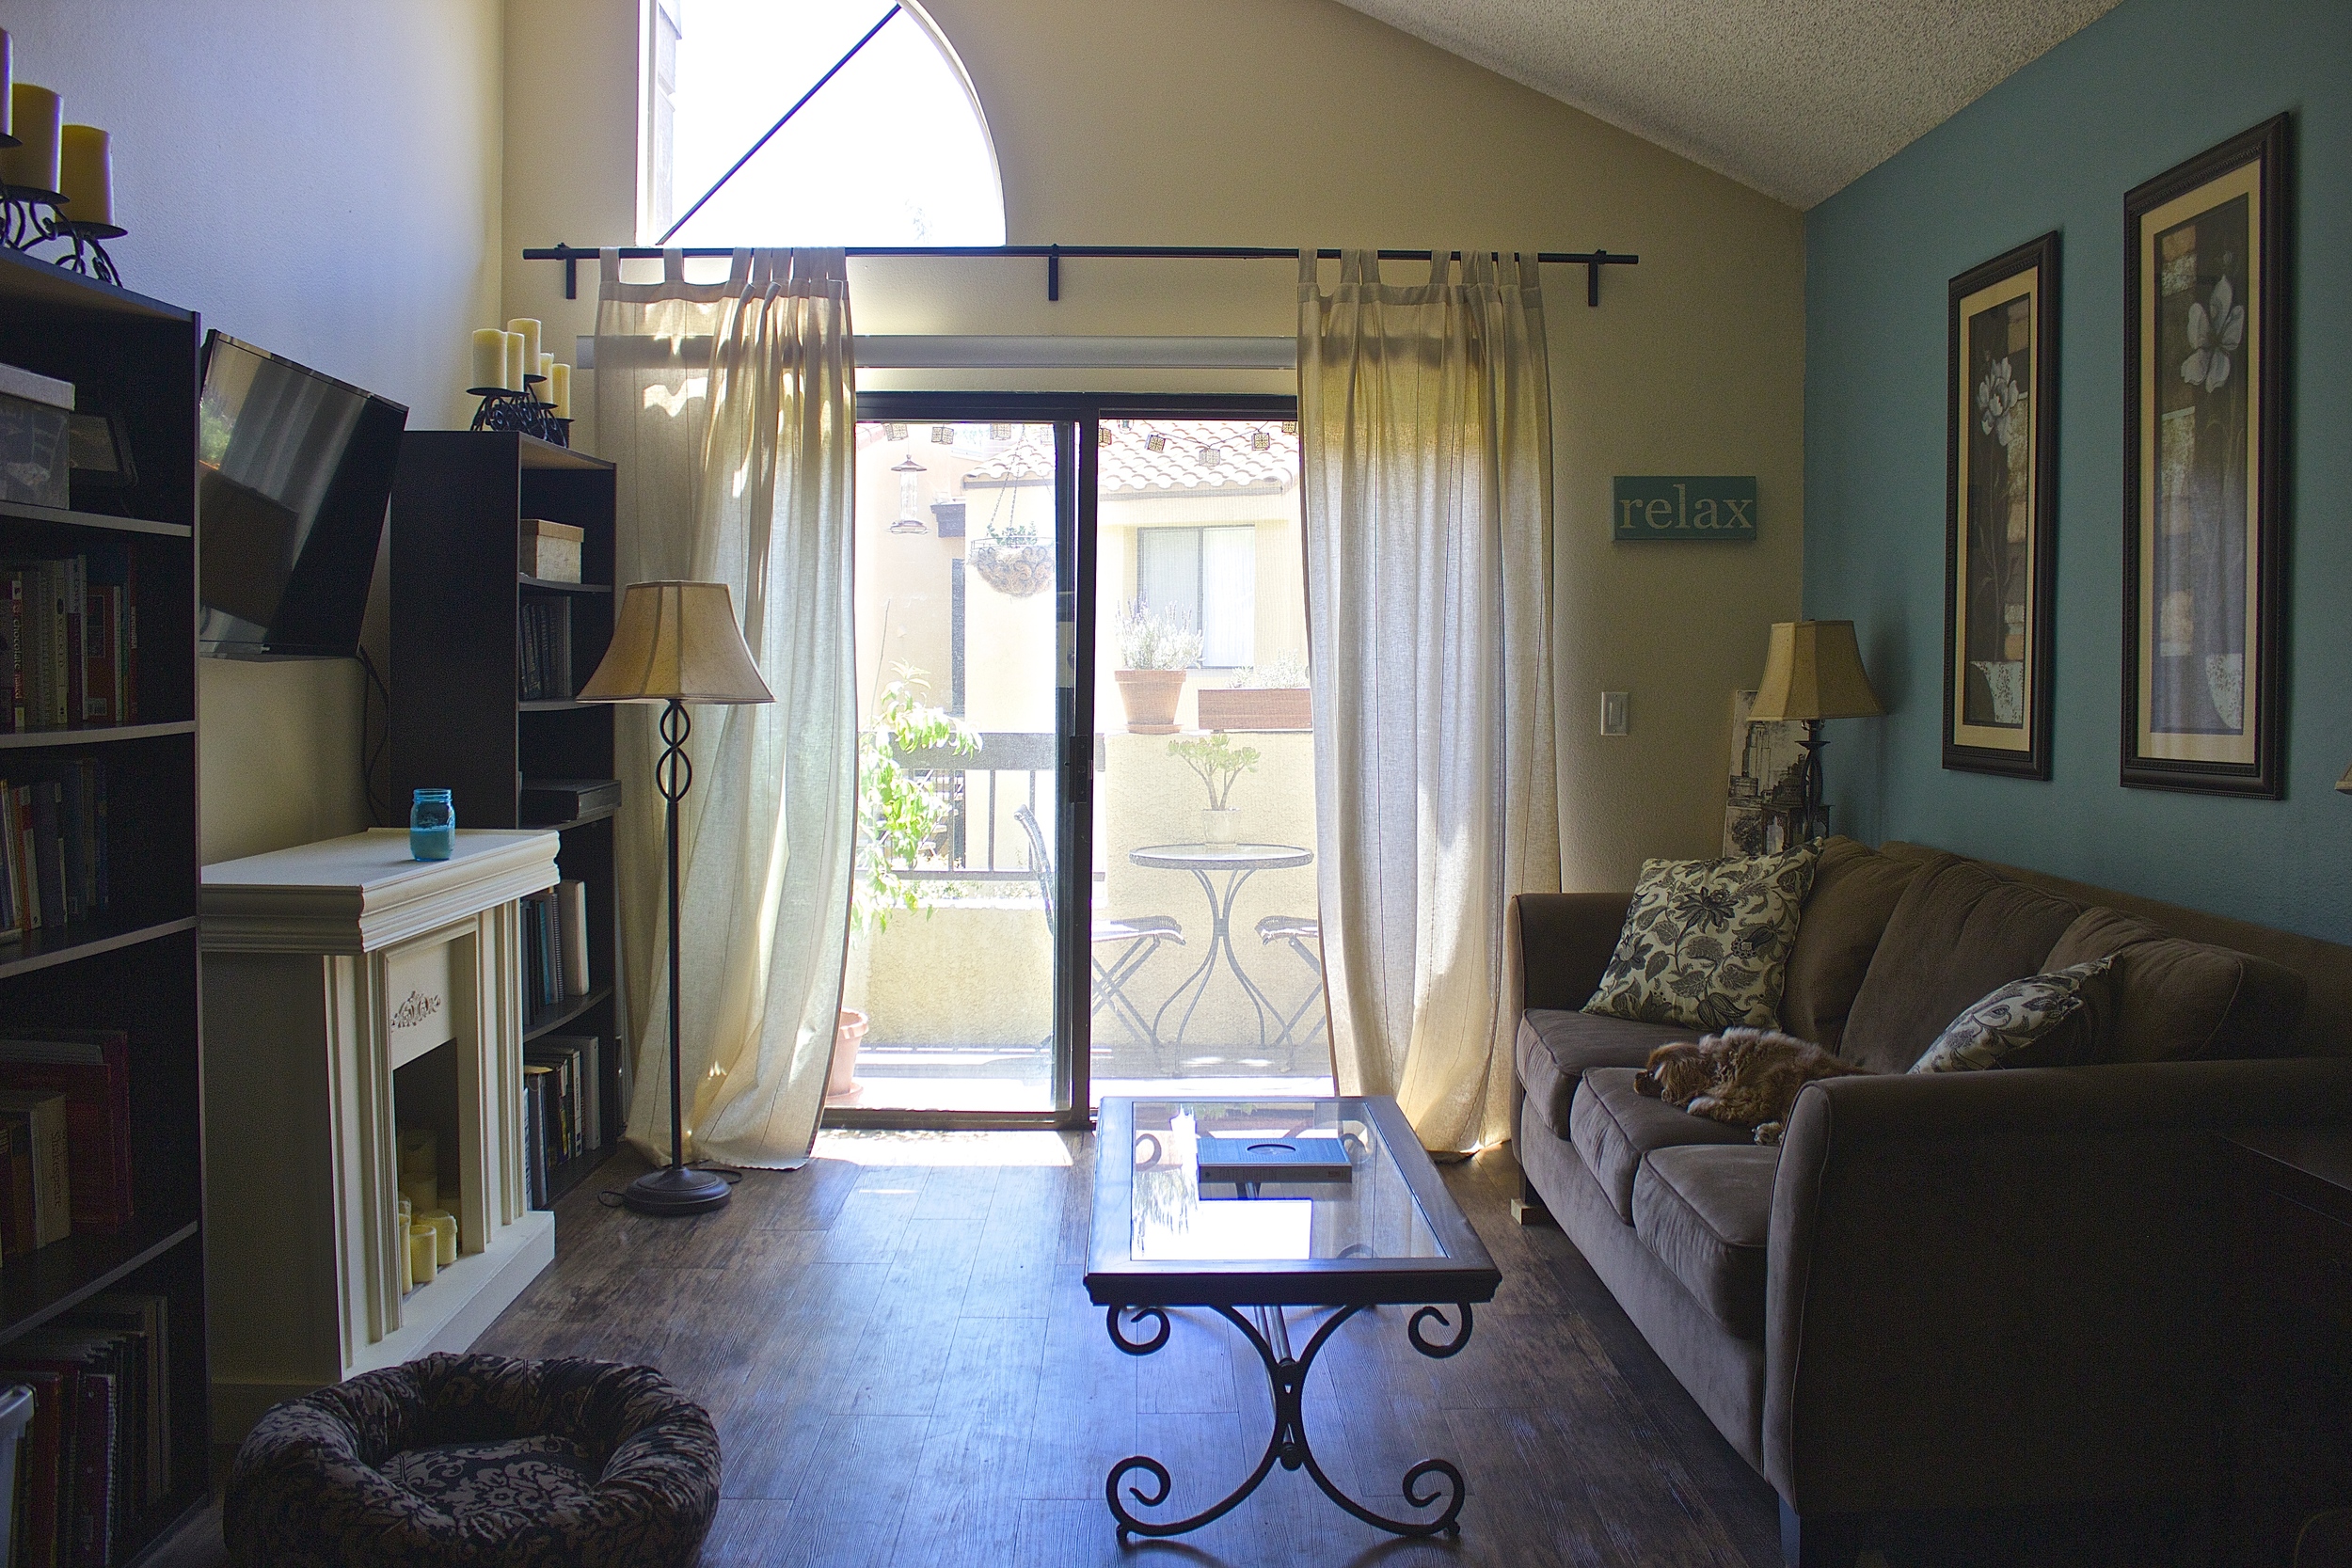
In the past three and a half years Nate and I have created a bonafide home out of this 625 square feet apartment. Its kitchen has been tested, all its walls painted, it's held fights, a puking dog, the comings and goings of being married to someone who travels, and the joy and work that come with marraige. 

Home | Kneading Home

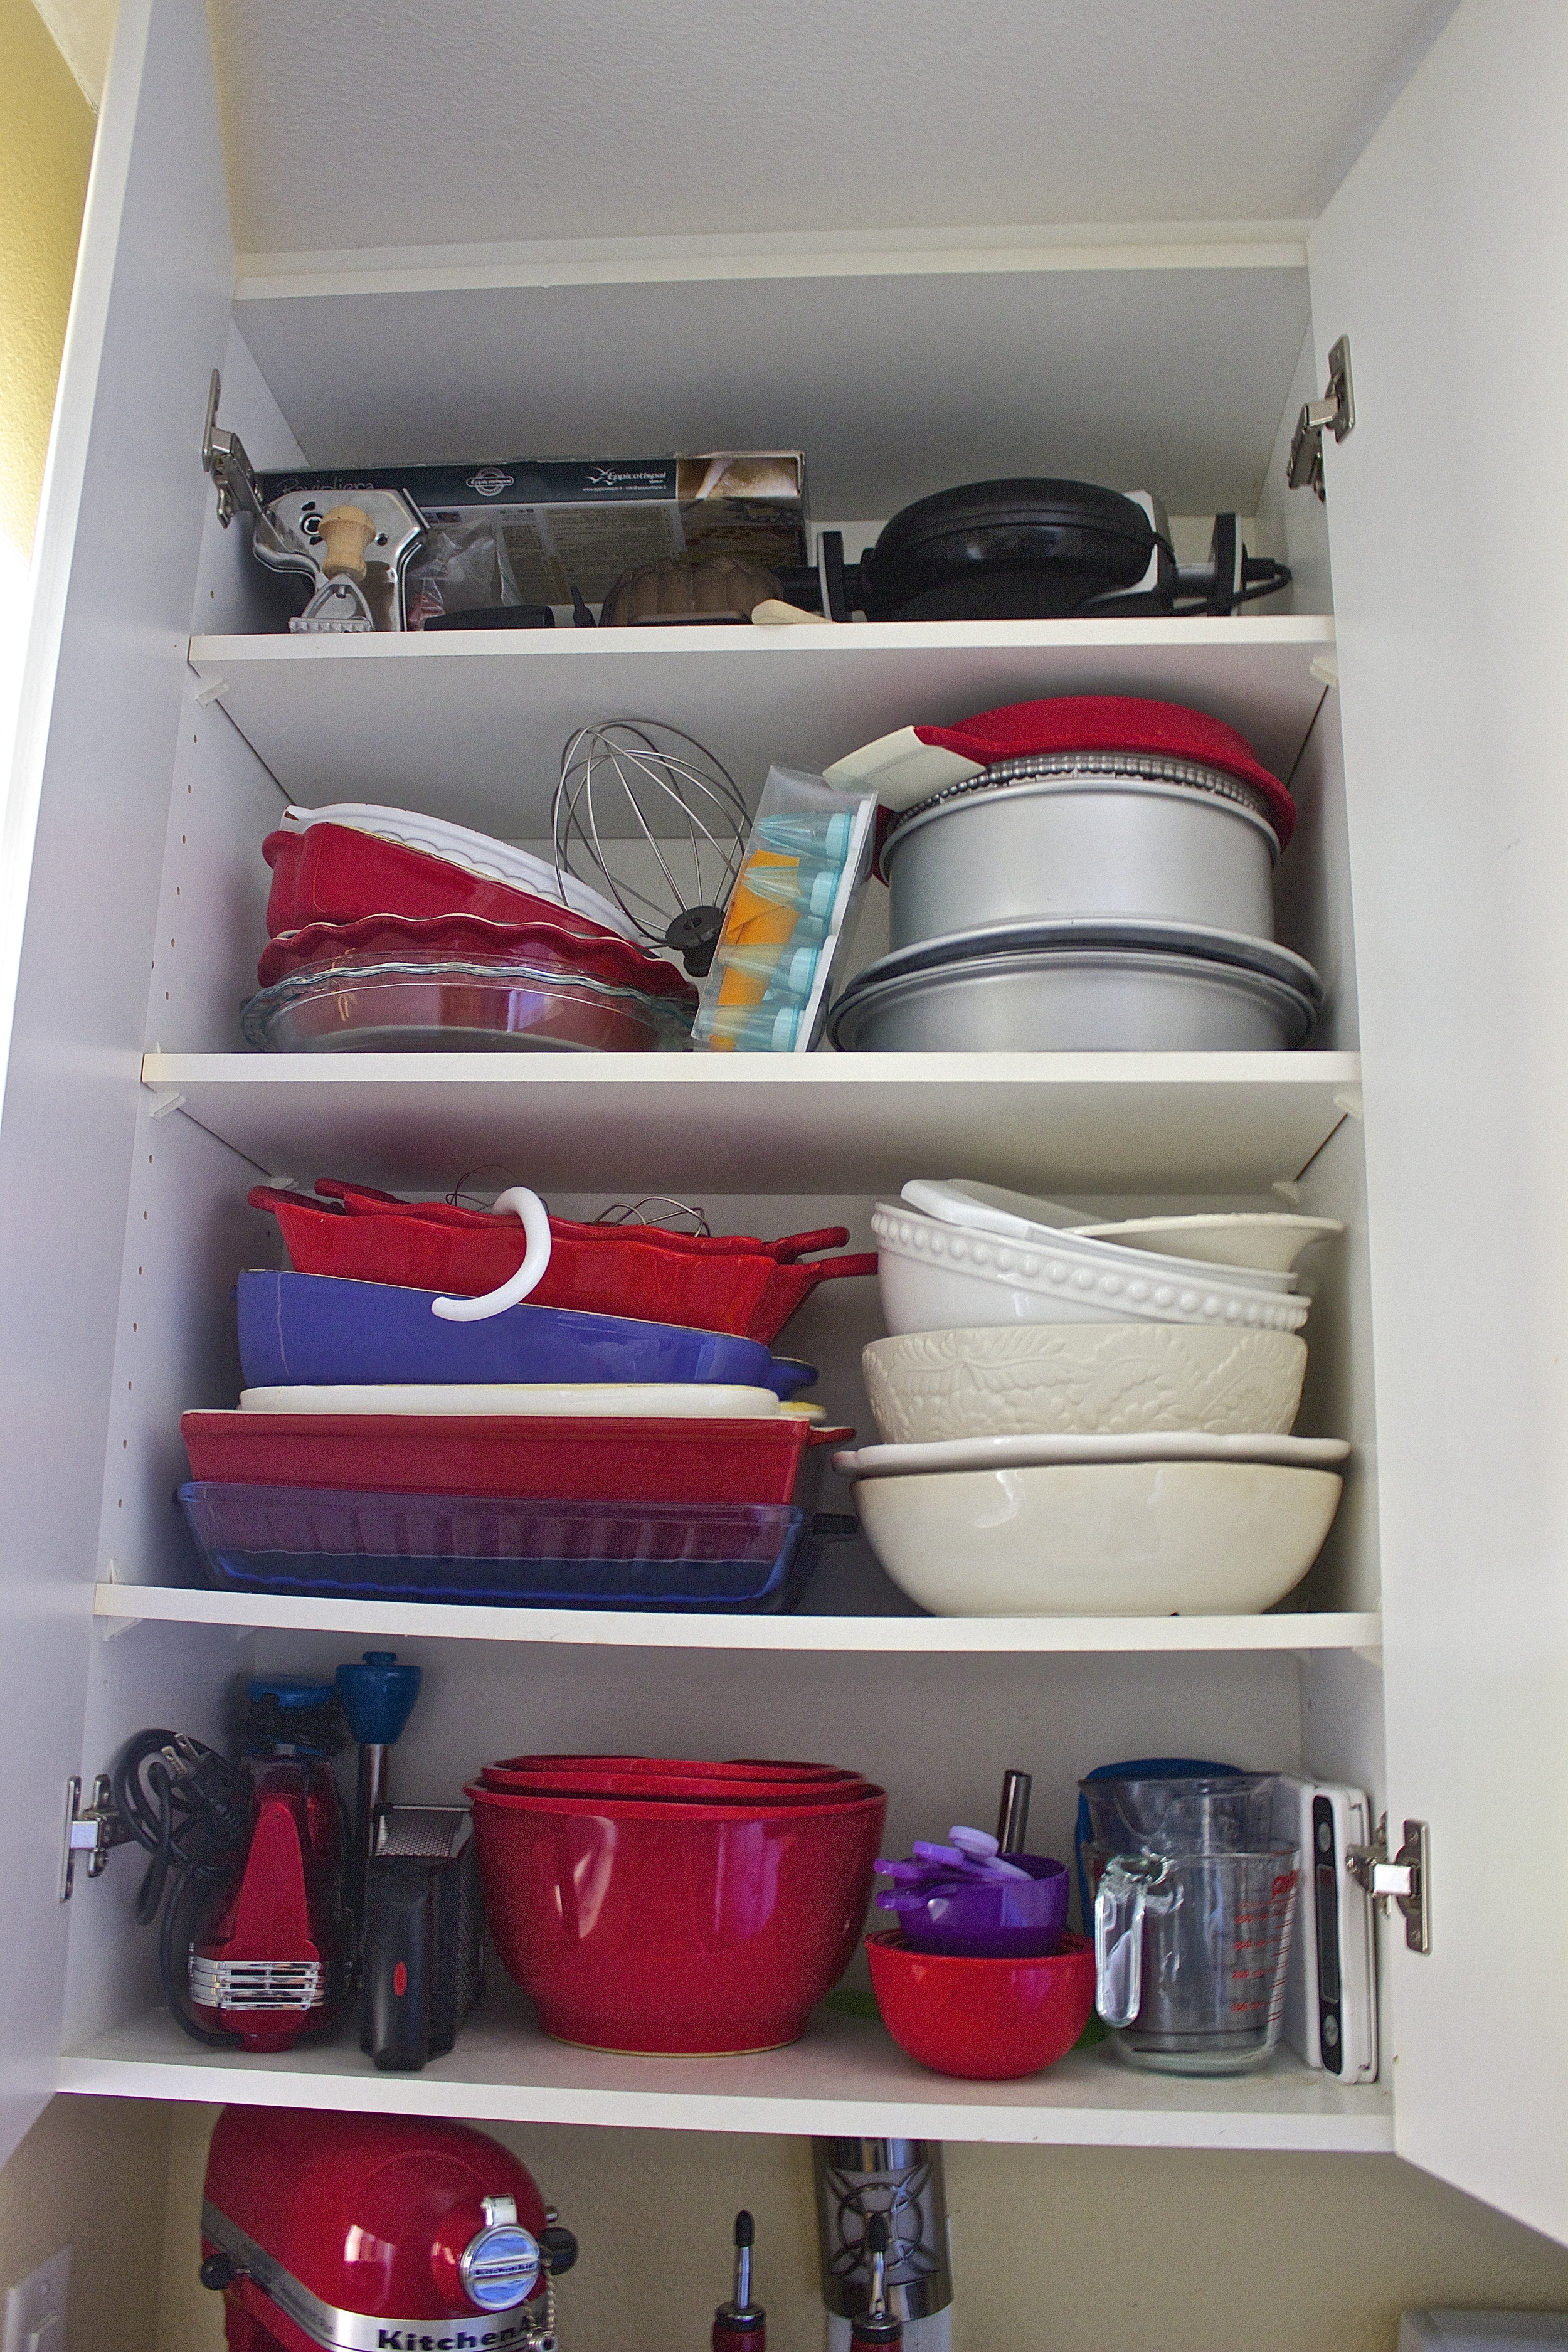
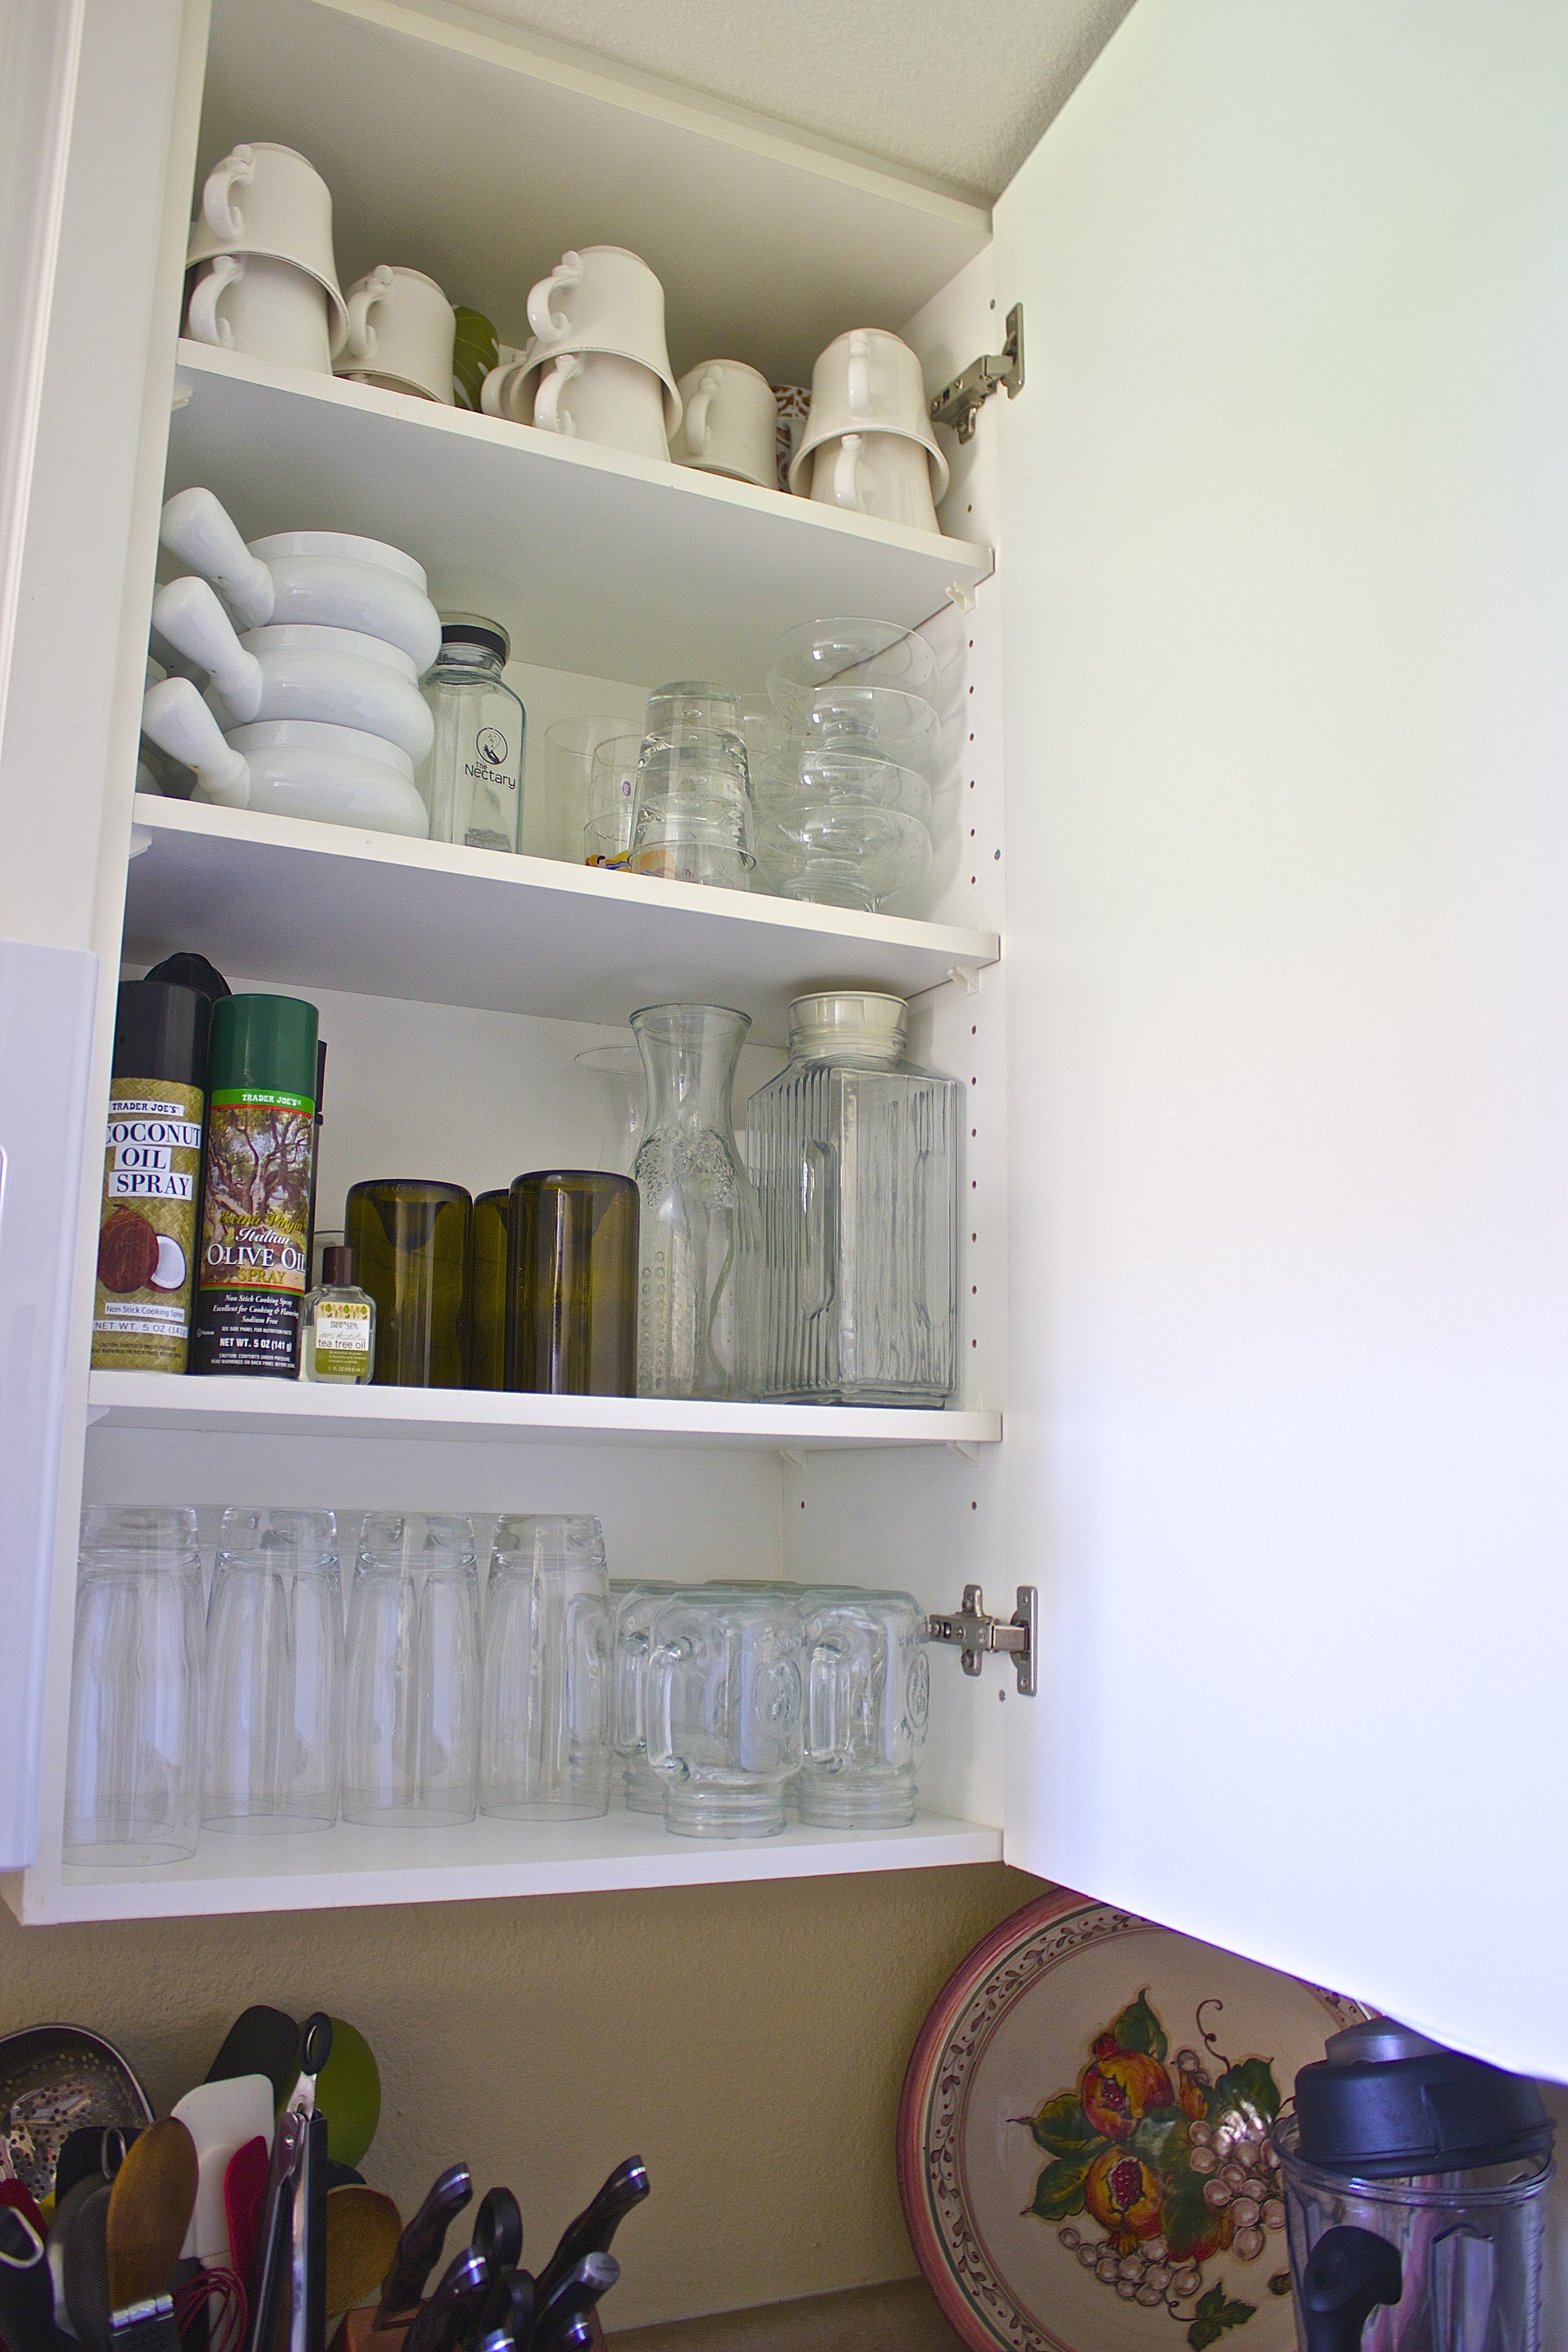
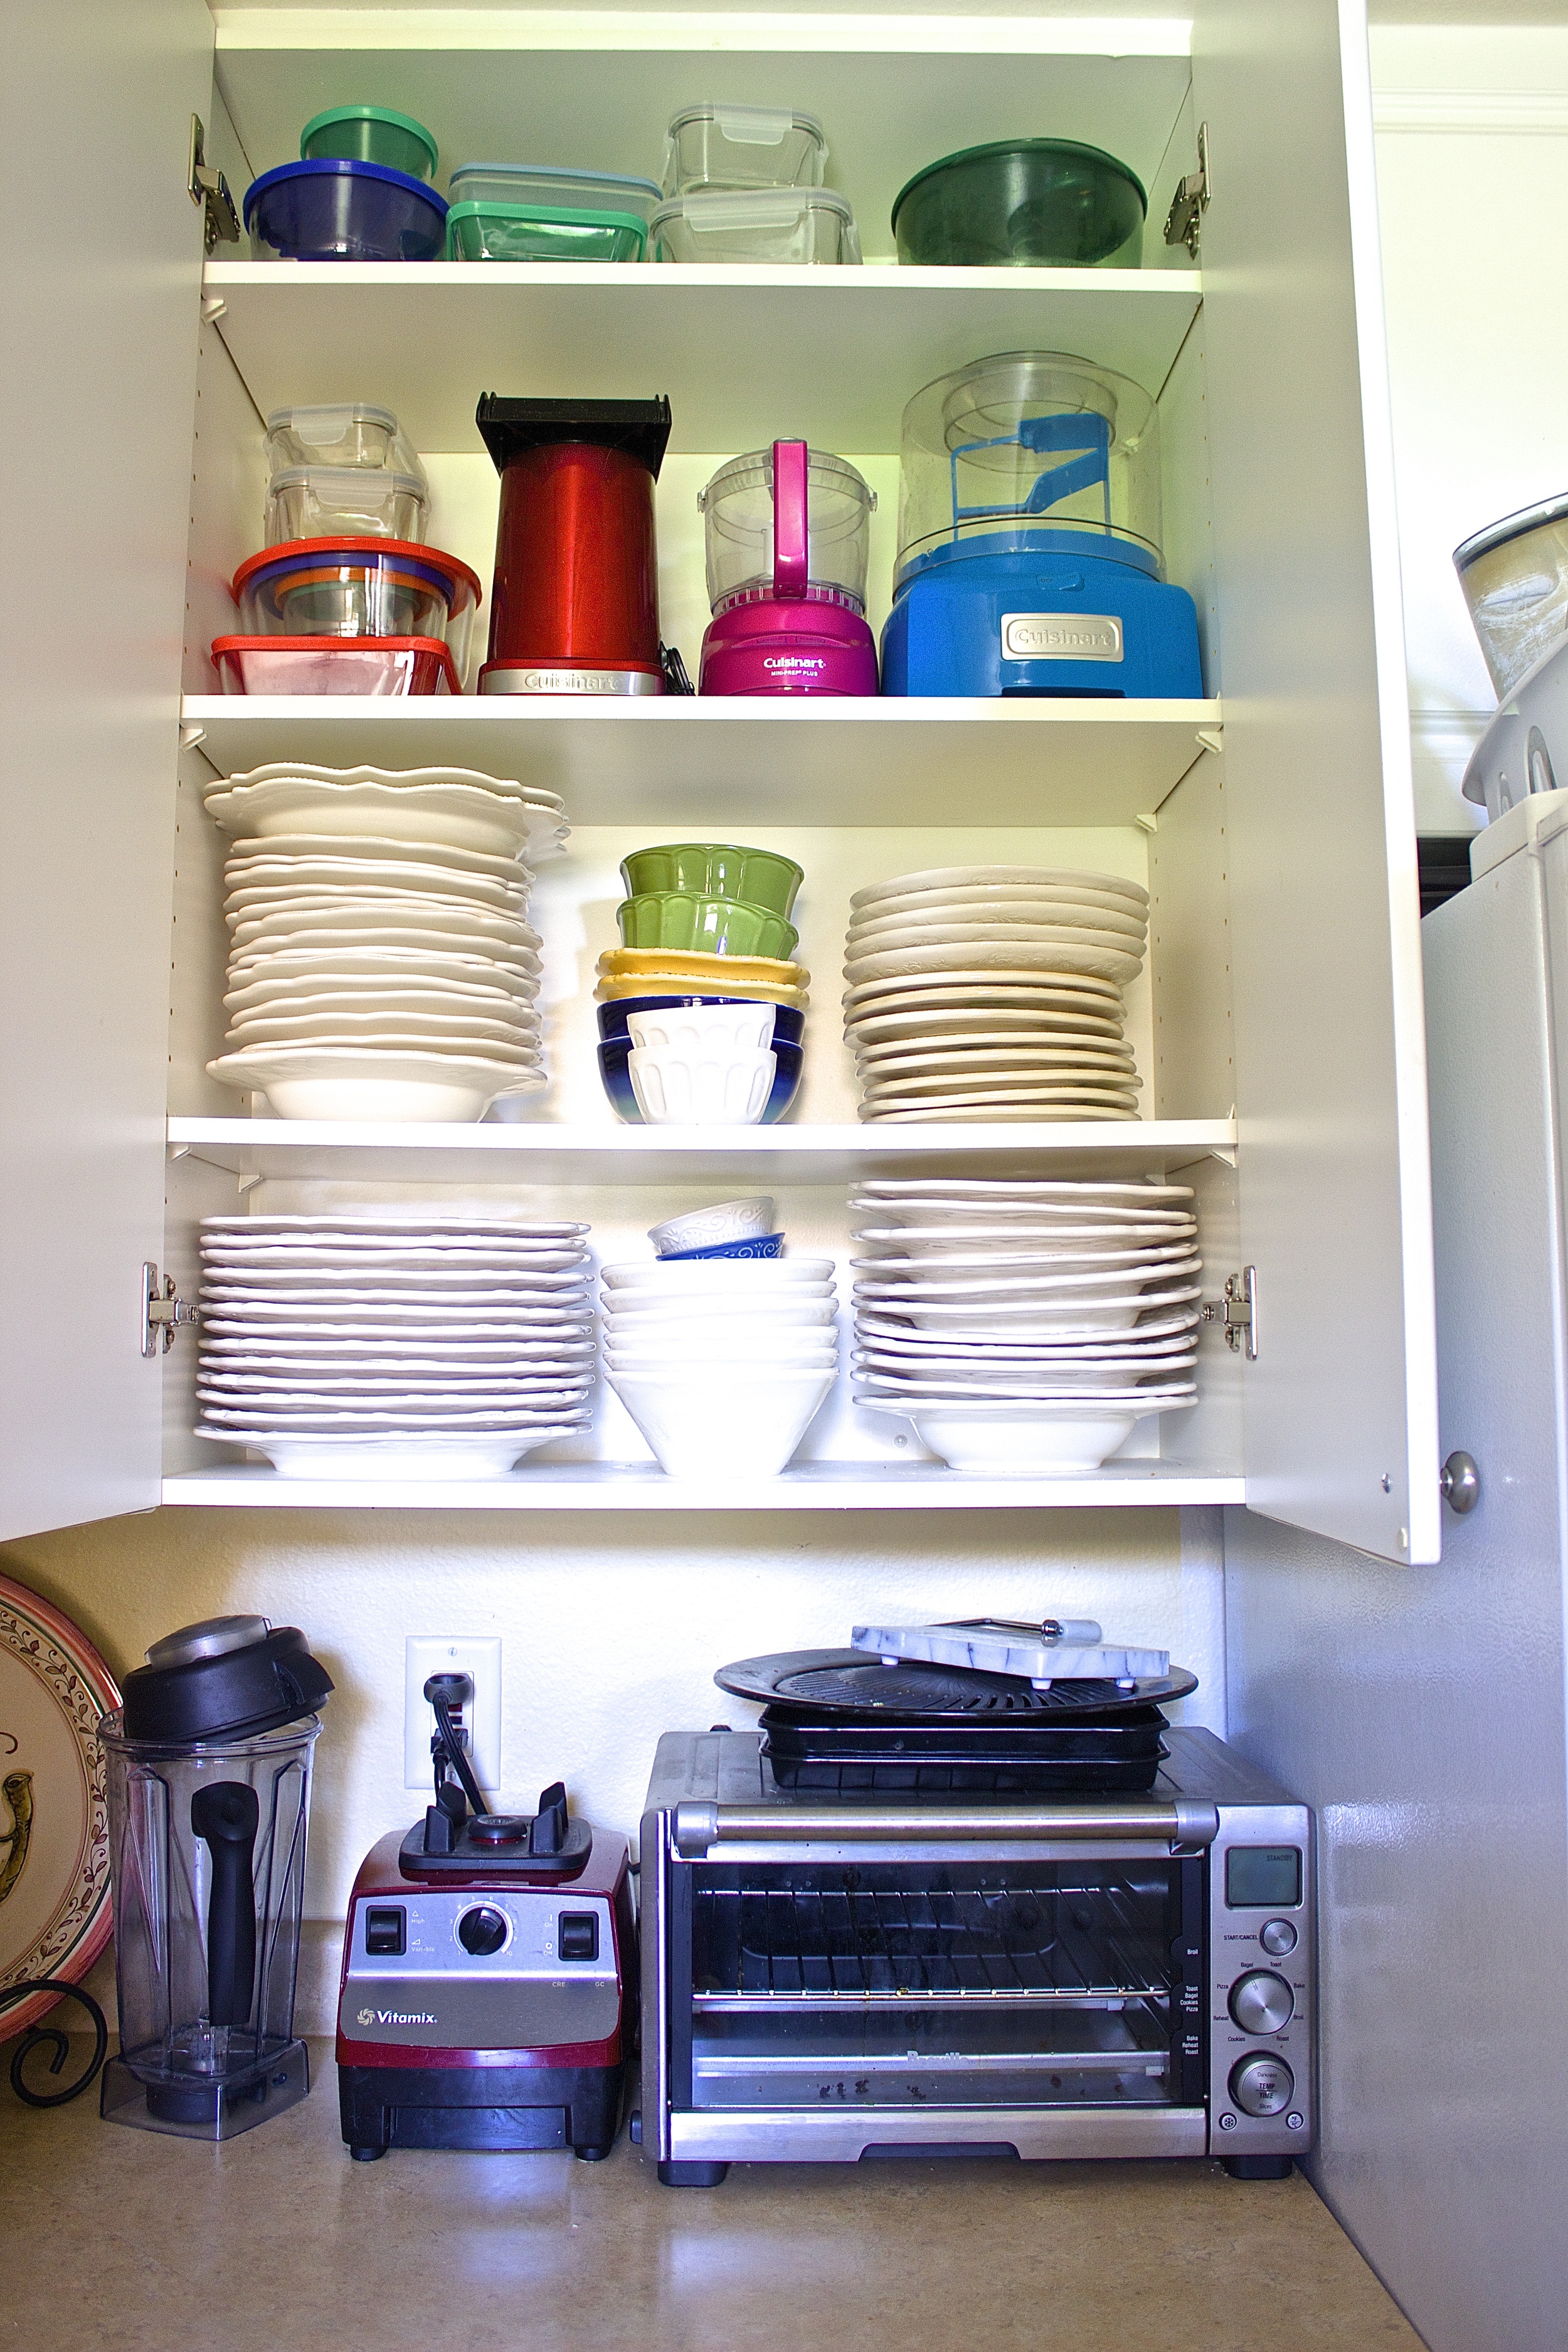
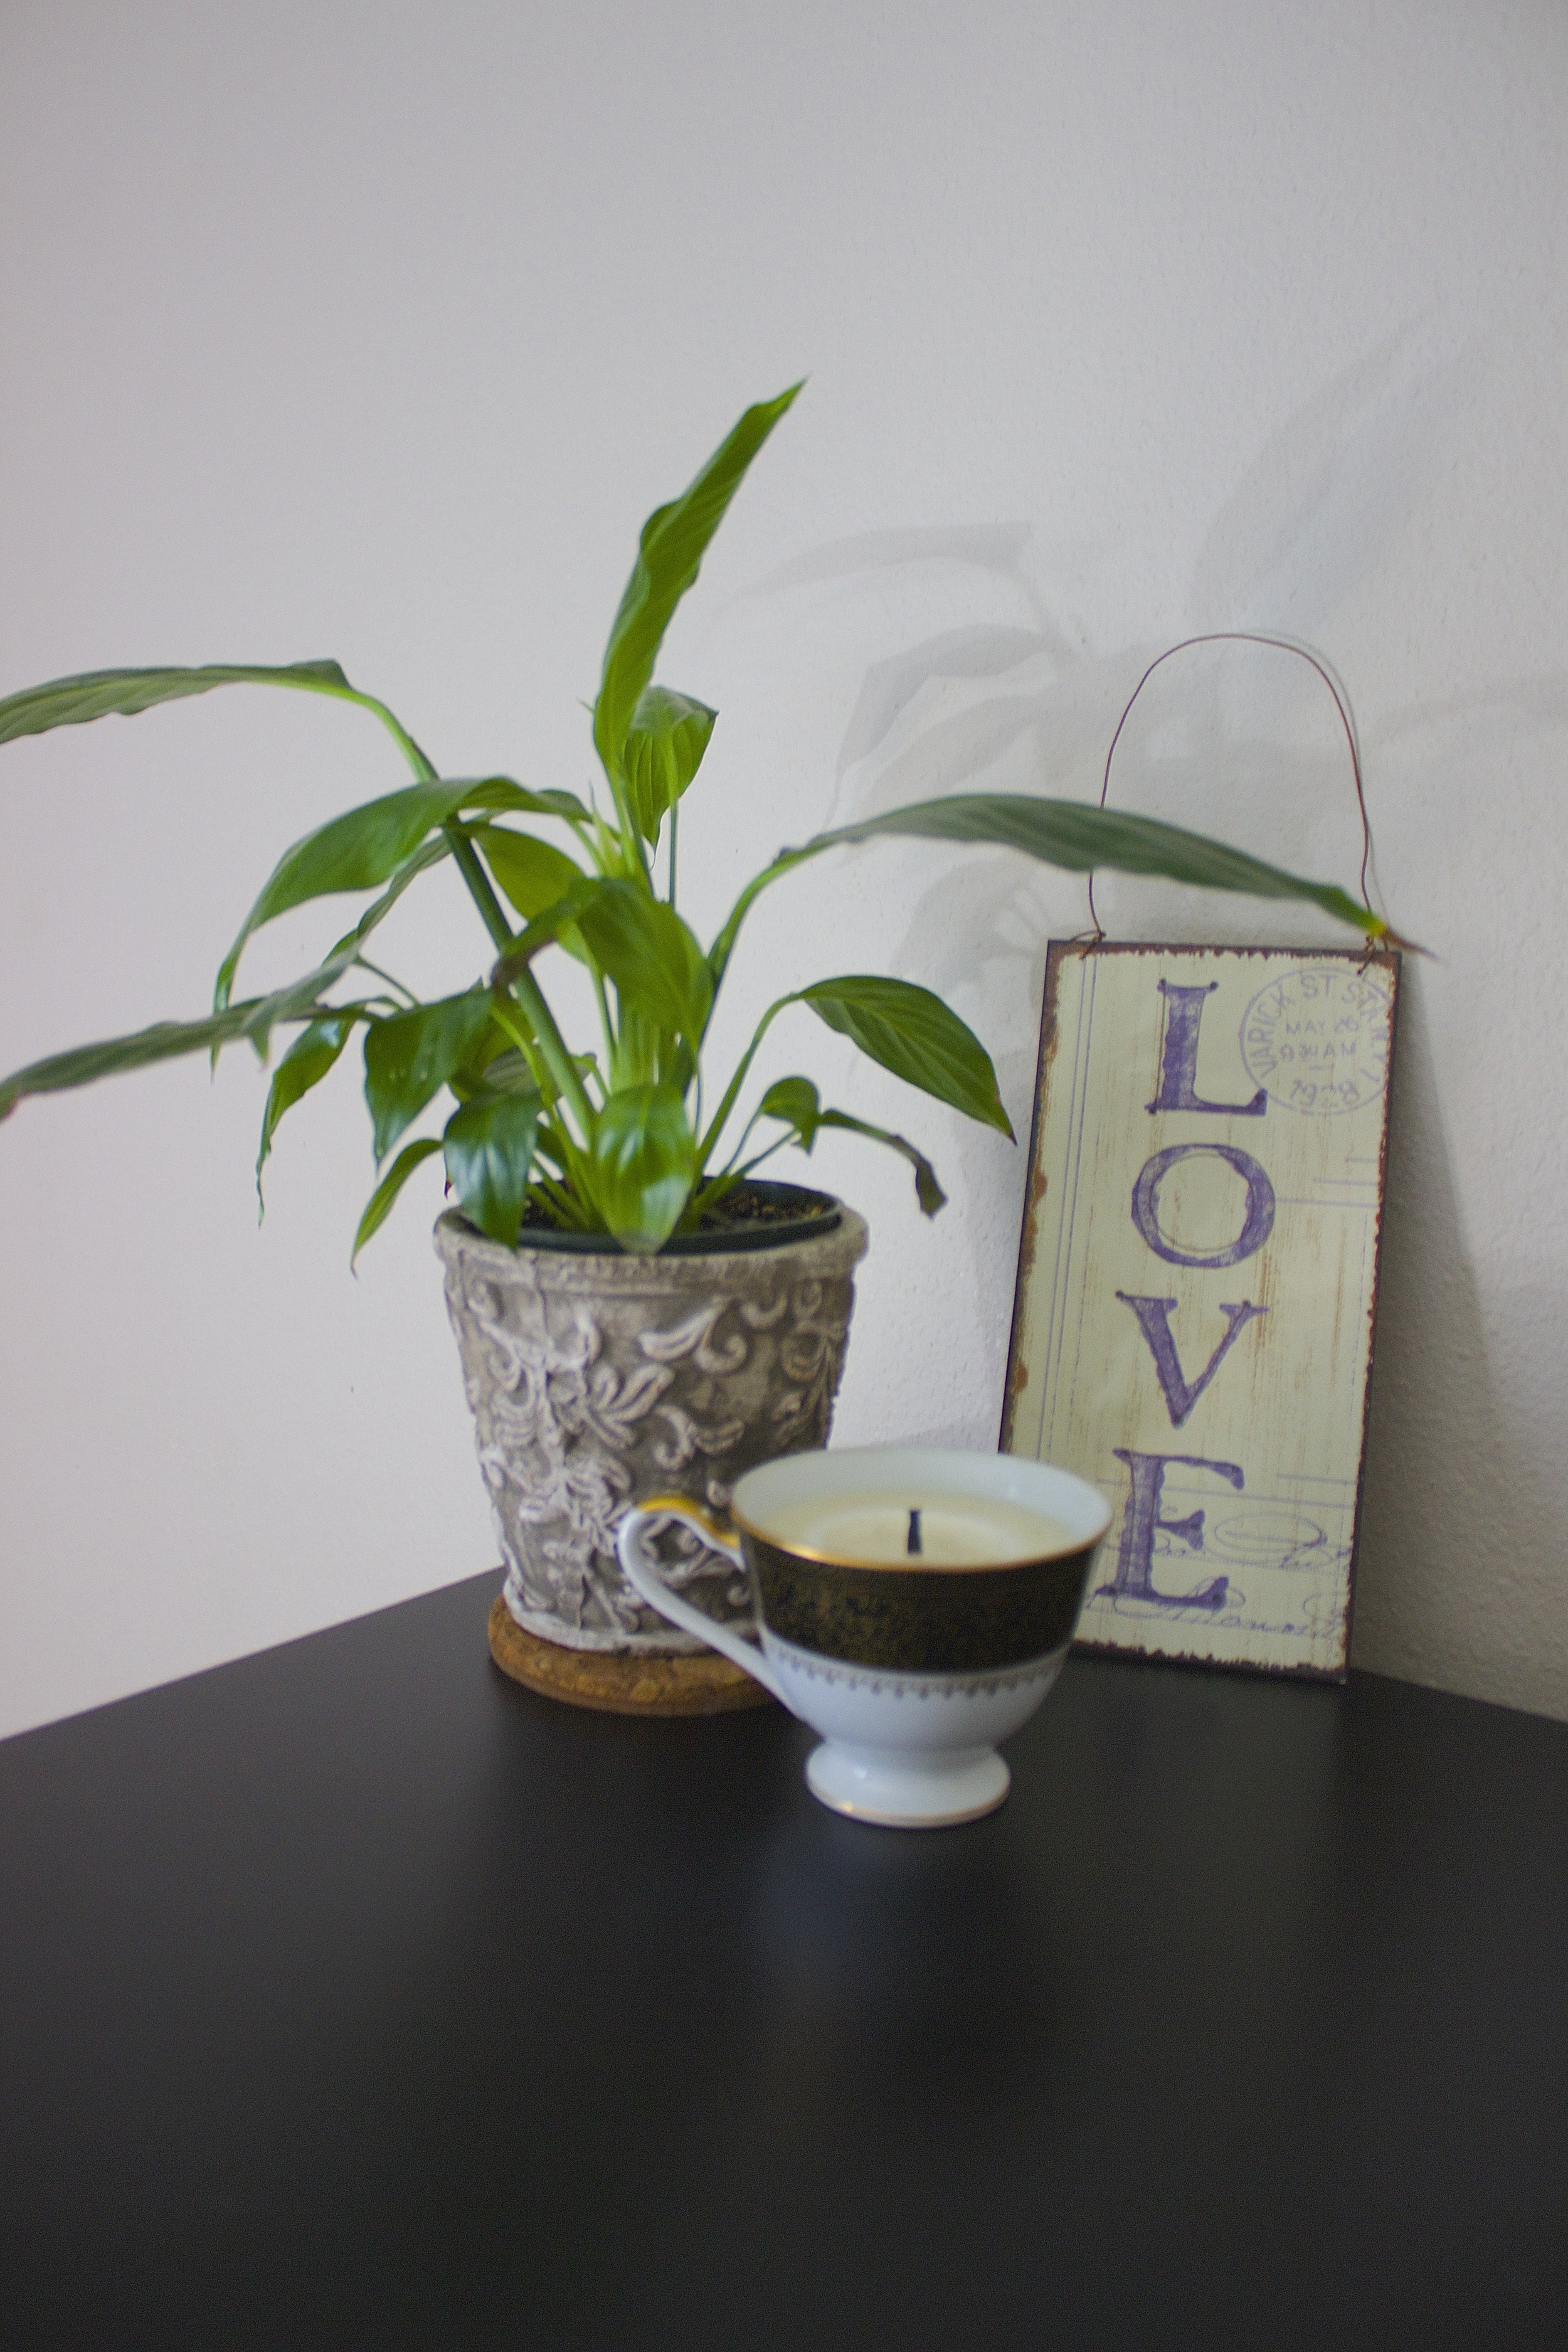
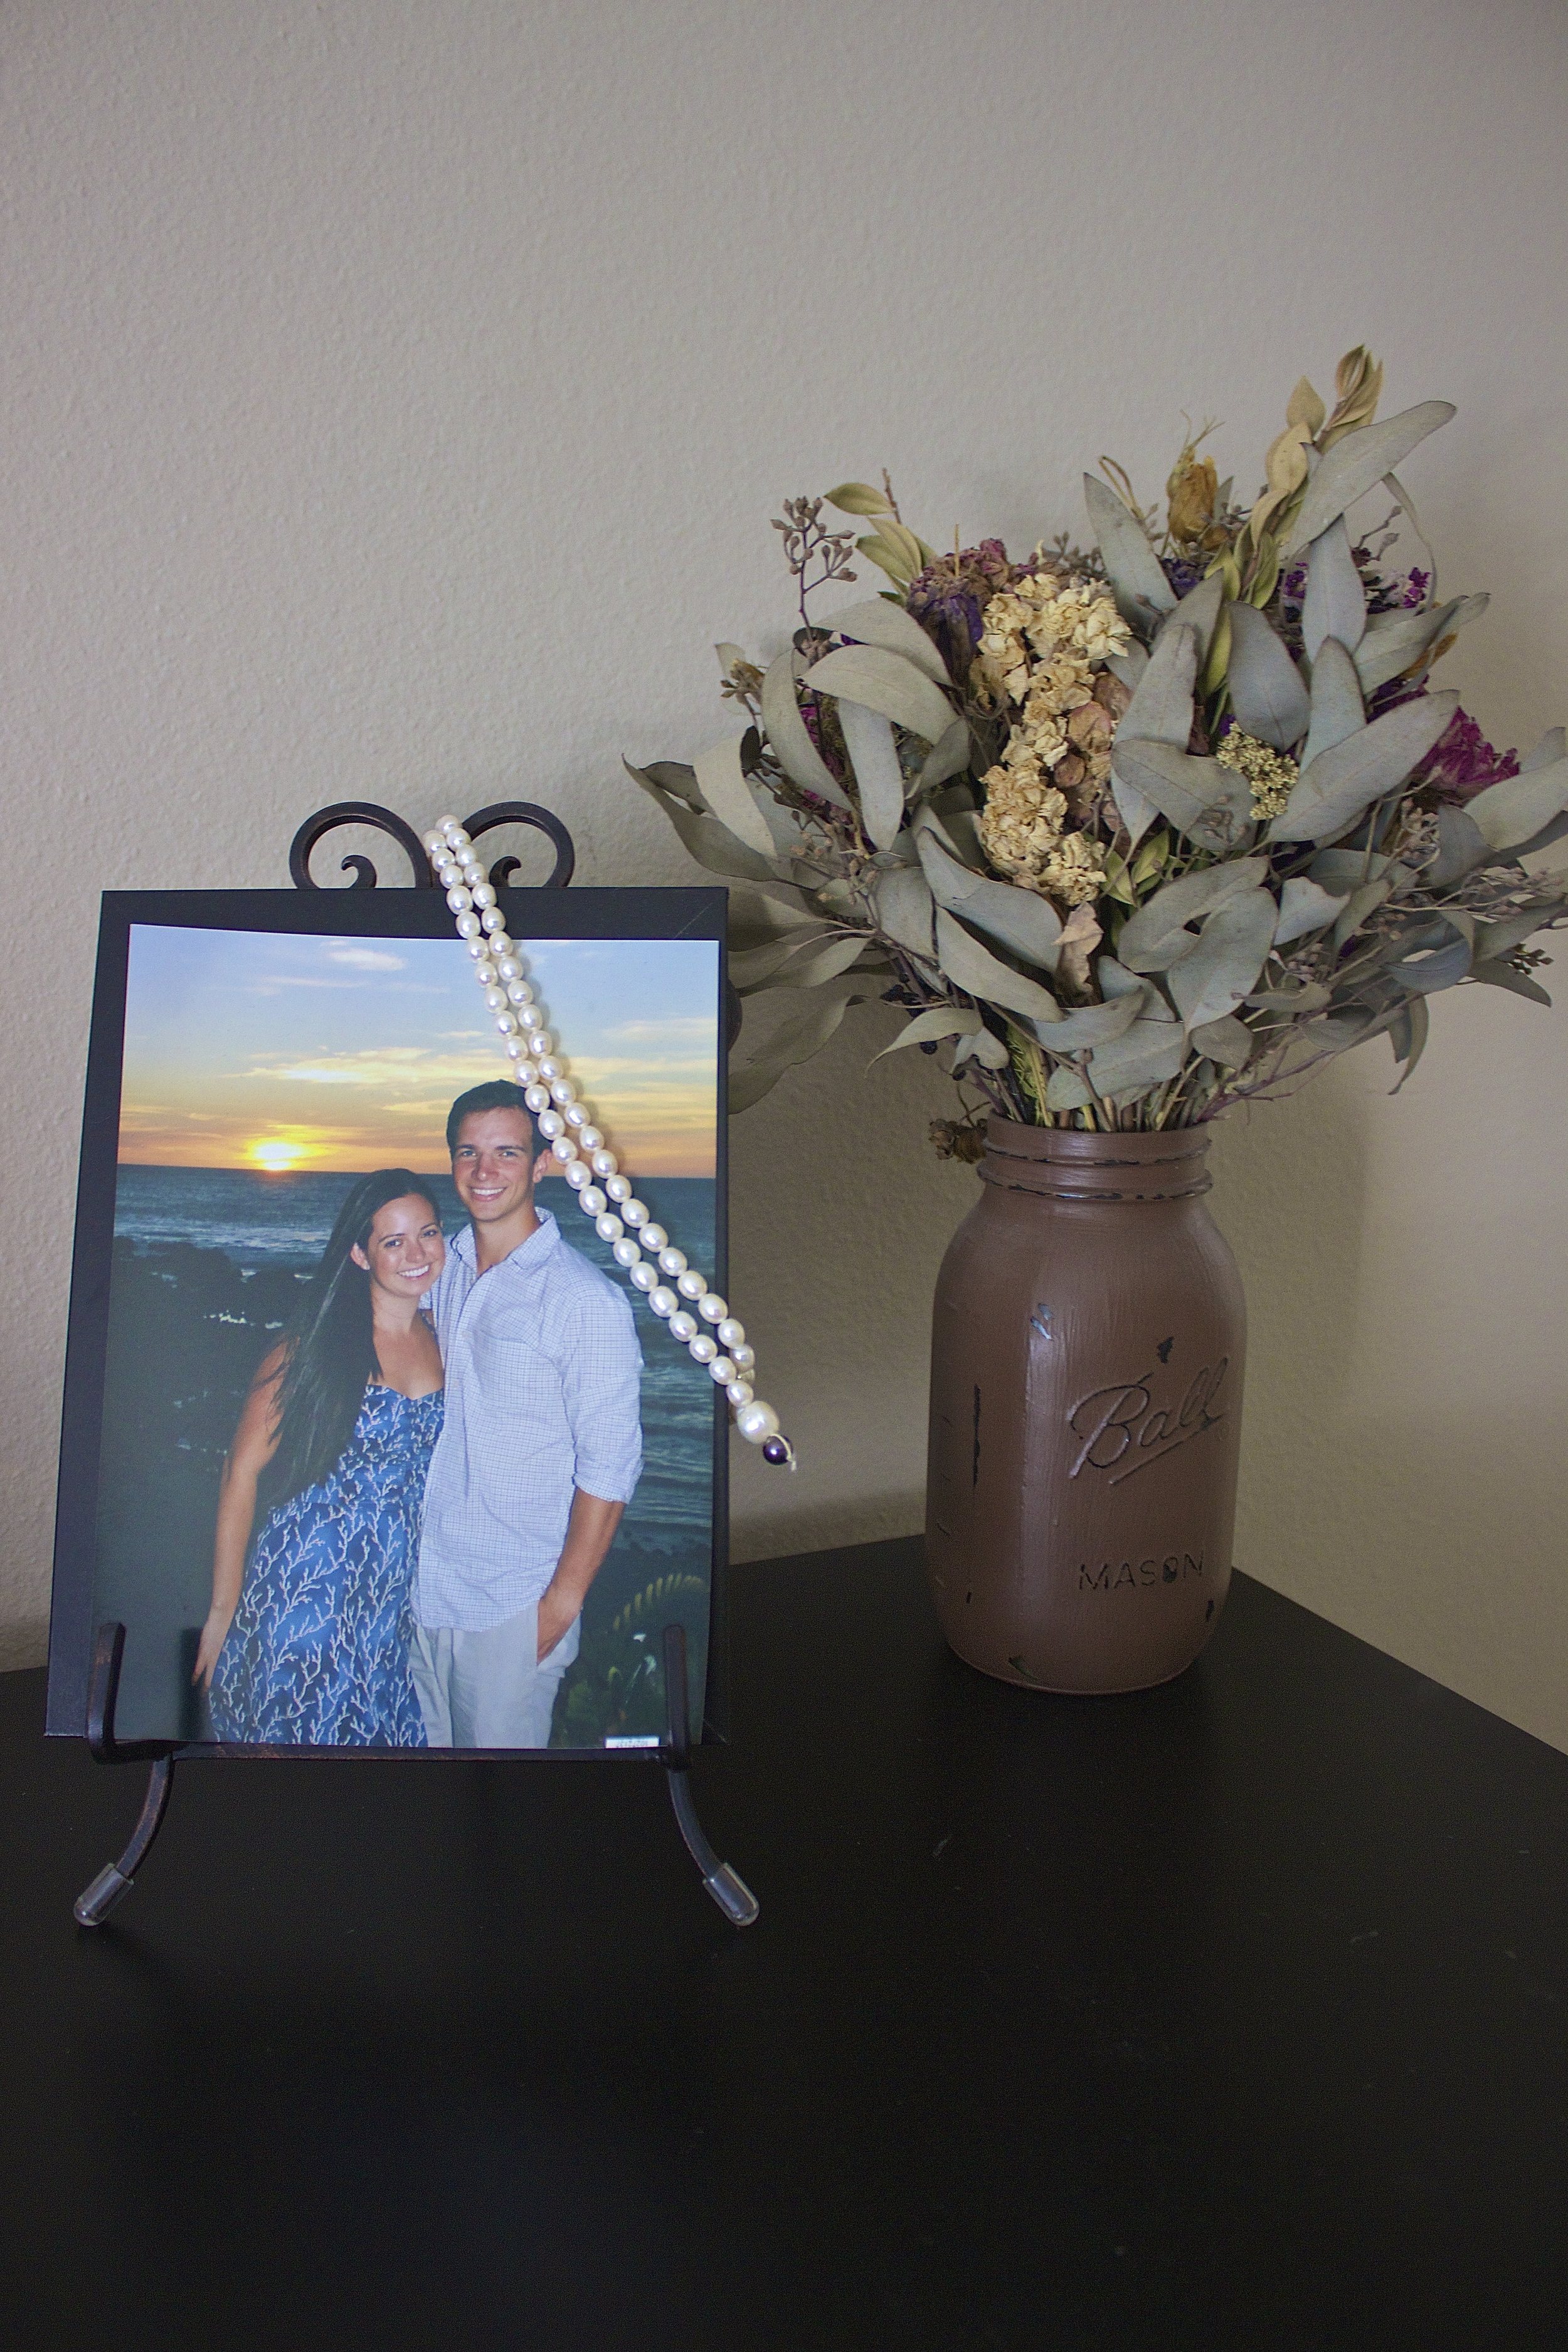
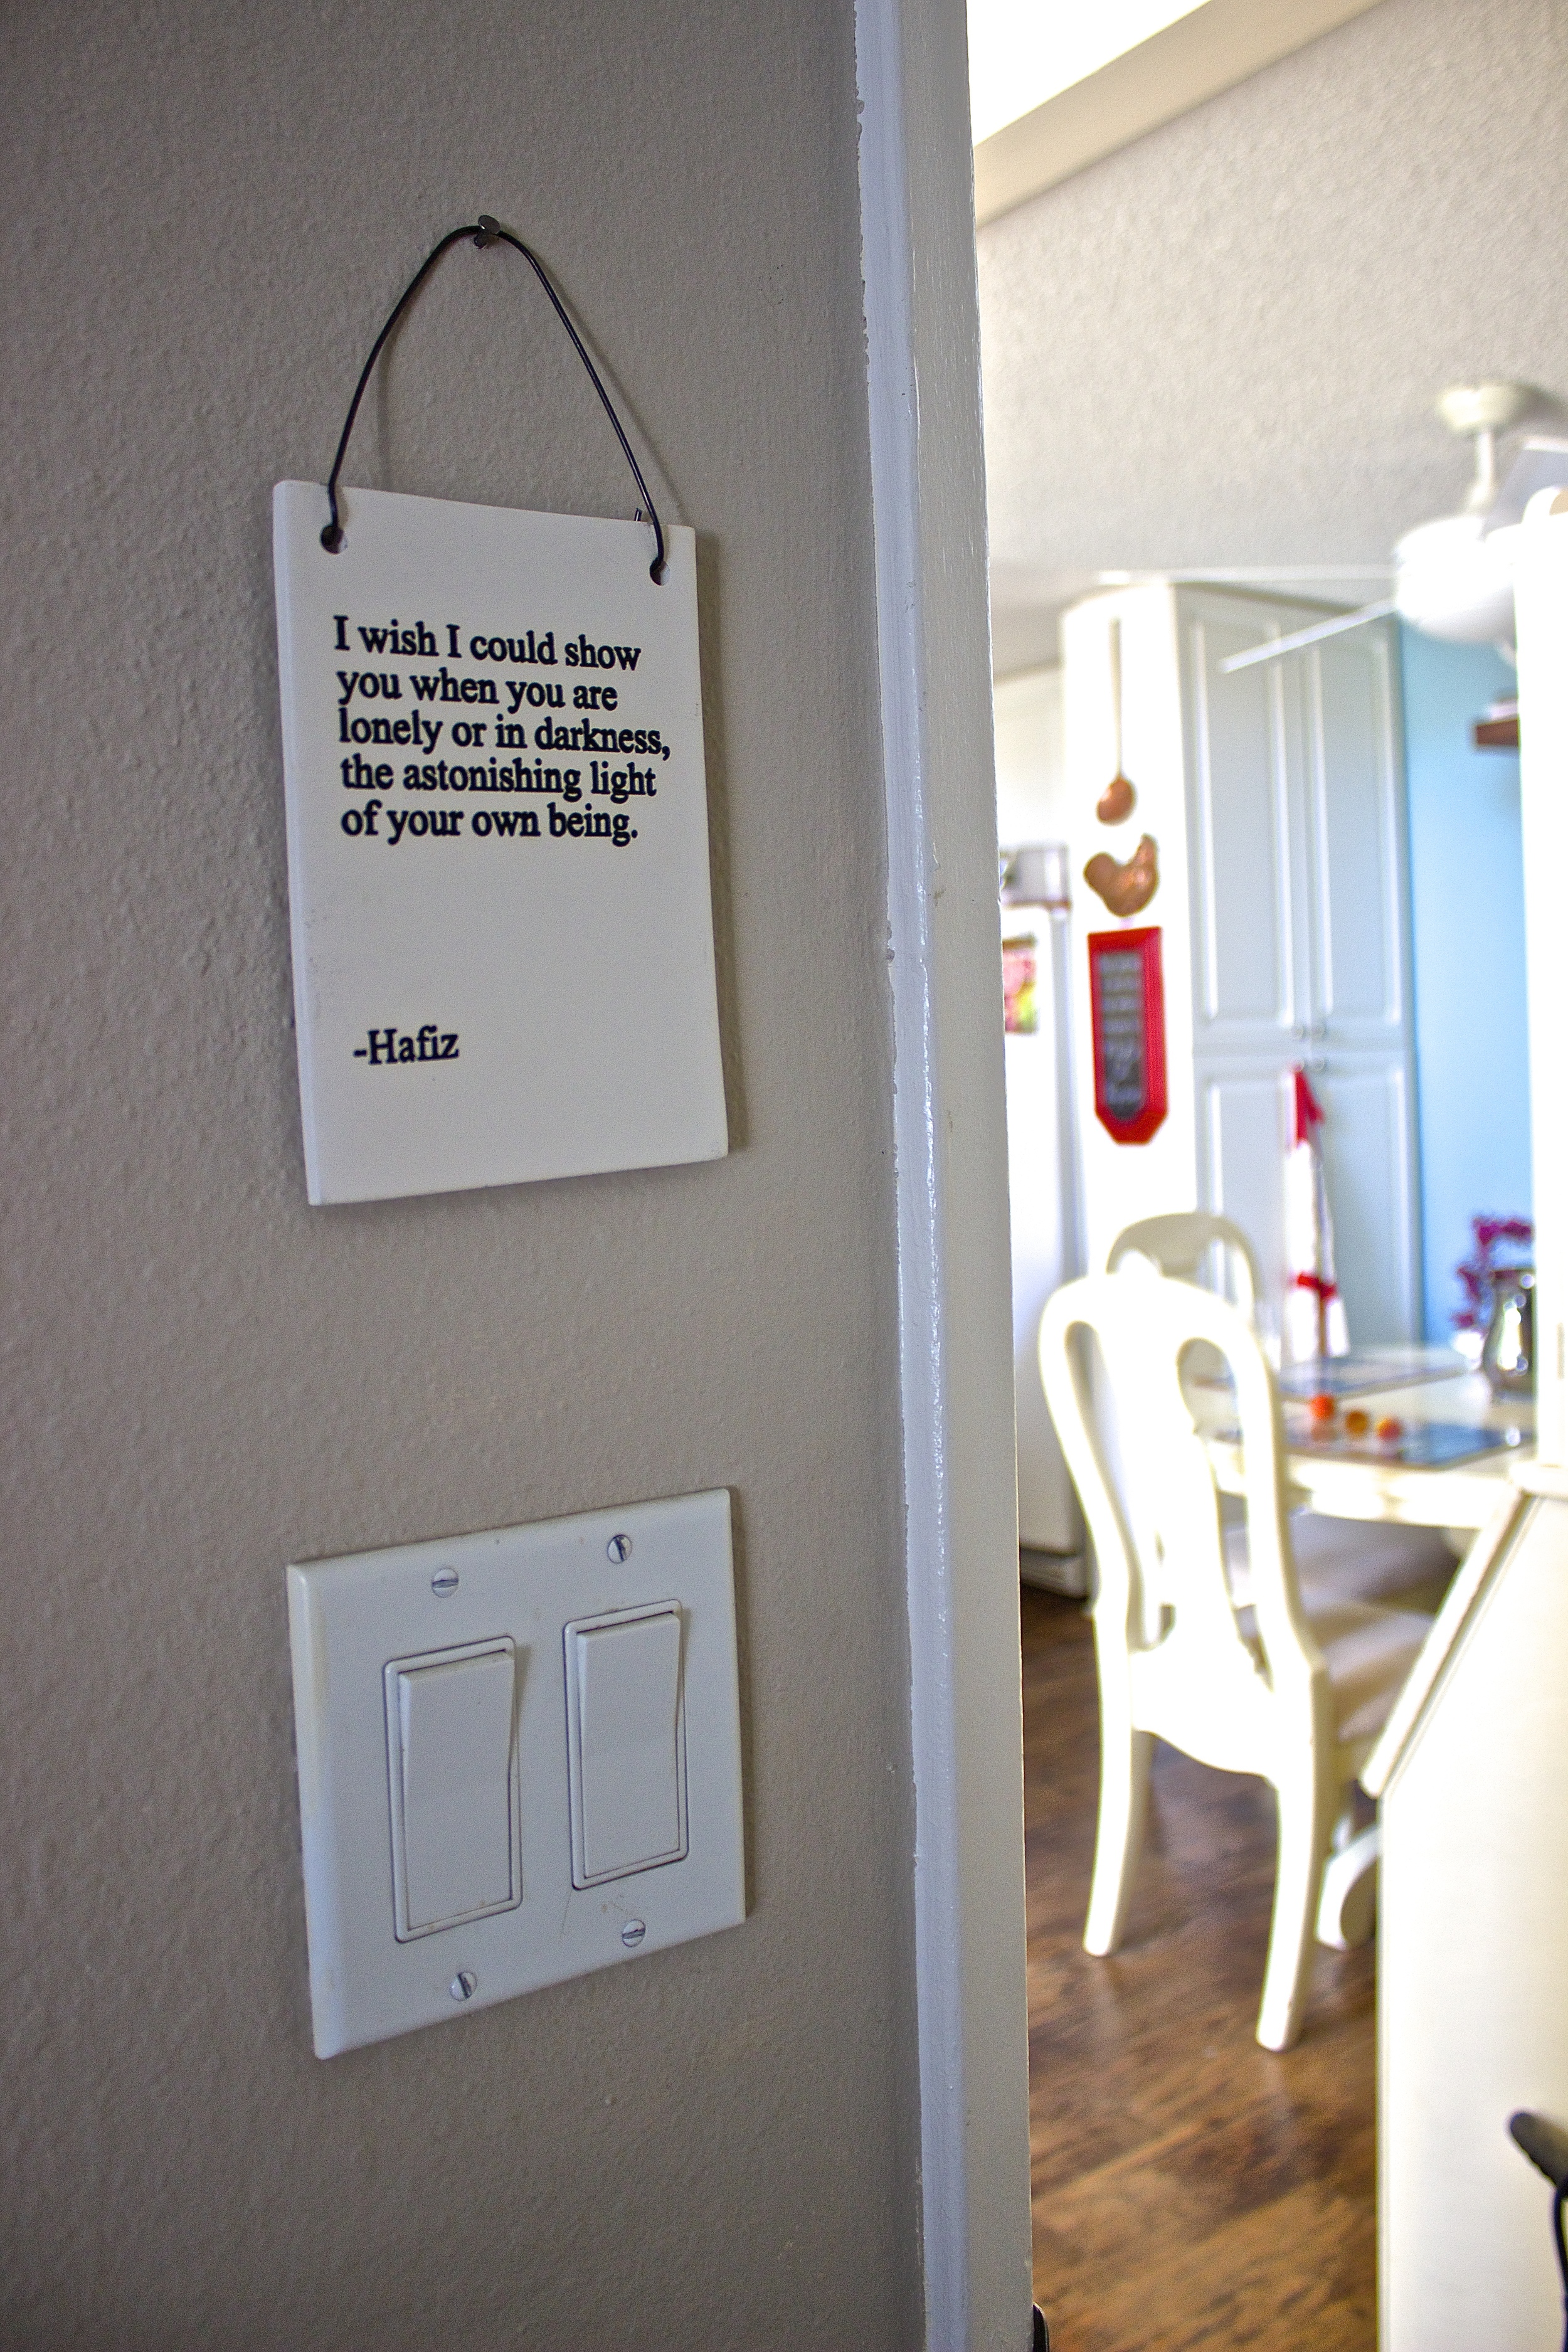
I aimed to create a sacred space out of laminate wood flooring and stained white carpet. The space forced me to get creative with storage solutions, often times feeling like a constantly evolving puzzle. But it was Home.   

Saying goodbye felt surreal. For weeks I felt anxious as I watched the home I created slowly disappear in boxes, becoming less and less recognizable until the day we moved out and it no longer even felt like ours. And although it's just a rental, and it's just four walls, I want to remember it. If only just for myself, I want to remember a details of a home that held so much. 

Home | Kneading Home


Watermelon Cucumber Coolers

Watermelon Cucumber Coolers | Kneading Home

I fell in love with the science of Ayurveda, the sister science to yoga, a couple years ago after reading Vasad Lad's Complete Book of Ayurvedic Home Remedies, then Eat, Taste, Heal which applies ayurvedic principles solely to nutrition. What I love most about Ayurveda is that it approaches health from a completely holistic perspective. It acknowledges that every body is different. What is good for one, may not be good for another, and knowing your own body's unique constitution and eating food which supports it creates optimal health. 

There are three doshic types, Pitta, Kapha, and Vata. In Ayurveda, Summer is Pitta season. And for people with pitta as their primary dosha, summers can be particularly difficult. My husband is the perfect pitta-stereotype: driven, hard-working, hot-headed, and completely intolerant of heat. I swear it could be snowing and he'd still be sweating. This translates to rough summers, with a serious need for heat management. Enter, watermelon cucumber coolers. 

Watermelon Cucumber Coolers | Kneading Home

According to Ayurveda, cucumber and watermelon are some of the most cooling, pitta-pacifying foods out there. So we juice them, and drink them over ice, when hot valley summers feel too much to bear. I recently added coconut water, another shockingly cooling beverage, and the result is summer-perfection. Refreshing, cooling, hydrating and pitta-pacifying. 

Watermelon Cucumber Coolers | Kneading Home

Watermelon Cucumber Coolers 
makes about 8 cups 

3.5 pound small watermelon 
2.5 pounds cucumbers ~ 3 large 
1 cup coconut water 

Juice watermelon and cucumbers. You will have to do this in batches and they both produce a lot of liquid. Transfer the juice to a large pitcher and stir in coconut water. Adjust to taste - for a sweeter beverage add more watermelon. 

Alternatively, if you don't have a juicer, you could blend the watermelon and cucumbers until smooth, then pour through a fine mesh strainer or cheese cloth. 

Best if consumed within 24 hours. 


Creamiest Restaurant-Style Scrambled Egg Tartine with Sriracha Aioli

Creamiest Scrambled Egg Tartine with Sriracha Aioli, Goat Cheese, & Avocado | Kneading Home

You know those foods that only taste good when made either in someone else's house or in a restaurant but when made by you taste infinitely more boring, and almost inedible? Enter, the creamiest restaurant style scramble eggs. For me, scrambled eggs epitomize this food group. At home they are spongy, over-cooked, and flat but in restaurants they are velvety, creamy, and flavorful. The gap between the two left me uninterested in making scrambled eggs at home for years. Then, about a year ago I read an article from Food52. They claimed the secret to restaurant style eggs was actually through a "low and slow" method  of cooking over excruciatingly low heat. I experimented with great success but the eggs took upwards of 25 minutes to make. Not cool for hungry Sunday mornings...

Creamiest Scrambled Egg Tartine with Sriracha Aioli, Goat Cheese, & Avocado | Kneading Home

It wasn't until I stumbled upon an Gordon Ramsay youtube video (with 11 million reviews!) a couple months ago, that my creamy egg experimentation reached a new height. So here we are, the secrets to the creamiest, ever, restaurant style eggs (and all the things we've been doing wrong all these years!) 

Creamiest Scrambled Egg Tartine with Sriracha Aioli, Goat Cheese, & Avocado | Kneading Home
  1. Ditch the fry pan. Cook your eggs in a saucepan. Weird, right? That's what I thought until I tried it. Then I went to the famous Egg Slut in downtown la and sure enough they scramble their eggs in a saucepan. 
  2. Low heat. If your eggs stick to the pan, your burner is too hot. (When we move next month I'm getting an electric stove. It's going to be a sob story.)
  3. On and off heat, whisking constantly. As Ramsay says, think of making scrambled eggs like making risotto. Stir constantly and don't take your eyes off them. Also, remove the saucepan from the burner every 1-2 minutes. The eggs will continue to cook from the heat of the pan, and will stay creamy. 
  4. Season last. Apparently adding salt right away, like I've done my entire life, breaks down the flavor of the eggs. Add it at the very end. 
  5. Add fat. Which I'm sure isn't news to you. For extra creamiest add an extra yolk, a knob of butter, a splash of cream; in our case we added goat cheese.  

I've been making these open face egg sandwiches almost weekly since discovering the secret to the perfect scramble. They're ready in under 15 minutes, tastes fresh and restaurant-made, and keep me full for hours. If you can swing it buy cage-free, organic eggs, or better yet pasteur-raised eggs from a local farm available at most farmer's markets. Farmer's Market eggs, though a splurge, will yield the brightest yolks and richest flavor, and the chickens they come from will live happier lives. It's a win win. 

Creamiest Scrambled Egg Tartine with Sriracha Aioli, Goat Cheese, & Avocado | Kneading Home

Creamiest Restaurant-Style Scrambled Egg Tartine with Sriracha Aioli, Goat Cheese, and Avocado
Makes 1 tartine  

For the sriracha aioli: 
3 tablespoons mayo
1 tablespoon sriracha 
pinch of salt 
1 small garlic clove, minced 

3 large organic eggs 
1 tablespoon finely chopped chives, plus more for topping 
1-2 tablespoons crumbled goat cheese 
1 large slice sourdough bread 
avocado for topping 

Make aioli. In a small prep bowl combine all of the ingredients, stir, and refrigerate. This aioli can be made in advance and stores well in the fridge for about a week. For larger portions feel free to double or triple the recipe. 

Crack the eggs into a small saucepan over medium low heat. Whisk the eggs to scramble, then continue to gently whisk. After about 1-2 minutes, remove the saucepan from the burner (keeping the burner on) and continue to whisk for about 30 seconds off-heat. The heat from the pan will continue to cook the eggs. Return the saucepan to the burner, and repeat, whisking constantly, and removing the saucepan from heat every 1-2 minutes until the eggs begin to curdle and thicken.

If the eggs begin to stick to the pan, turn your heat down. Keep the eggs creamy, be mindful not to overcook (see photos). The eggs should come completely together in about 5-6 minutes. When the eggs are about 85% done, stir in the chives, goat cheese, a generous pinch of salt, and fresh ground pepper. Toast the bread. Remove the saucepan from the heat right before the eggs are done. If you wait until they're done, they will overcook. 

Top the toast with sriracha aioli (you probably won't use it all), eggs, avocado slices and extra chives. Enjoy! 

Notes: 
This is more of a technique than a recipe. Take 4 minutes of your time and watch Gordon Ramsay's video, which shows the technique perfectly.