Watermelon Cucumber Coolers

Watermelon Cucumber Coolers | Kneading Home

I fell in love with the science of Ayurveda, the sister science to yoga, a couple years ago after reading Vasad Lad's Complete Book of Ayurvedic Home Remedies, then Eat, Taste, Heal which applies ayurvedic principles solely to nutrition. What I love most about Ayurveda is that it approaches health from a completely holistic perspective. It acknowledges that every body is different. What is good for one, may not be good for another, and knowing your own body's unique constitution and eating food which supports it creates optimal health. 

There are three doshic types, Pitta, Kapha, and Vata. In Ayurveda, Summer is Pitta season. And for people with pitta as their primary dosha, summers can be particularly difficult. My husband is the perfect pitta-stereotype: driven, hard-working, hot-headed, and completely intolerant of heat. I swear it could be snowing and he'd still be sweating. This translates to rough summers, with a serious need for heat management. Enter, watermelon cucumber coolers. 

Watermelon Cucumber Coolers | Kneading Home

According to Ayurveda, cucumber and watermelon are some of the most cooling, pitta-pacifying foods out there. So we juice them, and drink them over ice, when hot valley summers feel too much to bear. I recently added coconut water, another shockingly cooling beverage, and the result is summer-perfection. Refreshing, cooling, hydrating and pitta-pacifying. 

Watermelon Cucumber Coolers | Kneading Home

Watermelon Cucumber Coolers 
makes about 8 cups 

3.5 pound small watermelon 
2.5 pounds cucumbers ~ 3 large 
1 cup coconut water 

Juice watermelon and cucumbers. You will have to do this in batches and they both produce a lot of liquid. Transfer the juice to a large pitcher and stir in coconut water. Adjust to taste - for a sweeter beverage add more watermelon. 

Alternatively, if you don't have a juicer, you could blend the watermelon and cucumbers until smooth, then pour through a fine mesh strainer or cheese cloth. 

Best if consumed within 24 hours. 


Blueberry Pie Milkshakes {Dairy-Free + Vegan}

Blueberry Pie Milkshakes {dairy-free} | Kneading Home

We went to Chicago three weeks ago to find a place to live next month. No big deal. While we were there we got to check out Chicago's "Restaurant Row" on Randolph street. It's filled with fancy, world-renowned restaurants, most of which cost a pretty penny. I had to keep reminding myself "we are moving here, there will be plenty of opportunities to eat over the next 5 years". I want wanted to eat everything. So after almost two hours of waiting, we got into The Little Goat, the casual more affordable diner version of the very famous Girl and the Goat. Going there was a decision both our stomachs and wallets appreciated.

Staying true to the diner vibe we split a blueberry pie milkshake. It tasted exactly how it sounds: like some brilliant person had baked up a sweet and gooey blueberry pie with flakey buttery crust and then blended it up inside a milkshake with thick creamy vanilla ice cream. I wasn't even halfway through my first sip before vowing to re-create it at home. And so over 4th of July weekend I did just that - but my version is dairy free. Remember that vanilla bean ice cream when made last week? This is the perfect way to put it to good use. Of course, you could totally sub in real butter, milk and ice cream, but either way the result is creamy, decadent, and tastes just like someone smashed a delicious gooey blueberry pie into a creamy cold milkshake. 

Blueberry Pie Milkshakes {dairy-free} | Kneading Home

Blueberry Pie Milkshakes {vegan}
Serves 2

For the pie crust: 
4 tablespoons vegan butter (such as Earth Balance), cubed + frozen for 20 minutes  
1/2 cup plus 2 tablespoon all purpose flour 
1 teaspoon sugar 
pinch of salt
2 tablespoons ice water 

1 1/2 cups blueberries 
1/2 teaspoon cornstarch 
1 teaspoon vanilla 
1 tablespoon brown sugar 
1 tablespoon bourbon (optional) 
pinch of salt 

6 scoops Dairy-Free Vanilla Bean Ice Cream (or store-bought) 
1 - 1 1/2 cups plant-based milk of your choice 

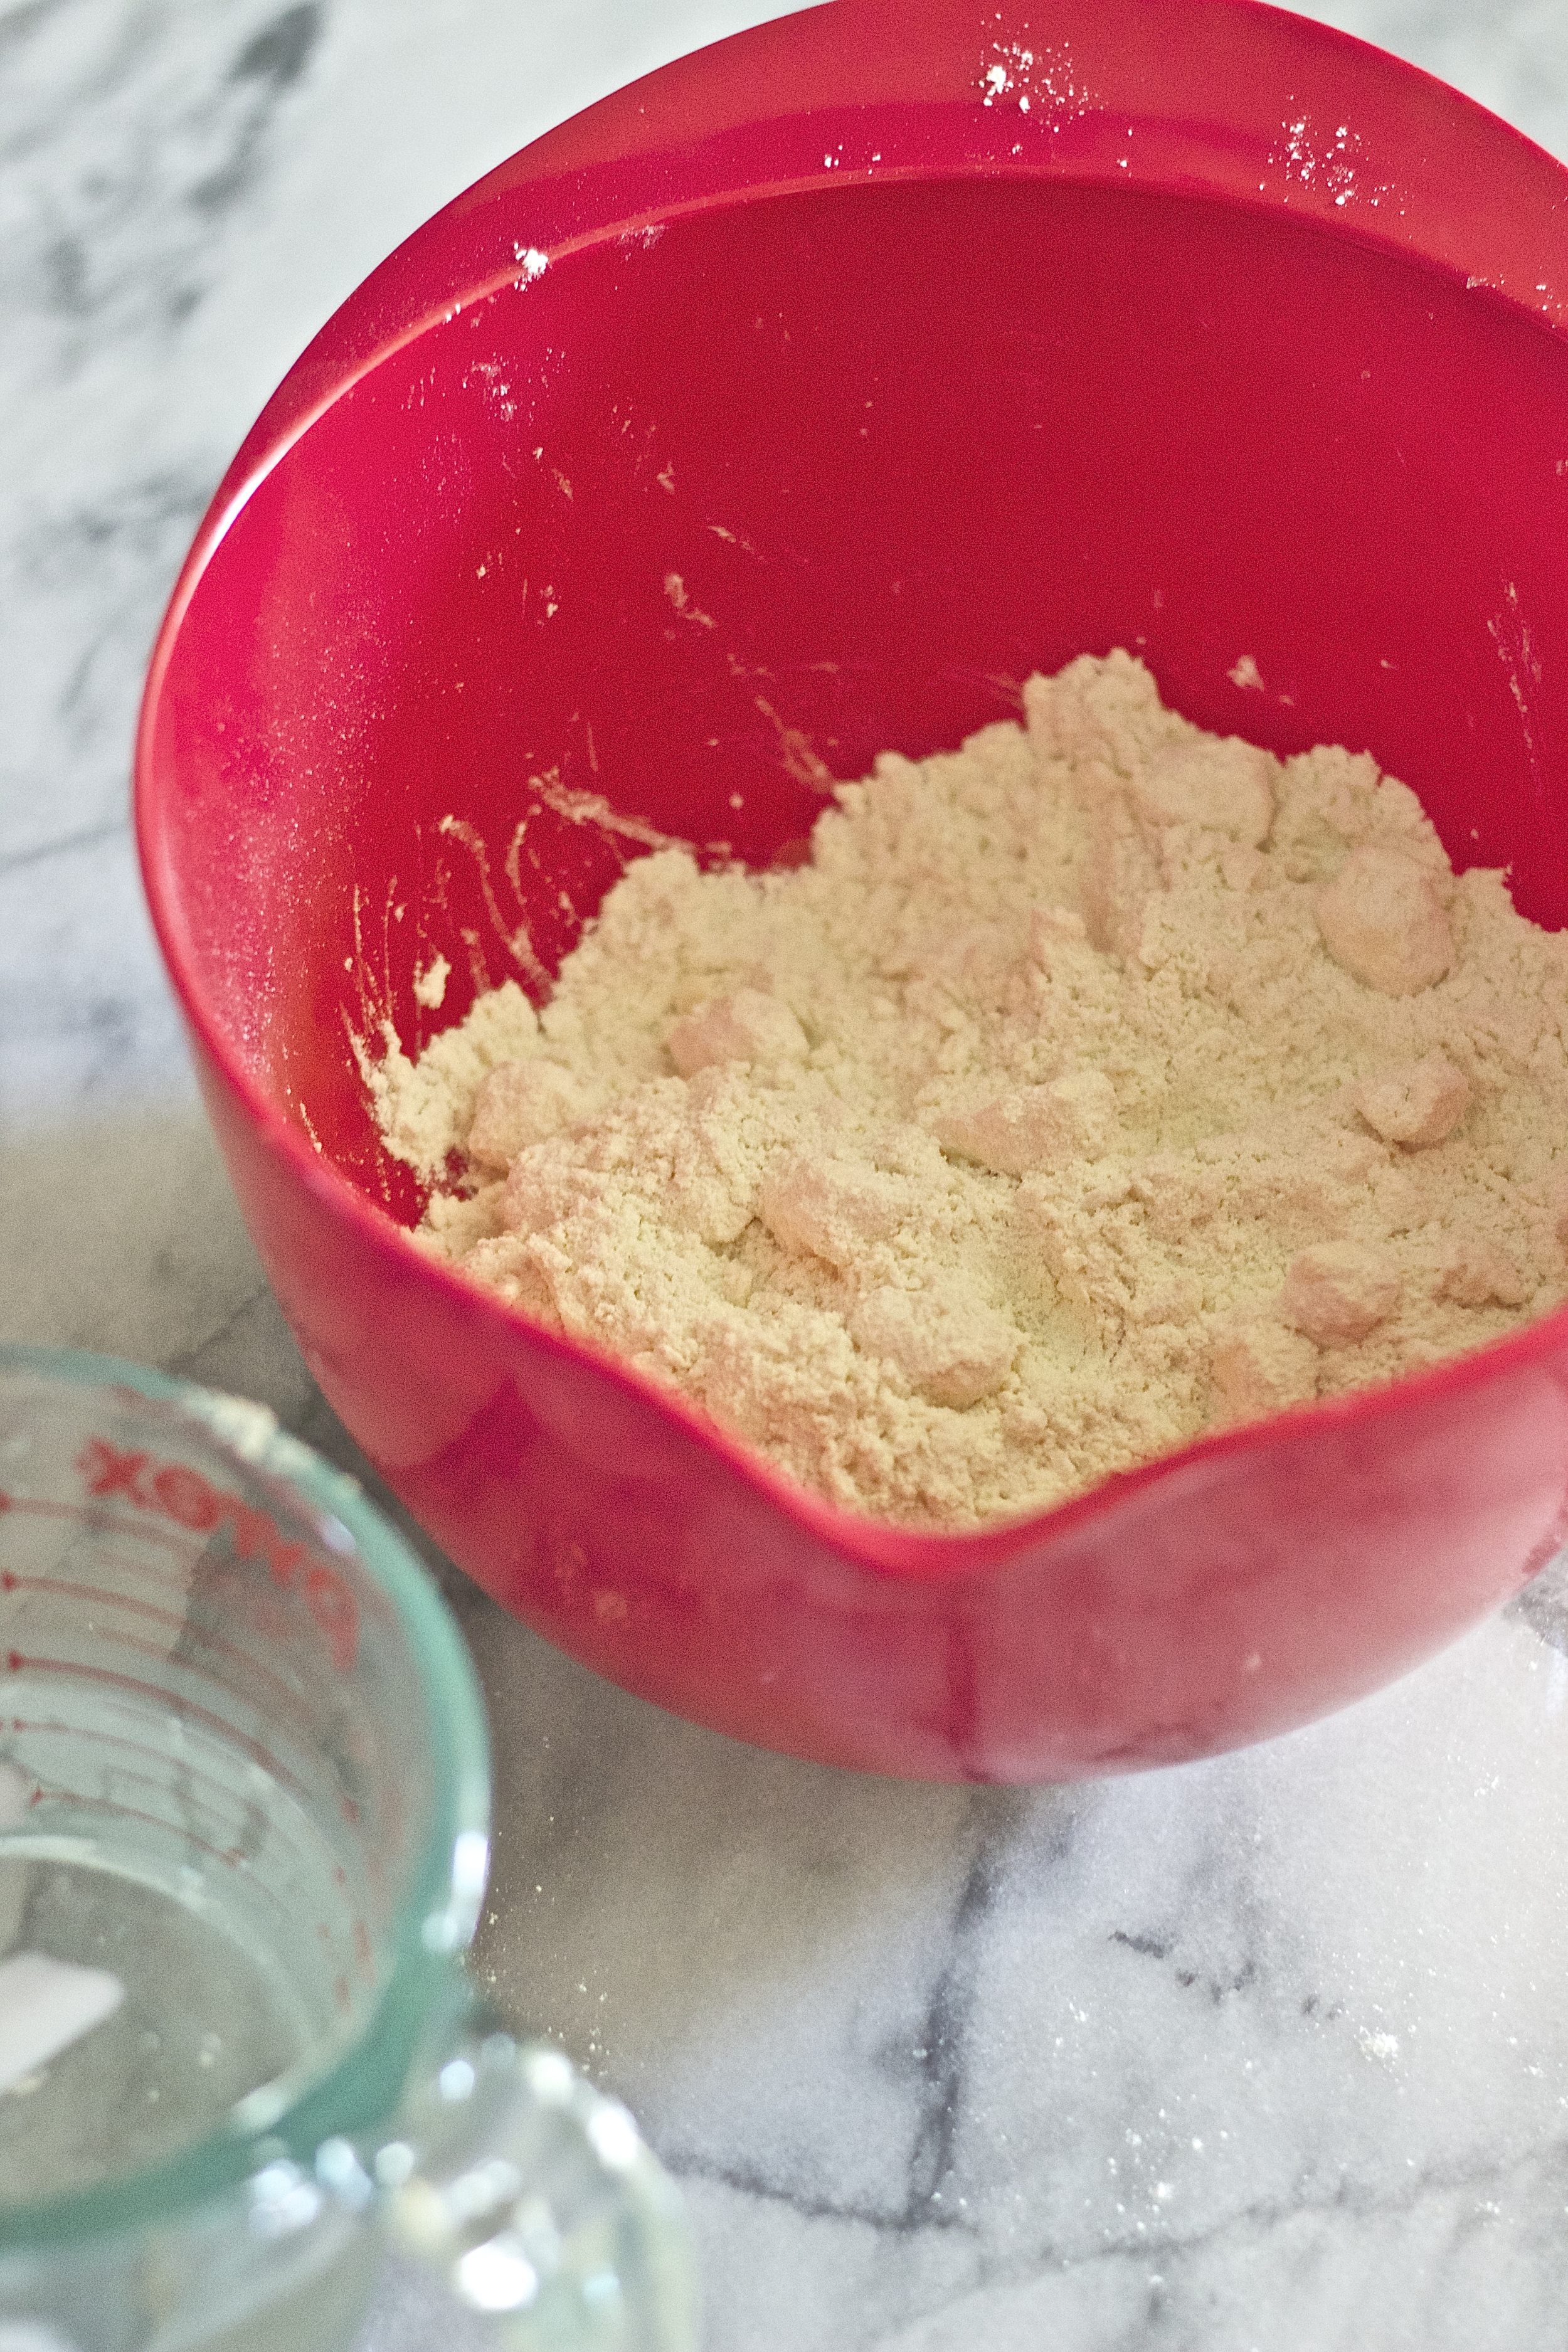
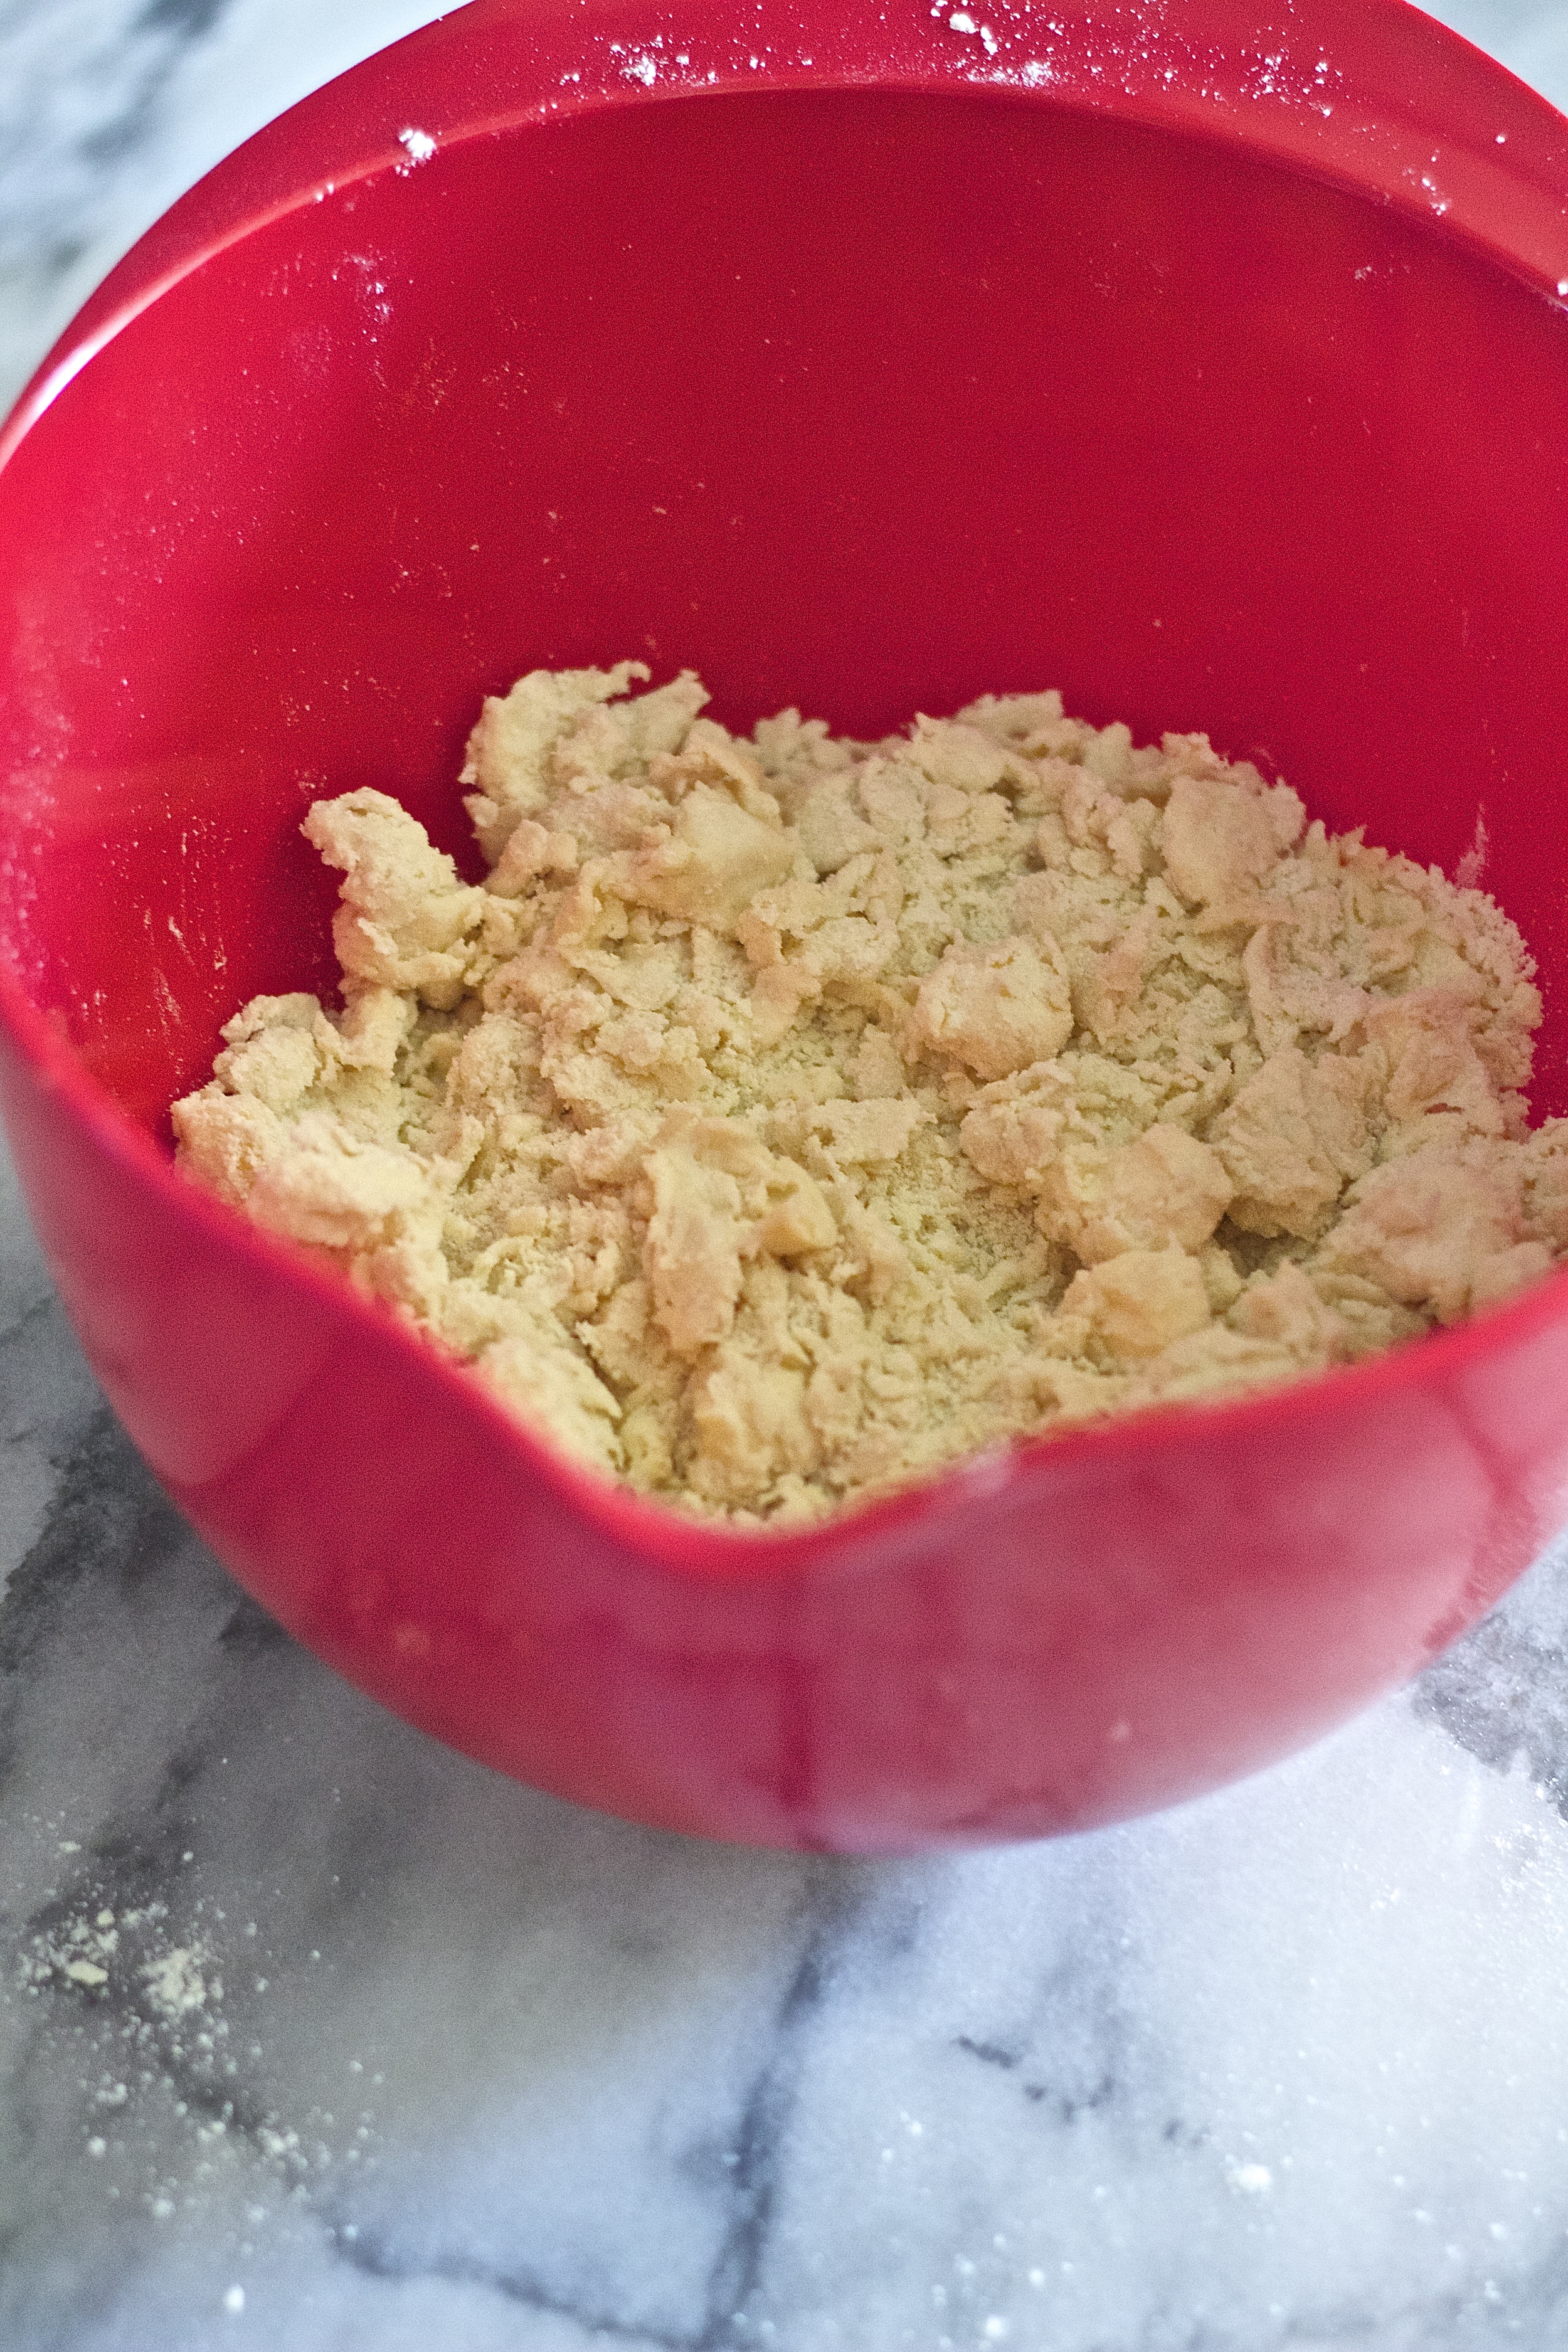
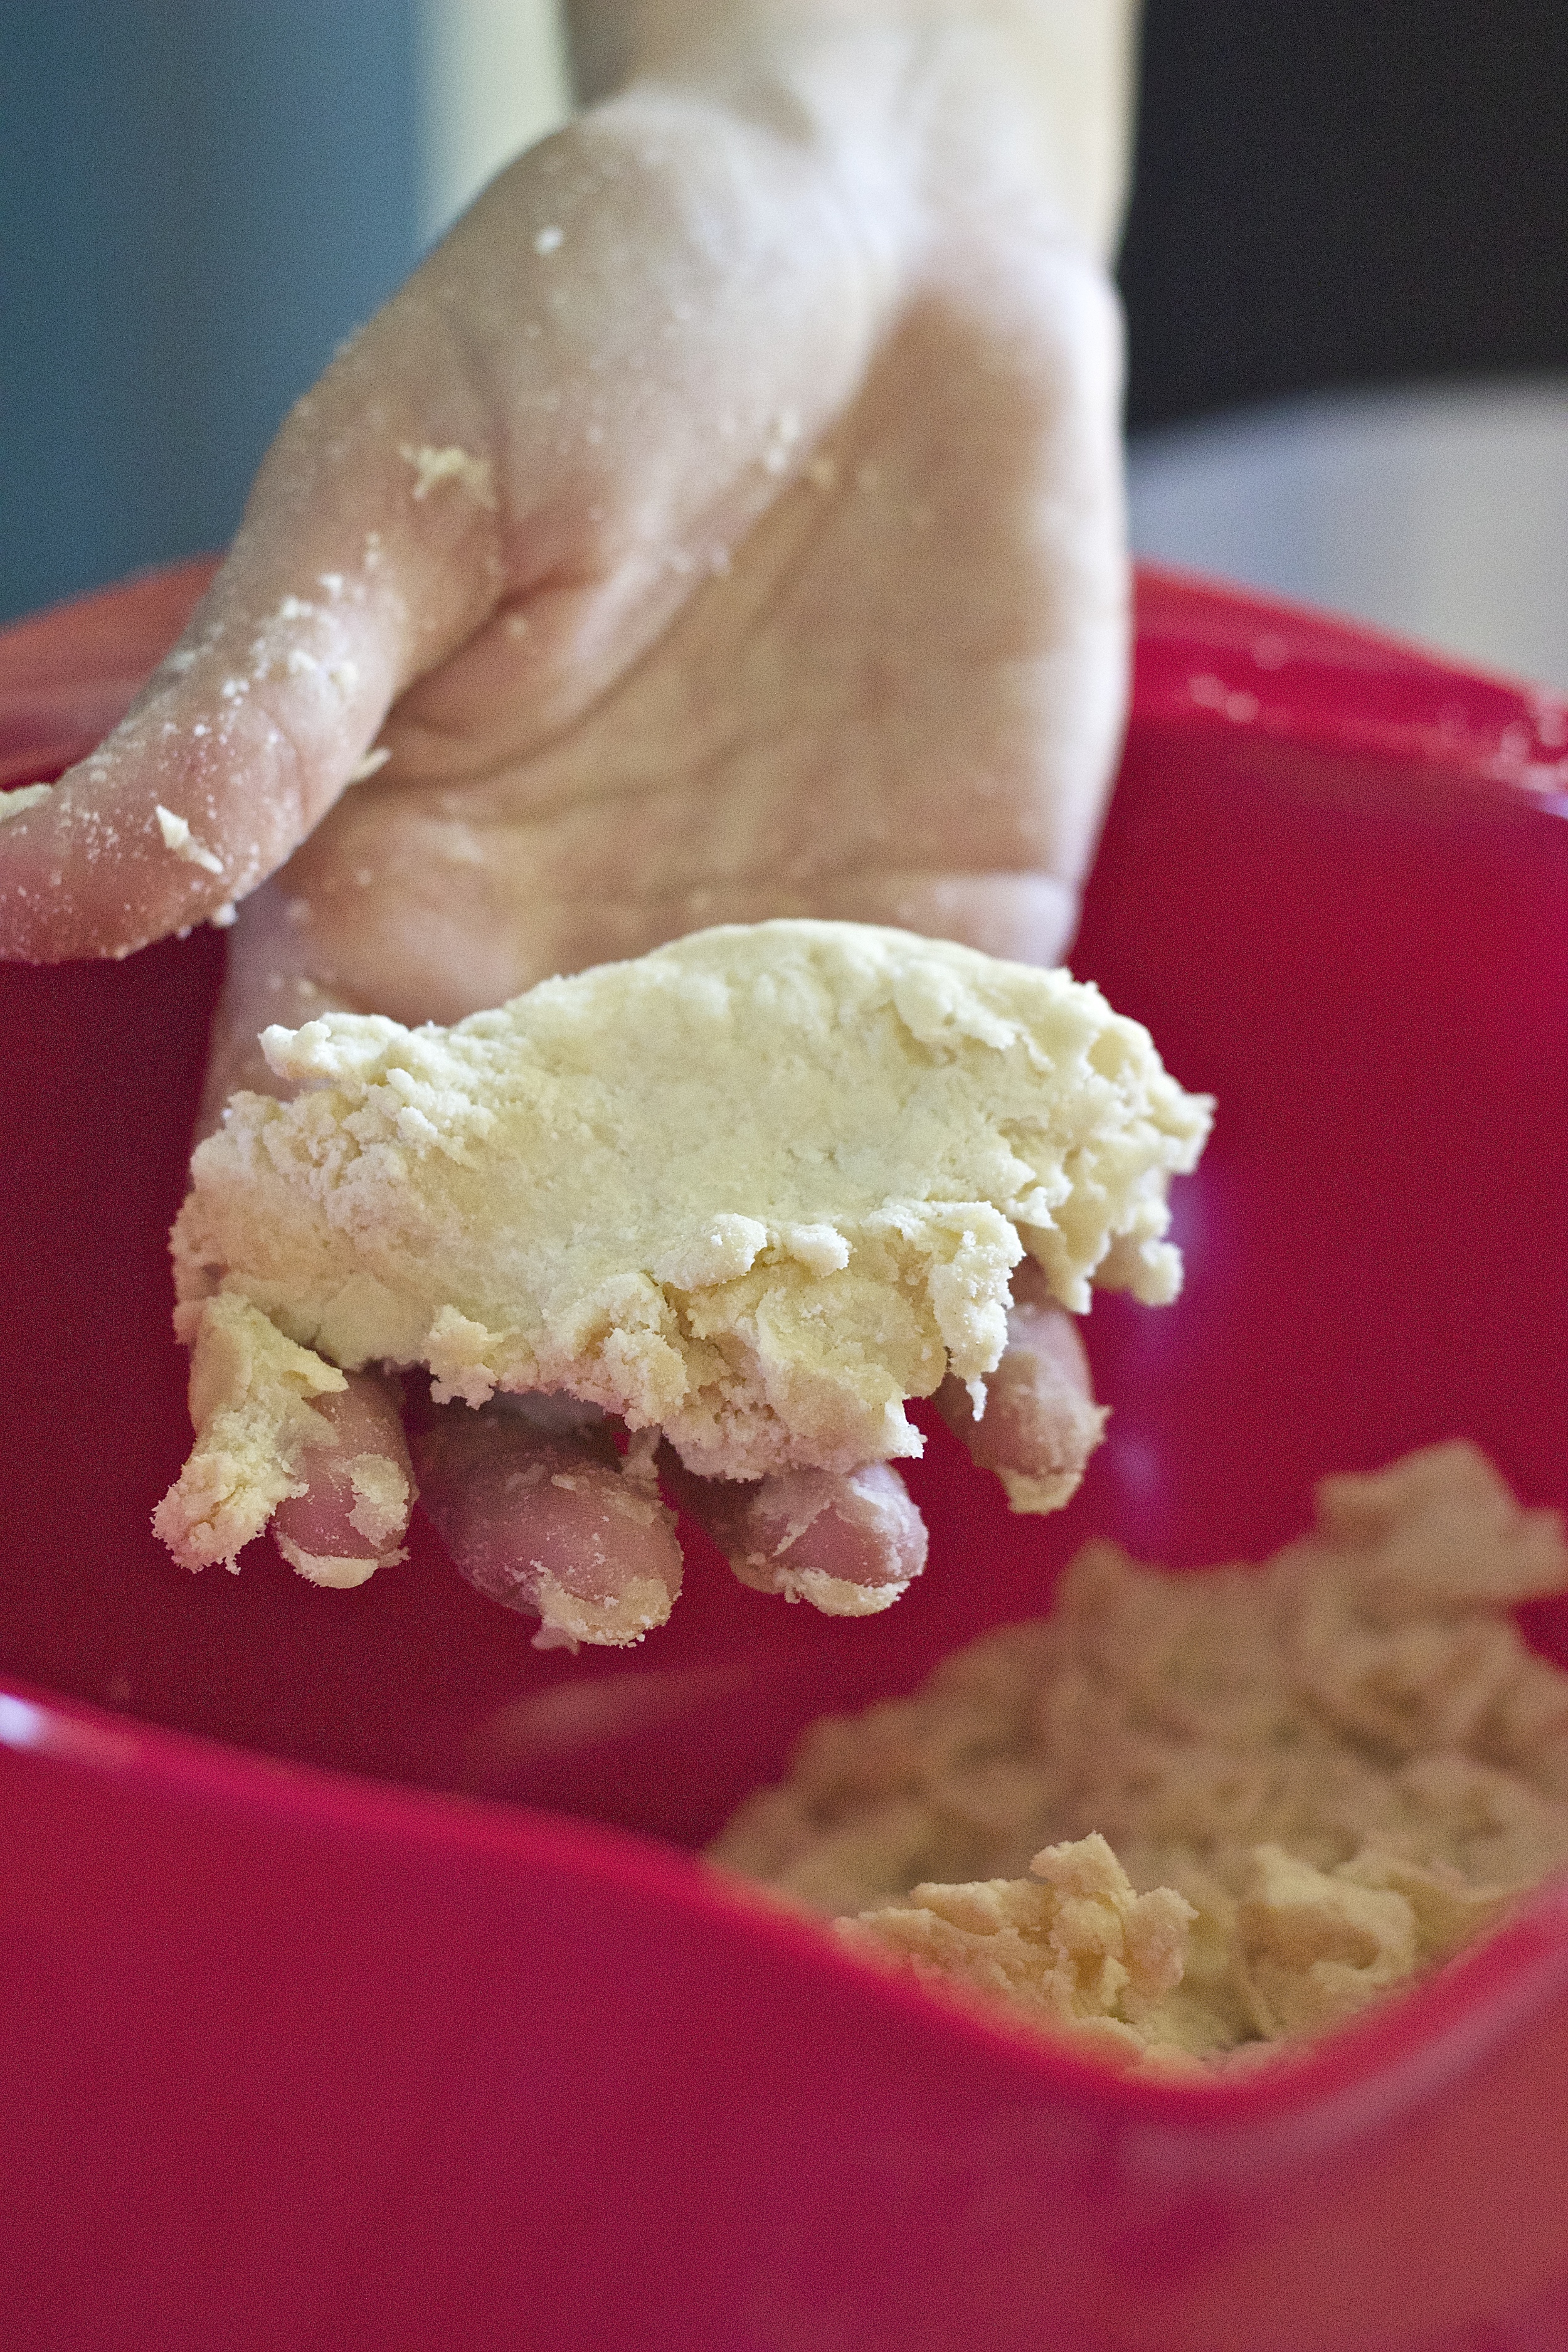
Make the crust. Whisk together flour, sugar, and salt in a medium bowl. Using your hands, cut the butter into the flour until the butter chunks are roughly the size of peas. Pour in 1 tablespoon water, mix, pour in the second tablespoon and toss until the dough is shaggy and damp. Squeeze a handful of dough in your hand - if it doesn't form together in a cohesive ball add another teaspoon of water. Bring the dough together into a disc (it will be messy, that's OK), cover and refrigerate for 20 minutes. Meanwhile, preheat the oven to 350 degrees. On a floured piece of parchment paper, roll the dough out until it's the thickness of pie crust, keeping the dough on the parchment, transfer it to a baking sheet and bake for 20 minutes until just lightly browned around the edges. Remove from the oven and let cool. 

Meanwhile, heat the blueberries, cornstarch, vanilla, brown sugar, bourbon and salt over medium in a small saucepan. Stir as it cooks for 5-7 minutes until thick and bubbly. Remove from heat. Let cool. You can pop it in the fridge to speed up the process. 

Once the crust has cooled, break it into chunks with a fork. Toss blueberry mixture, ice cream, milk, and a little over half the crust into a blender and blend until smooth. Divide among two glasses and top with remaining pie crust and serve. 

Notes: Feel free to sub butter in the pie crust, milk, and regular store-bought vanilla ice cream. 


Dairy-Free Vanilla Bean Ice Cream {vegan}

Dairy Free Vanilla Ice Cream | Kneading Home

We're no stranger to homemade ice cream. On a scale of not-worth-your-time-buy-store-bought and I'm-never-buying-store-bought-again-where-has-this-homemade-version-been-all-my-life?! homemade ice cream is tipping the scales at the latter. There's just something about simple, real ingredients, no fillers, no preservatives, not chalked full of air, no stabilizers to keep it from melting - just pure real ingredients with a far superior taste and texture.  

Last summer we made peach bourbon pecan cobbler ice cream and then we celebrated fall with cinnamon apple pie ice cream. We're a house divided between dairy-free ice cream and traditional. I've pretty much perfected the thick creamy consistency without dairy and with so many dairy-free store bought versions tasting just so off, I am such a sucker for a good homemade dairy free ice cream. The secret, like most delicious creamy dairy-free desserts, is in the coconut milk which when combined with coconut cream pretty much gives you the exact consistency of heavy cream without ever having the milk a cow. Other than that, this recipe is pretty straight forward, classic. 

Dairy Free Vanilla Ice Cream | Kneading Home

Every now and then I think it's good to get back to the basics. And because there are probably one million vanilla ice cream recipes out there, but only a handful of dairy free ones, I'm throwing my hate into the ring with this recipe. It makes the perfect base for throwing in chocolate cookies for cookies and cream, seasonal fruit, jam, or even specks of melted chocolate. It's a staple for topping over cobblers and pies or just dunking a spoon into when it's super hot out. Oh, and be sure to check back next week because we're doing something super fun with it. 

Dairy Free Vanilla Ice Cream | Kneading Home

My husband's been gone back and forth traveling for work since May and just came home, so I'm looking forward to spending the 4th as a pack, just the three of us. We're making Alexandra Cooks' peach pizza, which I've deemed a 4th of july tradition and smitten's zucchini crisps with sangria and this ice cream. Happy 4th! 

Dairy Free Vanilla Ice Cream | Kneading Home

Dairy-Free Vanilla Bean Ice Cream 
Makes 1 scant quart (which becomes a full quart with mix-ins) 

1/3 cup cane sugar 
1/3 cup brown sugar
2 egg yolks (room temp) OR 1 tablespoon cornstarch (see notes)  
1 can full fat coconut milk 
1 can coconut cream 
1 vanilla bean 
pinch of salt 

Prepare a double boiler by bringing 1-2 inches of water to a gentle boil in a small sauce pan topped with a heat-proof bowl. Be mindful the water doesn't actually touch the bottom of the bowl. Over medium-low heat, whisk sugars, egg yolks OR cornstarch and 1-2 tablespoons of coconut milk to loosen in the heat proof bowl for about 3 minutes until the mixture thickens and the sugars melt.

Pour in the coconut milk, followed by the coconut cream and whisk. Slice open the vanilla bean and using the backside of a knife, scrape out the insides. Toss this vanilla bean "caviar" along with the vanilla bean pod and a generous pinch of salt into the coconut mixture. Continue to whisk for about 5 minutes. Remove from heat and let cool slightly. Pour the mixture through a fine mesh sieve and discard the remnants. Cover and refrigerate for at least 2 hours. 

Pour the cooled mixture into your ice cream maker and follow manufacture's instructions. Once the ice cream comes together it will be the consistency of soft serve. If you like it a bit more firm pop in the freezer before serving. 

Notes: 

Egg yolks v. Cornstarch. Traditionally creamy custard style ice cream is made with egg yolks. Upon researching vegan alternatives I discovered cornstarch acts in a very similar way. I made a batch of each, expecting the egg yolk batch to come out creamier. We did a blind taste test and couldn't tell a difference. So we'll leave the decision up to you! Not into either? You could skip on both, the ice cream will just be more icy less creamy. 

Coconut cream? I buy it from trader joe's and it's only slightly thicker than regular full fat coconut milk. If you can't find it just go with two cans of coconut milk and you'll be fine. Definitely avoid light coconut milk here, we're making ice cream, and it will come out super icy. 

We have this ice cream maker. It's pretty great.