Rhubarb Compound Butter

Guys, I've recently discovered podcasts. Specifically food podcasts! My husband has been away and although my french cafe pandora station keeps me company while cooking, there's something quite lovely about stimulating my brain and geeking out about food with people that get me.
I came up with the idea for this compound butter from NPR's The Splendid Table. I could listen to Lynne Rossetto Kasper talk for days! We've been hitting up the farmer's markets in Chicago and they are chock full of rhubarb this time of year. Not going to lie, I made 3 batches of this stuff and plan on savoring it for months to come.
Once the butter has softened it comes together in under 15 minutes. It's lovely on sourdough toast or pancakes. And if you check back next week we'll be using it for something special.


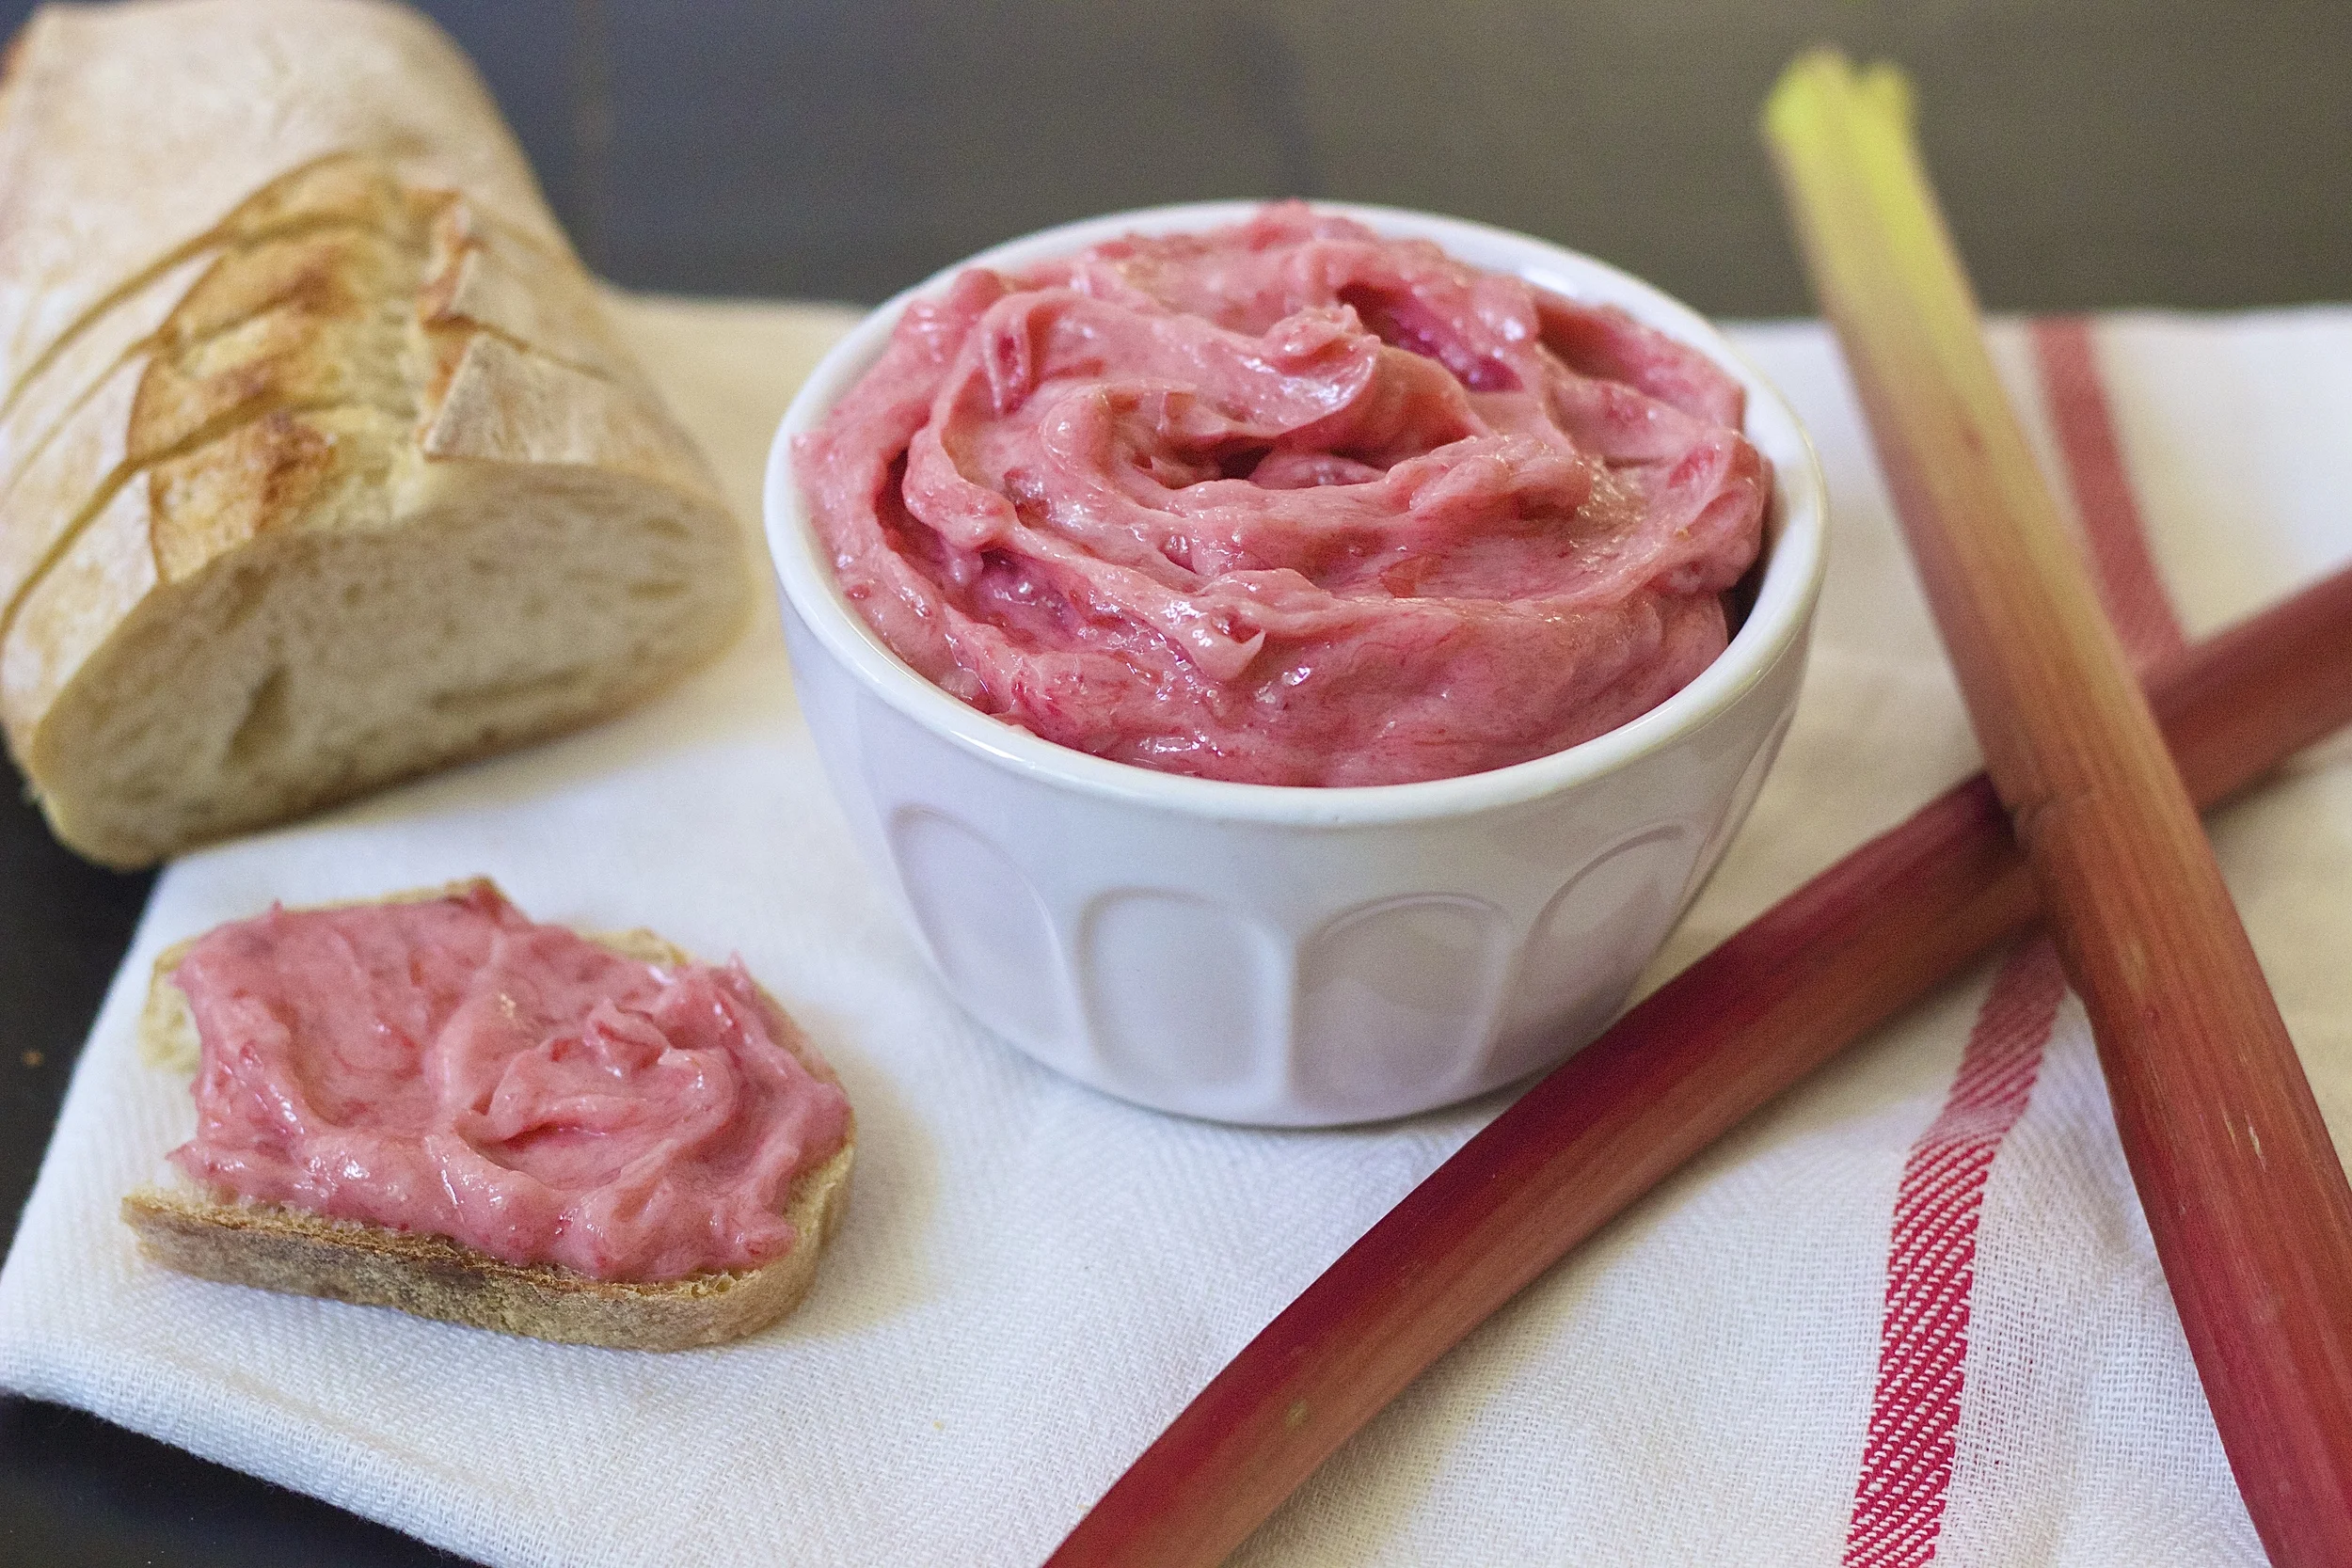

Notes: I made this butter several times with both coconut sugar and regular cane sugar. For some reason the coconut sugar gave it a richer more caramelized flavor that I preferred but also a darker, less pink color. That being said, these photos were taken from a cane sugar batch so if yours comes out looking darker not a problem.
I see no reason why you couldn't use vegan butter instead. Earth Balance butter sticks are my go-to for vegan butter replacements.
Makes about 1 1/2 cups
3/4 cup unsalted butter, room temperature*
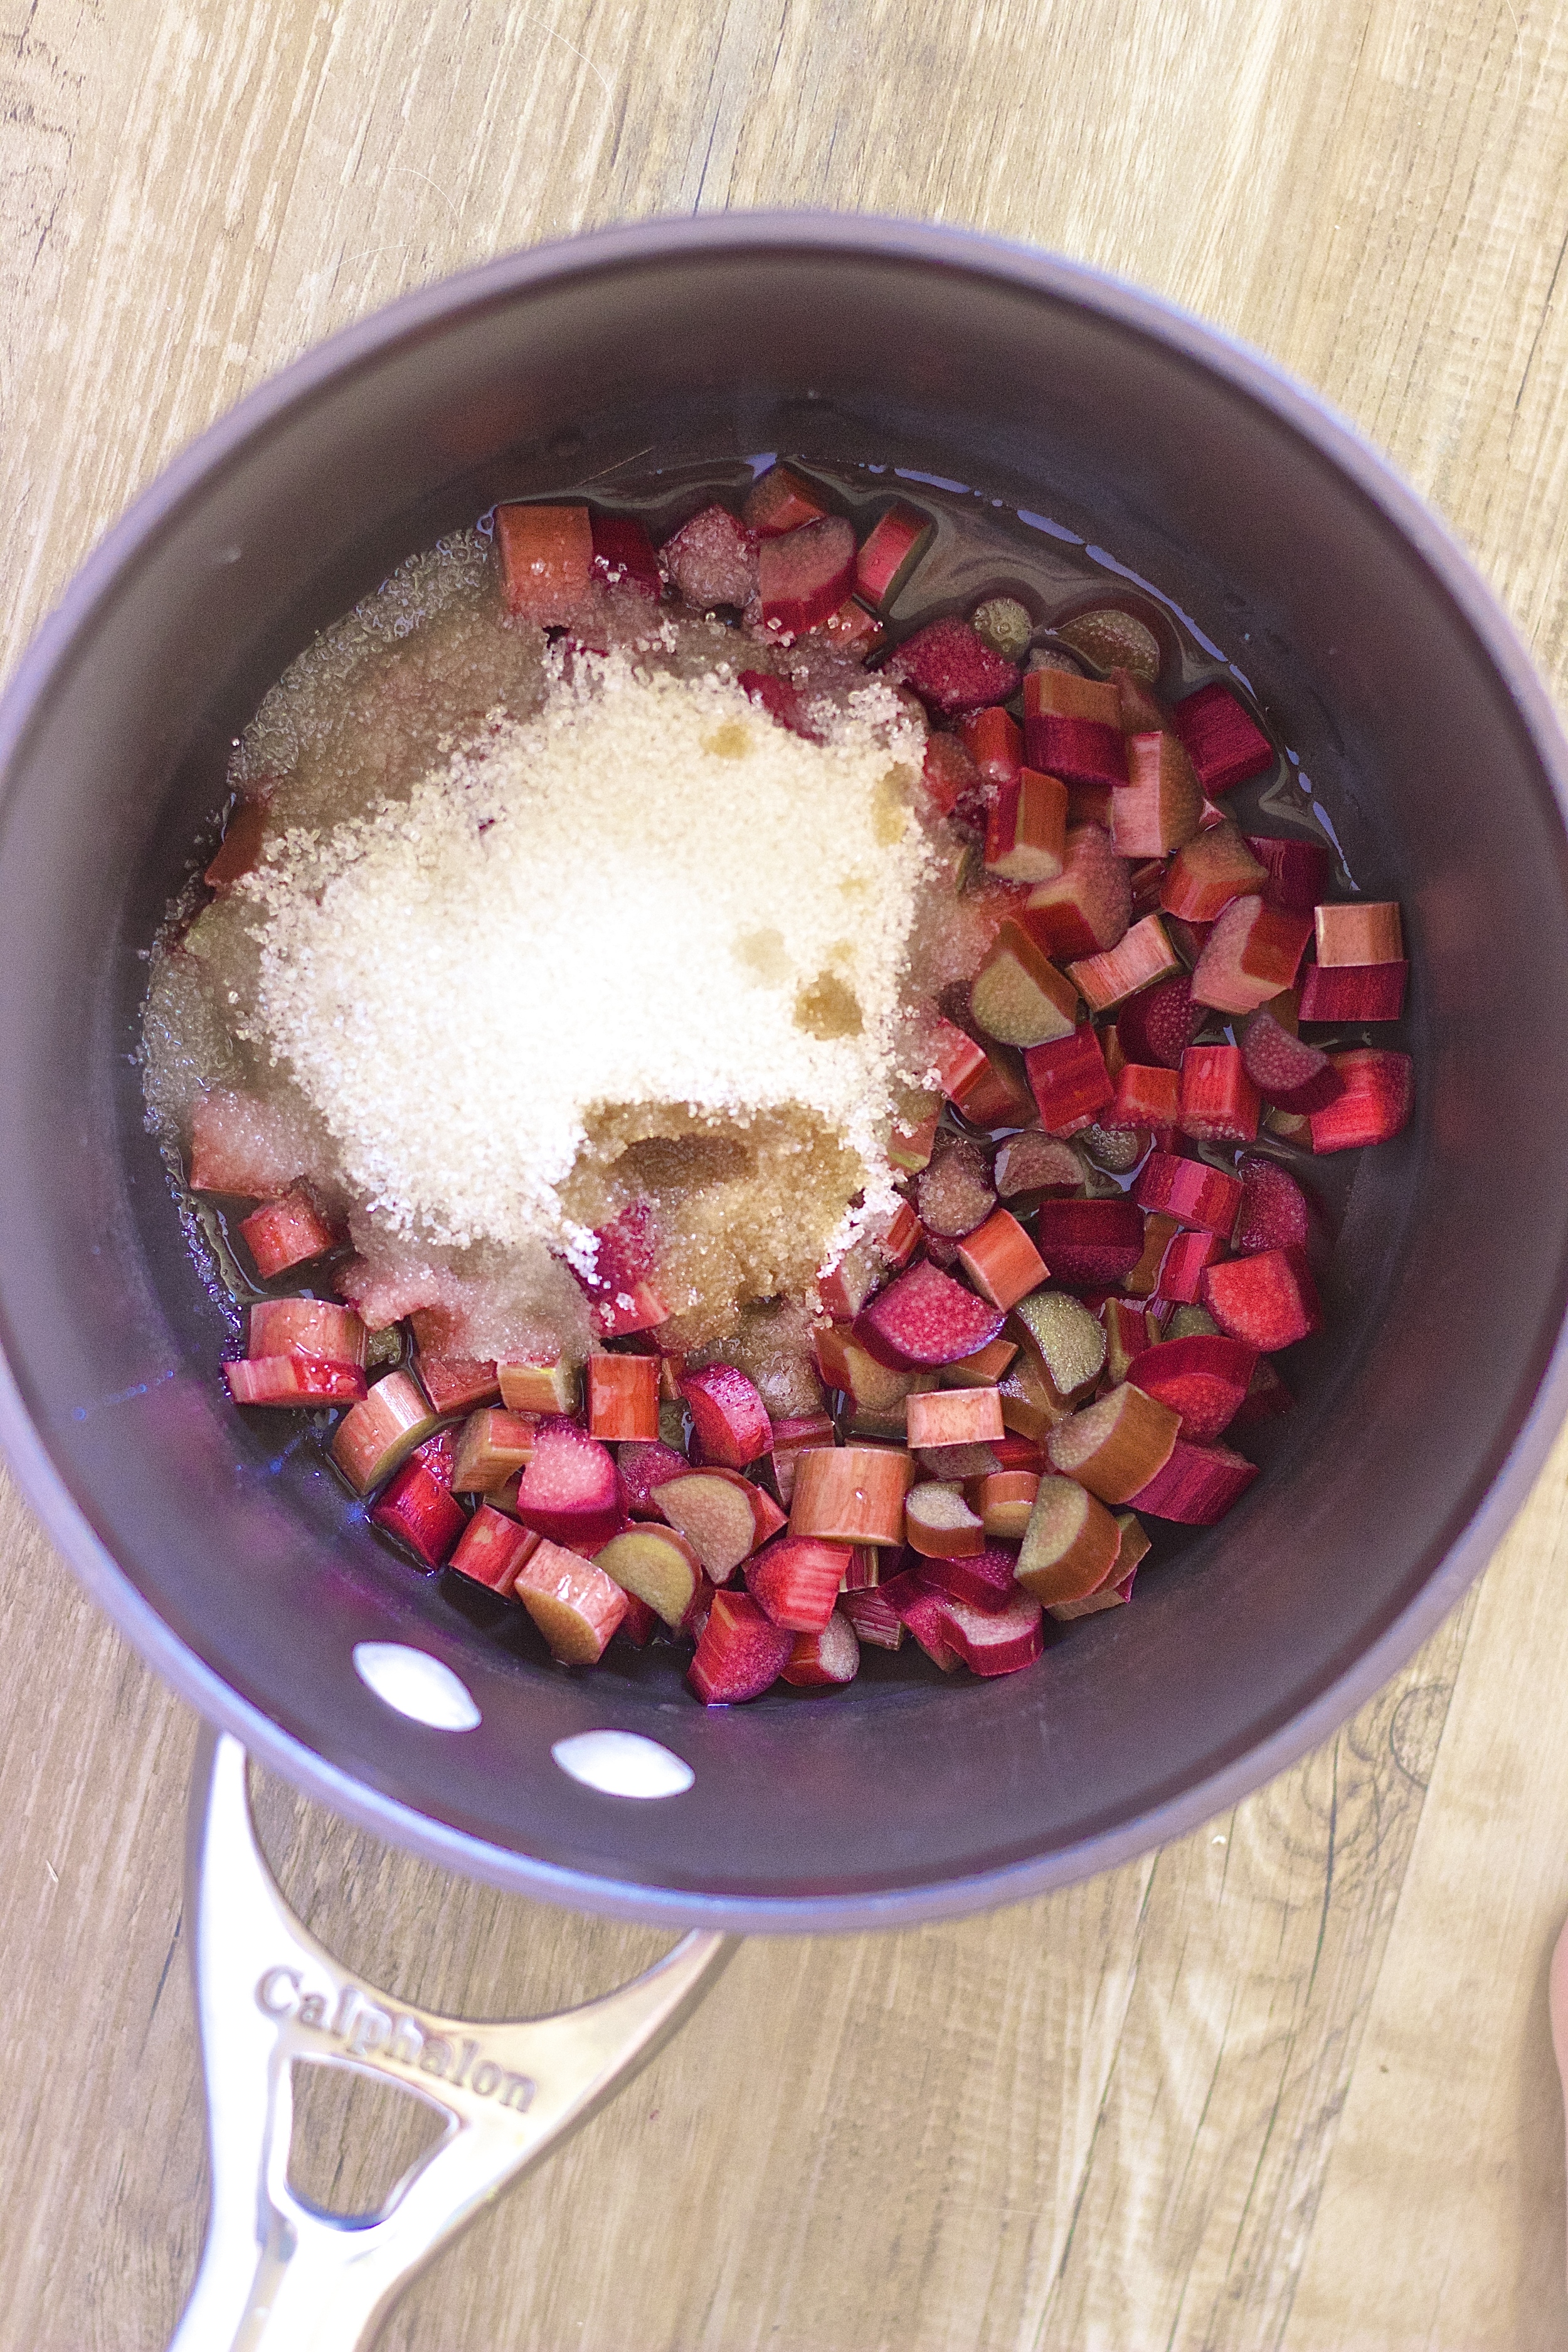
6oz rhubarb, ~ 1 1/4 cup diced
2/3 cup coconut sugar (or sub cane sugar)
1/2 teaspoon salt
2 tablespoons water
2 tablespoons lemon juice
1/2 teaspoon vanilla
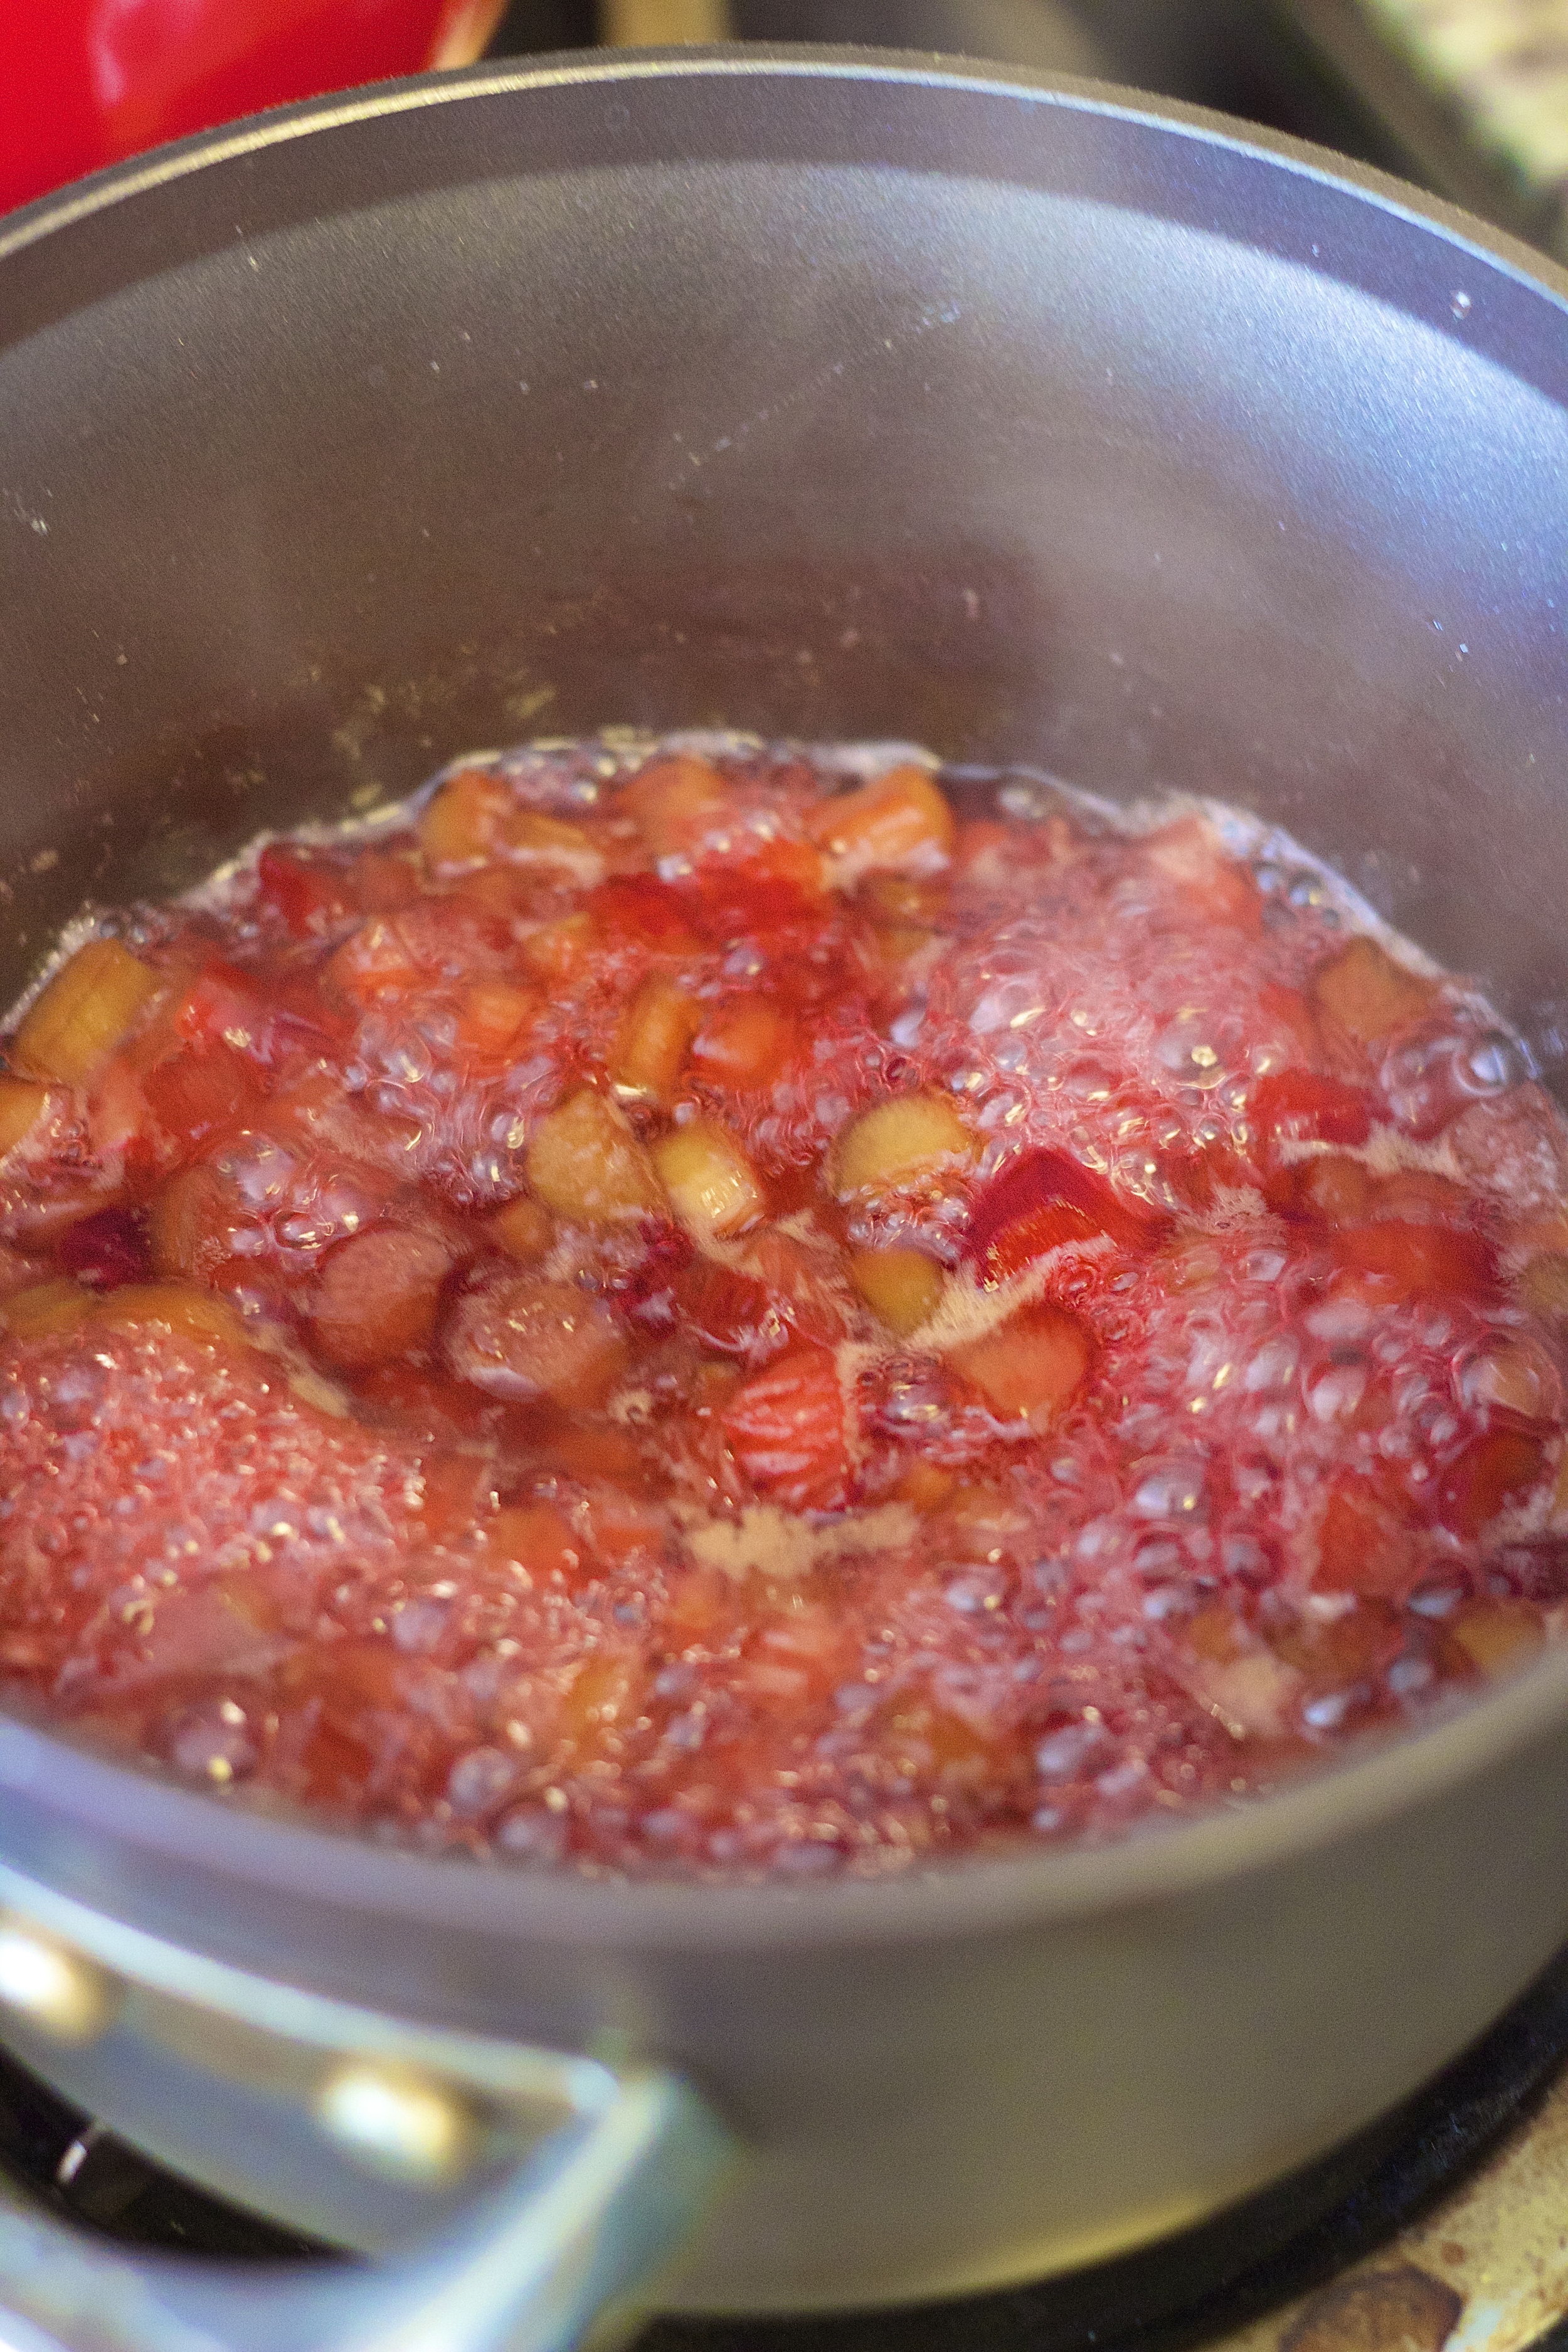
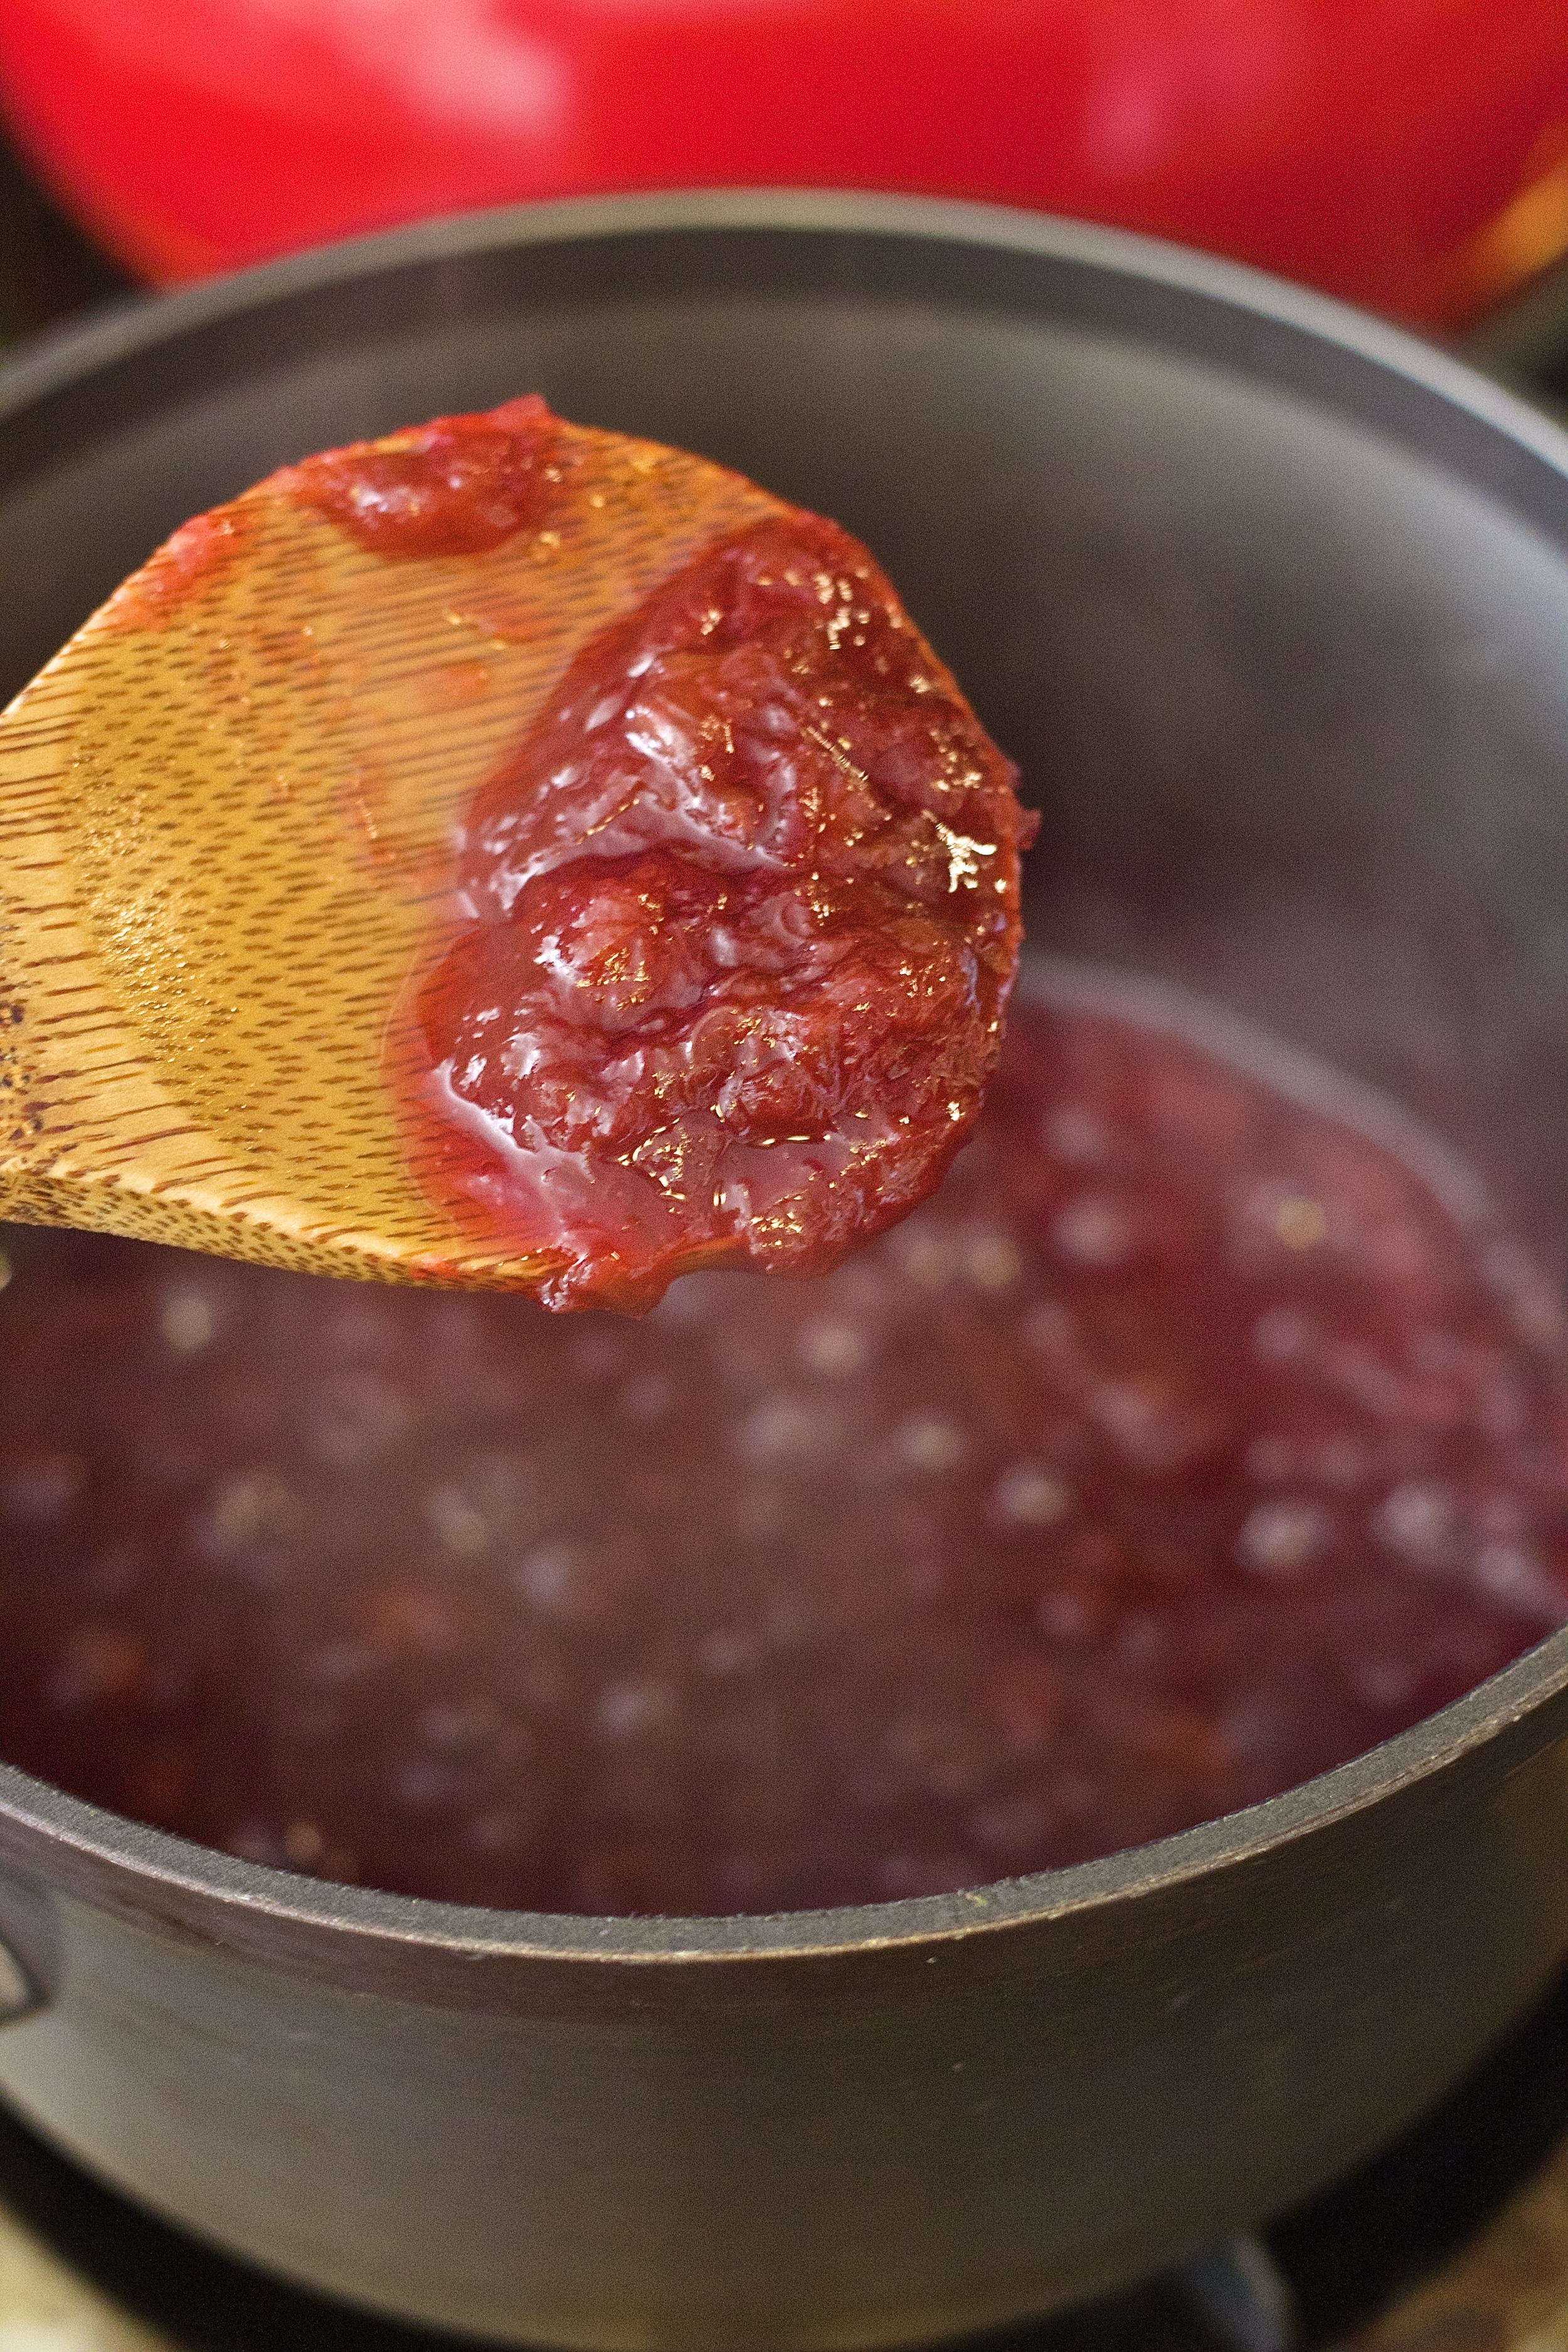
Combine the the diced rhubarb, sugar, salt, water, lemon juice, and vanilla in a small saucepan. Cooking over high heat, bring the mixture to a gentle boil. Continue to cook at a gentle boil, stirring frequently and mashing up the rhubarb as it softens, for 5-10 minutes until most of the liquid is dissolved and the mixture reaches the consistency of jam. Let cool completely.
In the bowl of a stand mixture, beat together the butter and rhubarb mixture together until completely incorporated. Store in a ramekin covered tightly in plastic wrap.
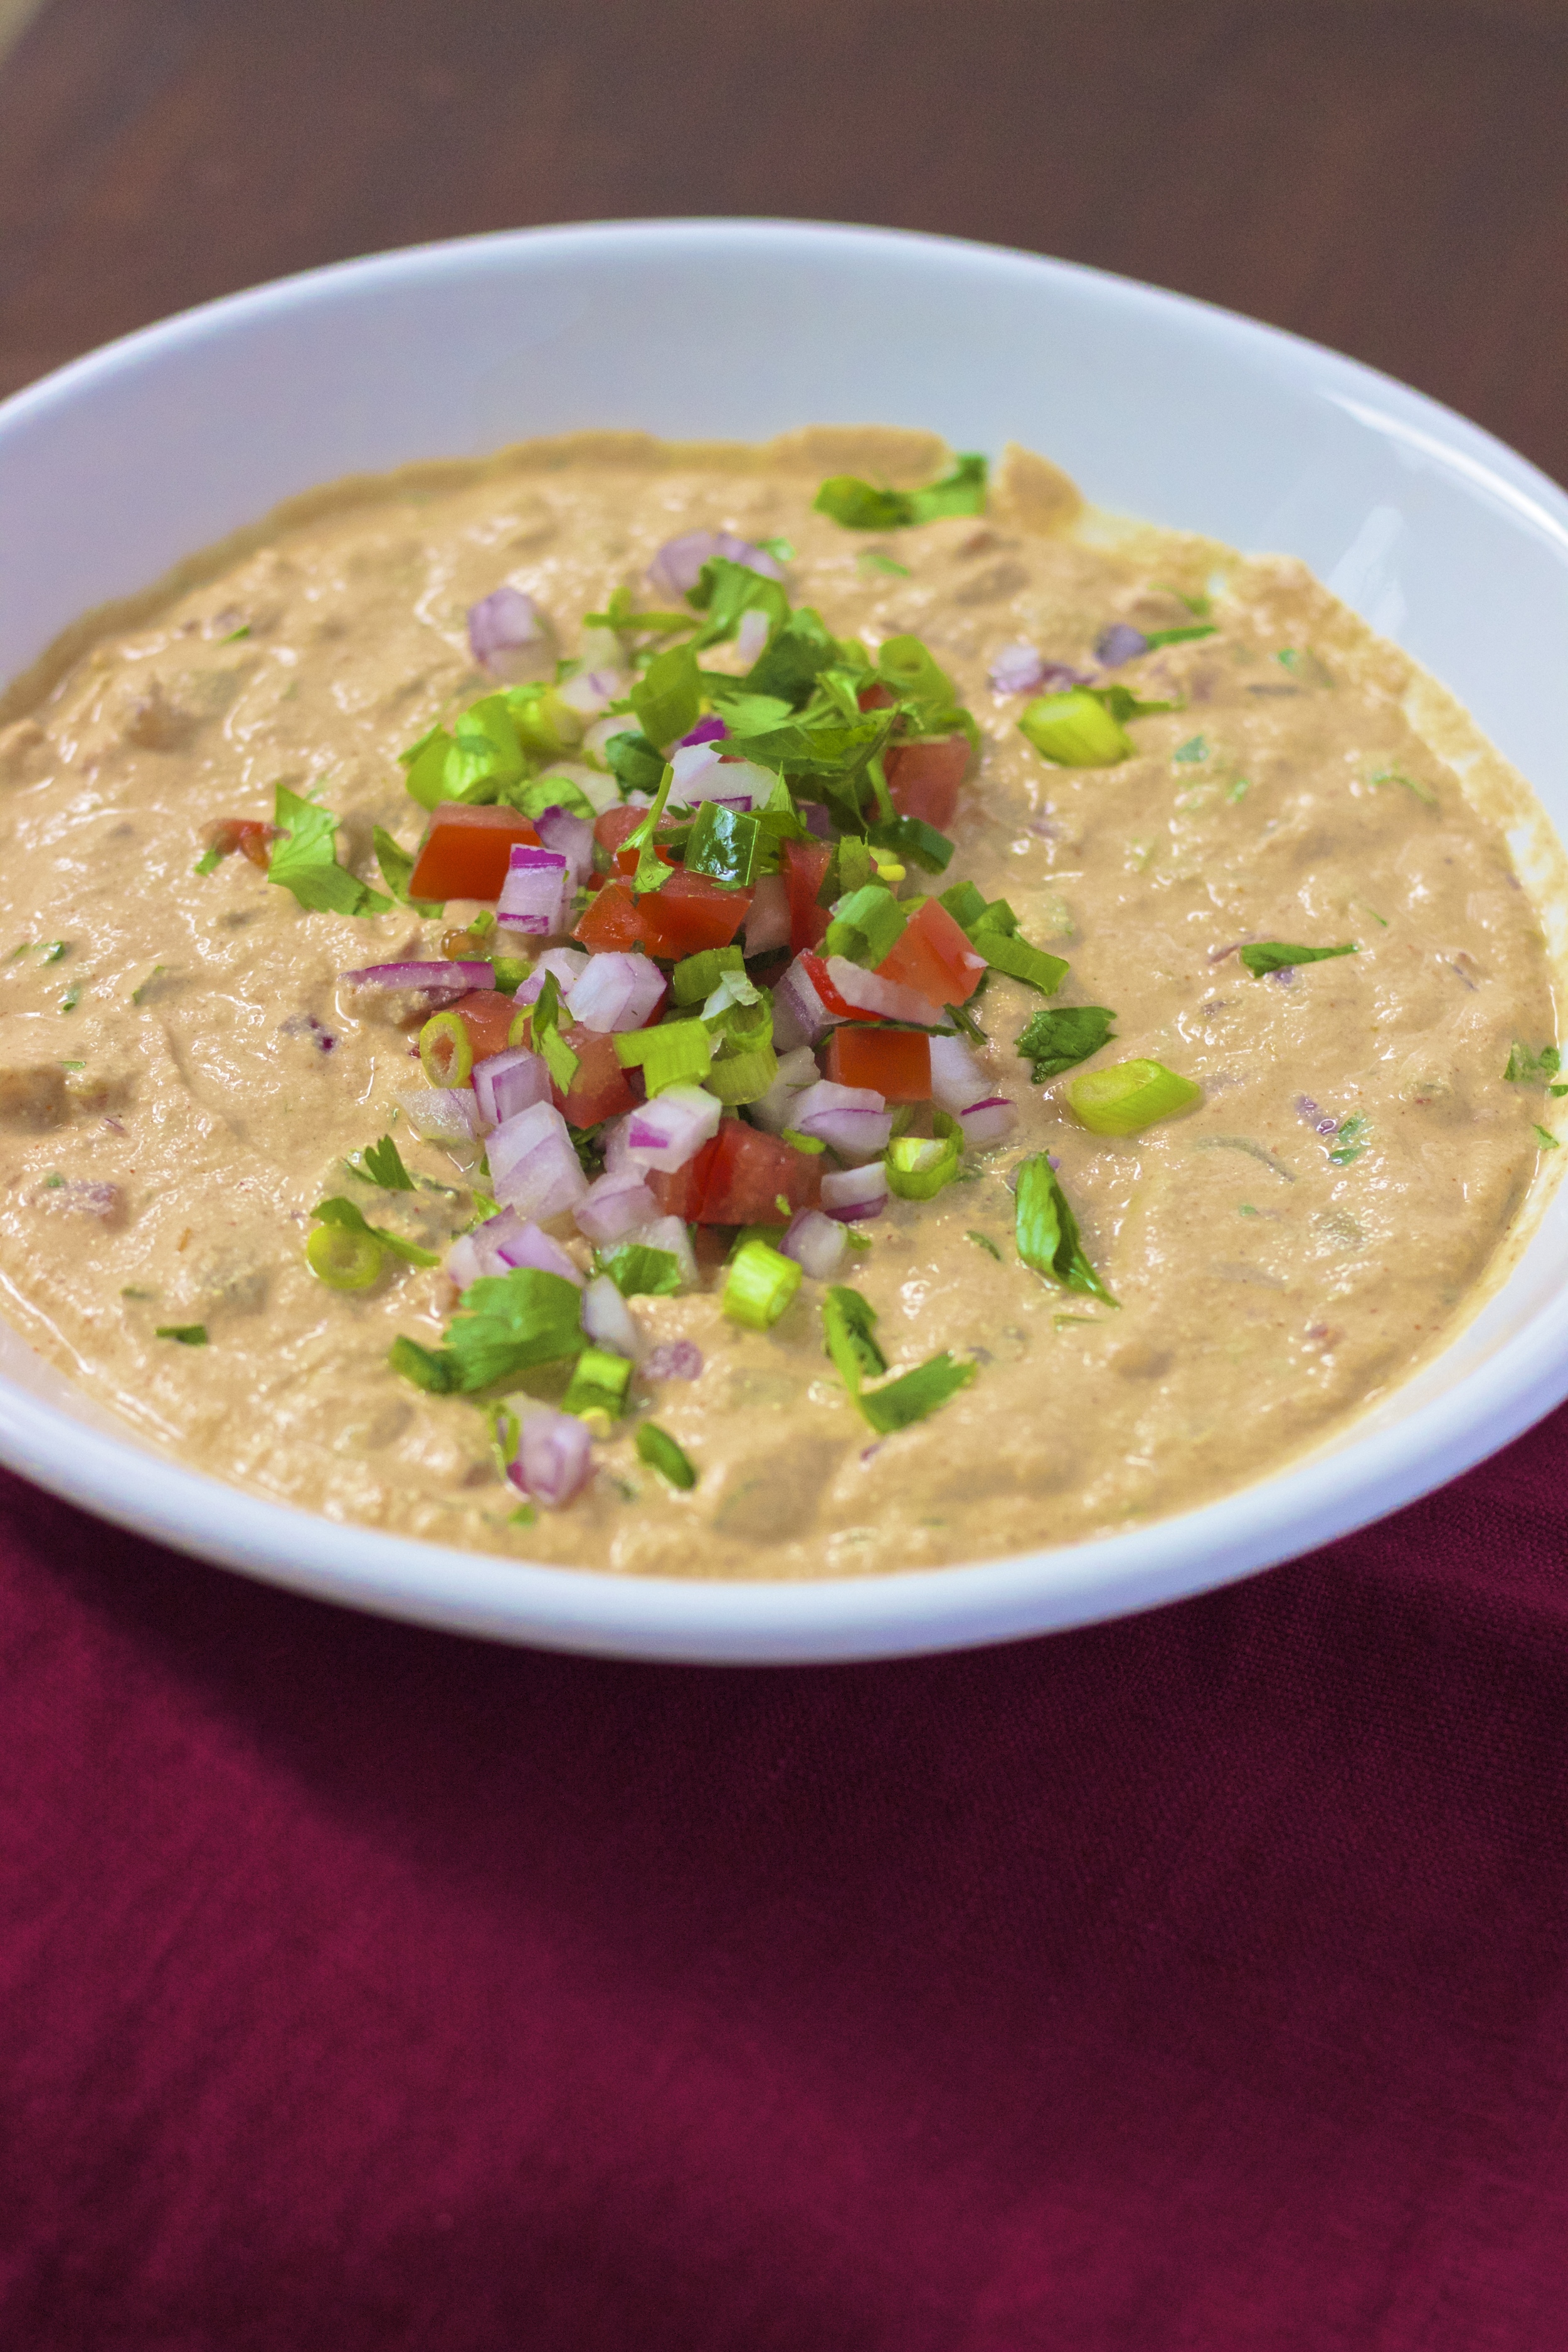
Chunky Vegan Queso

My dad’s side of the family lives in El Paso, Texas. We've visited every couple of years for as long as I can remember. There isn’t much in El Paso but it’s proximity to Juarez means it has some pretty excellent Mexican food. We've been going to one particular family-runned restaurant called Avila’s for decades. I have such fond memories of going there with my immediate family, grandparents, aunts, uncles, and cousins. As a kid, I remember staring in wonder when my dad told me his mole had chocolate in it. I remember thinking chocolate steak, gross!
As a kid (and who am I kidding, as an adult too) our favorite was always the sopapillas, these puffy, deep-fried hollowed Mexican doughnuts. We’d poke a hole in the corner and pour in as much honey as possible. It was always a delicious mess. The last time I went they began offering cinnamon sugar covered sopapillas, but I still prefer the original. Every meal ended with sopapillas, a dessert we never seemed to be able to find after we headed back to southern California. In fact, I don’t think I’ve ever met anyone who had even heard of them, which to my brothers and I, made them feel even more exclusive and special. They were our best kept secret.


Every meal ended with sopapillas but every meal also began with chile con queso. Sharp white melted cheddar with soft roasted green chilies. We’d slather it on tortillas and eat it with chips. Most of the time we ate so much chile con queso that we were full before the meal got there, but that didn’t matter because everyone knew it was the best part anyway. And as delicious as it was, this queso is nothing like that.
The first time I made this queso over Super Bowl weekend, I promptly texted my dad and his siblings “vegan queso!”. My dad's side of the family is hispanic and they know a thing or two about good Mexican food. I got a range of reactions and even some suggestions from my chile obsessed Uncle Mike. So I applied said changes and the result is something even my Texas family members could appreciate. It’s creamy and spicy and full of green chiles and fresh pico de gallo, and although you’d never know it, it’s completely vegan. Trust me, you won’t miss the cheese one bit, or even be able to tell it’s missing.

Makes about 3 cups
1 large tomato, seeded & diced
1 jalapeño, seeded & diced
1/4 large red onion, diced
1 small handful cilantro, chopped
2 green onions, chopped
2 tablespoons lime juice, divided
1 cup raw cashews, soaked at least 4 hours
1 teaspoon chili powder
1/2 teaspoon paprika
1/3 cup nutritional yeast
1 cup + 2 tablespoons water
3/4 teaspoon salt
1/4 - 1/2 teaspoon cayenne pepper (see notes)
3 tablespoons tomato paste
1 4-ounce can diced green chilis
Notes: 1/4 teaspoon cayenne makes this dish mild, 1/2 teaspoon makes it pretty spicy. I recommend starting with 1/4 teaspoon and adjusting from there.
Make the pico de gallo, in a small bowl toss the tomato, jalapeño, red onion, cilantro, and green onions with 1 tablespoon lime juice and set aside.
In the bowl of a blender blend the remaining tablespoon of lime juice, cashews, chili powder, paprika, nutritional yeast, water, salt, cayenne, and tomato paste until completely smooth. Adjust to taste, adding more lime/cayenne if needed.
Reserve a scant 1/4 cup of the pico de gallo. Stir the remaining pico de gallo and the green chilies into the queso and top with the reserved 1/4 cup.
Pistachio Lemon Granola Bars

The number one thing I hear in response to my love for cooking is always how stressed cooking makes people feel. People often associate cooking and childhood memories around it with a stressed out parent struggling to get the big meal out on the special holiday. And to that, I say, I totally get it.
Michael Pollan, whose documentary series I just started watching on netflix, talks about how the entertainment industry plays on this stress by making cooking shows that portray cooking as something better left up the pros (iron chef anyone?) and the food industry has been telling us we're too busy and too stressed to cook for years so that they could valiantly come in and save the day.
The first time I made these granola bars, my vitamix died mid-blend of homemade almond butter. And as I was trying to figure out what the hell was wrong I burnt approximately $15 worth of pistachios that I had just spent 20 minutes shelling. I slammed the pan of burnt nuts down on the counter, yelled at my husband about how next time will be paying extra for store-bought almond butter and pre-shelled pistachios and screw the fact that I was trying to be responsible and save money because look where it got me! Then I slammed the door of our bedroom and put my legs up the wall for a couple deep breaths.

So yeah, I totally get it how cooking can be stressful. That's one of the reasons I prefer to cook alone without a time limit and without a crowd to please, and preferably with a good playlist in the background. As ocd as I sound, I need to start with an immaculate kitchen, and clean as I go, even if it takes longer. This, by the way, drives my husband nuts. But my kitchen is my workspace, and a clean kitchen takes away stress and makes the whole cooking process much safer, trust me.
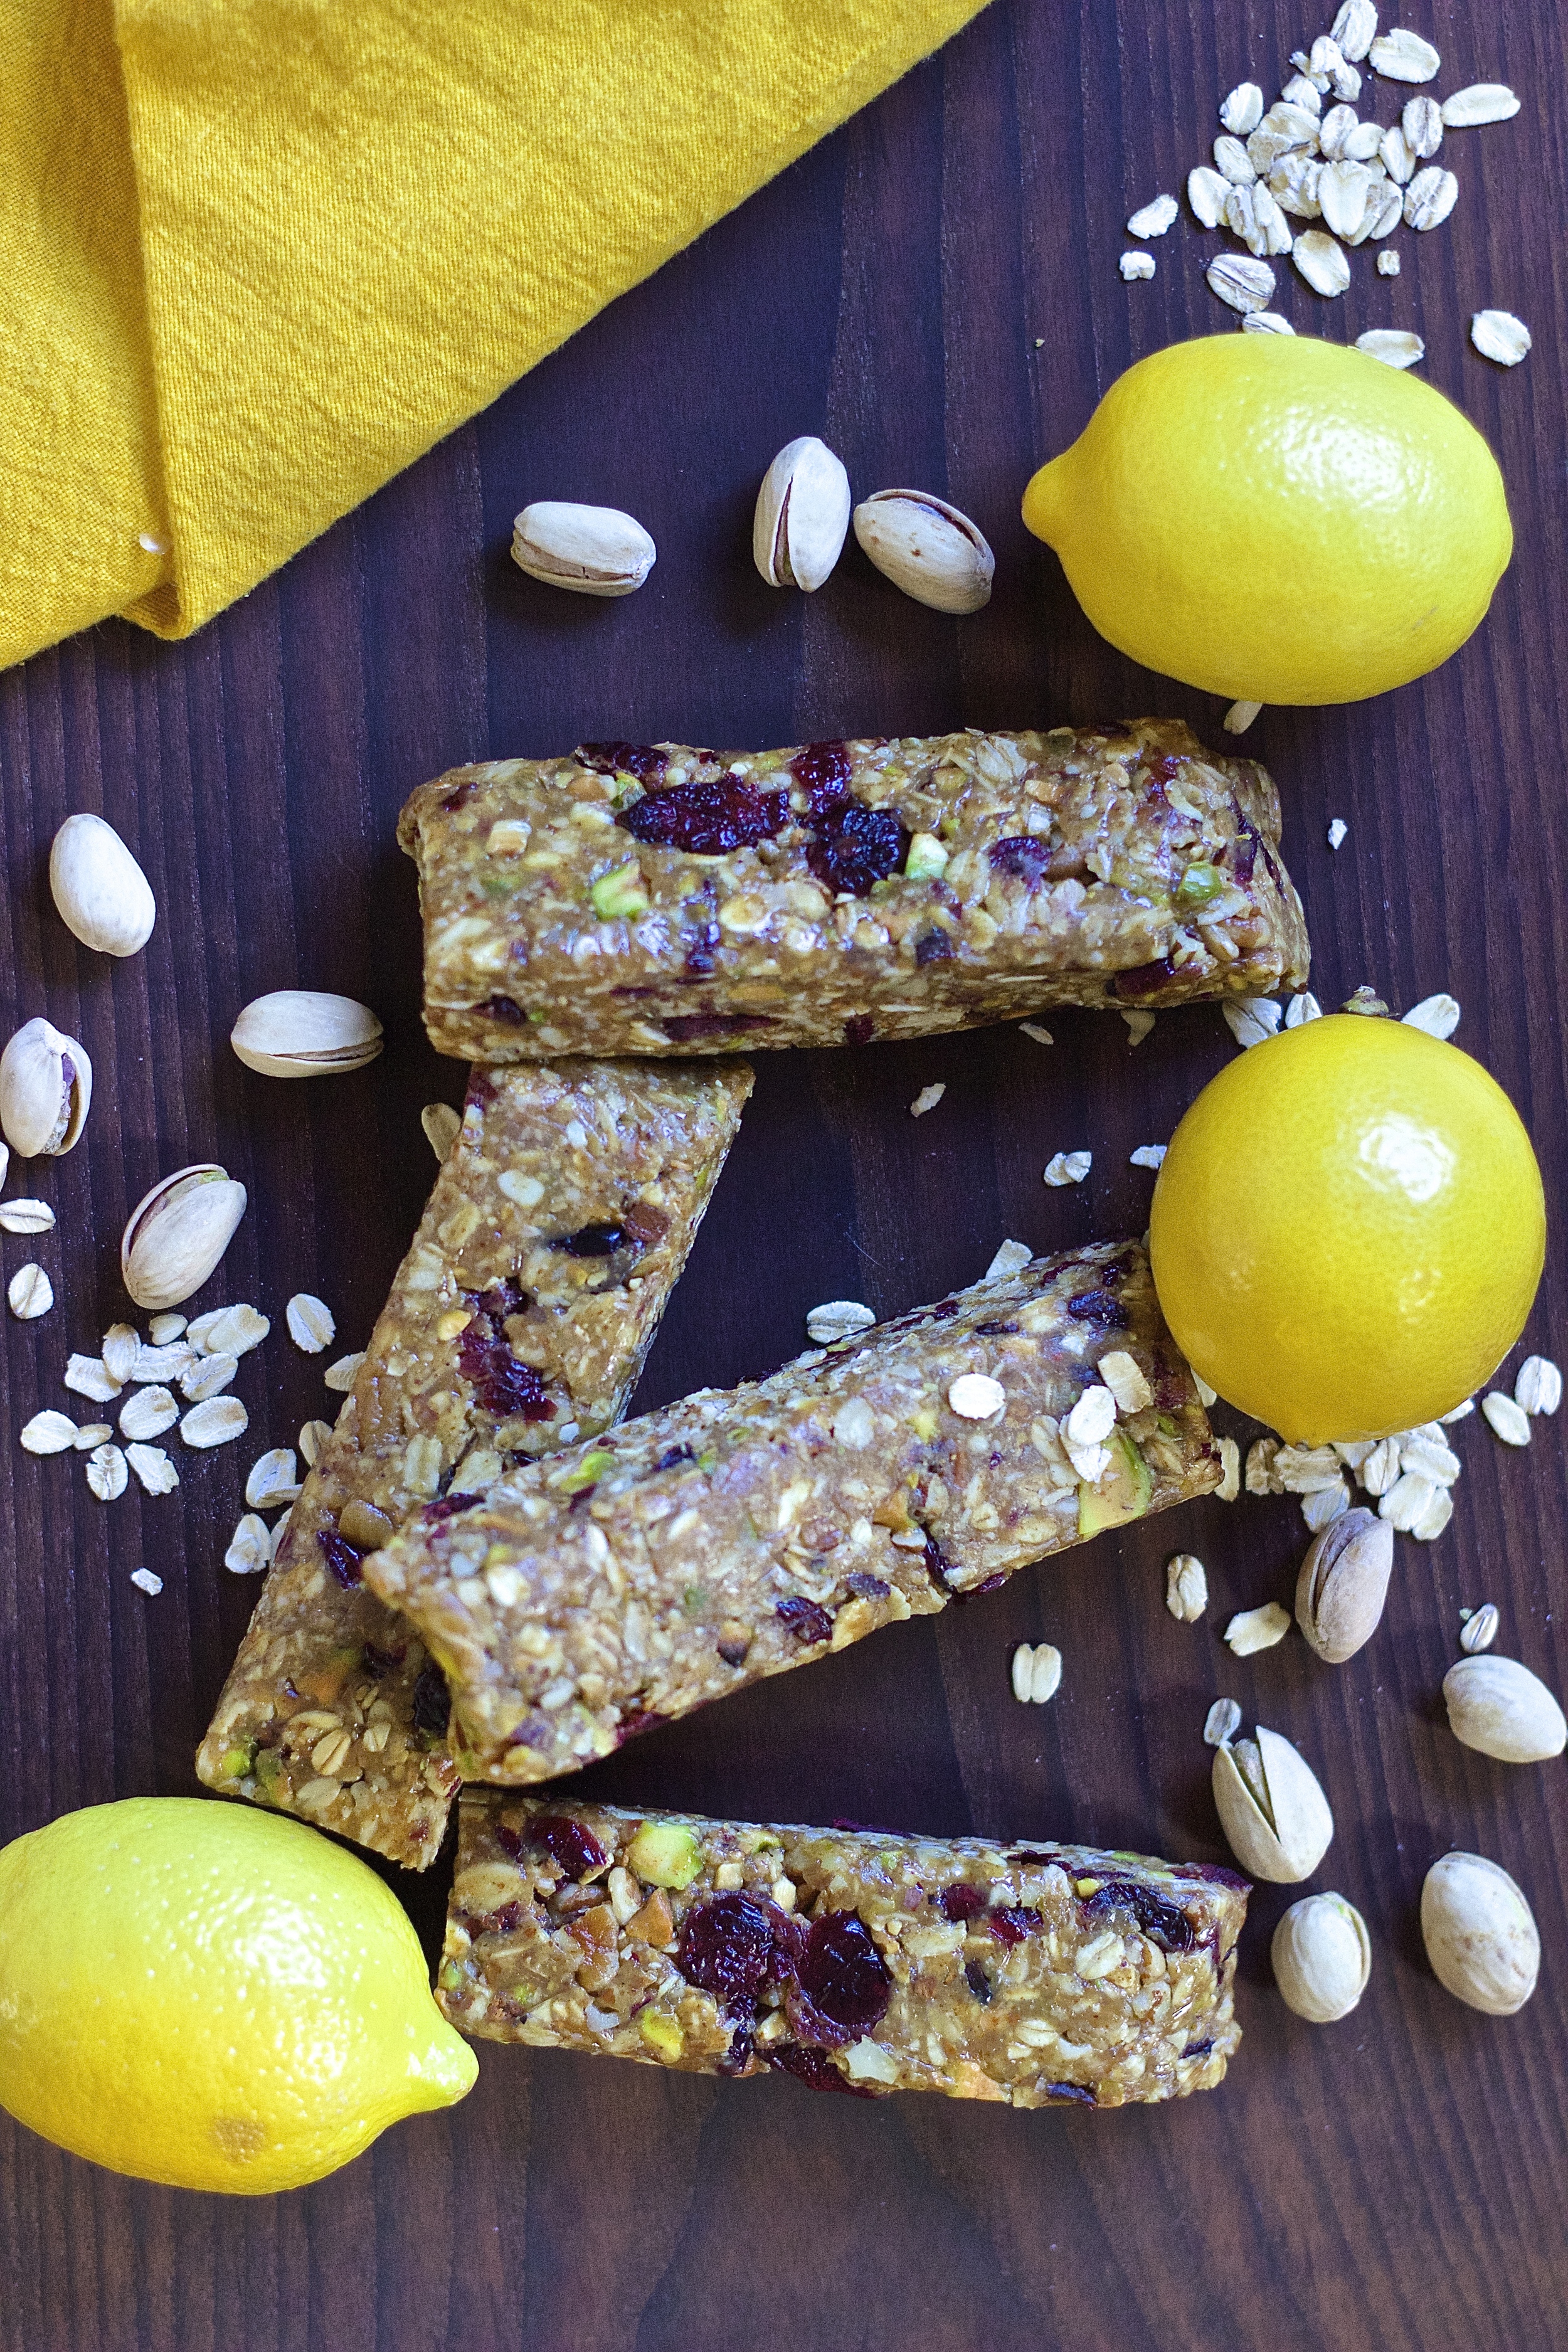
Somehow after picking out the black nut pieces, these bars came out just as I imagined. They're adapted from one of my favorite food blogs, Cookie and Kate, and inspired by my favorite larabar flavor, lemon! I'm such a sucker for tart, springy lemon. The bars are bound together with a combination of nut butter and honey and packed with so much protein and fiber they could almost qualify as breakfast.
I stocked up on homemade granola bars before this semester of grad school started, and individually wrapped them in plastic wrap then tossed them in a freezer bag on the door of the freezer. They defrost in about 30 minutes, and warm perfectly in the toaster if you're in a rush. Super filling and totally guilt-free on-the-go-treat that will ultimately save you money and leave you feeling fuller than any store-bought kind. Bring these to work or class and people will be jealous. Just saying. They're pretty awesome.


Yields 12-16 bars
Ingredients:
1/3 cup pecans (1.5 oz)
2/3 cup shelled pistachios (1.5 oz)
1/3 cup pepitas
2/3 cup dried cranberries (or dried fruit of your choice)
1 3/4 cup old fashioned oats
1 packed tablespoon lemon zest (from about 3 lemons)
1/2 - 3/4 teaspoon salt (decrease if your nut butter is salted)
1 cup almond butter or peanut butter (I did half and half)
1/2 cup honey (or maple syrup)
1/2 teaspoon vanilla extract
2 tablespoons lemon juice
Line an 8x8 (for 12 thick bars) or 9x9 (for 16 thinner bars) inch baking dish with parchment and set aside. Toast the pecans, pistachios and pepitas in a skillet over medium heat for 5-7 minutes, stirring occasionally, until fragrant.
In the bowl of a food processor, pulse the oats for about 5 seconds until broken up significantly, then transfer to a large mixing bowl. Once the nuts & pepitas are toasted add them to the bowl of the food processor along with the dried fruit and run for about 10 seconds then transfer to the mixing bowl with the oats. Add the lemon zest and salt and whisk to combine.
In a small bowl bowl (or liquid measuring cup) combine the nut butter, honey, vanilla extract, and lemon juice and stir until combined. Add the wet ingredients to the dry and stir to combine. I found using my hands to integrate the ingredients into a thick, sticky batter was easiest, but you could also use a wooden spoon and some elbow grease. If the batter seems too dry add in another small scoop of nut butter.
Press the batter into the parchment lined baking dish (the bottom of a drinking glass works best for this) then cover with plastic wrap and refrigerate for at least 4 hours, ideally overnight. Cut into bars and serve. Bars store best individually wrapped in plastic then stored in a freezer bag in the freezer. Stored this way they should last up to 6 months.